Implementing Jersey Client Filters
You can use Jersey client filters to modify a REST request or response for an outbound REST client interaction. For example, you can define a filter for generating the appropriate authentication header based on user-supplied information. To implement filters, you need to define the logic
 To Define the Jersey Filter
You define the client filter in a Java Application project in NetBeans using the Jersey client API to define the logic. For more information about the Jersey API, see the Jersey 1.0.3.1 Javadocs. The following are the primary classes of interest:
-
com.sun.jersey.api.client.ClientHandlerException
-
com.sun.jersey.api.client.ClientRequest
-
com.sun.jersey.api.client.ClientResponse
-
com.sun.jersey.api.client.filter.ClientFilter
-
Right-click in the Projects window of the NetBeans IDE, and then select New Project.
The New Project Wizard appears.
-
Select Java in the Categories list, and then select Java Application in the Projects list.
-
Click Next.
The Name and Location window appears.
-
Enter a name for the project and a name for the main Java class, and then click Finish.
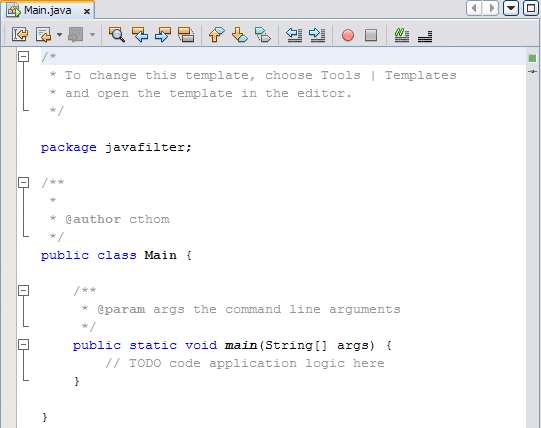
The project is created and a Java file containing the code framework appears in the Java Editor.
-
If you did not specify the class name in the wizard, you can do the following to rename the Java class:
-
Do the following to add the required Jersey JAR files to the project:
-
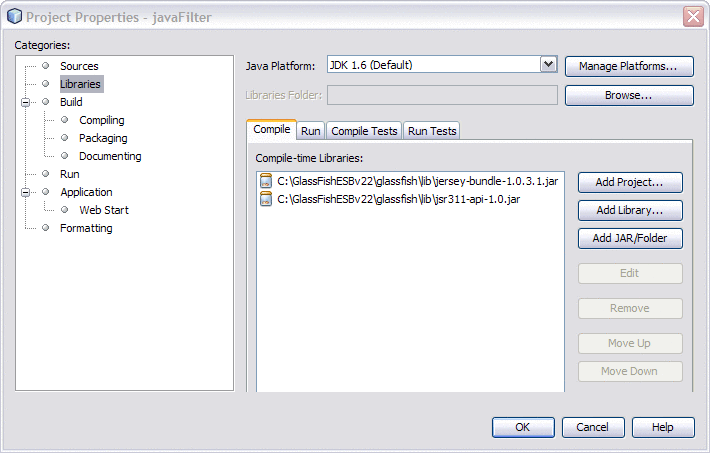
In the Project window, right-click the Java application, and then select Properties.
The Properties window appears.
-
Under Categories, select Libraries.
-
Click the Compile tab, and then click Add Jar/Folder.
-
Browse to and select the following Jersey JAR files:
-
jersey-bundle-1.0.3.1.jar
-
jsr311-api-1.0.jar
Tip –You can find these files in glassfish-home/lib.
-
-
Click OK.
-
-
Define the processing logic for the filter in the Java package that was created for you by the wizard.
Use standard Java methods along with the methods defined in the Jersey API to define the filter, exception, and logging logic. See the example following this procedure for a simple implementation.
Example 2 Simple Authentication Filter
The following example illustrates the code for a simple authentication filter that has a user name and password as parameters.
package javafilter;

import com.sun.jersey.api.client.ClientHandlerException;
import com.sun.jersey.api.client.ClientRequest;
import com.sun.jersey.api.client.ClientResponse;
import com.sun.jersey.api.client.filter.ClientFilter;
import java.util.logging.Level;
import java.util.logging.Logger;

public class Filter extends ClientFilter {

   private static final Logger logger = Logger.getLogger(Filter.class.getName());
   private String username;
   private String password;

   public Filter() {
   }

   public void setUsername(String username) {
       this.username = username;
   }

   public void setPassword(String password) {
       this.password = password;
   }

   @Override
   public ClientResponse handle(ClientRequest request) throws ClientHandlerException {

       logger.log(Level.INFO, "inside handle() method, username=" + username +
                  ", password=" + password);

       ClientResponse response = getNext().handle(request);
       return response;
   }
}
|
 To Add the Filter to the Composite Application
Before You Begin
Before you can perform this step, you need to complete the following steps:
-
Create the BPEL Module that implements the REST Binding Component.
-
Create and build the composite application for the BPEL Module.
-
Create he Java Application that defines the filter (as described in To Define the Jersey Filter), and build the Java Application project.
-
Open the composite application for the project in which you want to implement filters.
-
On the CASA Editor, right-click the REST outbound endpoint to which you want to add the filter, and then click Properties.
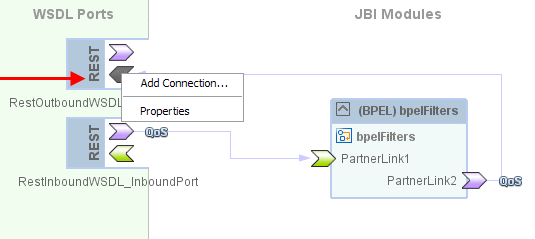
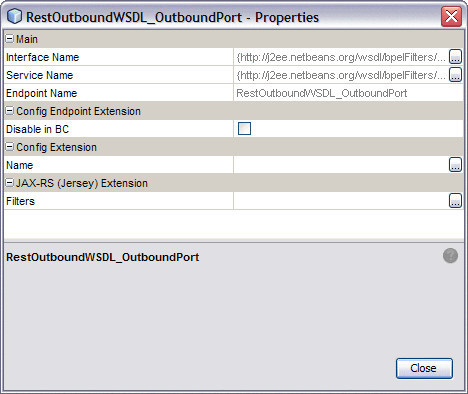
The Properties Editor appears.
-
Click the ellipsis next to the Filters property under JAX-RS (Jersey) Extension.
The Filters Editor appears.
-
On the Filters Editor, click Add.
-
From the dialog box that appears, navigate to and select the Java Application project you created to define the filter logic. Click Open.
The Select Java Libraries dialog box appears.
-
Click OK on the dialog box. Do not select the Jersey libraries.
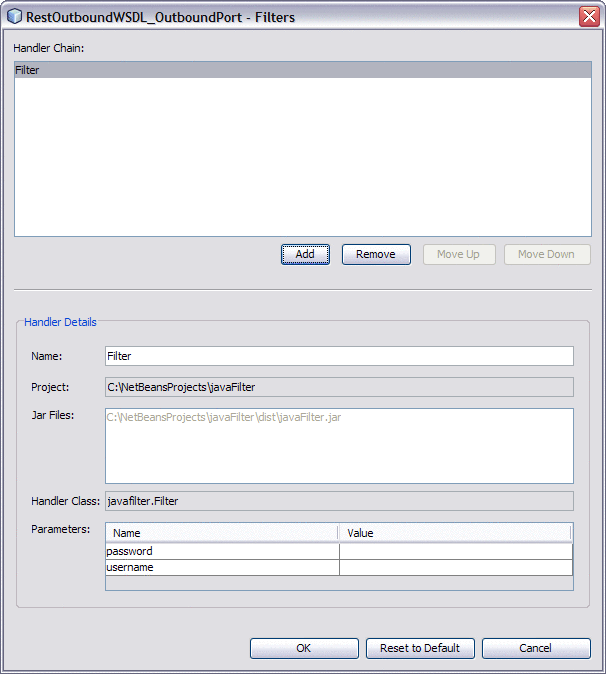
The information from the Java Application project is populated into the Filter Editor.
-
If you defined parameters for the filter, enter the parameter values in the Parameters section at the bottom of the editor.
-
Click OK.
The filter name appears in the Filters property.
-
Click Close on the Properties Editor.
- © 2010, Oracle Corporation and/or its affiliates
