| Skip Navigation Links | |
| Exit Print View | |

|
Sun Installation Assistant 2.3 through 2.4 User's Guide for x64 Servers Sun Fire X4640 Server Documentation Library |
| Skip Navigation Links | |
| Exit Print View | |

|
Sun Installation Assistant 2.3 through 2.4 User's Guide for x64 Servers Sun Fire X4640 Server Documentation Library |
About This Documentation (PDF and HTML)
Shell Prompts in Command Examples
Introduction to Sun Installation Assistant
Getting Started With Sun Installation Assistant
SIA Version 2.3 Through 2.4 Features and Benefits
Supported Servers and SIA Media Availability
Starting SIA and Preparing for Deployment or Recovery Tasks
Local and Remote Media Options
How to Start SIA and Prepare for Tasks Using Local or Remote Media
How to Create a RAID Volume Using SIA
How to Delete a RAID Volume Using SIA
How to Install Windows With SIA Using Local or Remote Media
Using SIA to Upgrade System Firmware
How to Upgrade the System BIOS and ILOM Firmware
How to Upgrade Expander Firmware
Using SIA to Recover a Service Processor
How to Recover a Service Processor
Performing an SIA PXE-Based Attended Installation
Obtain the SIA PXE Image Files
How to Create the SIA Image and Prepare for PXE Boot
How to Boot SIA From a PXE Server for an Attended Installation
Performing an SIA PXE-Based Unattended Installation
Obtain the SIA PXE Image Files
Contents of the SIA State File
How to Prepare for an Unattended SIA Installation of Linux
How to Prepare for an Unattended SIA Installation of Windows Server
How to Prepare for an Unattended SIA Firmware Upgrade
How to Create the SIA Image and Prepare for PXE Boot
How to Boot SIA From a PXE Server and Perform an Unattended Installation
Observing an SIA PXE-Based Unattended Installation
Set Up Passwords for Root and Virtual Access
Using a Virtual Console or Secure Shell (SSH) Connection
Debugging Unattended Installation Problems
Creating a Bootable SIA USB Flash Drive
Setting BIOS Parameters and Booting Off the SIA USB Flash Drive
Identifying a Linux Boot Device on a Sun Fire X4500 Server
How to Identify a Linux Boot Device on a Sun Fire X4500 Server
How to Install Service Tags in Linux
Before You Begin
If your server ships with an LSI-based integrated RAID controller and you want to include your boot drive as part of a RAID configuration, you will need to configure a RAID volume on it before installing the operating system. See Configuring RAID.
If you have a Sun StorageTek RAID disk controller (Adaptec-based), you must configure an array volume through the Adaptec RAID Configuration Utility (accessible by pressing Ctrl-A when prompted during server boot) before it can be accessed by SIA. This must be done whether you intend to use RAID or not. Consult your platform installation guide for instructions on how to do this.
The instructions below assume local CD/DVD drive access. Be sure to modify the instructions accordingly if you are using a local USB flash drive prepared with SIA software, or if you are running SIA from a remote console (or KVMS) with CD-ROM redirection.
The Select a Task page should be displayed.
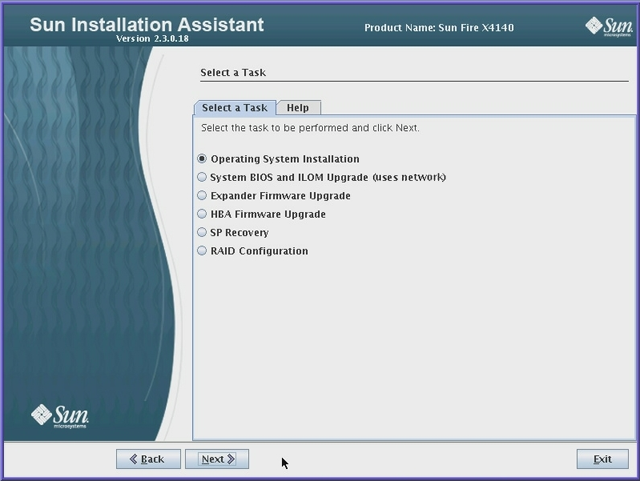
Note - This page will only appear if your server supports more tasks than OS installation. The dialog lists only task options supported for your server. For example, your list may include operating system installation, server BIOS/SP firmware upgrade, or other tasks.
The Install Media Information page appears.
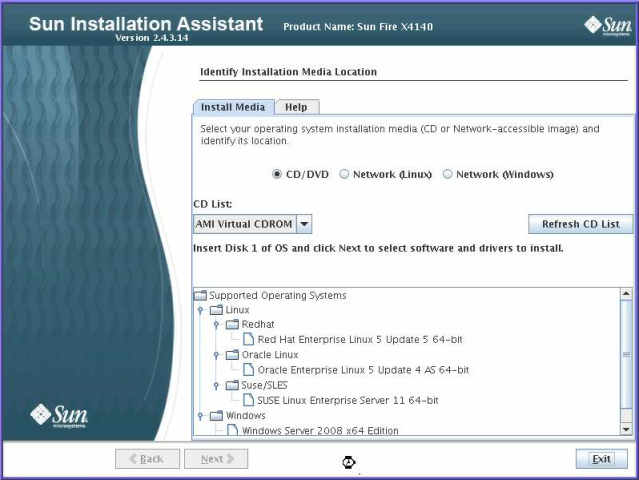
CD/DVD—This option allows you to install the OS source from:
- a local CD/DVD, or
- a redirected CD/DVD or an ISO CD-ROM image
Network (Linux)—This option allows you to install the OS source from a network share.
Note - SIA might not recognize the Linux installation media if you chose to use a CD/DVD ROM device other than the one you previously used to boot the SIA program. Therefore, insert the Linux OS media into the same device that you used to boot the SIA program.
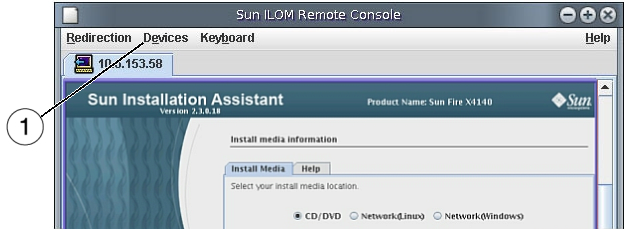
If you booted SIA from a CD/DVD drive, eject the SIA CD from this drive and insert the first disk of the operating system into the drive. In the ILOM Remote Console, select the CD-ROM option from the Devices menu (see graphic below for example).
If you booted SIA from an ISO CD-ROM image, unmount the SIA ISO CD-ROM image from the service processor ILOM Remote Console by deselecting CD-ROM Image from the Devices menu (see graphic below for example), then select CD-ROM Image and specify the location of the ISO OS CD-ROM image.
| ||||
For OSes requiring multiple images (CD1, CD2, etc.), multiple address fields are available.
Note - The URL address can not contain spaces.
|
Where hostname_or_IPaddress is either the hostname or the IP address of the server containing the ISO image, extractedISOdirectory is the directory containing the extracted Linux OS installation ISO image files. For Linux, only the path to the directory containing the ISO image source files should be used; individual files cannot be part of the URL path.
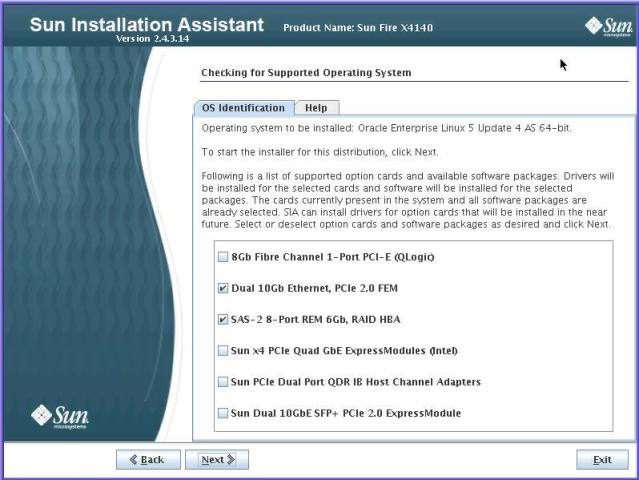
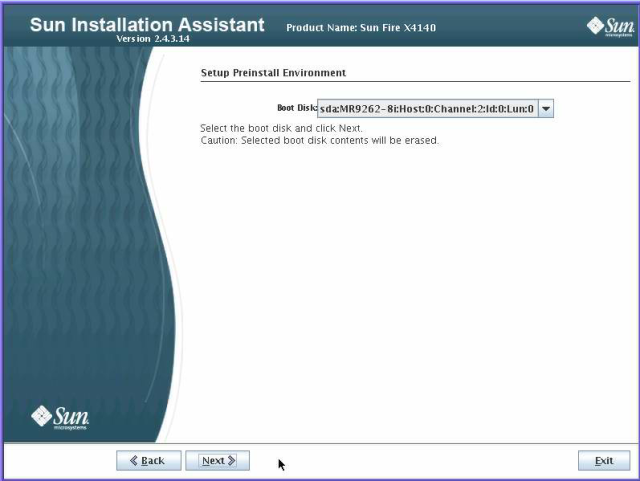
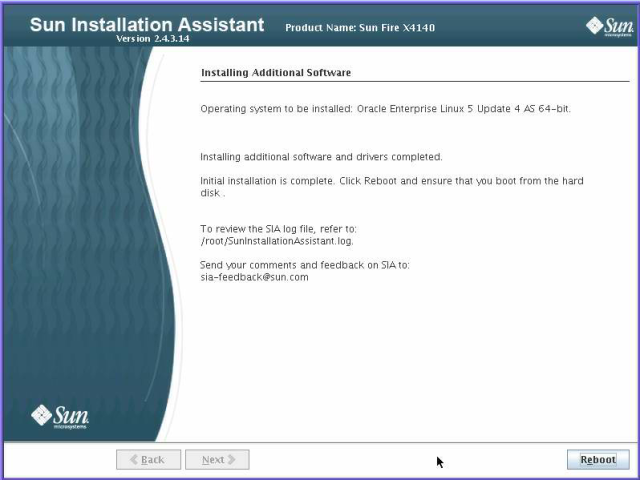
Note - If you see an error listed during installation, check the SunInstallationAssistant.log file for more details.
Boot from the hard disk on which the operating system will be installed. Follow the on-screen instructions as prompted to complete any additional operating system setup tasks.
Note - If you are installing the OS on a disk other than disk 0, you need to change the system boot order to identify the proper boot disk. This can be done either through the system BIOS setup program (if your disk is connected to an integrated disk controller), or an option card BIOS setup program (if your disk is connected to an optional HBA). Follow the instructions in your system and/or option card documentation to set boot order.
Next Steps
Complete the following post installation tasks, as necessary:
Download and install the latest Linux operating system updates and fixes from the Linux operating system vendor’s web site.
Install and configure additional drivers for your server not installed by SIA. This provides you the supported feature set for installed server components and option cards (for example, additional drivers may include ACPI, video, network and mass storage). Additional drivers can be found on the latest Tools and Drivers CD/DVD for your server.
Install Sun server-specific optional software and utilities available on the latest Tools and Drivers CD/DVD for your server.
Install Sun Service Tags. The installation files are automatically copied to your server during OS installation, but must be run by the system administrator for the server in order to be properly installed. See Installing Service Tags.