| Skip Navigation Links | |
| Exit Print View | |

|
Sun Fire X4640 Server Product Documentation Sun Fire X4640 Server Documentation Library |
| Skip Navigation Links | |
| Exit Print View | |

|
Sun Fire X4640 Server Product Documentation Sun Fire X4640 Server Documentation Library |
Get Software and Firmware Downloads
About This Documentation (PDF and HTML)
Hardware Installation and Product Notes
Sun Fire X4640 Server Front and Back Panel Features and Components
Installing the Server Hardware
Removing the Server From the Rack
Getting Service for Your Server
Sun Fire X4640 Server Specifications
Communicating With the ILOM and the System Console
Setting Up Your Operating System
Overview of the Sun Fire X4640 Server Product Notes
Supported Software and Firmware
Solaris Operating System Issues
Windows Operating System Issues
VMware ESX and VMware ESXi Issues
Sun Installation Assistant Issues
MegaRAID Storage Manager (MSM) Issues
Integrated Lights Out Manager (ILOM) Issues
Introduction to Sun Installation Assistant
Getting Started With Sun Installation Assistant
Starting SIA and Preparing for Deployment or Recovery Tasks
Using SIA to Upgrade System Firmware
Using SIA to Recover a Service Processor
Performing an SIA PXE-Based Attended Installation
Performing an SIA PXE-Based Unattended Installation
Observing an SIA PXE-Based Unattended Installation
Creating a Bootable SIA USB Flash Drive
Identifying a Linux Boot Device on a Sun Fire X4500 Server
Introduction to Solaris OS and OpenSolaris Installation
Installing the Solaris 10 Operating System
Installing the OpenSolaris Operating System
Booting From OS Distribution Media
Identifying Logical and Physical Network Interface Names for Solaris OS Installation
Preliminary Tasks Before Installing An OS
Introduction to Linux Installation
Sun Installation Assistant (SIA)
Installing Red Hat Enterprise Linux
Installing and Updating SUSE Linux Enterprise Server
Configuring a Linux Server to Support PXE Installation
Booting From OS Distribution Media
Preliminary Tasks Before Installing An OS
Identifying Logical and Physical Network Interface Names for Linux OS Configuration
Introduction to Windows Installation
Sun Installation Assistant (SIA)
Getting Started With Windows Server 2008 Installation
Supported Windows Operating Systems
Windows Installation Considerations
How to Download Server Software
Selecting a Media Delivery Method
Windows Media Delivery Methods
How to Set Up the JavaRConsole System
Installing Windows Server 2008
How to Install Windows Server 2008
Updating Critical Drivers and Installing Supplemental Software
How to Update the Server-Specific Drivers
Additional Information for Supplemental Software
Incorporating Sun Fire Drivers Into a WIM Image
How to Add Drivers to a WIM Image
How to Deploy a WIM Image to Your Server
Identifying Network Interfaces in Windows
To Determine the Server's Active Network Data Ports
Confirm Physical Port MAC Addresses and Match Them to Windows Device Names
Introduction to ESX Installation
Installing VMware ESXi 4.0 Installable
Booting From OS Distribution Media
Preliminary Tasks Before Installing An OS
Administration, Diagnostics, and Service
Overview of the ILOM Supplement
Communicating With the ILOM and the System Console
Using ILOM to Monitor the Host
Overview of the Diagnostics Guide
Introduction to System Diagnostics
Using the ILOM to Monitor the Host
Using SunVTS Diagnostics Software
Creating a Data Collector Snapshot
Sun Fire X4640 Server Service Manual Overview
Controlling Power and Performing Hardware Reset
Removing and Installing Components
Configuring the System Using the BIOS Setup Utilities
Before You Begin
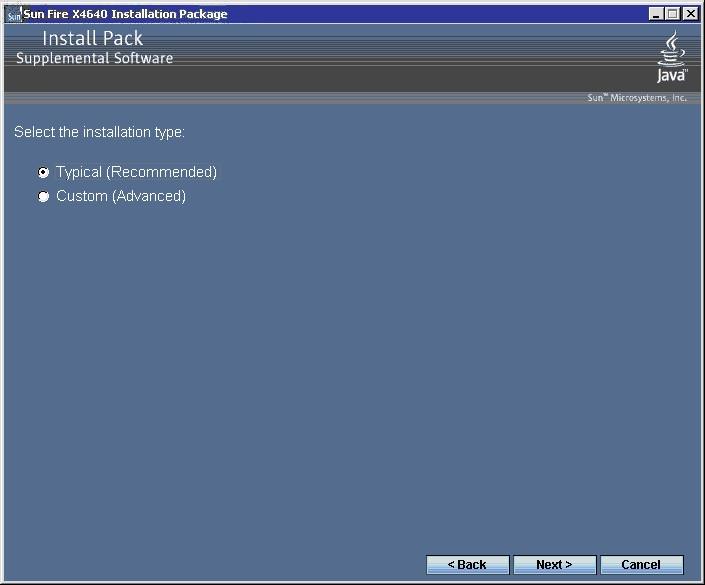
There are several supplemental software components available for your Sun Fire server. You have two options for installation: Typical, where basic choices are made for you (as indicated in the table below), and Custom, which is a superset of Typical and includes all software components of Typical plus additional software components.
Note - If you have already installed the supplemental software, running the installation again does not necessarily reinstall the supplemental software. It might result in the components being removed. Carefully review the dialog boxes during supplemental software installation to ensure that the results are as expected.
|
Note - As of the publication of this document, the server's PCI-X on-board network ports can not be used to initiate an Intel NIC team with Windows Server 2008 R2. Your Windows installation will use the generic Microsoft Intel NIC driver which does not include the teaming feature. However, if you want to include the on-board network ports as part of an Intel NIC team, you can install an optional Intel PCI-E network card (82571–based or newer) supported for Windows Server 2008 R2, install its driver (which provides Intel's Advanced Networking Services), and include the on-board network ports as part of a multi-vendor team initiated through the PCI-E network card.
The Installation Package Supplemental Software selection dialog box is now displayed

Component installation wizards guide you through the installation of each of the selected supplemental software components.
See Also
To learn more about Sun supplemental software, see Additional Information for Supplemental Software.