| Sun StorageTek 6140 Array Release Notes, Release 6.2 |
| C H A P T E R A |
|
Disk Drive Insertion |
This appendix describes how to properly insert a disk drive into a controller or expansion tray.
Drives are inserted with the power on, unless specifically instructed not to by Sun technical support.
The correct way to insert a disk drive into the tray is as follows:
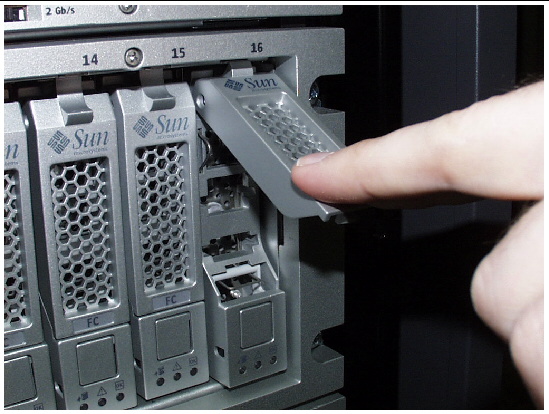
1. Lift the drive handle up to open it.
2. Push the disk drive into the chassis by slowly pushing against the drive housing until the drive handle engages with the chassis.
3. When the handle starts to move itself downwards, push the disk drive handle down. This will crank the disk drive the rest of the way into the chassis.
FIGURE A-1 shows a drive being inserted into the chassis the correct way.
FIGURE A-1 Inserting a Disk Drive.
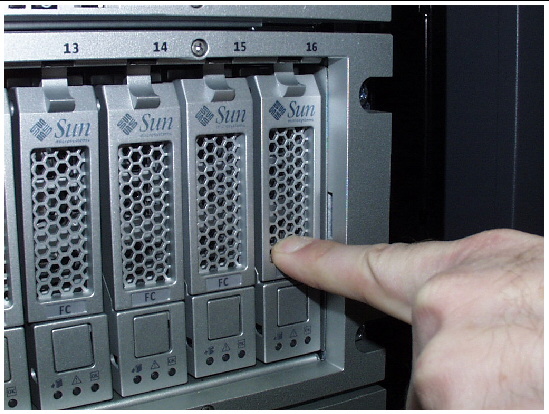
When the drive is completely installed, the drive and handle will be flush with the others, as shown in FIGURE A-2.
FIGURE A-2 Successfully Inserted Disk Drive

|
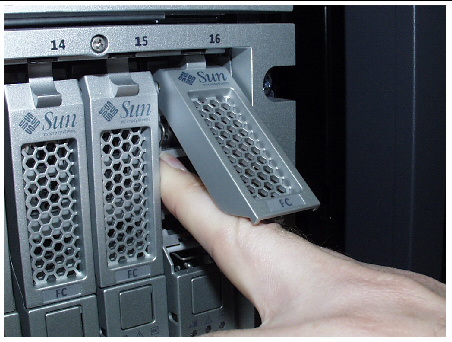
Caution - Do not insert a disk drive into a tray by pushing on its housing until it is all the way in. This can cause the handle to be stuck in the “up” position so it is unable to close. |
FIGURE A-3 shows the wrong way to insert the drive.
FIGURE A-3 Incorrect Way to Insert Disk Drive
| Sun StorageTek 6140 Array Release Notes, Release 6.2 | 820-6710-10 |
Copyright © 2008 Sun Microsystems, Inc. All Rights Reserved.