To Upgrade Solaris
-
On the Welcome to Solaris dialog box, click Next >.
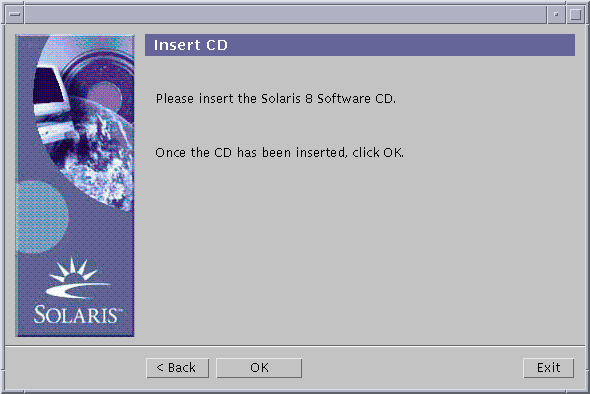
The Solaris 8 Installation English Intel Platform Edition or Solaris 8 Installation Multilingual Intel Platform Edition CD is ejected and the Insert CD dialog box is displayed:
-
Remove the CD from the tray or caddy, and insert the CD that contains the upgraded Solaris 8 software.
-
Push the tray in or insert the caddy and click OK on the Insert CD dialog box.
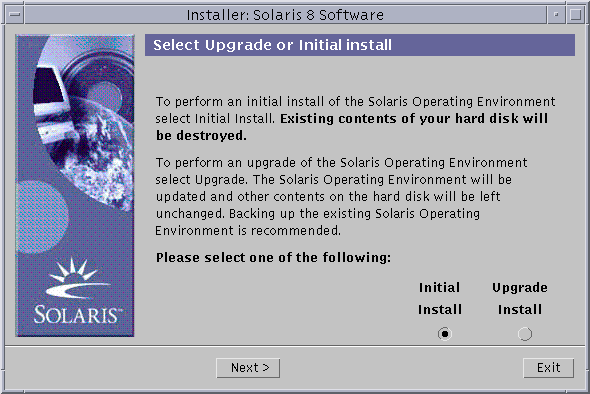
The Reading CD and Initializing dialog boxes are displayed. Then, the Select Upgrade or Initial Install dialog box is displayed:
-
Which type of upgrade do you want to perform?
-
If initial, select Initial Install and click Next >.
-
If upgrade, select Upgrade Install and click Next >.
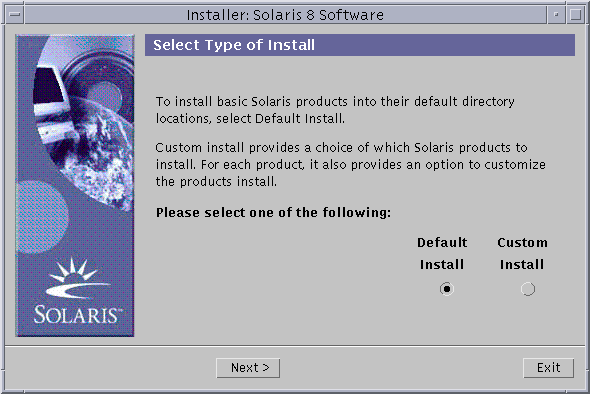
If you chose Initial Install, the Initializing dialog box is displayed, followed by the Select Type of Install dialog box:
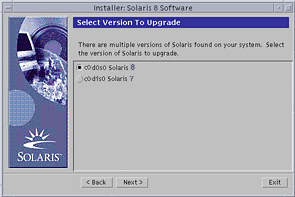
If you chose Upgrade Install and there is more than one version of the Solaris operating environment already installed on the system, the Select Version To Upgrade dialog box is displayed:
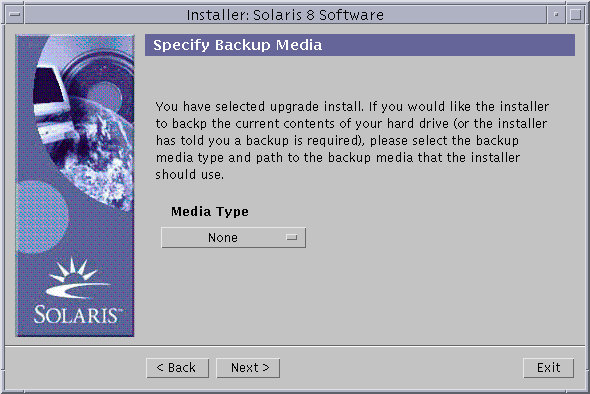
If you chose Upgrade Install and there is only one version of the Solaris operating environment on the system, the Specify Backup Media dialog box is displayed:
-
-
How many versions of Solaris are already installed on the system?
-
If none, go to Step 7.
-
If only one version of Solaris is installed on the system, go to the next step.
-
If more than one version of Solaris is installed on the system, on the Select Version To Upgrade dialog box, select the version you want to upgrade and click Next >.
The Specify Backup Media dialog box is displayed.
-
-
On the Specify Backup Media dialog box, select the media type you want (by pulling down the Media Type pop-up menu, selecting Local Disk, Local Tape, or Remote Filesystem, and specifying the path name) and click Next >.
The Testing Upgrade Profile dialog box is displayed.
Note -At this point, Solaris Web Start tests the system you're upgrading to ensure that enough disk space is available for the upgraded Solaris software. If there is not enough disk space available, Solaris Web Start displays a message suggesting that you perform an initial upgrade.
The Select Type of Install dialog box is then displayed:

-
Which type of installation do you want to perform?
-
If Default Install, select Default Install, click Next >, and go to Step 16.
-
If Custom Install, select Custom Install and click Next >.
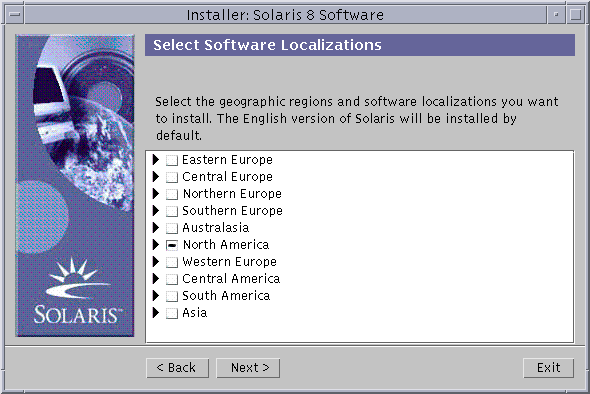
The Select Software Localizations dialog box is displayed:
-
-
Select the geographic regions and localizations you want to install in addition to English and click Next >.
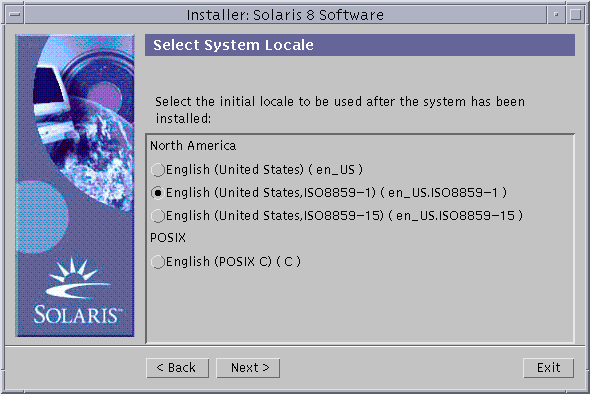
The Select System Locale dialog box is displayed:
-
Select the initial locale you want to be used after the upgraded Solaris software is installed on the system and click Next >.
Note -English (United States, en_US) is selected by default.
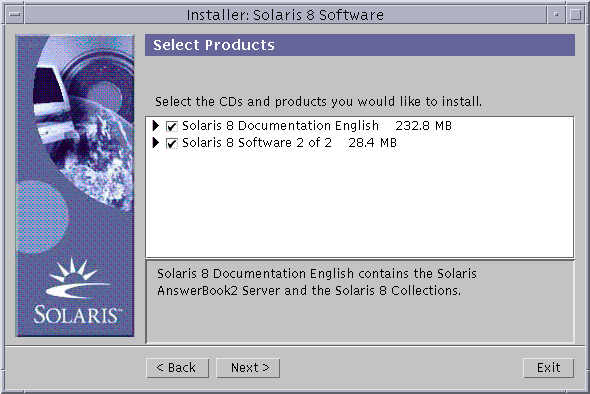
The Select Products dialog box is displayed:
-
Select the product or products you want to install in addition to the upgraded Solaris 8 software and click Next >.
Note -A description of each product, if available, is displayed when you select it.
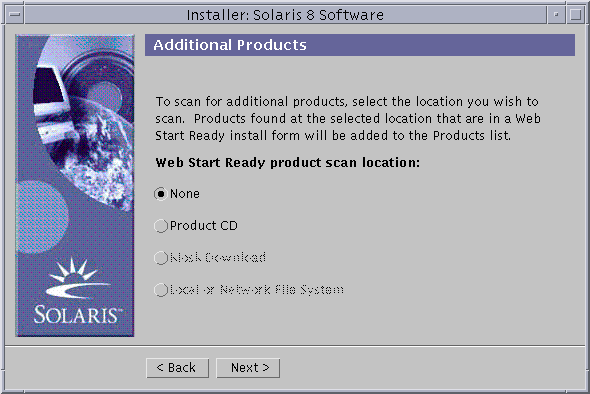
The Additional Products dialog box is displayed:
-
Do you want to install additional third-party or other software products (that can be installed with Solaris Web Start)?
-
If no, select None, click Next >, and go to Step 16.
-
If yes, select Product CD, Kiosk Download, or Local or Network File System, and click Next >.
-
If you selected Product CD, the Solaris 8 Software 1 of 2 Intel Platform Edition CD is ejected and the Insert CD dialog box is displayed.
-
If you selected Kiosk Download, the Scanning dialog box is displayed. When Solaris Web Start is done scanning the Kiosk download area (/webstart/kiosk/download), the Select Products dialog box is displayed. The products you can install with Solaris Web Start are listed in the windows.
-
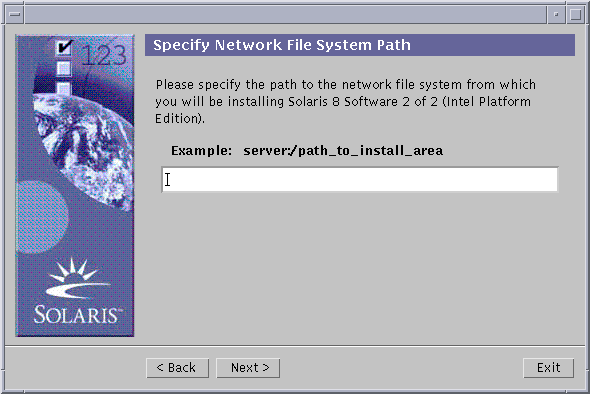
If you selected Local or Network File System, the Specify Network File System Path dialog box is displayed:
-
-
-
Which product source did you specify previously?
-
If Product CD, remove the Solaris 8 Software 1 of 2 Intel Platform Edition CD from the tray or caddy, insert the product CD you want, and click OK on the Insert CD dialog box.
The Scanning CD dialog box is displayed. When Solaris Web Start is done scanning the product CD, the Select Products dialog box is displayed. The contents of the product CD you can install with Solaris Web Start are listed in the windows.
-
If Kiosk Download, go to the next step.
-
If Local or Network File System, on the Specify Network File System Path dialog box, type the path to the file system and click Next >.
The Scanning dialog box is displayed. When Solaris Web Start is done scanning the file system, the Select Products dialog box is displayed. The products you can install with Solaris Web Start are listed in the windows.
-
-
On the Select Products dialog box, select the products you want to install and click Next >.
Note -A description of each product, if available, is displayed when you select it.
The Additional Products dialog box is displayed.
-
Do you want to install additional third-party or other software products (that can be installed with Solaris Web Start)?
-
If yes, select Product CD, Kiosk Download, or Local or Network File System, click Next >, and repeat the preceding steps starting at Step 12.
-
If no, select None and click Next >.
If you previously inserted and scanned an additional products CD, the CD is ejected and an Insert CD dialog box prompts you to insert the Solaris 8 Software 1 of 2 Intel Platform Edition CD.
-
-
Did you specify that you want to install additional products from a CD?
-
If no, go to the next step.
-
If yes, remove the product CD from the tray or caddy, insert the Solaris 8 Software 1 of 2 Intel Platform Edition CD, and click OK.
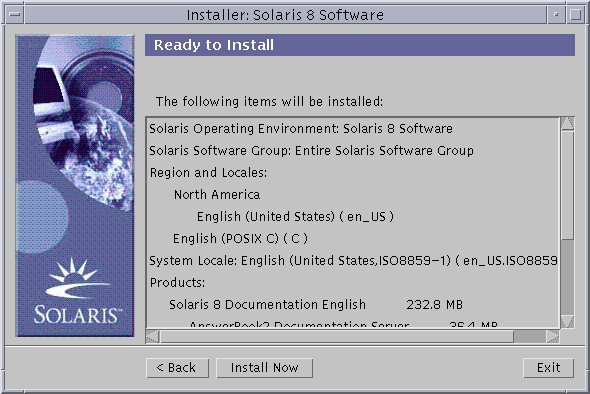
The Reading CD dialog box is displayed. If you chose upgrade, the Testing Upgrade Profile dialog box is also displayed for a few seconds. The Ready to Install dialog box is then displayed:
-
-
On the Ready to Install dialog box, click Install Now.
The Installing dialog box is displayed.
Status messages and the name of each package that's added to the Solaris software are displayed in brackets above the top progress bar. The status of the entire installation is shown on the bottom progress bar.
A complete list of Solaris 8 packages is included in Appendix A, Packages on the Solaris 8 Software 1 of 2 Intel Platform Edition CD, Appendix B, Packages on the Solaris 8 Software 2 of 2 Intel Platform Edition CD, and Appendix C, Packages on the Solaris 8 Languages Intel Platform Edition CD.
Note -Upgrading can take a while, but the actual time depends on the software group you chose to install, the reallocation of any space if needed, and the speed of the network or local CD-ROM drive you use.
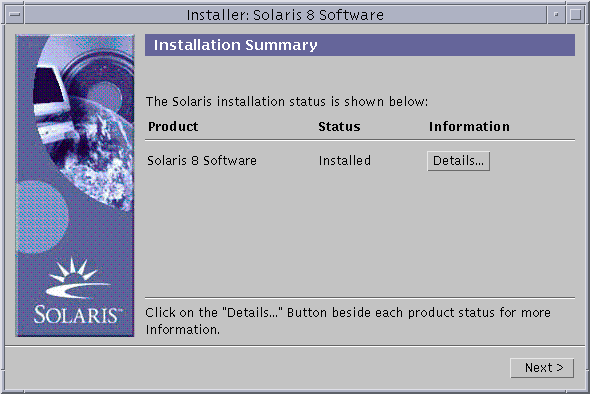
When installation of the software on the Solaris 8 Software 1 of 2 Intel Platform Edition CD is finished, the CD is ejected and the Installation Summary dialog box is displayed:
-
Do you want to display a log file that describes what was installed on the system?
-
If no, go to Step 20.
-
If yes, click Details for the product you want.
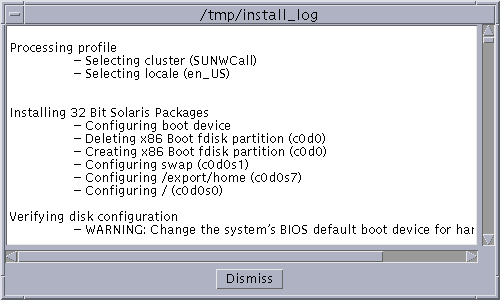
A new dialog box titled Details is displayed over the Installation Summary dialog box:
-
-
When you're done viewing the Details dialog box, click Dismiss.
The Details dialog box is dismissed.
-
On the Installation Summary dialog box, click Next >.
If a CD is inserted in the CD-ROM drive, it's ejected.
If additional software is required, a Specify Media dialog box like this is displayed:
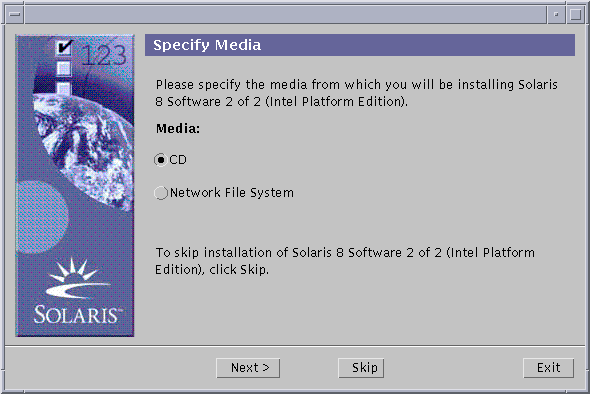
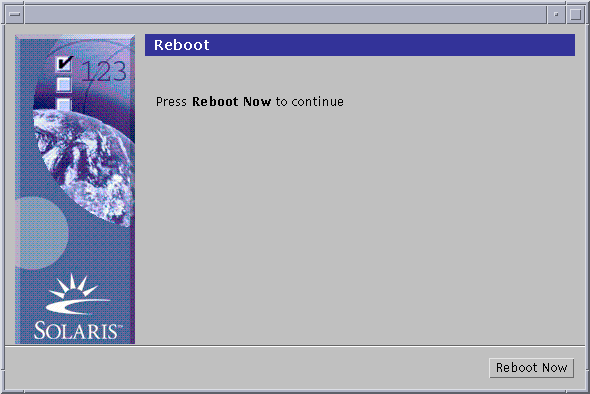
Otherwise, the Reboot dialog box is displayed:
-
Is additional software required?
-
If no, go to Step 23.
-
If yes, do you want to install the additional software from a CD or through a network file system?
-
If CD, select CD and click Next >.
The Insert CD dialog box is displayed.
-
If network file system, select Network File System and click Next >.
A Specify Network File System Path dialog box like this is displayed:

-
-
-
How did you specify you want to install the additional software?
-
If from a CD, insert the CD specified on the Insert CD dialog box and click OK.
The Reading CD, Launching Installer, and Extracting dialog boxes are displayed, followed by the Installing dialog box. When installation of the software on the CD is finished, the CD in the CD-ROM drive is ejected and the Installation Summary dialog box is displayed.
-
If through a network file system, type the path to the network file system on the Specify Network File System Path dialog box and click Next >.
The Launching Installer and Extracting dialog boxes are displayed, followed by the Installing dialog box. When installation of the software through the network is finished, the Installation Summary dialog box is displayed.
-
-
Repeat the previous steps starting at Step 19.
-
On the Reboot dialog box, click Reboot Now.
The system is rebooted. After a few seconds, a dialog box that prompts you to enter the user name and password for the system is displayed.
-
Type the user name and password for the system.
A dialog box that prompts you to select the Solaris desktop you want (either CDE or OpenWindows) is displayed.
-
Select the Solaris desktop you want and click OK.
After a few seconds, the Solaris desktop you selected is displayed.
-
Do you intend to use Netscape Communicator and OpenWindows on the system on which you just installed Solaris 8?
-
If no, you're done.
-
If yes, use a text editor of your choice to open the system's .cshrc file, and add an entry to your path environment variable for the directory in which Netscape Communicator is installed.
For example, if Netscape Communicator is installed in the default directory, add /opt/NSCPcom to your path environment variable.
Note -When running Netscape Communicator with OpenWindows, your path environment variable needs to include a pointer to the NSCPcom directory to find the binaries.
-
Note -
You can see upgrade log files:
-
Before the system reboots at: /a/var/sadm/system/logs/upgrade_log
-
After the system reboots at: /var/sadm/system/logs/upgrade_log
- © 2010, Oracle Corporation and/or its affiliates
