Selecting An Area to Be Saved
To select an area of an image to be saved:
-
Choose the Selector tool.
-
Outline the new view by pressing SELECT in one corner of the new view and dragging to the opposite corner.
-
Release SELECT.
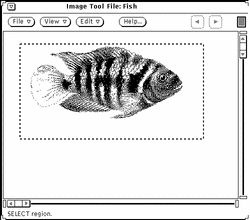
You can save the selected view as a new image. Figure 13-8 shows the selector icon and selection made from the View window. For information on saving your file, refer to "Save As".
Figure 13-8 Selector icon and selected item


- © 2010, Oracle Corporation and/or its affiliates
