Generating and Publishing an XML Test Message
The first step to generate a DTD is to use the PeopleSoft 8 Application Designer to generate a PeopleSoft XML test message based on a particular message definition.
 To generate a PeopleSoft XML message
-
Log into PeopleTools.
-
Log into the Application Designer.
-
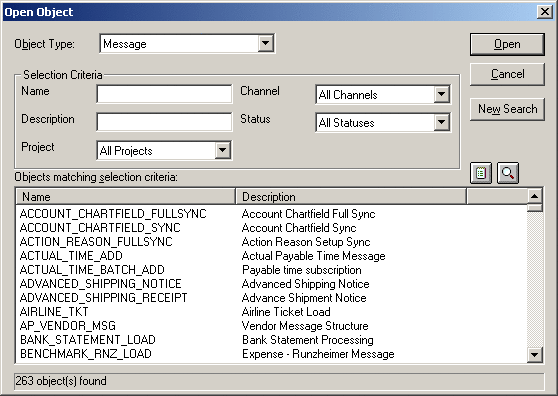
From the Application Designer’s File menu, click Open. The Open Object dialog box appears (see the figure below).
Figure 1–29 Open Object Dialog Box - Object Type Message
-
Select Message as the object type, and click Open. A list of all available message definitions is displayed.
-
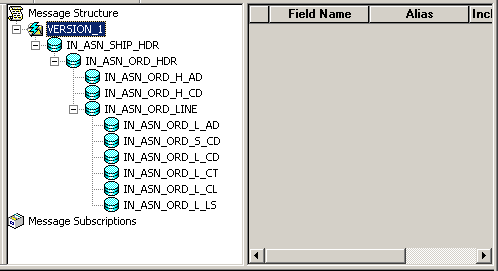
Double-click the message definition for your message, for example, ADVANCED_SHIPPING_RECEIPT. The Message window displays the message structure (see the figure below).
Figure 1–30 Message Structure Details
-
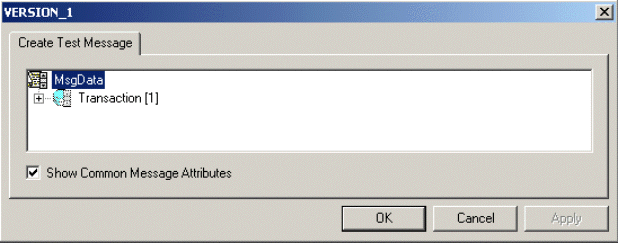
Right-click Version_1 in the message structure tree, and select Create Test Message from the shortcut menu. The Version_1 dialog box appears displaying the records contained in the ADVANCED_SHIPPING_RECEIPT message (see the figure below).
Figure 1–31 Creating a Test Message
-
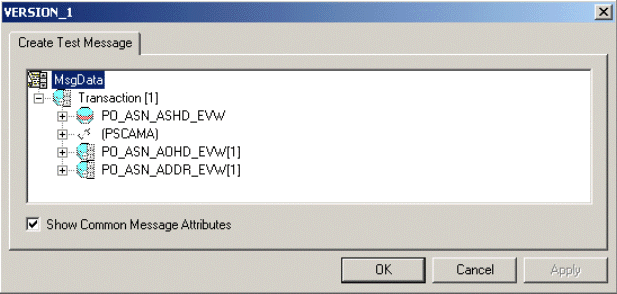
Expand the Transaction record to display all sub-records within the transaction record, as displayed in the figure below.
Figure 1–32 Displaying Transaction Subrecords
Records can nest multiple levels as displayed in the figure below.
Figure 1–33 Expanding Transaction Subrecords
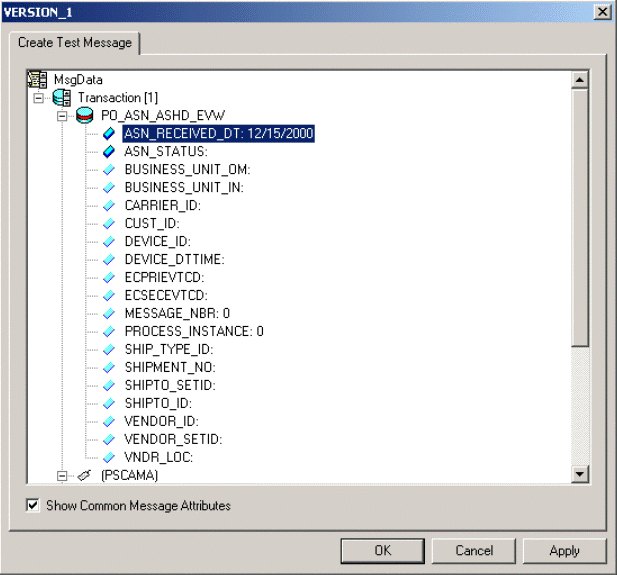
For the purpose of this example, only the fields ASN_RECEIVED_DT: 12/15/2000 and ASN_STATUS: have data contained within them.
If there are no constraints requiring you to populate all fields in a record, then generate a well-formed XML message by populating only one field in each record and sub-record. For most message definitions, only one field is required to be populated with data (some contain default values).
If there are constraints, then all fields in each record and sub-record must be populated.
-
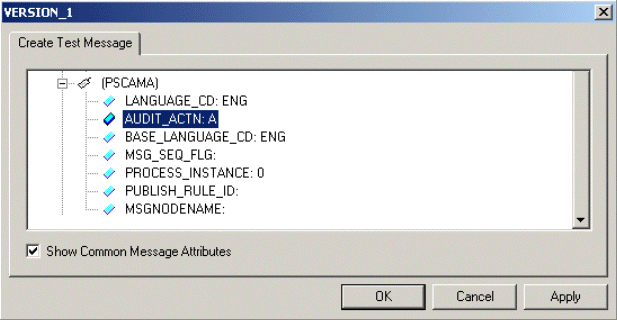
Enter data for the PSCAMA records as follows:
-
Continue entering data until all other required records and sub-records are populated using the same method as above.
-
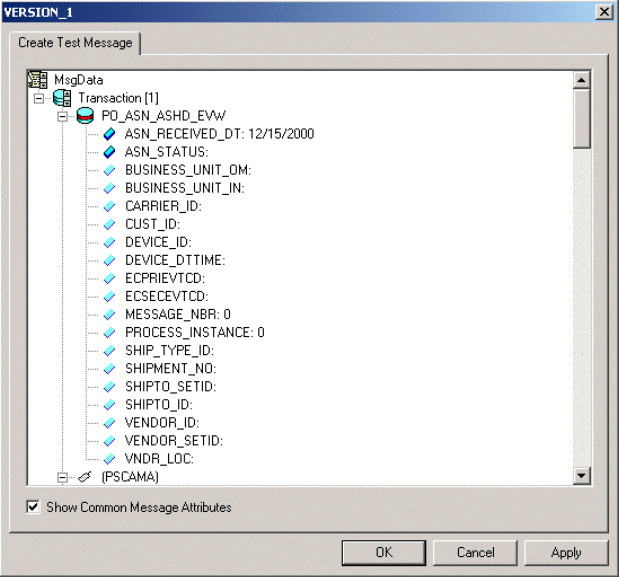
Once all records and sub-records of the message have been populated with data, click Apply to have the updates published to the PSFT_EP Message Node (see the figure below). A message confirms that publication was successful.S
Figure 1–35 Viewing the Test Message
-
Click OK to close the dialog box.
- © 2010, Oracle Corporation and/or its affiliates

