Building and Deploying the Sample Project
Once you create the Environment, you need to create a Deployment
Profile in order to build and deploy the project.
 To Build and Deploy the Sample Project
-
Create a Deployment Profile.
-
In the NetBeans Projects window, right-click prjHL7V3Inbound,
point to New, and then select Deployment Profile.
-
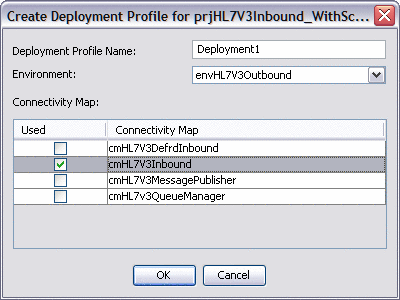
For the Environment, select envHL7V3Outbound.
-
For the Connectivity Map, select cmHL7V3Inbound and deselect
any other Connectivity Maps.

-
Click OK.
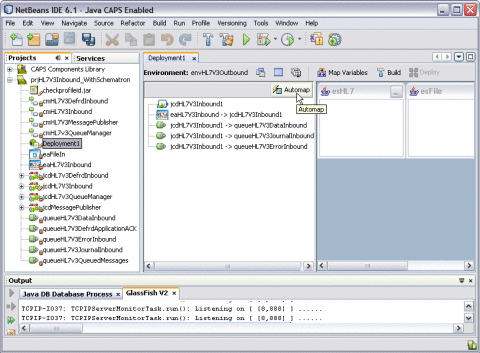
The Deployment Profile Editor appears.
-
Click Automap.

The Automap Results dialog box appears.
-
Click Close.
-
On the NetBeans toolbar, click Save All.
-
On the Deployment Editor toolbar, click Build.
-
When the Build confirmation dialog box appears, click
OK.
-
On the Deployment Editor toolbar, click Deploy.
 To Build and Deploy the Sample Project

