Creating a Composite Application
Add the JBI module to the BPEL Module project before deploying the Composite Application. Deploying the project makes the service assembly available to the application server, thus allowing its service units to execute.
 To Create a Composite Application
-
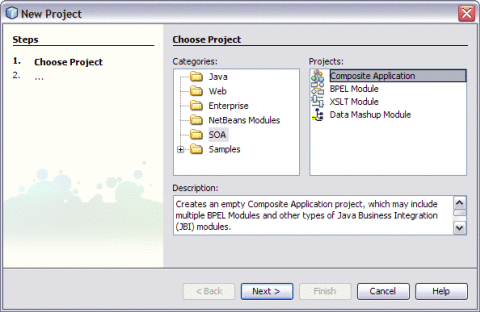
Choose File —> New Project from the main menu.
This opens the New Project wizard.
-
Select the SOA node from the Categories list.
-
Select the Composite Application node from the Projects list.
-
Click Next.
-
Type the Project Name in the Project Name field.
For example, SendInventoryCompAppl
-
Click Finish.
The Projects window now contains a project node for a Composite Application project called SendInventoryCompAppl.
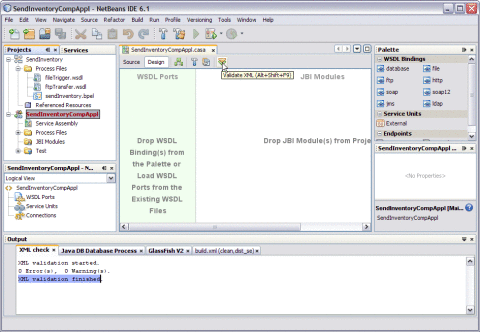
This action displays a message in the Output console.
XML validation finished
-
Right-click either the Composite Application Project node or expand the node. Select JBI Modules.
For example, SendInventoryCompAppl
-
Select Add JBI Module.
-
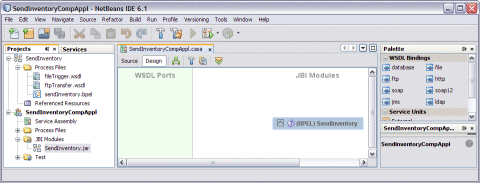
Select the Project. Click Add Project JAR Files.
For example, SendInventory
The Project JAR Files is build/SEDeployment.jar.
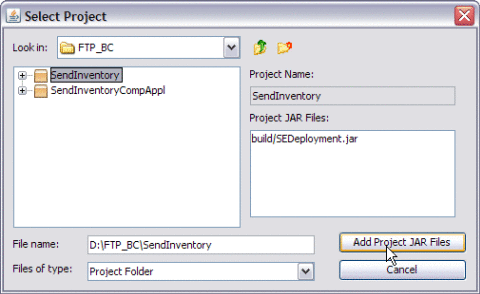
The SendInvetory.jar is added to the project.
-
Click Save All.
-
Right-click the Composite Application project node. Select Clean and Build.
For example, SendInventoryCompAppl
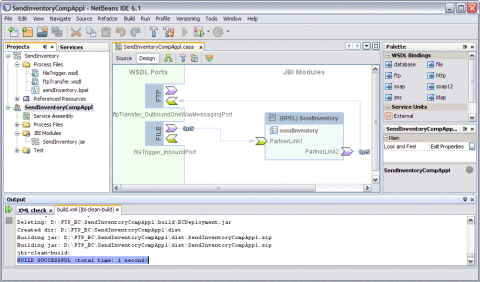
This action displays a message in the Output console:
BUILD SUCCESSFUL (total time: 1 seconds)
-
Click Save All.
Deploying the Composite Application
File Binding Component is used to pick messages from a local directory.
FTP Binding Component is used to transport messages between the consumer and the provider using FTP.
 To Deploy the Composite Application
-
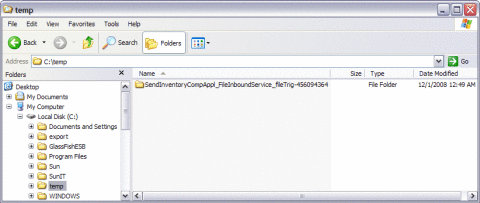
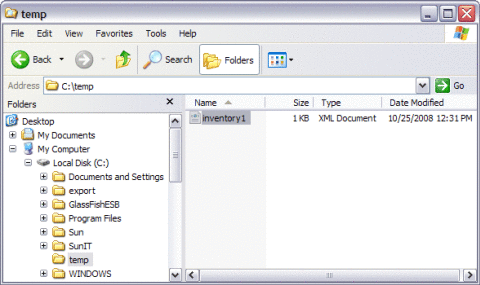
Create a folder and save the file in the local directory.
For example, c:/temp and inventory%d.xml
Here, foldername is c:/temp and the filename is inventory%d.xml.
-
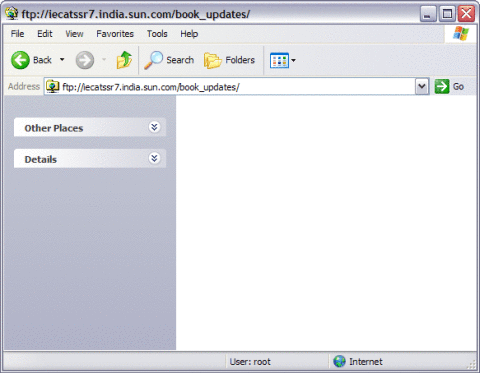
Create a folder on the FTP Server.
For example, book_updates
The folder is empty before deployment.
-
Select the project node in the Projects window.
For example, SendInventoryCompAppl
-
Right-click and choose Deploy.
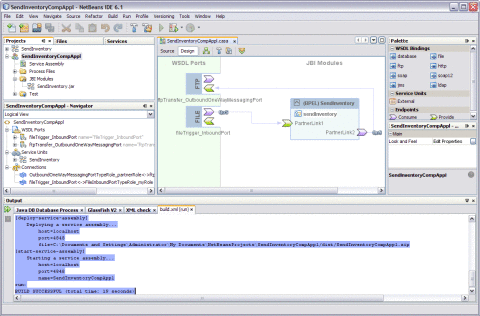
After deployment of the project, the following message is displayed in the Output window:
BUILD SUCCESSFUL (total time: 18 seconds)
-
Check for the folder in the local directory.
Two folders are created under SendInventoryCompAppl_FileInboundService_fileTrig-45609436–4:
-
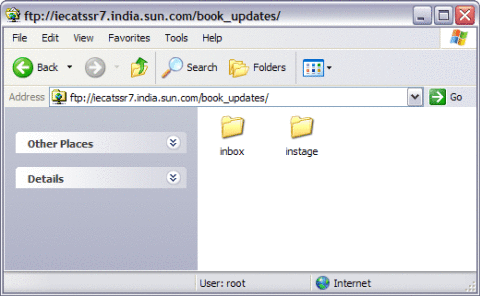
Check the folders on the FTP Server.
After deployment, inbox and instage folders are created.
-
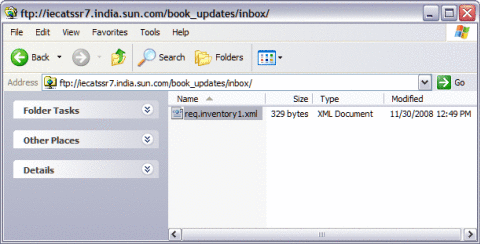
Double-click the folder /inbox to check the output.
The message routing starts with the consumer invoking a service (INVOKE in BPEL script). On the other side of the NMR, FTP BC OutboundProcessor accepts the request message, de-normalizes the message and labels the message body (which is the payload to a FTP file) with name as req.
- © 2010, Oracle Corporation and/or its affiliates

