| C H A P T E R 3 |
|
Administration Tool |
The Sun Ray Administration Tool (Admin GUI) is organized around primary Sun Ray objects, such as servers, sessions, desktop units, and tokens.
FIGURE 3-1 Admin GUI Navigation Hierarchy
The tab navigation model is easier to use than the previous navigation tree, and context-sensitive help makes it easier to manage a Sun Ray installation with little need for official documentation. Search functionality has been integrated into the main GUI tabs, and all tables can be sorted by clicking on the column headers.
The default user name for the Admin GUI administration account is admin. The initial password is set at configuration time (see Configure Sun Ray Server Software of the Sun Ray Server Software 4.0 Installation and Configuration Guide for Solaris).
To allow another user account or accounts to perform administrative functions, see Enabling Multiple Administration Accounts of this manual.
To access the Admin GUI, log in to your Sun Ray server’s console or to any DTU attached to it, start a browser, and type the following URL:
If you get a message denying access, make sure that:
All actions performed within the Admin GUI that modify system settings are logged in an audit trail.
FIGURE 3-2 User Name Challenge Screen
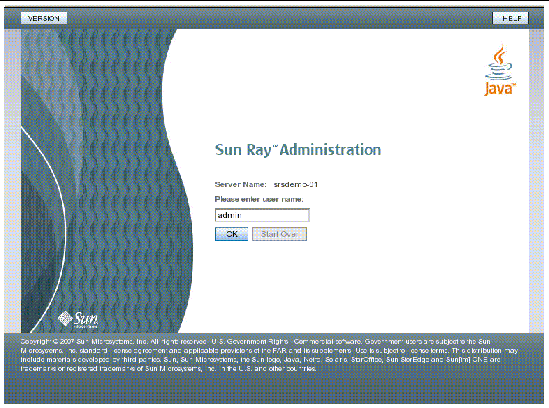
To log in, enter the administrator user name admin on the user name challenge screen and click the OK button. On the password challenge screen, enter the administration password and click the OK button.
If the session is inactive for 30 minutes, you must log in again.
| Note - To change the administration password, use the Advanced tab. See Data Store Password. |
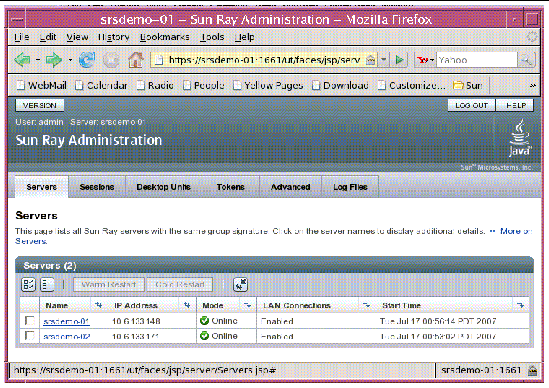
This tab provides the capability to list all the servers in the failover group. Clicking on a server name displays additional details for the selected server and offers links to display the host group’s network connectivity status (that is, failover group status) or to list installed Sun Ray packages. It also simplifies restart options by offering buttons for warm restart or cold restart of Sun Ray services on a local or failover group-wide basis.
| Note - A cold restart terminates all sessions on the selected server or servers before restarting; a warm restart does not terminate sessions. |
FIGURE 3-3 Top-level Servers Tab
This tab lists all the sessions, sorted by user sessions and idle sessions.
FIGURE 3-4 Sessions Tab Displays Active and Idle Sessions
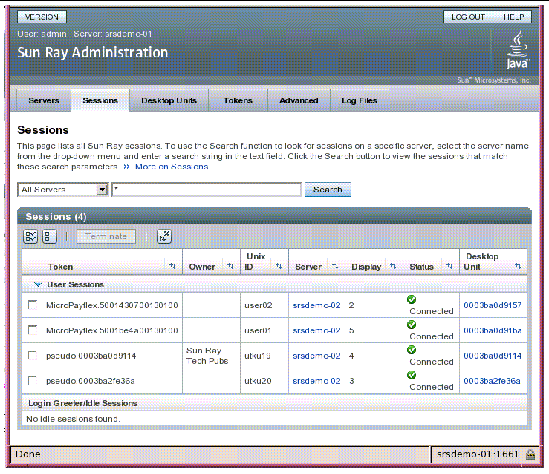
The search functionality allows lookup of specific sessions, such as those running on a single server or sessions where a specific user is logged in. This tab also allows you to drill down for more information on any server or DTU as well as to select and terminate sessions.
The new desktop unit (DTU) management tab consolidates several DTU-related screens from the old Admin GUI.
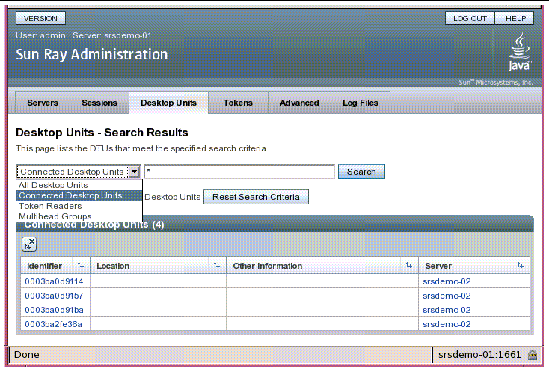
The search drop-down menu provides access to the choices of listing all registered DTUs, listing all connected DTUs, displaying DTUs configured as token readers, or DTUs participating in multihead groups (see Multihead Groups). As on other tabs in the new Admin GUI, clicking on the identifier (MAC address) displays additional details for each DTU. All fields can be sorted by clicking their column headers.
 Click any Desktop Identifier link on the Desktop Units tab.
1. Click any Desktop Identifier link on the Desktop Units tab, then click the Edit button.
2. Enter or modify data in the text boxes, and click the OK button to save the changes to the data store.
The multihead feature allows users to control separate applications on multiple Sun Ray displays with a single keyboard and mouse, attached to the primary DTU. The multihead feature also allows users to display and control a single application, such as a spreadsheet, on multiple displays (see Chapter 9).
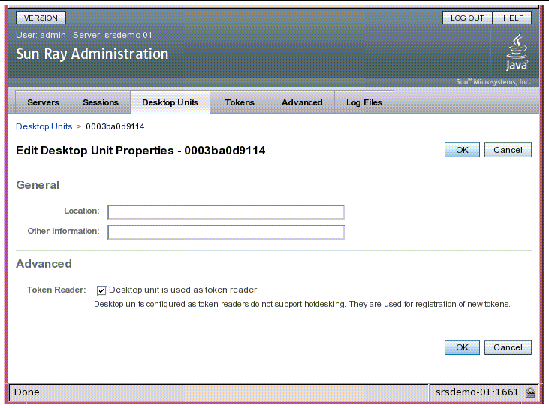
A token reader is a Sun Ray DTU that is dedicated to reading a smart card and returning the card’s ID, which you can associate with a user (card owner). Sun Ray DTUs configured as token readers display the token reader icon (see Token Reader Icons) instead of a login dialog box and do not support hotdesking when cards are inserted or removed. To manage token readers with the CLI, see Configuring and Using Token Readers.
1. On the Desktop Units tab, click the Identifier of the DTU you want to use as a token reader.
2. On the Desktop Unit Properties tab, click Edit.
3. On the Edit Desktop Unit Properties tab, click the Token Reader checkbox.
The DTU you have selected is now set up to read smart card tokens.
The DTU is now a token reader.
FIGURE 3-6 Setting Up a Token Reader
 On the Desktop Units tab, select Token Readers from the drop-down list and click the Search button.
The default is to search for all possible matches. You may specify other search criteria in the Search text box.
 Click the Token Readers Identifier link after searching for token readers on the Desktop Units tab.
The Admin GUI manages tokens associated with users and pseudo-tokens associated with DTUs through the Tokens tab. Smart cards can be registered to specific users, considered as token owners. Alias tokens allow a token owner to use more than one token for access to the same session.
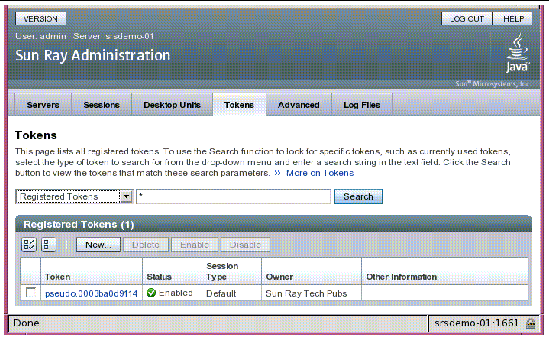
| Note - The Tokens tab is not used to administer token readers, which are DTUs set up to read smart cards and retrieve their token IDs. See Token Readers. |
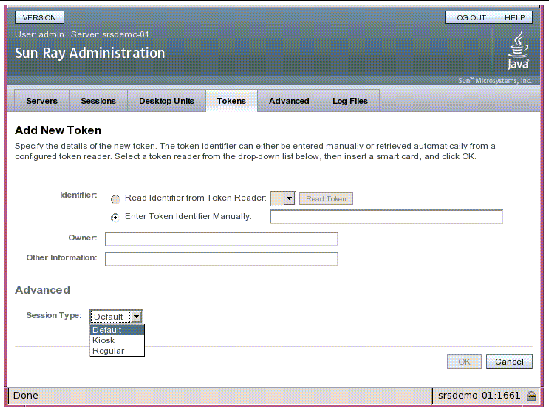
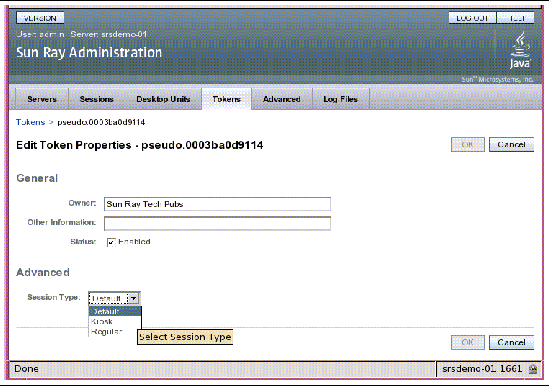
The Edit Token Properties page (see FIGURE 3-8) and the Add New Token page (see FIGURE 3-9) can be used to enable session types, such as Kiosk or regular desktop sessions, to control what type of desktop is displayed for each user token or class of user token.
FIGURE 3-8 Edit Token Properties
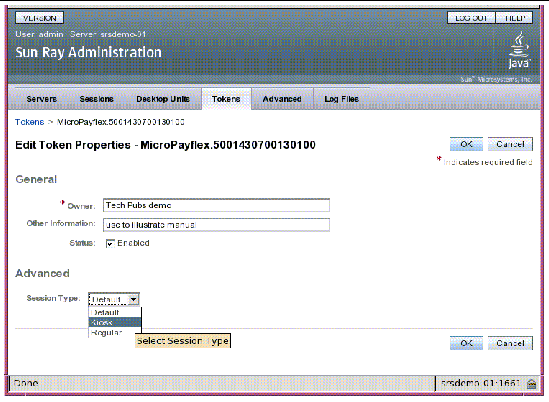
1. Click on any token on the Tokens tab to display that token’s properties (see FIGURE 3-8).
2. To register a token, click the New button on the Tokens tag to display its properties (see FIGURE 3-9).
You can now enter an identifier or select a token reader.
1. Click on any Identifier on the Desktop Units tab to view properties for that DTU.
2. On the Desktop Unit Properties page, click View Token Details.
3. Click the Edit button to enter details such as ownership and to specify a session type: Default, Kiosk, or Regular (see FIGURE 3-10).
FIGURE 3-10 Pseudo-token Properties
1. Click the check box next to the token’s identifier on the Token Properties page.
2. Click the Enable, Disable, or Delete button.
This tab provides sub-tabs for group-wide settings, described below.
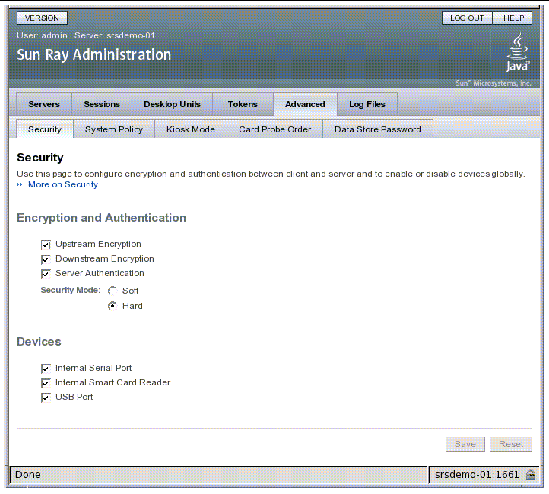
Security settings include encryption of communication between DTU and server, server authentication, security mode, and device access, as shown in FIGURE 3-11.
All Sun Ray device services are enabled by default. Sun Ray device services include USB devices connected through USB ports, internal serial ports, and internal smart card readers on the Sun Ray DTU. To enable or disable these services, use the utdevadm command line tool (see Enabling and Disabling Device Services) or the Admin GUI as shown in this section.
For a description of encryption and authentication options, see Encryption and Authentication. For devices, see Peripherals for Sun Ray DTUs.
Use this tab to regulate authentication manager policy settings, such as access for card users and non-card users, and enabling Kiosk mode and the multihead feature, for each Sun Ray server, or system.
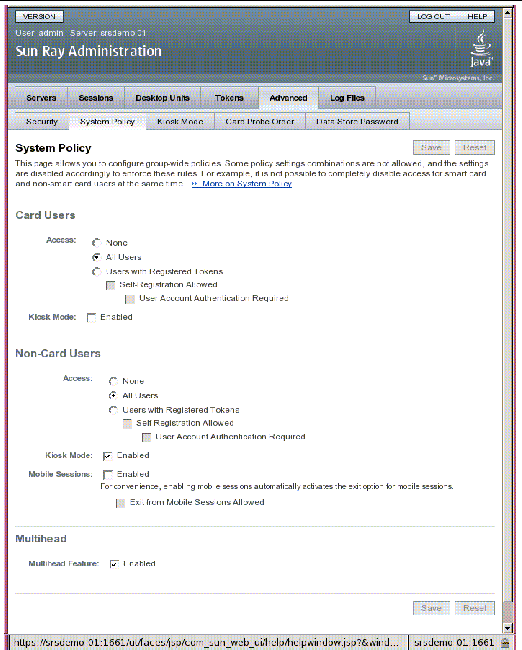
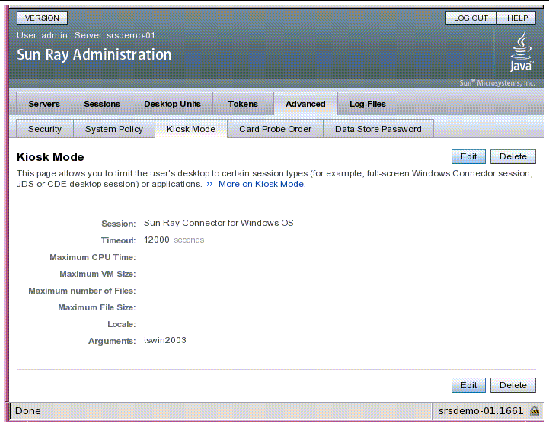
To use Kiosk Mode, enable it on the System Policy tab (see FIGURE 3-12) and use the Kiosk Mode tab for setup. For a more detailed description, see Kiosk Mode of this manual and “Migrating from Controlled Access Mode (CAM) to Kiosk Mode” in the Sun Ray Server Software 4.0 Installation and Configuration Guide for Solaris.
The information provided about smart cards is extracted from vendor-supplied configuration files. These configuration files are located in the directory: /etc/opt/SUNWut/smartcard. Configuration files must be formatted correctly, and file names must end with a .cfg suffix, such as acme_card.cfg.
FIGURE 3-14 Edit Smart Card Probe Order
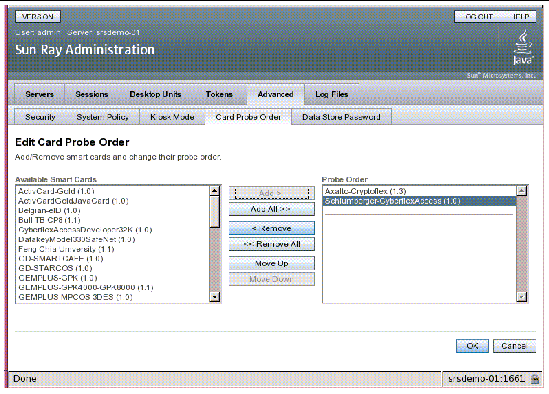
Smart cards are probed in the order in which they appear in this list. As you add more cards, you can move those used most often to the top of the list.
The administrator’s password allows you to use the Administration Tool to access and change Sun Ray administration data.
FIGURE 3-15 Use the Data Store Password Tab to Change the Admin Password
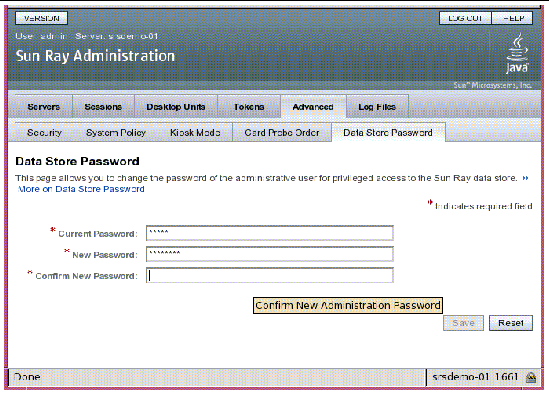
The Data Store Password tab allows you to change the password for the admin account. The password was set at configuration time (see Configure Sun Ray Server Software of the Sun Ray Server Software 4.0 Installation and Configuration Guide for Solaris).
This tab does not allow you to change UNIX user passwords.
| Note - Every server in a failover group must use the same password for the admin account. |
The layout of the data store is described in Managing User Data in the Sun Ray Data Store. To allow other UNIX accounts to perform administrative functions, see Enabling Multiple Administration Accounts.
This tab provides sub-tabs for displaying the various log files recording events such as system messages, authentication logs, server administration events, mount logs, and storage related actions. To locate Sun Ray log files from the command line, see Examining Log Files.
FIGURE 3-16 Sample Administration Log
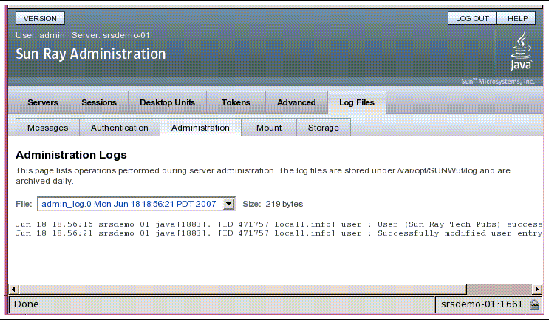
Sample admin log. Various logs are available for inspection.
Copyright © 2007, Sun Microsystems, Inc. All Rights Reserved.