| Skip Navigation Links | |
| Exit Print View | |

|
Sun Fire X2270 M2 Server Installation Guide for Windows Operating System |
| Skip Navigation Links | |
| Exit Print View | |

|
Sun Fire X2270 M2 Server Installation Guide for Windows Operating System |
About This Documentation (PDF and HTML)
Download Server System Tools and Drivers
Planning the Operating System Installation
Verifying BIOS Settings for New Installations
How to View or Edit BIOS Settings for New Installations
Installing Windows Server 2008 Operating System
Task Map for the Windows Server 2008 Installation
Booting Windows Server 2008 Using Local or Remote Media
How to Install Windows Server 2008 Using Local or Remote Media
How to Install Windows Server 2008 Using PXE Network
Prerequisites for Installing PXE Network
Installing Platform-Specific Device Drivers
How to Install Supplemental Software Using the Tools and Drivers DVD
How to Manually Launch the Tools and Drivers Application Using a DVD
Incorporating Sun Fire Drivers Into a WIM Image
How to Install the WIM Image on a Client System
Configuring RAID Controller in the BIOS Setup Utility
This procedure describes how to use the Sun Fire X2200 M2 Tools and Drivers DVD to install platform-specific device drivers.
The application's main menu screen appears.
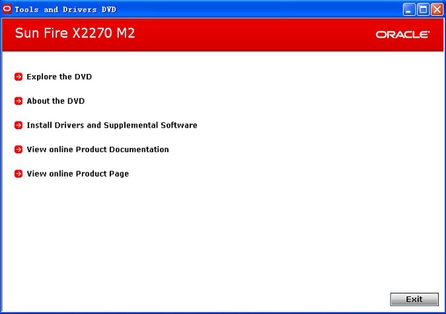
Note - The DVD is autorun enabled and should automatically launch the application. If the application does not automatically launch, see How to Manually Launch the Tools and Drivers Application Using a DVD.
The Install Drivers and Supplemental Software screen appears.
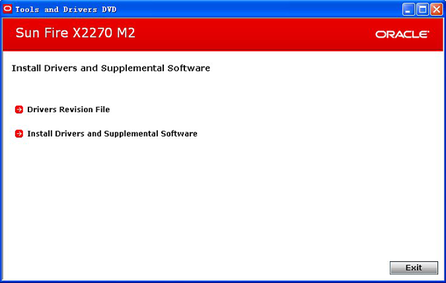
The Install Pack screen appears.
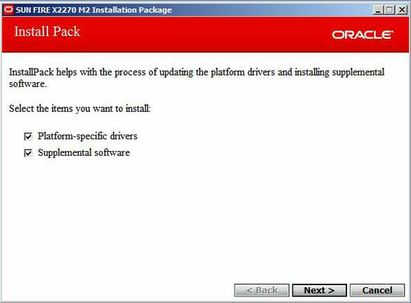
The screen default is that both platform-specific drivers and supplemental software are selected for update. Updating both the platform-specific drivers and the supplemental software is highly recommended. If you choose to update both, the platform-specific driver update occurs first.
The Welcome wizard screen appears.
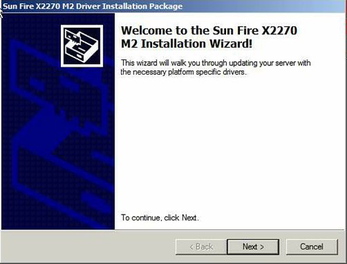
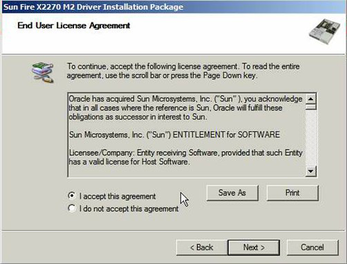
The End User License Agreement screen appears.
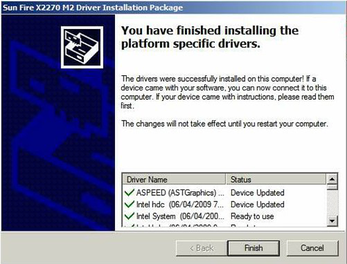
A screen appears and displays the platform-specific drivers installation status. A green check mark verifies that each driver was installed successfully.
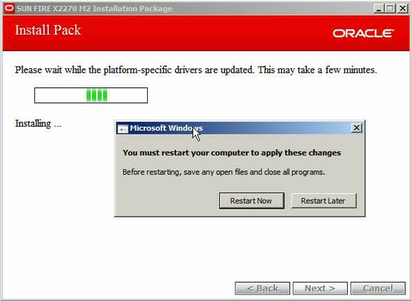
The System Settings Change screen appears with a Restart dialog popup.
Note - Do not click the option to restart the server until after the next step.
The server restarts with the updated drivers.