Starting and Verifying the Server
This section provides information for administrators who want to start and verify the Application Server software:
For administration tasks, the Application Server software provides these tools, which enable administrators to manage server instances:
-
The asadmin utility, a command-line tool
-
The Admin Console, a browser-based graphical user interface (GUI)
A domain is a collection of configuration settings and deployed applications that make up a server instance. You specify a domain when starting a server instance. That instance then uses the configuration settings and runs the applications that make up the domain. A default domain called domain1 is created when you install Application Server.
Starting the Admin Server
To start the server, follow the steps below. Solaris and Linux steps are in the first column and Windows steps are in the second column:
Confirming That the Server is Running
When the server has completed startup, this message appears: Domain domain1 is ready to receive client requests. Additional services are being started in the background.
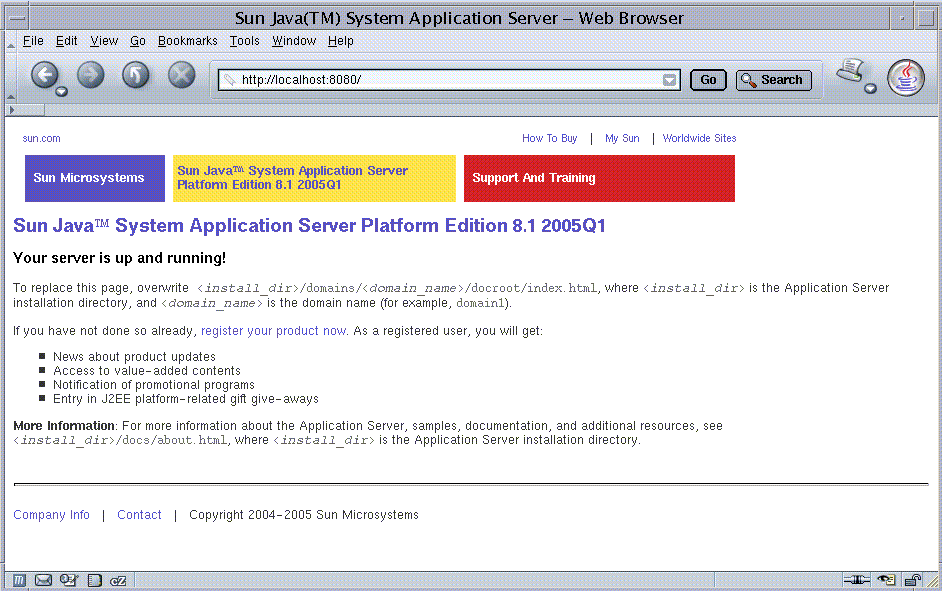
To verify that the server is running on your system, click this URL: http://localhost:8080.
The URL has two parts:
-
The name localhost refers to the system the browser is currently running on. If the Application Server is running on another system, substitute the name of that system in the URL.
-
The default port number is 8080. If you changed the port number during installation, use that number in your browser’s address field instead.
You should see the server Welcome page, shown below.

This might take a few seconds as the server completes initialization.
When you see this page, you know that the server is running. If the server is not running, but your system is operating normally, you get a server not found error. (In some browsers, that error automatically launches a search engine.) For other problems, you may need to check your server and browser settings, as described in the Sun Java System Application Server Platform Edition 8.1 2005Q2 Update 2 Troubleshooting Guide.
Later on, to stop the server, follow the steps below. Solaris and Linux steps are in the first column and Windows steps are in the second column:
|
Solaris/Linux |
Windows |
|---|---|
|
From the install_dir/bin directory, type this command: asadmin stop-domain |
From the Start menu, choose Programs ⇒ Sun Microsystems ⇒ Application Server PE ⇒ Stop Default Server. |
Deploying the hello Application
The server installation includes a pre-packaged application that says “Hello,” taken from The J2EE 1.4 Tutorial. To deploy it, you must give the Application Server software the information it needs to load the application, map a URL to it, and connect it to the resources it uses. That information is contained in deployment descriptors, which form part of the packaged application. The hello application is contained in a Web ARchive (WAR) file in the samples directory. Packaged applications can also be in the form of a Java ARchive (JAR) or Enterprise ARchive (EAR) file.
Dragging or copying to a domain’s autodeploy directory lets you put a pre-packaged application into use immediately, with minimal effort.
 To Deploy Using Autodeploy
Steps
-
Find install_dir /samples/quickstart/hello.war.
-
Copy it to install_dir /domains/domain1/autodeploy/.
Tip –On Windows, you can create a shortcut to the autodeploy directory on your desktop and then drag and drop the hello.war file onto the shortcut.
When the server has finished deploying the application, it creates a file named hello.war_deployed in the autodeploy directory. Depending on the speed of your system, the process can take a few seconds. Until that file appears, a 404-File Not Found error occurs when you try to visit the application page.
-
Click this URL to visit the application page: http://localhost:8080/hello.
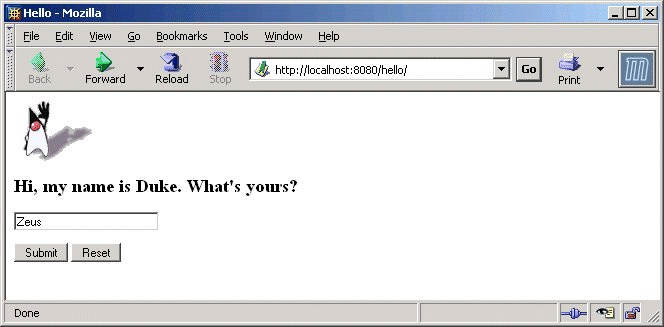
You should now see the application’s first page, which asks you to fill in your name:

-
Type your name, and click Submit.
You should now see the customized response, giving you a personal Hello.
Note –You can also use the asadmin command-line utility to deploy from the command line or in a shell script. The command is asadmin deploy.
Using the Admin Console
The Admin Console is a web-based interface that simplifies a variety of administration and configuration tasks. It is commonly used to:
-
Deploy and undeploy applications
-
Enable and disable applications
-
Identify which applications are currently running
-
Configure JDBC resources and other server settings
-
Select and view recent entries in the log file
For further information about using the Admin Console, consult the online help or the Sun Java System Application Server Platform Edition 8.1 2005Q2 Update 2 Administration Guide.
 To Log in to the Admin Console
Steps
-
Click http://localhost:4848/asadmin.
-
The localhost variable is the name of the system that the browser is currently running on. If Application Server software is running on another system, substitute the name of that system for localhost.
-
4848 is the Admin Console’s default port number. If you changed the port number during the installation, use that number instead.
Tip –Windows users can also use the Start menu option: Programs ⇒ Sun Microsystems ⇒ Application Server PE ⇒Admin Console.
-
-
When the log in window appears, enter the admin user name and password.
-
Click Log In.
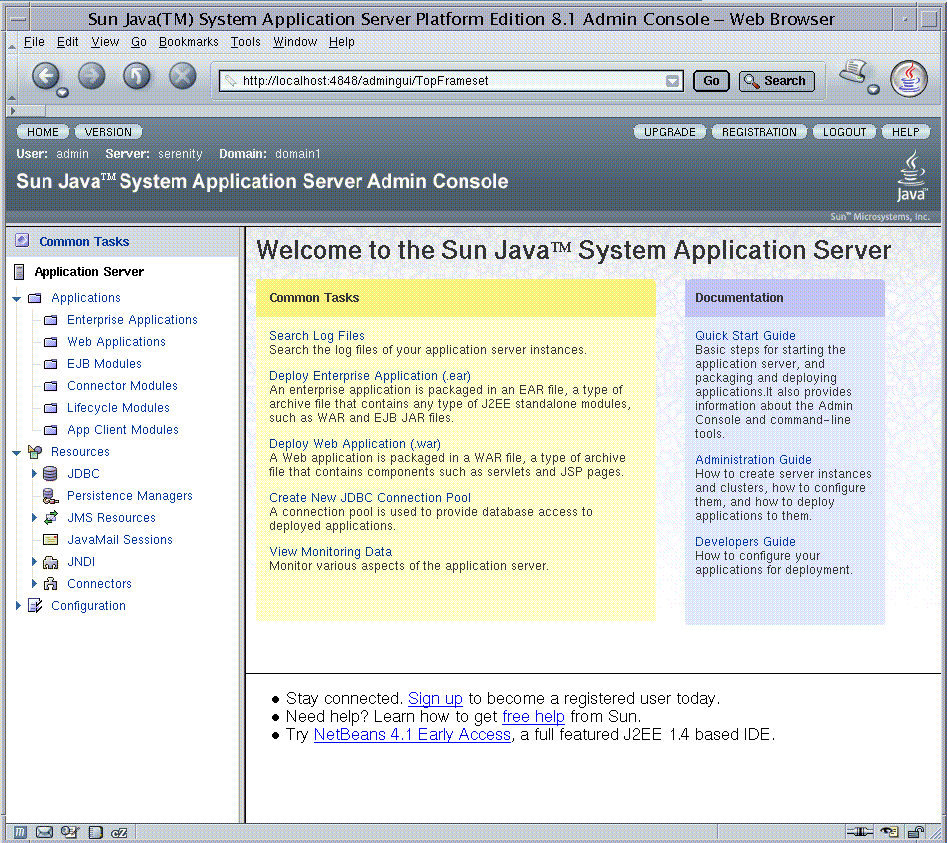
When the Admin Console appears, it looks like this:

Use the options at the top of the information panel to configure a variety of operational settings for Application Server software.
To see the server’s log file, click “Search Log Files” under the Common Tasks heading in the right-hand pane. When the Log Viewer window appears, you can see status messages from the server and output from your J2EE application.
Next Steps
You have successfully completed the first section of the Quick Start Guide. You started the Application Server, deployed the Hello application, and viewed the Admin Console. To continue with the Quick Start tasks, go on to Packaging and Deploying Applications.
- © 2010, Oracle Corporation and/or its affiliates
