|
|
| Sun ONE Web Services Platform Developer Edition Installation Guide |
Installing on SolarisThis section describes the steps required to install the Sun™ ONE Web Services Platform Developer Edition software on the Solaris 8 or 9 platforms.
This section contains the following topics:
- Multiple CD Installation
- Previous Installations of the Sun ONE Web Services Platform Developer Edition Software
- Required Privileges and Login
- Running the Installation Program
Multiple CD Installation
The Sun ONE Web Services Platform Developer Edition installation software for the Solaris platform is contained on two CDs (and on the single DVD that also includes the Windows platform).
- After you insert CD1 or the DVD, run the installer (see Running the Installation Program in this section).
- When the first CD is complete, you are prompted to insert CD2.
- When you insert CD2, the installer continues automatically.
Note If you choose to install only the Sun ONE Identity Server, the installer prompts you to insert the second CD a few minutes after the installation starts.
Previous Installations of the Sun ONE Web Services Platform Developer Edition Software
- Uninstall any previously installed versions of the Sun ONE Web Services Platform Developer Edition software.
- Uninstall any previously installed versions of the components that come with the Sun ONE Web Services Platform Developer Edition software (the Sun ONE Studio, Sun ONE Application Server, Sun ONE Identity Server, Sun ONE Web Server, and the Sun ONE Portal Server).
Note IMPORTANT: See Uninstalling From Solaris.
Required Privileges and Login
- You must have superuser privileges.
- You must log in as root, as follows:
Running the Installation Program
The following steps describe how to use the graphical user interface to install the Sun ONE Web Services Platform Developer Edition software on your Solaris environment.
- Login as root.
- Insert the CD or the DVD.
- Enter the following command at the prompt:
cd /cdrom/platformcd1
- If necessary, set the DISPLAY environment variable as follows:
- To set the DISPLAY environment variable in the C Shell (csh) and T Shell (tcsh):
# setenv DISPLAY <hostname>:0 (or 0.0)
- To set the DISPLAY environment variable in the Bourne Shell (sh) or the Korn Shell (ksh):
$ DISPLAY=<hostname>:0 (or 0.0); export DISPLAY
The host name is the computer on which you want your application to display its output.
- To make sure that your computer accepts the display input, run the command
x host +
on which you want to receive and view the display.
- To verify that your DISPLAY is set up properly, type admintool at the command prompt.
The Admintool UI appears.
Return to the command prompt to continue.
- Run the following command at the shell prompt:
Note Depending on the speed of your computer system, this process can take a few moments.
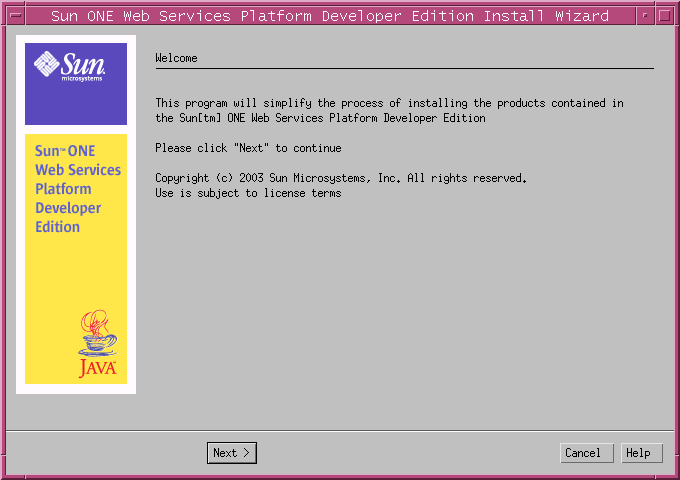
- Read the Welcome message.
- Click Next to continue.
Note If you click Cancel, the installation program aborts without installing the Sun ONE Web Services Platform Developer Edition software.
The System Requirements page appears.
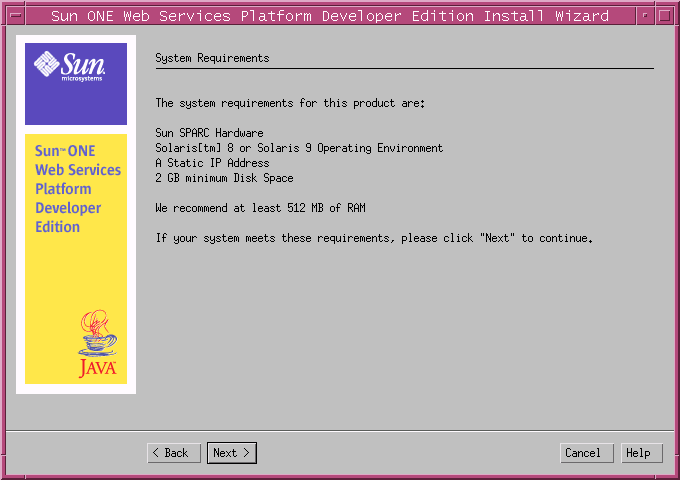
- If your system has the minimum system requirements, click Next to continue.
The Software License Agreement page appears.
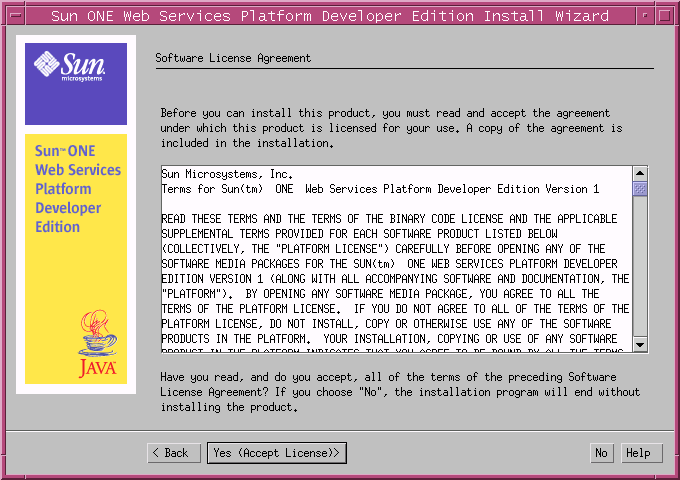
- Read the license agreement.
- Click Yes (Accept License) to accept and continue.
Note If you click No, the installation program aborts without installing the Sun ONE Web Services Platform Developer Edition software.
The Java Platform page appears.
Note If the installer finds a suitable JDK in your system, this page does not appear.
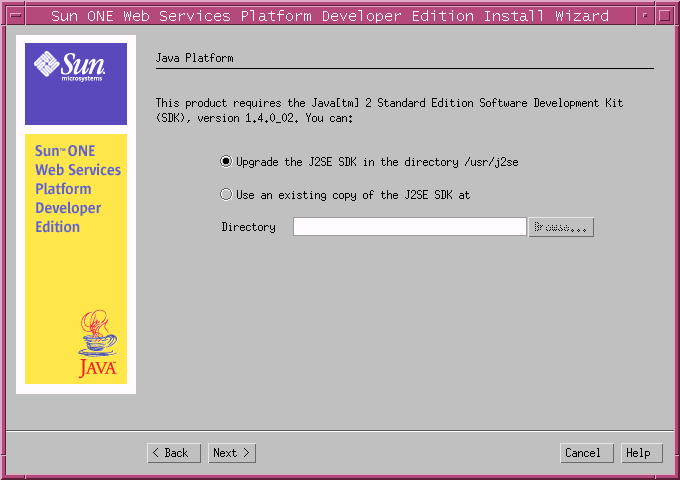
- To locate an existing copy of the J2SE SDK (version 1.4.0_02), click Browse.
Otherwise, select the Install a copy of the J2SE SDK (version 1.4.0_02) option, and specify the installation directory.
- Click Next to continue.
The Select Installation Directory page appears.
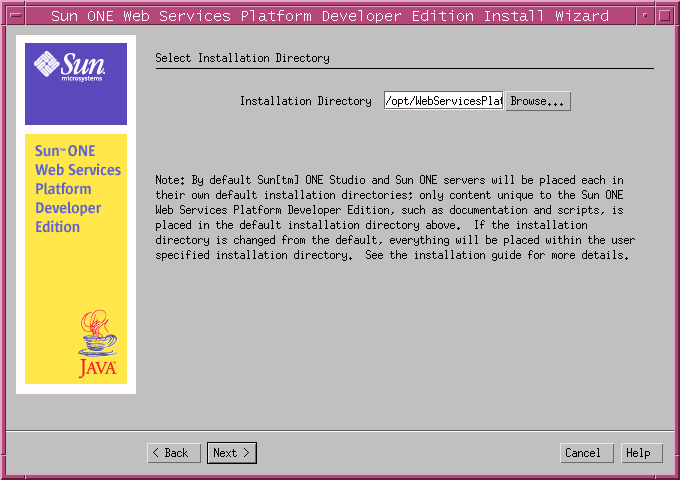
- Accept the default location to install the Sun ONE Web Services Platform Developer Edition software, or click Browse to select a directory.
Depending on the speed of your computer system, this process can take a few moments.
By default, the Sun ONE Studio and the Sun ONE servers are placed each in its own default installation directory.
Only content that is unique to the Sun ONE Web Services Platform Developer Edition is placed in the default installation directory (for example, documentation and scripts).
If the default is accepted, the products are installed in their default locations as follows:
/opt/WebServicesPlatform
/opt/SUNWappserver7 /etc/opt/SUNWappserver7 /var/opt/SUNWappserver7
/opt/SUNWps /etc/opt/SUNWps /var/opt/SUNWps
/opt/SUNWam /etc/opt/SUNWam /var/opt/SUNWam
/opt/ASPolicyAgent
/opt/SUNWscb
/opt/studio/ee
The following table shows the logical links that are created from /opt/WebServicesPlatform.
The left column shows the Products. The middle column shows the corresponding logical links. The right column shows the corresponding locations.
If the installation directory is changed from the default, everything is placed within the user specified installation directory.
The following table shows the products and their locations.
The left column shows the Products. The right column shows the corresponding locations.
Note The /etc and /var file locations of all products remain as-is.
- Click Next.
The Choose Products to Install page appears.
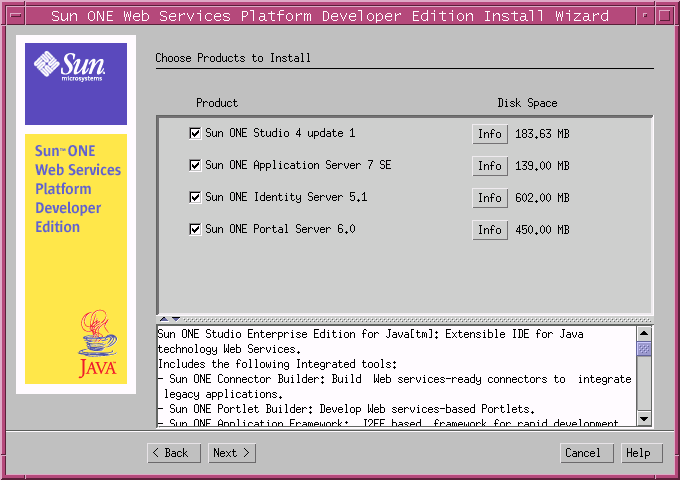
- Select the software products you want to install.
- Click the Info button next to any product to read a brief product description in the text box at the bottom of the page.
- After you have made your selections, click Next.
The Server Settings page appears.
Note The Server Settings page does not appear if you selected only the Sun ONE Studio 4 update 1, Enterprise Edition for Java from the Select Components page in Step 15 above. In this case, the Checking System Status page appears (see Step 19).
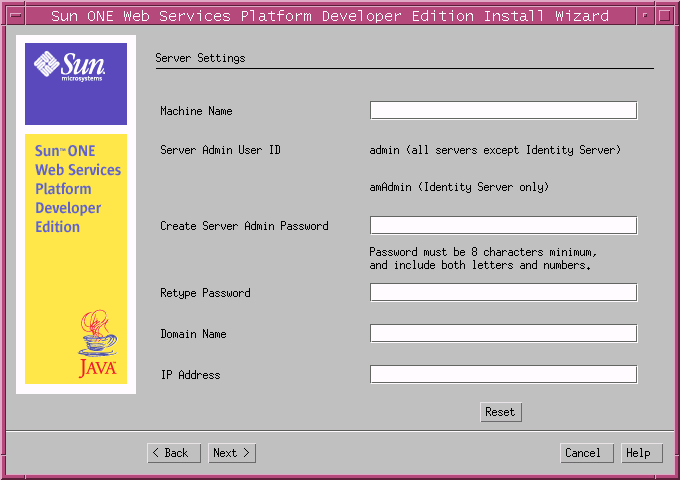
- Enter the following details in the text boxes that are provided:
Machine Name
Accept the default, or enter a valid machine name.
Create Admin Server Password
Enter the password to be used by the administrator to log in to the Sun ONE Web Services Platform Developer Edition software.
Note The administrator password must be a minimum of eight alpha-numeric characters.
Retype Password
Enter the admin server password again to confirm.
Domain Name
Accept the default, or enter a valid DNS domain name.
IP Address
Accept the default.
- Click Next.
The Checking System Status page appears.
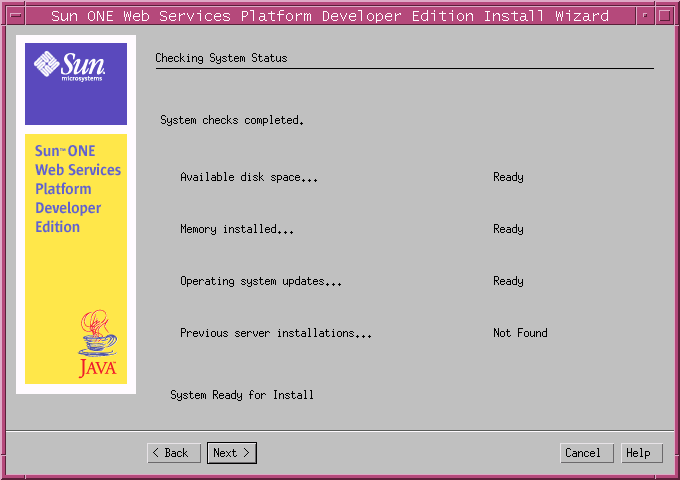
The installation program verifies available disk space, installed memory (RAM), and operating system updates.
It also checks for any previous installation of the components that form part of the Sun ONE Web Services Platform Developer Edition software.
- Click View Report to see the details of any problems.
- After the system check is successfully complete, click Next to continue.
The Ready to Install page appears.
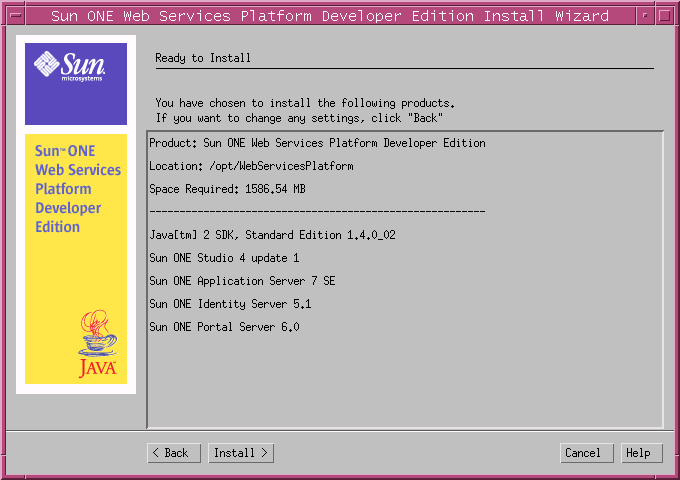
This page lists the directory location, required disk space, and the components and software that are to be installed.
Tip Click Back to change the installation settings.
- Click Install to complete the installation.
The Installing page appears.
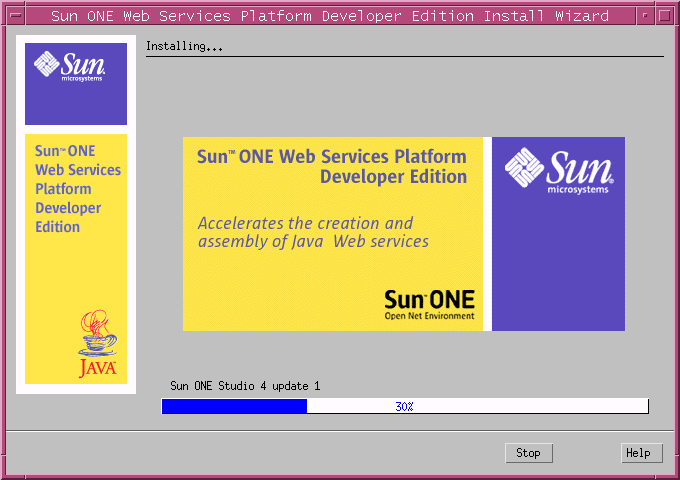
The Installing page displays the progress of the installation.
The CD1 or the DVD completes the installation.
The Insert Next CD window appears displaying the following message:
Please insert the second Sun ONE Web Services Platform Developer Edition CD.
![This screen capture shows the Insert Next CD window with the message: Please insert the second Sun[tm] ONE Web SErvices Platform Developer Edition CD.](images/solinscd.gif)
- Remove CD1.
- Insert CD2.
- Click OK.
The Installing page appears.
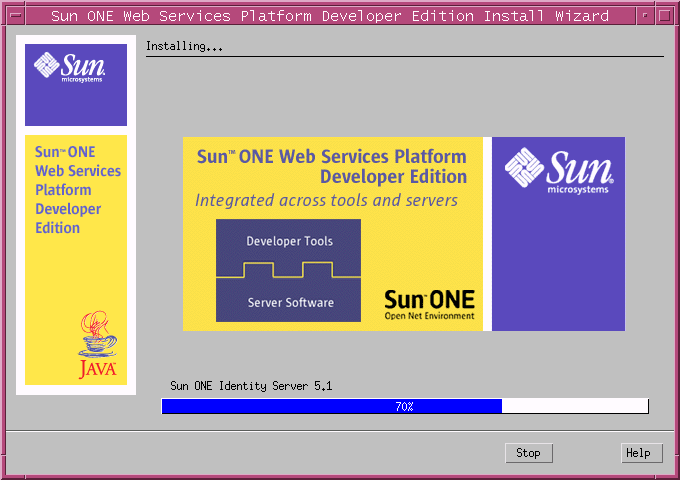
The installer automatically begins to install the Sun ONE Identity Server 5.1.
The CD2 or the DVD completes the installation.
The Installation Summary page appears.
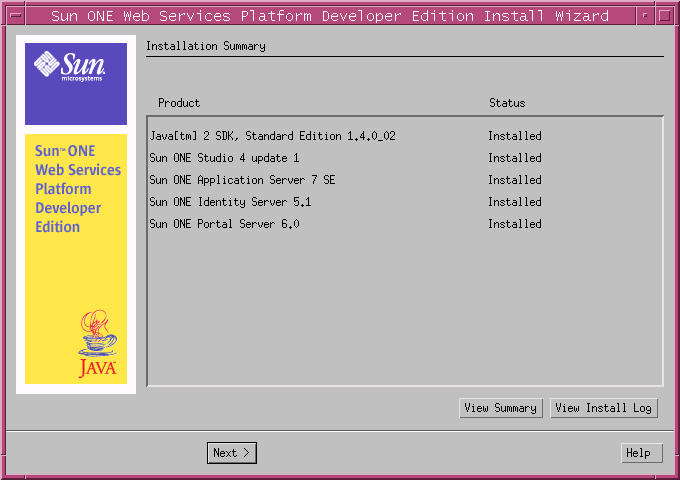
- Click Next.
The Ready to Use page appears.
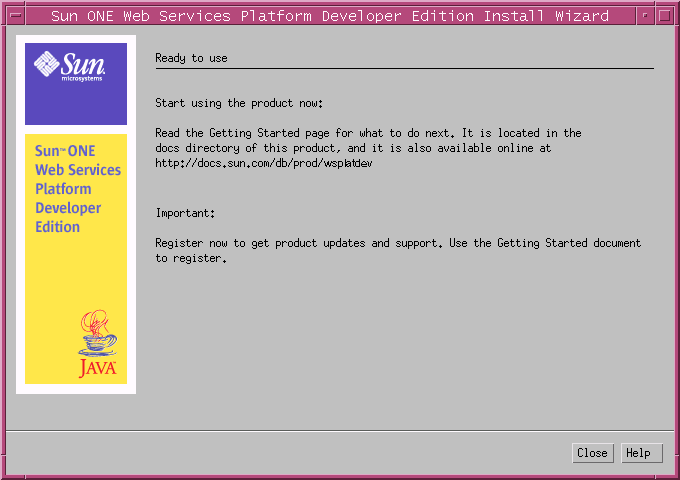
- Click Close to exit the installer.
- Start all of the servers:
<install_dir>/utils/startservers.sh
