To Browse NFS Automount Maps on Windows 95
-
Open Network Neighborhood and double-click Entire Network.
Network Neighborhood displays a list of Microsoft network workgroups, including workgroups labeled NFS Servers and NFS Automount Maps.
-
Double-click the NFS Automount Maps workgroup.
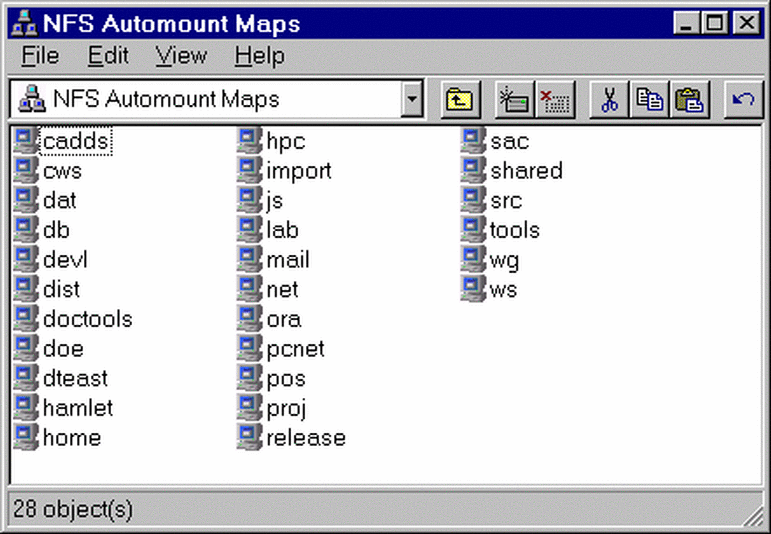
Network Neighborhood displays a list of the local NFS automount maps on your machine, or a list of NIS/NIS+ automount maps (Figure 3-10).
Note -If your network uses NIS/NIS+ but you do not see NIS/NIS+ automount maps, you may need to configure NIS or NIS+, as explained in "Configuring NIS or NIS+".
Figure 3-10 NFS Automount Maps Listed in Network Neighborhood

-
Double-click any NFS automount map.
Network Neighborhood displays a list of all NFS mount points defined in the automount maps.
-
Access these automount points as you would folders on your local computer.
Note that you can open an automount point and map a network drive to a folder within it by right-clicking the folder, selecting Map Network Drive, and clicking OK in the Map Network Drive dialog box.
- © 2010, Oracle Corporation and/or its affiliates
