In this example, the directory name is "EJB".
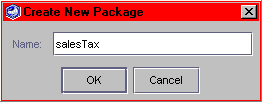
 You must create your EJB within a Package in order
to properly deploy it to the iPlanet Application Server.
A question dialog appears as follows:


The Session EJB wizard appears.
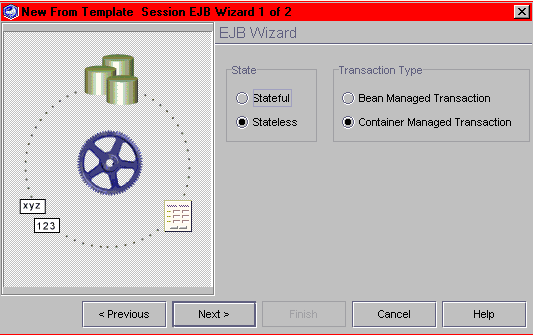
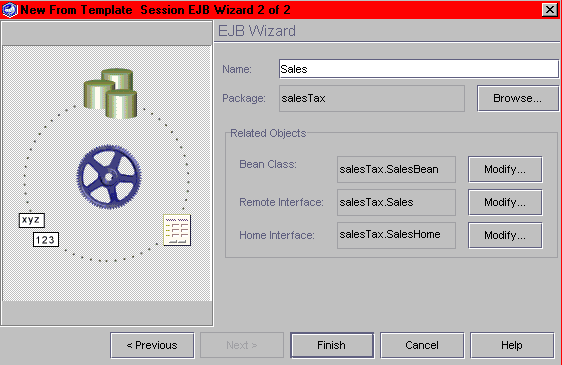
 If you have existing Java object files you wish to add to this
EJB you can specify them by selecting the Modify button and navigate to the existing Java
object file.
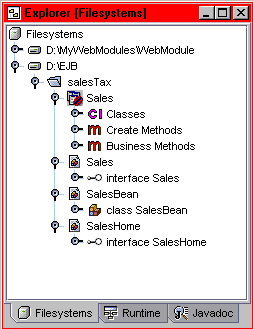
Four new nodes appear under the salesTax node.
 represents the EJB description.
 is a standard Java Class node
representing the Remote Interface.
 represents the Bean class.
 represents the Home Interface.
The following EJB structure is displayed:
Name calculateTax
Return Type double
Method Parameters Select the Add button to display the Enter Method Parameter dialog.
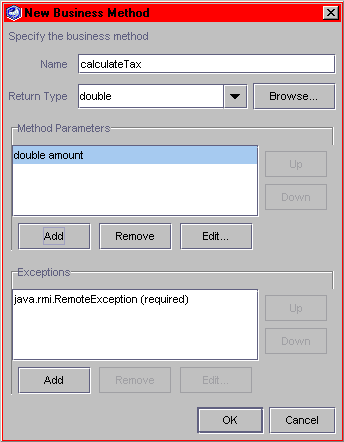
 When entering Java classes as return types, you must
specify the fully qualified class name. For example, if the return type is "String"
then you must identify the Java class as (java.lang.String).
The Bean class and the Remote Interface are modified accordingly.
To view the new business methods, double click on the Sales and SalesBean Java files.
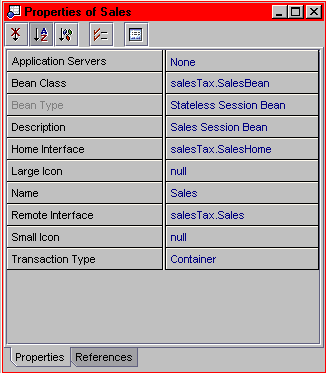
 button and select it.
The Application Servers Property Editor appears:

You have now targeted your session Enterprise Java Bean to the iPlanet Application Server.
Notice that an iPlanet AS tab appears in the Properties window.
Use the iPlanet AS tab to define IAS specific information for this session Enterprise Java Bean.
Use the Properties and References tabs to edit J2EE standard meta data for this session Enterprise Java Bean.
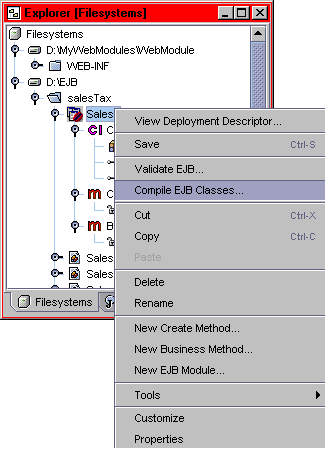
A compile error appears in the Output Window since you added a business method, but did not identify a return statement.

The Source Editor displays with the error location highlighted in green.
This time the compile should complete without any error messages. Look for a finished message in the status bar.
You now have a valid session EJB and are ready to create the EJB.jar package.
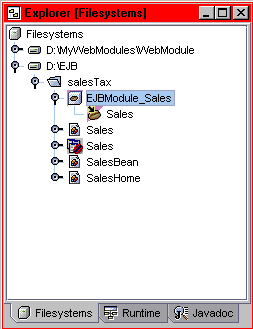
This shortcut creates a new EJB module containing the currently selected EJB.
Notice that an EJBModule_Sales node appears in the explorer.
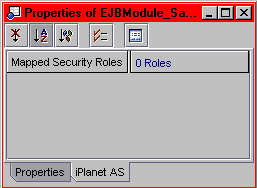
For more information on setting up the security roles see the iPlanet Integration Tool online help Advanced Features section.
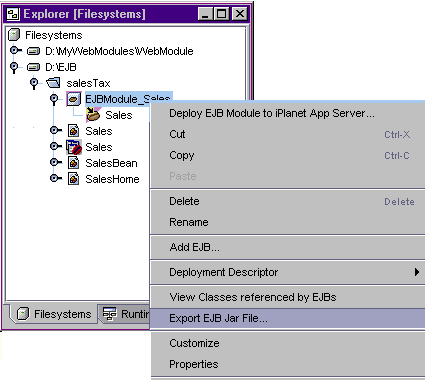
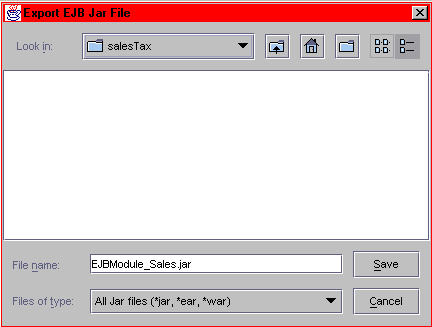
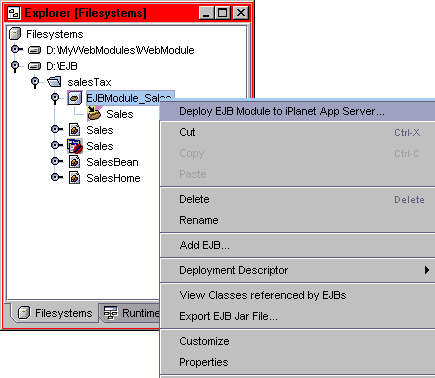
You can also deploy the EJB Jar file to a default iPlanet Application Server instance.
You are now ready to create a servlet that accesses this EJB Jar file.

 button to create a new directory.
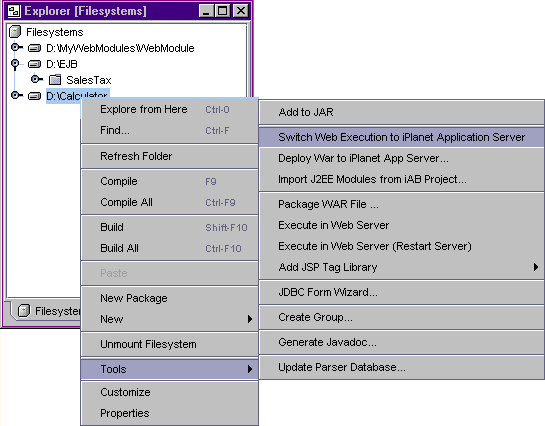
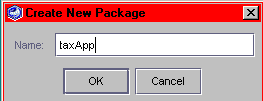
A question dialog appears similar to the following:

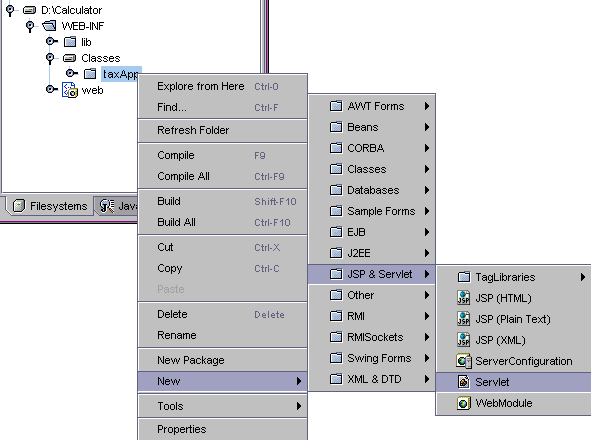
import javax.ejb.*;
import javax.naming.*;
	protected void doGet(HttpServletRequest request, HttpServletResponse response)
	throws ServletException, java.io.IOException {
	 response.setContentType("text/html");
	 java.io.PrintWriter out = response.getWriter();
	 out.println("<html>");
	 out.println("<head>");
	 out.println("<title>Input</title>");
	 out.println("</head>");
	 out.println("<body>");
	 out.println("<form method=post action=\"/NASApp/Calculator/Calculator\">");
	 out.println("<h1>California sales tax calculator</h1>");
	 out.println("Amount of sale is <input type=input name=newVal>");
	 out.println("<input type=submit value=Submit name=submitButton>");
	 out.println("</body>");
	 out.println("</html>");
	}
	/** Handles the HTTP <code>POST</code> method.
	* @param request servlet request
	* @param response servlet response
	*/
	protected void doPost(HttpServletRequest request, HttpServletResponse response)
	throws ServletException, java.io.IOException {
	  String newVal = "0";
	  String vals[] = request.getParameterValues("newVal");
	  if (vals != null && vals.length > 0) {
	     newVal = vals[0];
	  }
	  Double salesAmount = new Double(newVal);
	  response.setContentType("text/html");
	  java.io.PrintWriter out = response.getWriter();
	  out.println("<html>");
	  out.println("<head>");
	  out.println("<title>Output</title>");
	  out.println("</head>");
	  out.println("<body>");
	  try {
	    java.util.Properties p = new java.util.Properties();
	    Context ctx = new InitialContext(p);
	    Object beanObject=ctx.lookup("java:comp/env/Sales");
	    salesTax.SalesHome home = (salesTax.SalesHome) beanObject;
	    salesTax.Sales remote = (salesTax.Sales) home.create();
	    double result = remote.CalculateTax(salesAmount.doubleValue());
	    out.println("<h1>The sales tax on "+salesAmount+" is "+result+"</h1>");
	  }
	  catch (Exception ex) {
	    out.println("<pre>");
	    out.println("<h1>Error</h1>");
	    ex.printStackTrace(out);
	    out.println("</pre>");
	  }
	  out.println("</body>");
	  out.println("</html>");
	}
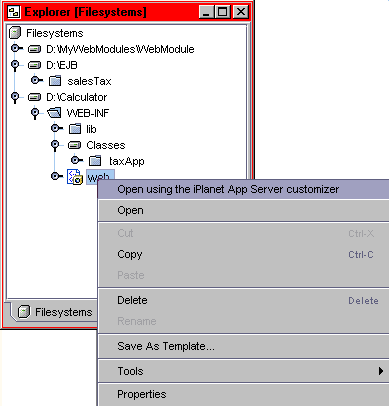
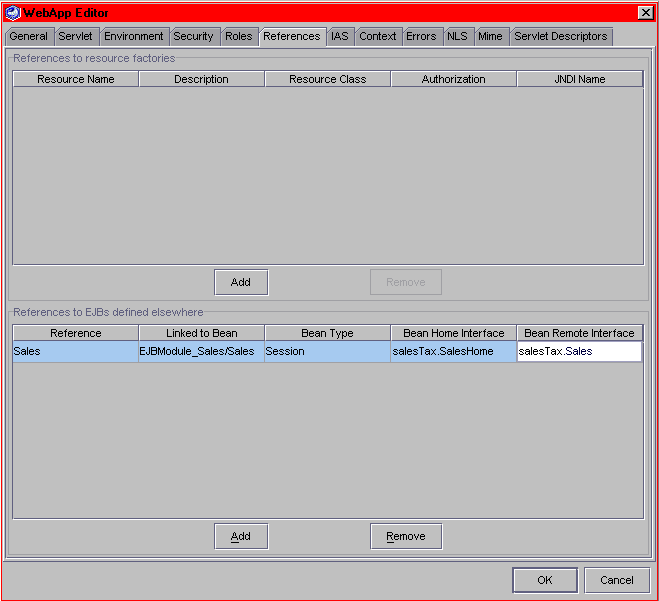
Reference The name of the EJB as specified in your code. In this example, the name is Sales.
Linked to Bean The name of the bean used to generate the JNDI name. In this Example the name is EJBModule_Sales/Sales.
Bean Type The type of bean you are creating is a session bean.
Bean Home Interface The actual class name of the Home Interface. In this example the name is salesTax.SalesHome.
Bean Remote Interface The actual class name of the Remote Interface. In this example the name is salesTax.Sales.
 Once you enter the data in each field, be sure to press Enter so your entry can take effect.
You must compile before deploying for the first time.
The WAR is packaged and deployed. The Forte Web Browser launches and displays the following screen.
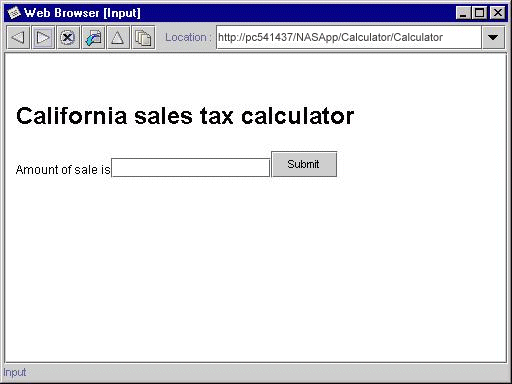
The browser displays the result.
 You can also debug into the servlet and EJB. Just set a breakpoint
in the servlet and EJB and select start debugging from the servlet.