User Groups
User Groups are arbitrary groupings of users. These groups are created by portal administrators to group users together who don't have an obvious organizational or community-based attribute or aspect which brings them together. Groups can have permissions, much like roles. You would therefore use a User Group to grant permissions to any arbitrary list of users.
For example, a User Group called “People Who Have Access to My Stuff” could be created, and permission to a particular Document Library folder could be granted to that User Group. This list of users could be members of separate Organizations, Communities, or Roles, who happen to also have access to this Document Library folder which is on some personal, community, or organization page that is accessible to them in the portal.
Defining User Groups
To be done.
 To create a User Group
-
Login to WebSynergy as Admin user.
-
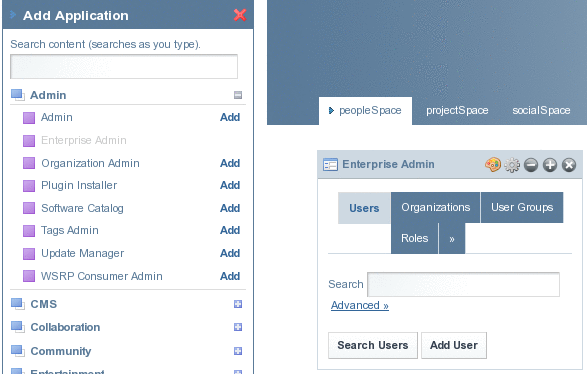
Click Add Applications, and click Add against the Enterprise Admin portlet.
Figure 3–4 Adding Enterprise Admin portlet to the portlet page
-
Click on User Groups.
Figure 3–5 User Groups

-
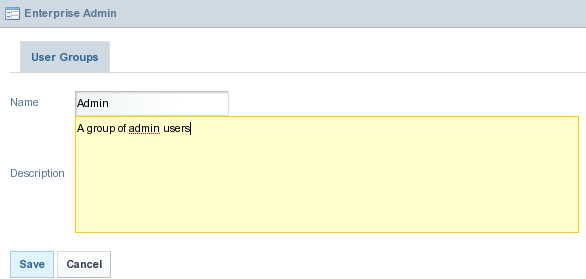
Click on the Add User Group button.
Figure 3–6 Adding an User Group
-
Specify a name and a description for the group and click Save.
Assigning Users to User Groups
To be done.
 To assign Users to User Groups
-
Select a user group and click Actions to select Assign Members from the menu.
Figure 3–7 Assigning Users to User Groups

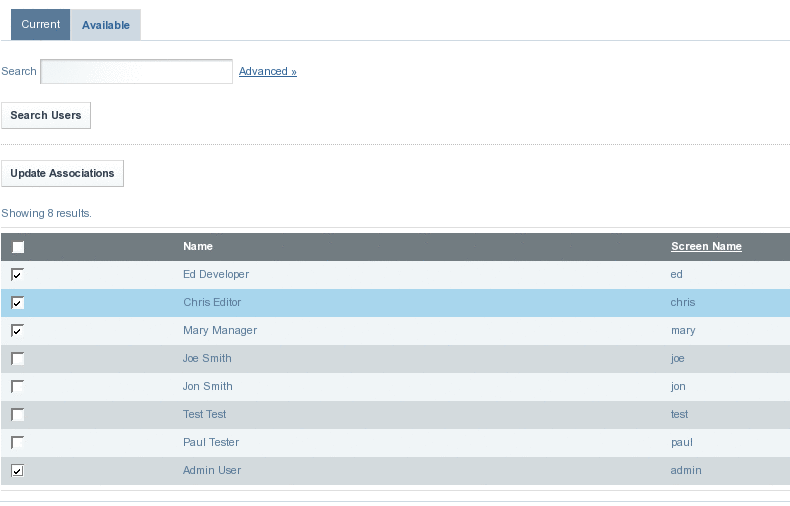
You can see all the current members of the User Group
Figure 3–8 Current Tab
-
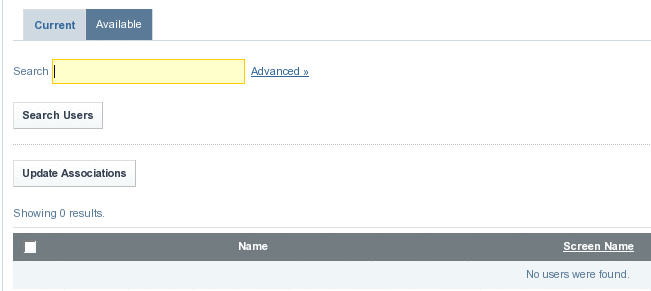
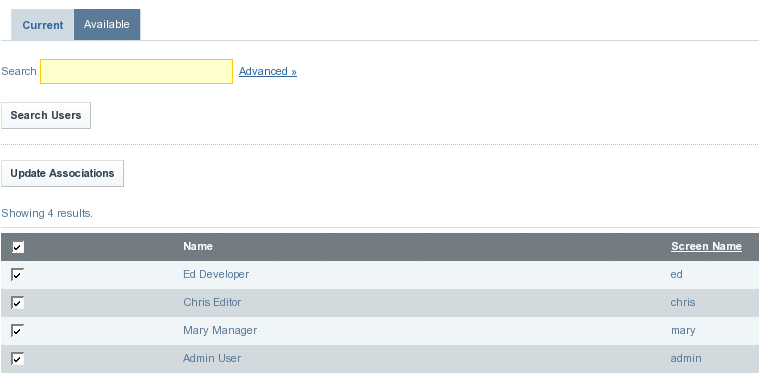
Click on Available tab to view the list of all available members.
All available members are listed.
Figure 3–9 Available Tab
-
Select the users who you want to include in the User Group and click the Update Association button.
-
Click on the Current tab to view the users who are included in the User Group.
Figure 3–10 Current Tab (after adding members to the User Group)
- © 2010, Oracle Corporation and/or its affiliates
