Asset Publisher Portlet
 To add Asset Publisher Portlet to the Page
-
Login to WebSynergy.
-
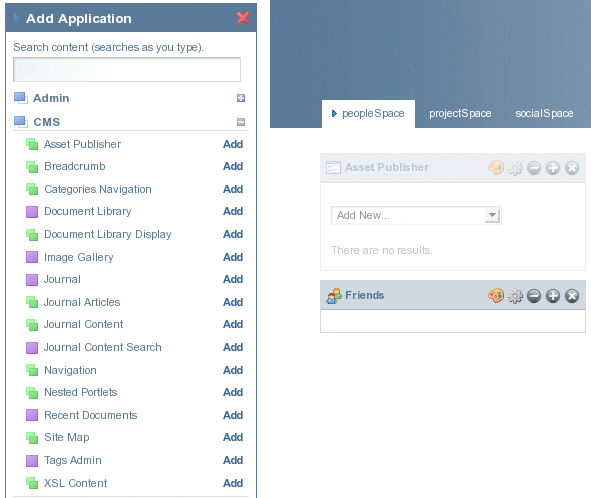
Click Add Applications and expand the CMS folder.
-
Click Add against Asset Publisher portlet.
The Asset Publisher portlet is added to your page.
Figure 4–54 Asset Publisher portlet
Blogs Entry
To be done.
 To add a Blogs Entry
-
Select Blogs Entry from the list on the Asset Publisher portlet.
Figure 4–55 Page for entering the blog
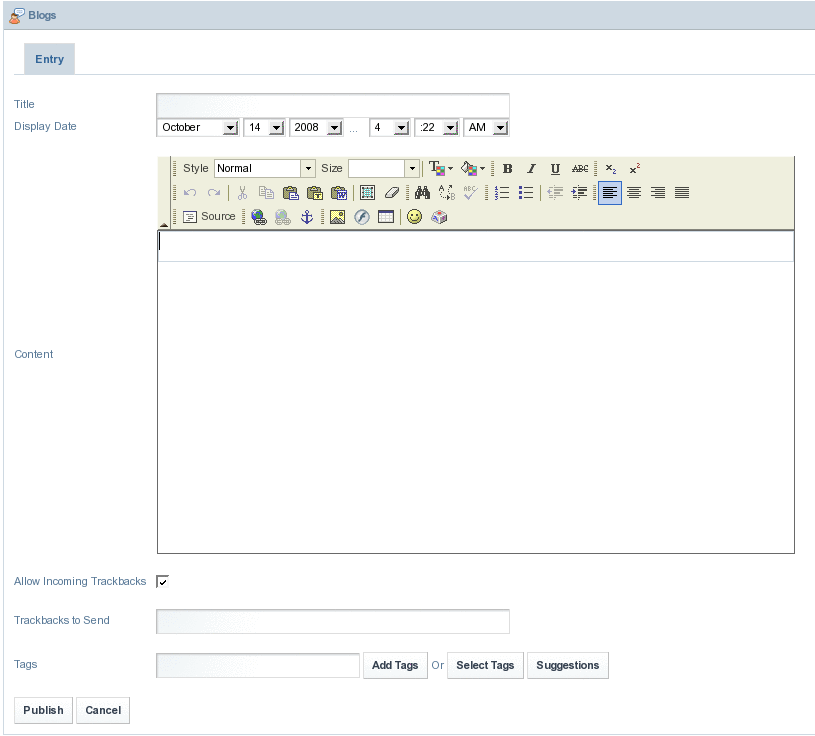
The Blogs Entry page has many sophisticated options. You can apply styles and formatting on your blog entry. You can add Tags and Suggestions to your blog
-
Make your blog entry and click Publish.
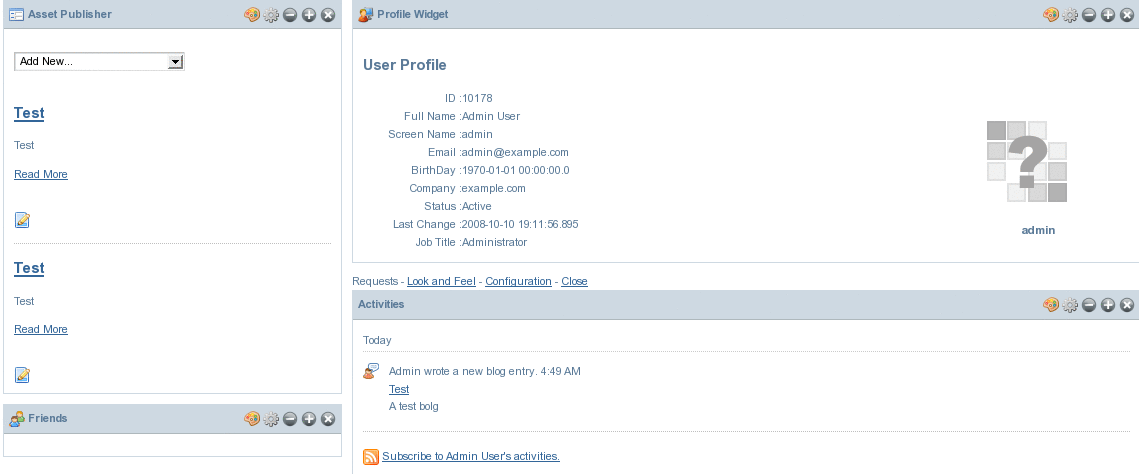
The blog entries made by you are displayed on the Asset Publisher portlet. For example, you have made two blog entries with the name Test. The two blog entries are displayed on the Asset Publisher. The Activities portlet also states that a blog entry has been made.
Figure 4–56 Blog entries
-
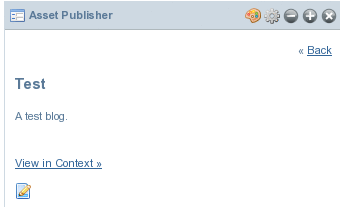
To view the blog entry, click on the blog title or on Read More.
Figure 4–57 Viewing the blog
-
You can edit the blog entry by clicking on the Edit button.
Bookmarks Entry
To be done.
 To add a Bookmarks Entry
-
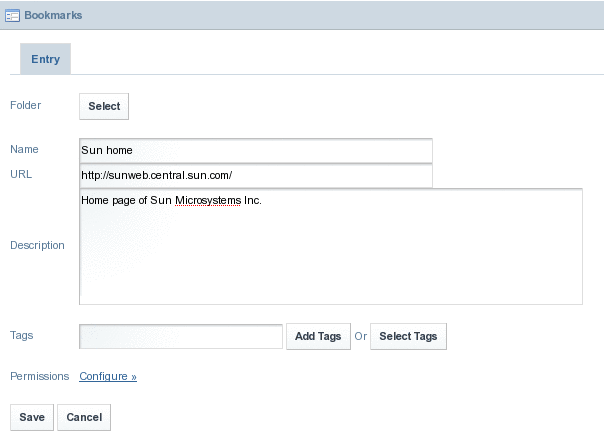
Select Bookmarks Entry from the list on the Asset Publisher portlet.
Figure 4–58 Entering a bookmark
-
Enter the bookmark
-
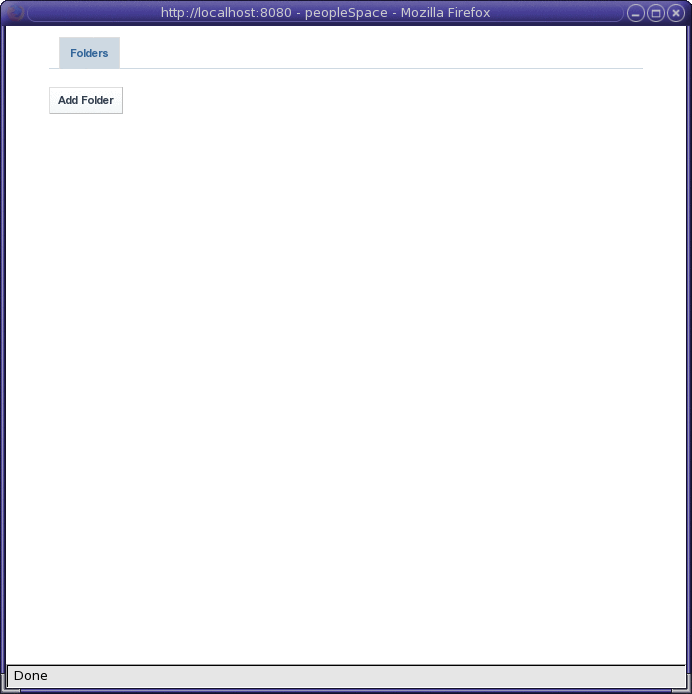
Click Select to select a folder.
Figure 4–59 Selecting a folder
-
Click Add Folder.
-
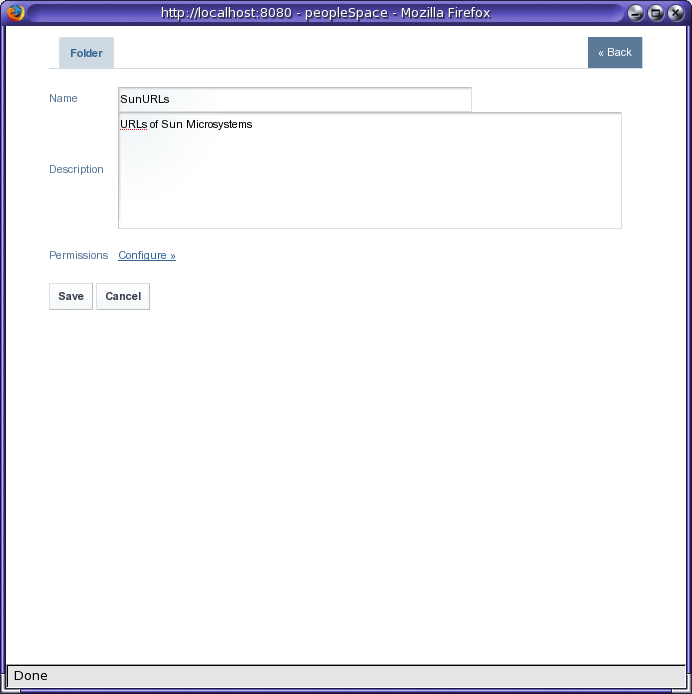
Specify the name and description of the folder.
Click Configure against Permissions to view and change the configuration permissions for the folder.
Figure 4–60 Adding a folder
-
Click save to create the folder.
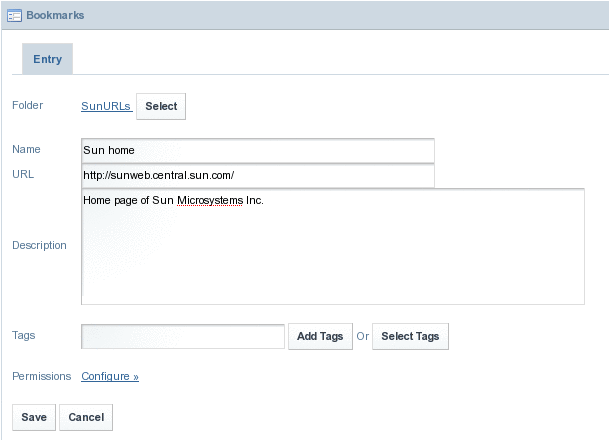
Figure 4–61 Choosing a folder for the bookmark

-
Click on the Choose button to choose the folder.
Figure 4–62 Saving the bookmark
-
Click Save.
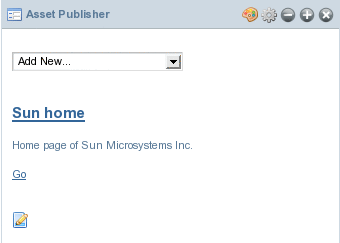
The bookmark appears on the Asset Publisher portlet.
Figure 4–63 Bookmark for a page
-
Click Go to view the bookmarked page.
Document Library Document
To be done.
 To add a Document Library Document
-
Select Document Library Document from the list on the Asset Publisher portlet.
-
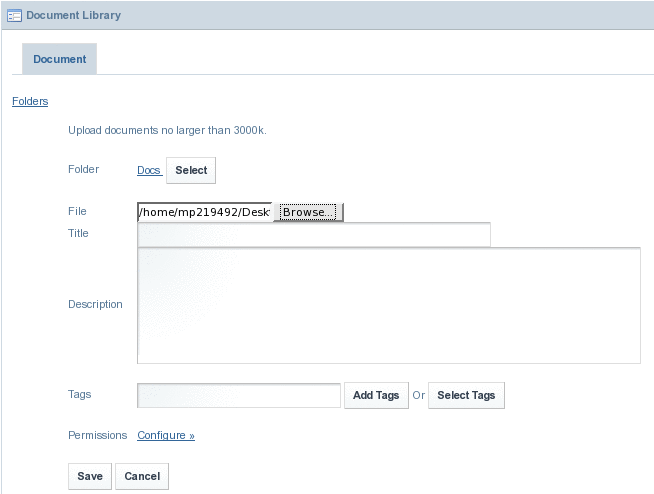
Click Select to select a folder as described in the procedure and browse a document to upload it to the Document Library.
In our example, we are creating a folder called Docs, and uploading a file named Wedding Invitation.
Figure 4–64 Adding a Document Library Document
-
Click Save to save the document to the Document Library.
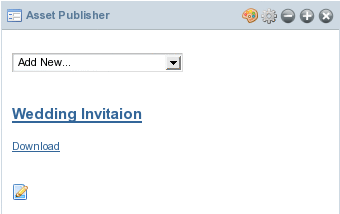
The document is displayed on the Asset Publisher portlet. You can download the document if required.
Figure 4–65 Saving the document to the Document Library
 To Delete a Document from the Document Library
-
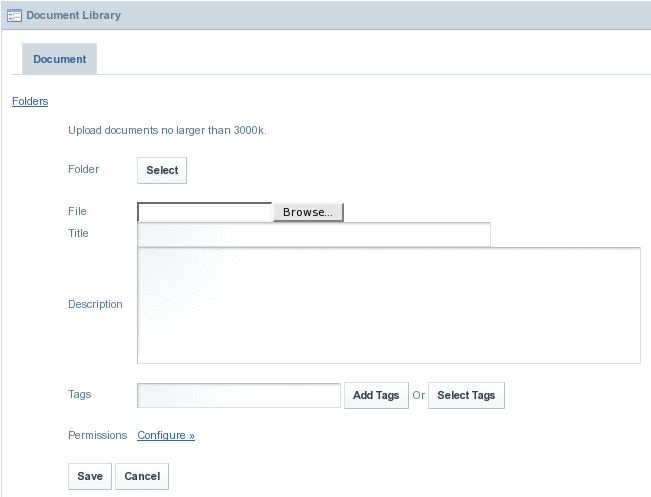
Select Document Library Document from the list on the Asset Publisher portlet.
Figure 4–66 Document Library page
-
Click Select.
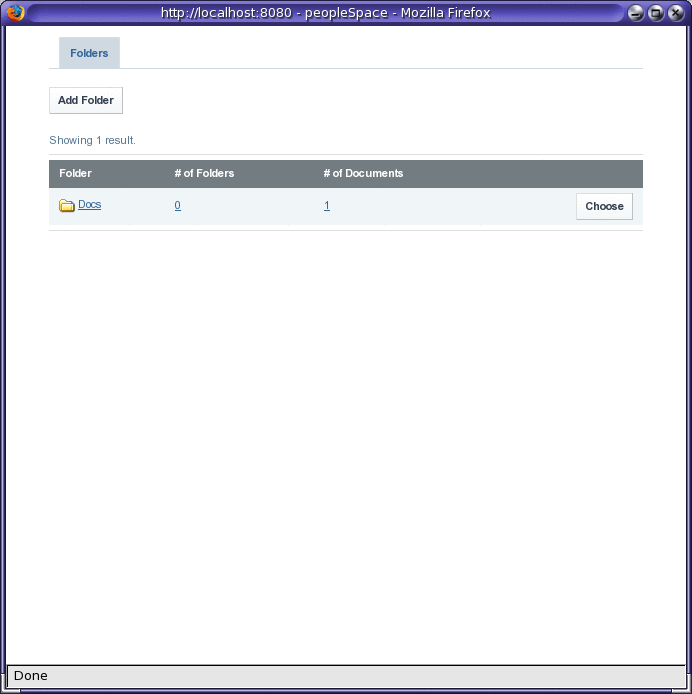
All the documentation folders currently available are listed
-
Click Choose against the folder containing the document.
In our example, choose the Docs folder.
Figure 4–67 Choosing a documentation folder
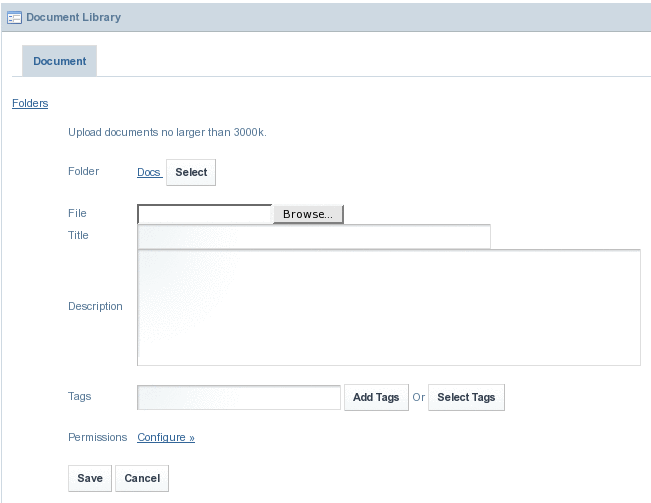
The selected folder is added to the Document Library page. Note that a link for the folder appears near the Select button.
Figure 4–68 Selected folder (containing the document which need to be deleted)
-
Click on the link for the selected folder.
-
Select Delete from Actions, to delete the document.
Figure 4–69 Deleting the document

Image Gallery Image
To be done.
 To add an Image Gallery Image
-
Select Image Gallery Image from the list on the Asset Publisher portlet.
-
The procedure to upload and delete images from the gallery are very much similar to the procedure to To add a Document Library Document and To delete a document from the Document Library respectively.
Journal Article
To be done.
 To add a Journal Article
-
Select Journal Article from the list on the Asset Publisher portlet.
Figure 4–70 Adding a Journal Article
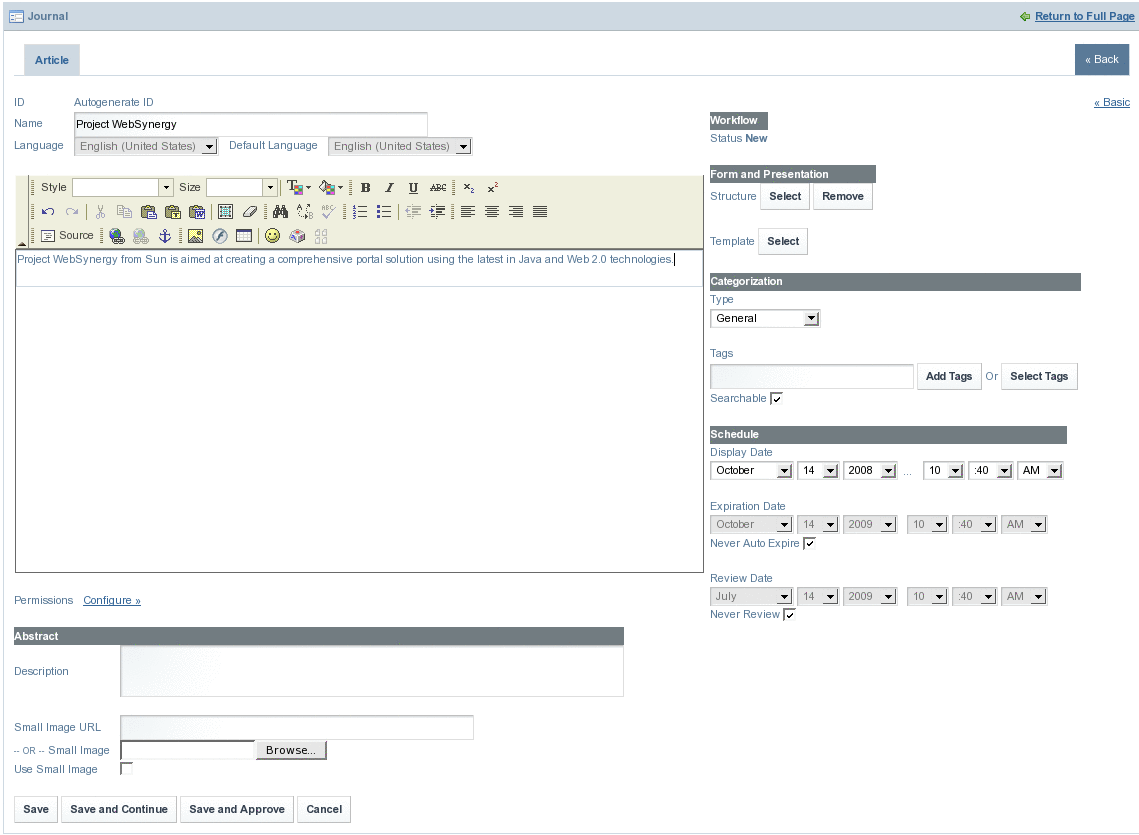
You can create a journal article using all the options available on the screen. You can set an Expiration Date and Review Date for the journal article.
-
Click Save and Approve.
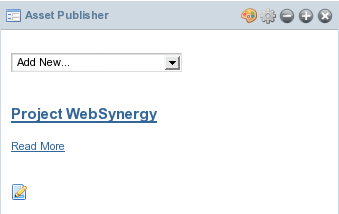
The journal article is displayed on the Asset Publisher portlet. In our example, Project WebSynergy is the name of the journal article.
Figure 4–71 Journal Article visible on the Asset Publisher
-
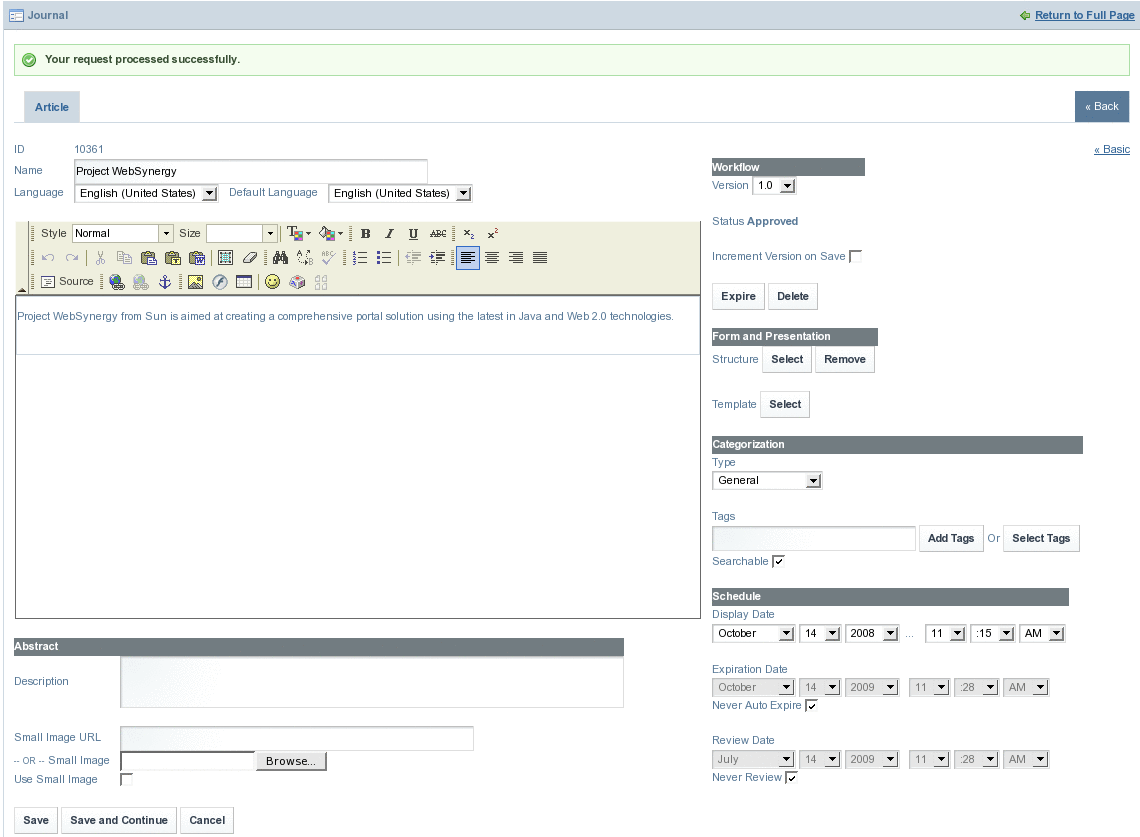
Click the edit button to make changes to the journal article.
The default version number of the Journal Article is set to 1.0. You can select the Increment Version on Save option to increment the version number of the article, each time you update the article. You can use the Expire button to make the article expire immediately. You can use the Delete button to delete the article.
Figure 4–72 Editing the Journal Article
-
Click Save to save changes to the article.
-
Click Read More link for the journal article to read the article.
- © 2010, Oracle Corporation and/or its affiliates
