 To add an Image
-
Login to WebSynergy.
-
Click Add Applications and expand the CMS folder.
-
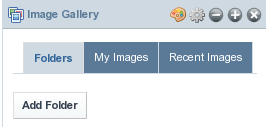
Click Add against the Image Gallery Portlet.
The portlet is added to your page.
Figure 4–12 Image Gallery Portlet
-
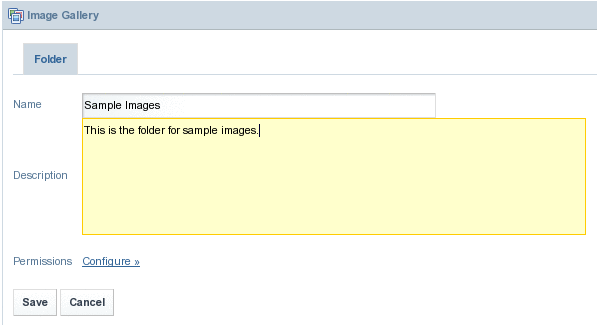
Click on the Add Folder button.
Specify a name and description and click Save.
Figure 4–13 Adding a folder to the Image Gallery Portlet
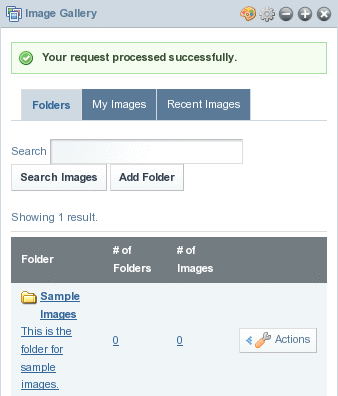
The folder is added to the portlet.
Figure 4–14 Image Gallery Portlet with a newly created folder
-
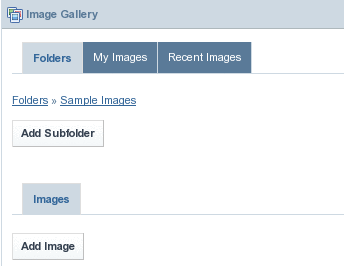
Click on the name of the folder.
You can add a subfolder or an Image within the folder. In our example we are adding an image for the folder we have already created.
Figure 4–15 Image folder
-
Click on the Add Image button.
Figure 4–16 Preparing to upload an image
-
Click on the upload button:
Figure 4–17 Upload button

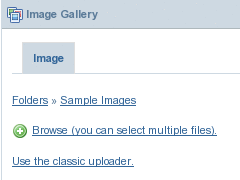
Now you can browse the document. You have classical upload and select multiple files options.
Figure 4–18 Upload options
-
Select either of the two options to upload images.
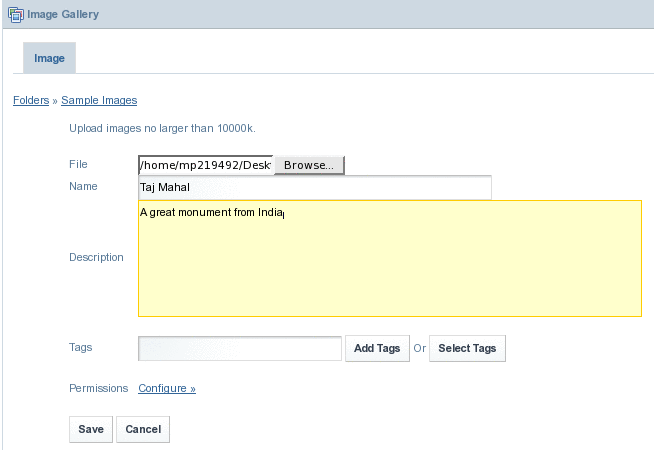
There is a cap of 3000k on uploaded documents. After uploading the document, enter a title and description for the document.
Figure 4–19 Uploading an image
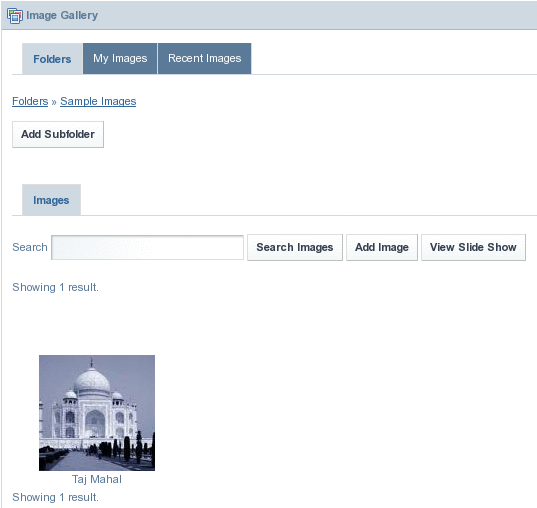
The image is added to the image gallery.
Figure 4–20 Image uploaded to the folder
- © 2010, Oracle Corporation and/or its affiliates
