| Oracle® Argus Insight Installation Guide Release 7.0 E22883-01 |
|
 Previous |
 Next |
This chapter explains how to install Argus Insight on the Web Server and Cognos Server. Before you begin, make sure you have read the Hardware and Software Requirements topic.
Follow these installation procedures in the order in which they appear:
Before running the Argus Insight Installer, make sure you have created the Argus Insight database instance and that it is running. Also, the database should have been created by using the character set of your Argus Safety database.
The Argus Insight installer installs these components:
Argus Insight v7.0 application
Universes, Standard Reports, and Cubes
Schema Creation Tool
|
Caution: 1. On the Argus Insight Web Server, make IUSR user a member of the Administrators group.2. Ensure that ASP and ASP.Net extensions are enabled in IIS on the Argus Insight and Cognos Web Server. |
Follow these steps to run the Installer and install the preceding components:
Log on to the Argus Insight Web Server as an Admin user.
Insert the Argus Insight v7.0 CD into the CD-ROM drive of your Argus Insight Web Server or copy the Argus Insight software locally on the Insight web server.
Click Launch.exe.
Click Installation Wizard.
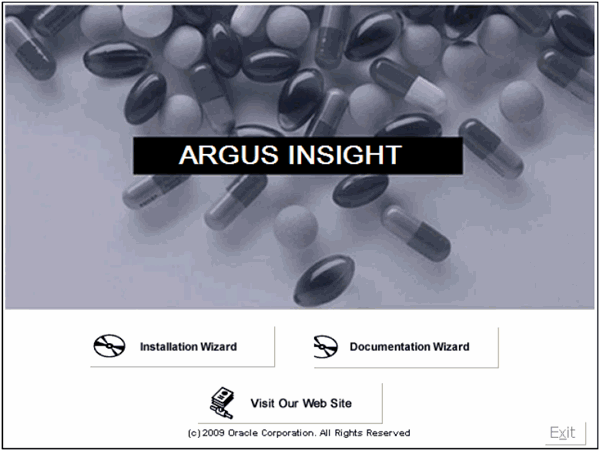
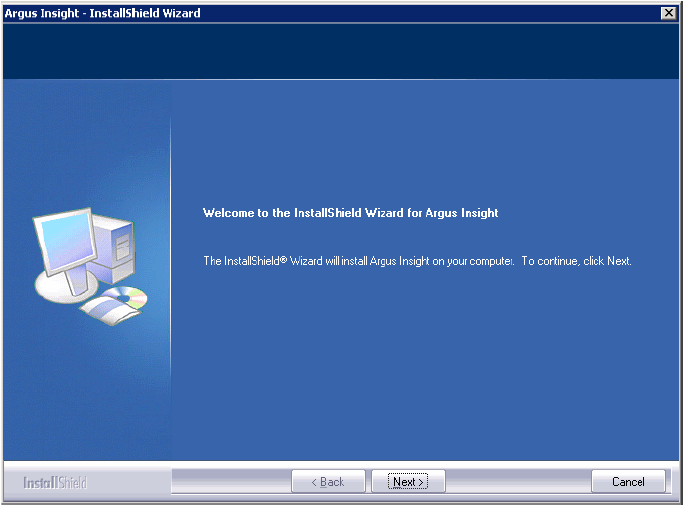
When the system opens the following dialog, click Next>.
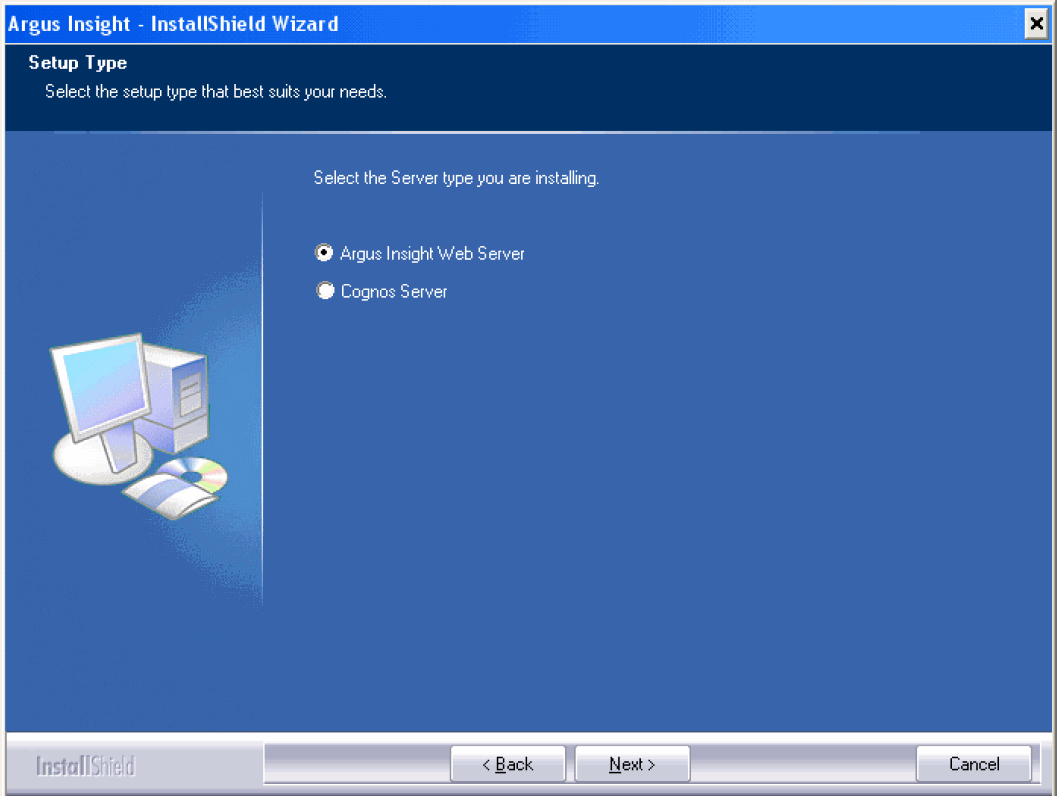
Select the Argus Insight Web Server option. Click Next>.
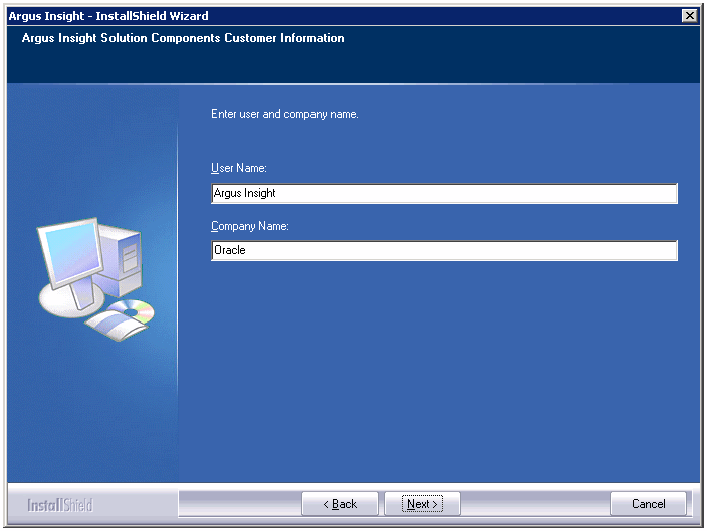
Enter User Name and Company Name. Click Next.
Select the required checkboxes, as per the components you want to install. Click Next.
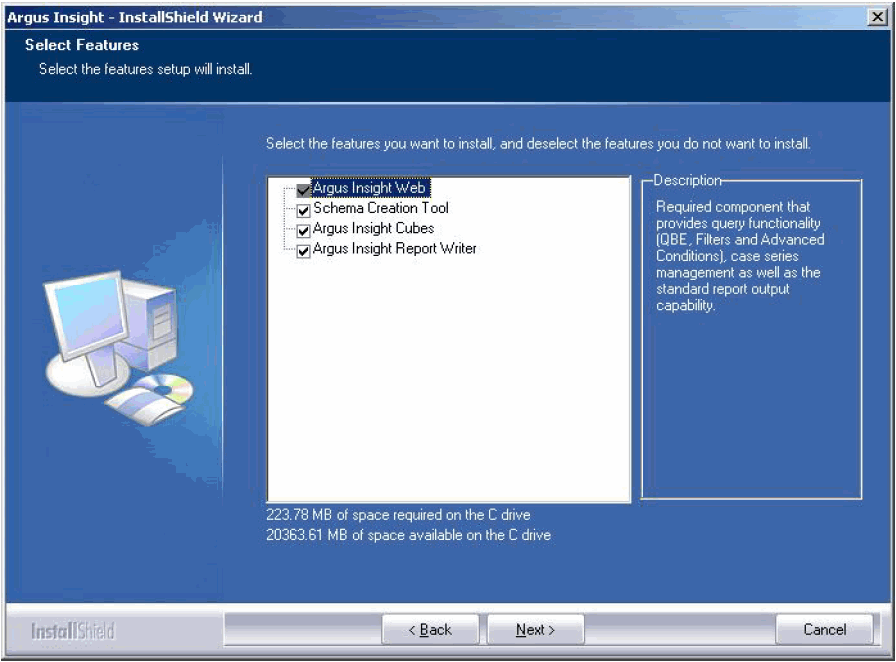
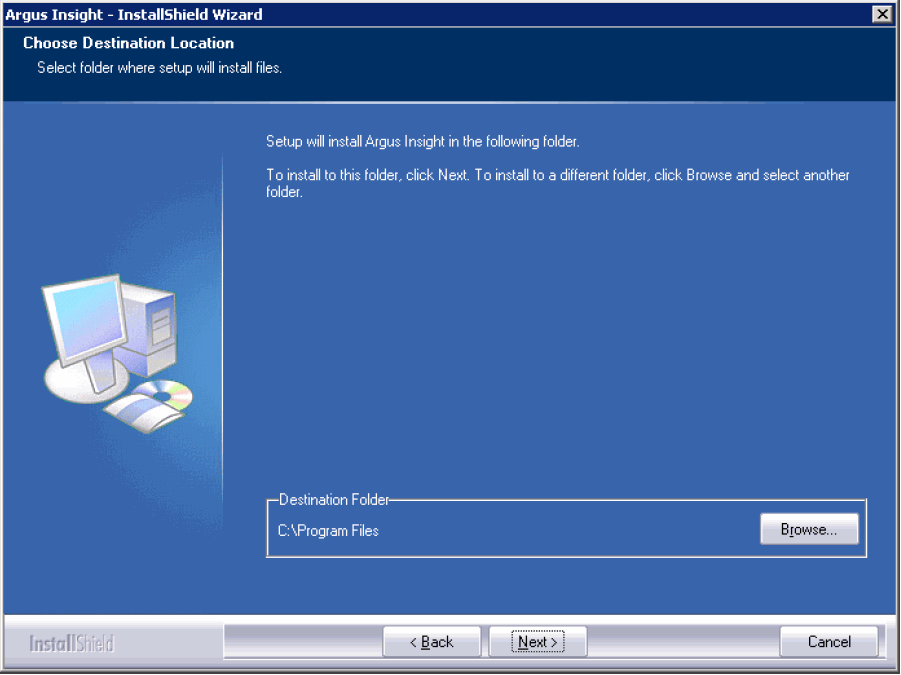
Click Next to accept the default installation location: C:\Program Files\Oracle. Click Browse if you want to specify an alternate installation location.
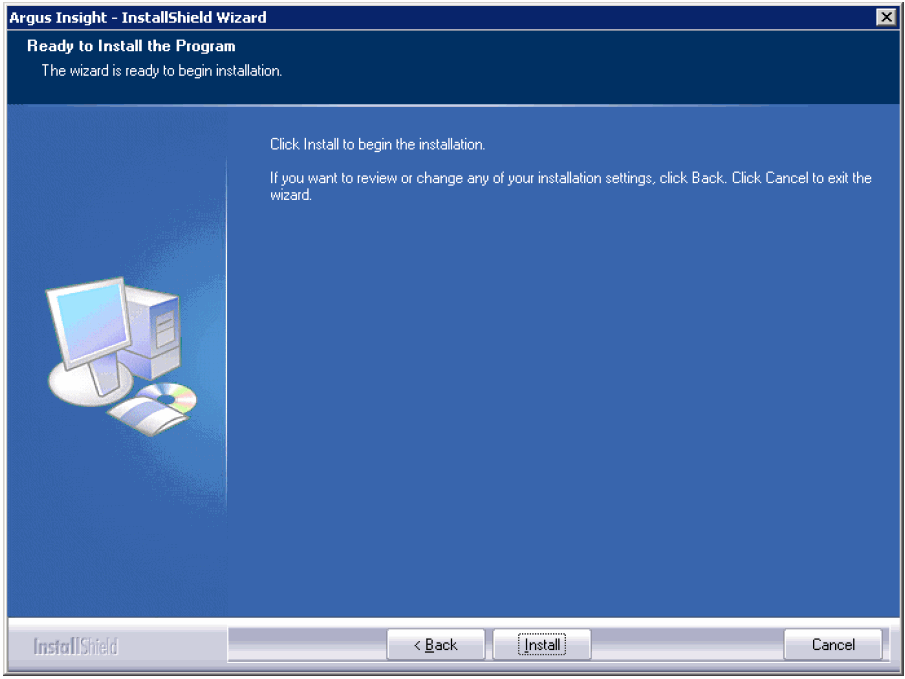
Click Install to start the installation.
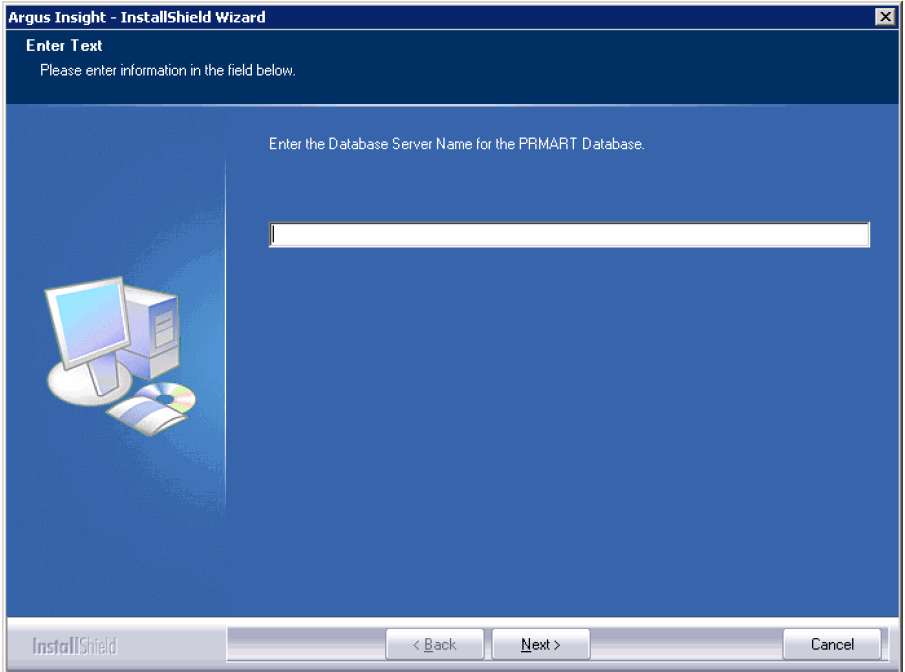
When the system opens the following screen, enter the name of the host database server where the Argus Insight datamart is located. Click Next>.
When the system opens the following screen, enter instance name for the Argus Insight datamart. Click Next>.
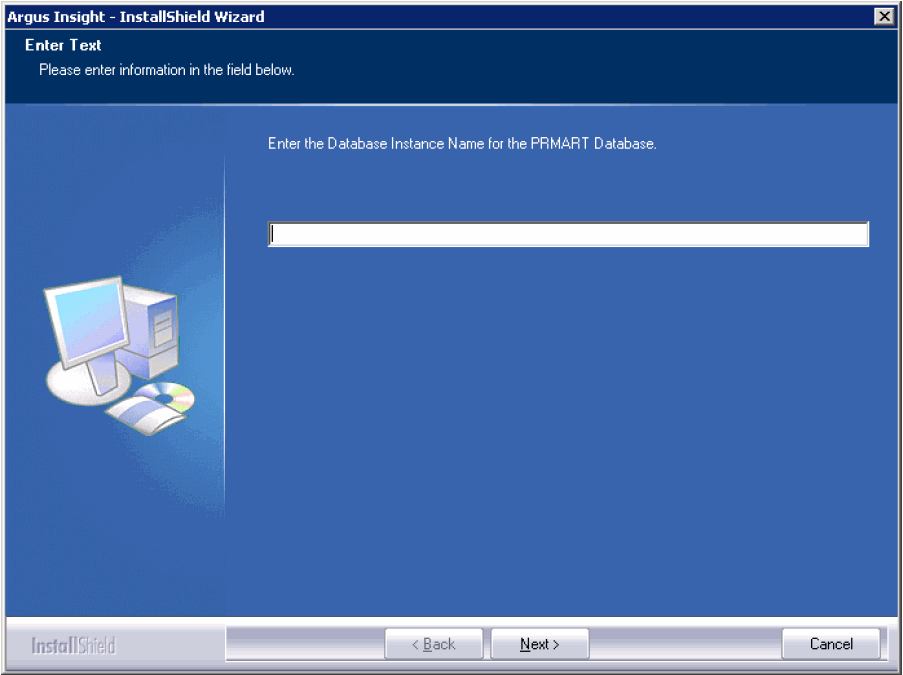
Enter the database port number you want to assign to the Argus Insight database. Click Next>.
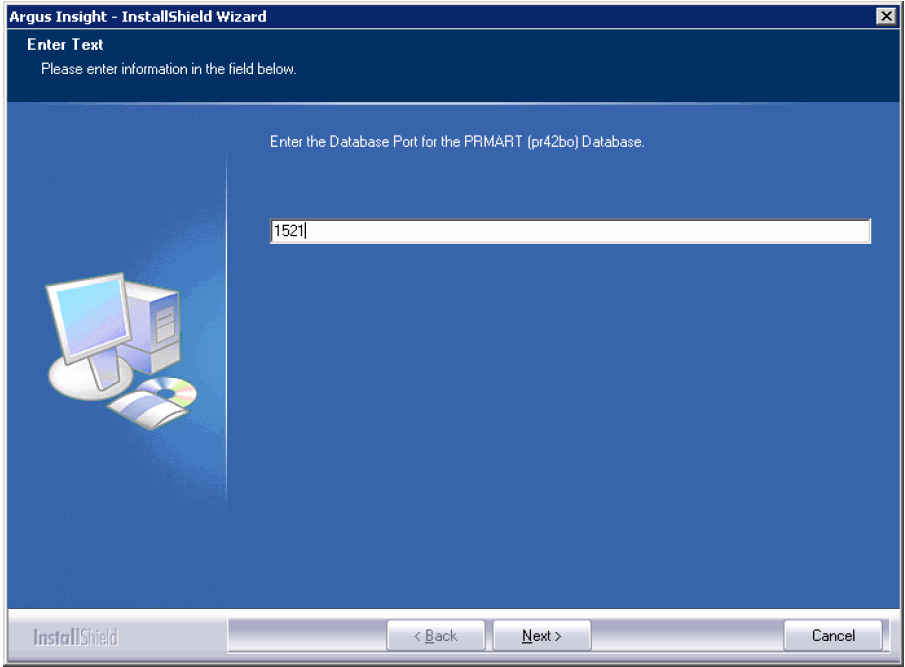
When the system presents the following message, wait while the Installation Wizard updates the TNSNAME.ORA file.
Enter the password for APR_USER.
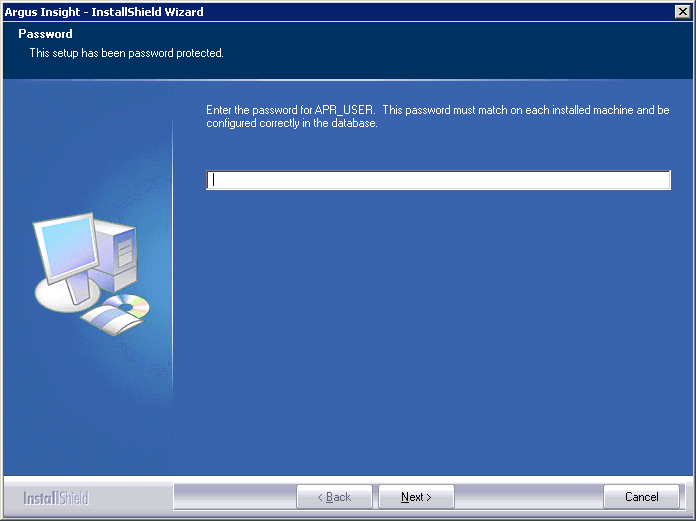
|
Note: This database user provides initial database access to application user (APR_APP) of Argus Insight. In previous versions, this user was having a hardcoded password which has been removed in this version. Please make sure that this password is same on all machines where any Argus Insight components are stored.You will be prompted to create/update this user during schema creation. You can modify this password by running the Argus Insight installer using modify option. For information about updating the APR_USER password see "Updating the APR_User Password". |
When the system opens the following screen, re-enter the password for APR_USER for verification.
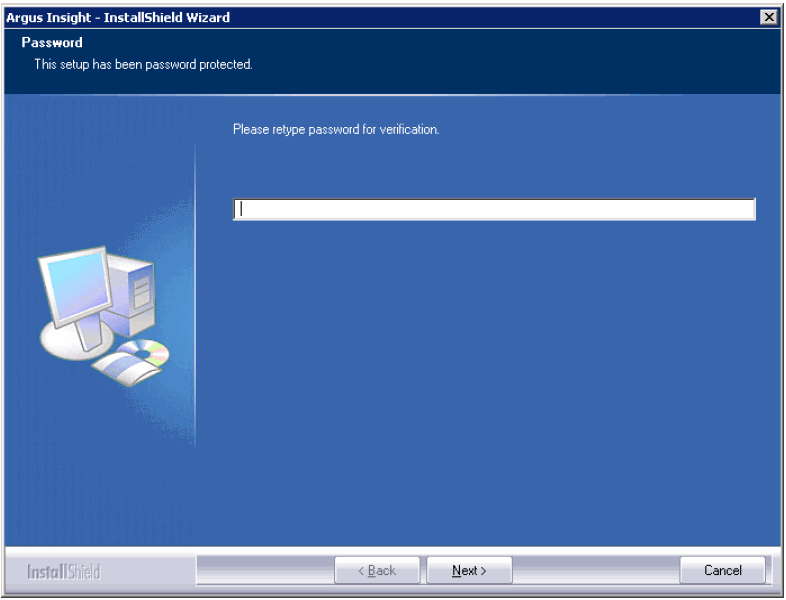
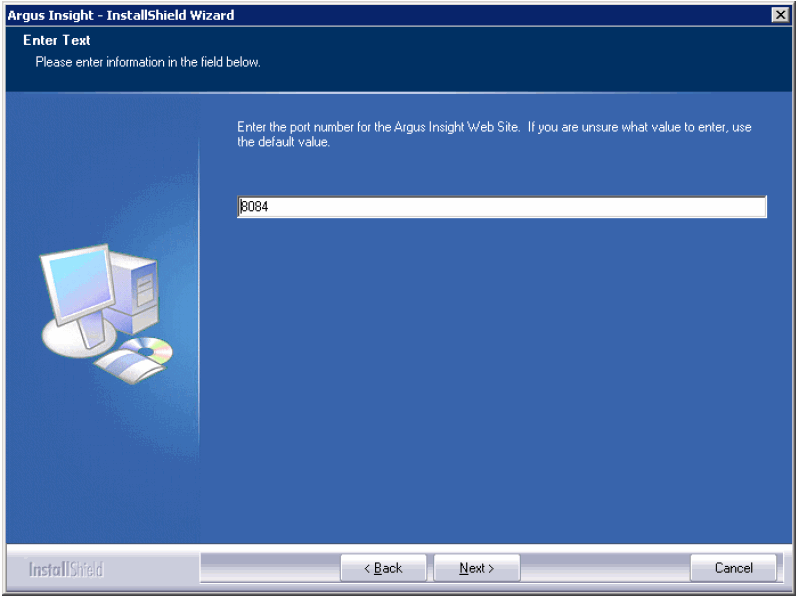
When the system opens the following dialog box, enter the port number you want to assign to the Argus Insight Web site. Click Next.
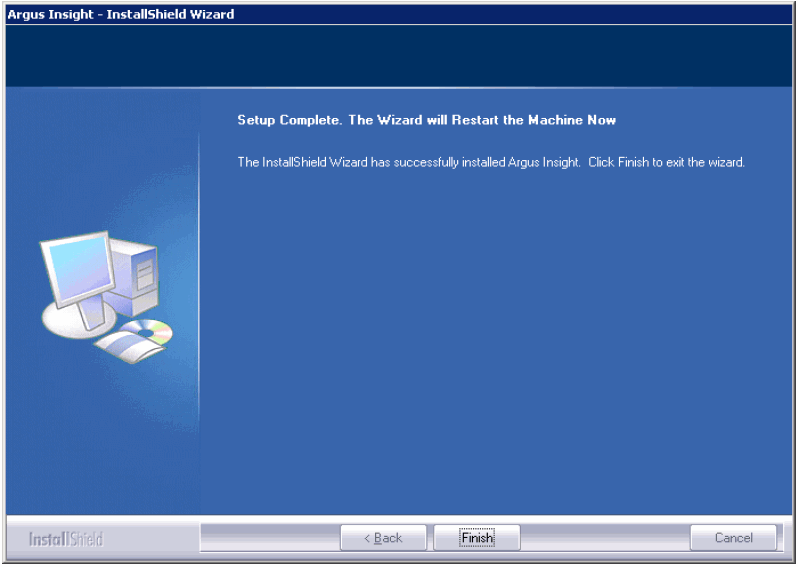
When the system opens the following dialog box, click Finish.
The system presents the following message. Click OK to restart the Argus Insight Web Server.

Please make sure to do the following before updating the password for APR_USER on any of the Insight server:
Stop the Argus Insight and Argus Perceptive Services
Stop IIS on the Insight Web server and Cognos server
Stop the Cognos service on Cognos server
Update the password of APR_USER on database level
You can modify the password for APR_USER on any Insight server by running the Argus Insight installer.
Start the Argus Insight installer.
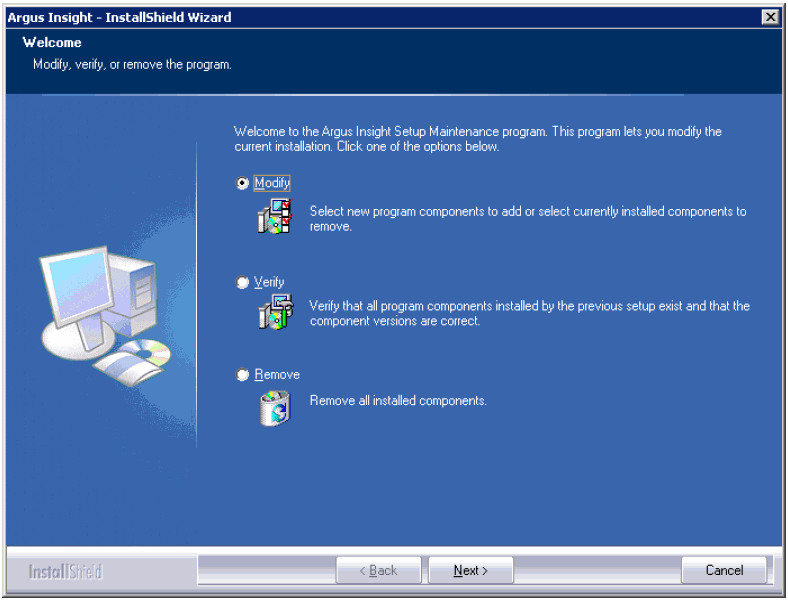
When the system opens the following dialog box, select Modify. Click Next>.
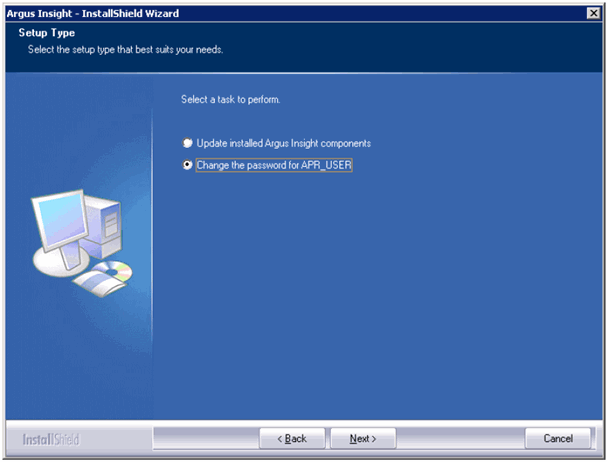
When the system opens the following dialog box, select Change the password for APR_USER. Click Next>.
When the system opens the following dialog box, enter the APR_USER password. Click Next>.

When the system opens the following dialog box, enter the APR_USER password a second time for verification. Click Next>.
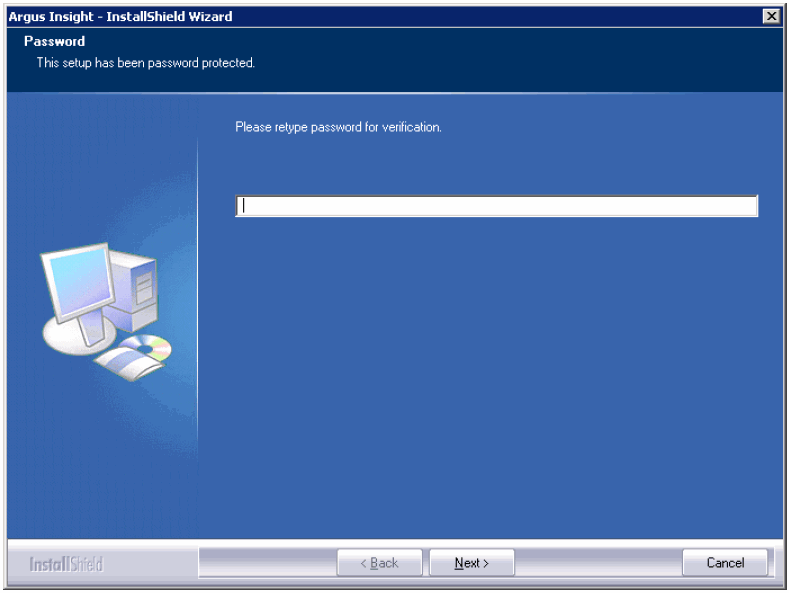
The password of APR_USER is updated successfully.
Use the following procedure to configure the Cognos 8 SDK:
Copy the CDK.dll, cognosdotnet_2_0.dll, and cognosdotnetassembly_2_0.dll from the Cognos Server placed at C:\Program Files\Cognos\c8\sdk.
Paste all these files in <Insight Installation Directory>/Oracle/ArgusInsight/Bin folder.
Register the CDK.dll using regsvr32 command from command prompt. For example: regsvr32 "C:\Program Files\Oracle\ArgusInsight\bin\cdk.dll"
Go to Start > Run and type assembly. A new window opens. In this window, drag and drop the cognosdotnet_2_0.dll and cognosdotnetassembly_2_0.dll files from the <Insight Installation Directory>/Oracle/ArgusInsight/Bin directory.
Before performing this installation be aware of the following:
This installation is required only if you are using different servers for Argus Insight and Cognos 8/Cognos Cubes.
If you are using Cognos Series 7.4 software, install this component on the server where the Series 7.4 software is installed.
Use the following procedure to install Argus Insight components on the Cognos 8 Server:
Log on to the Cube Server as an Admin user.
Insert the Argus Insight v7.0 CD into the CD-ROM drive of your Cognos Server to start the installation program or copy the Argus Insight software locally on the Cognos server.
Click Launch.exe.
When the system opens the following dialog box, click Installation Wizard to start the installation.

When the system opens the following dialog box, click Next>.

When the system opens the following dialog box, click Cognos Server. Click Next>.
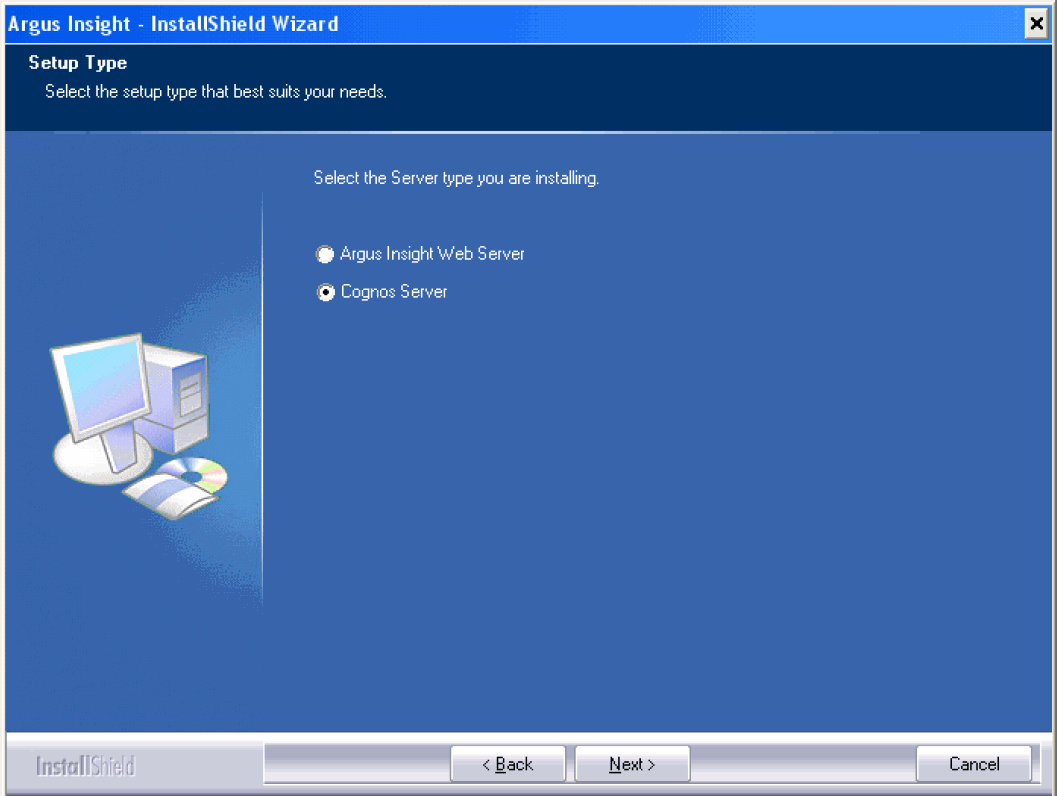
Enter User Name and Company Name. Click Next.

When the system opens the following dialog box, click the Cognos Cube Files and Cognos Server Files check boxes to select them. Click Next.
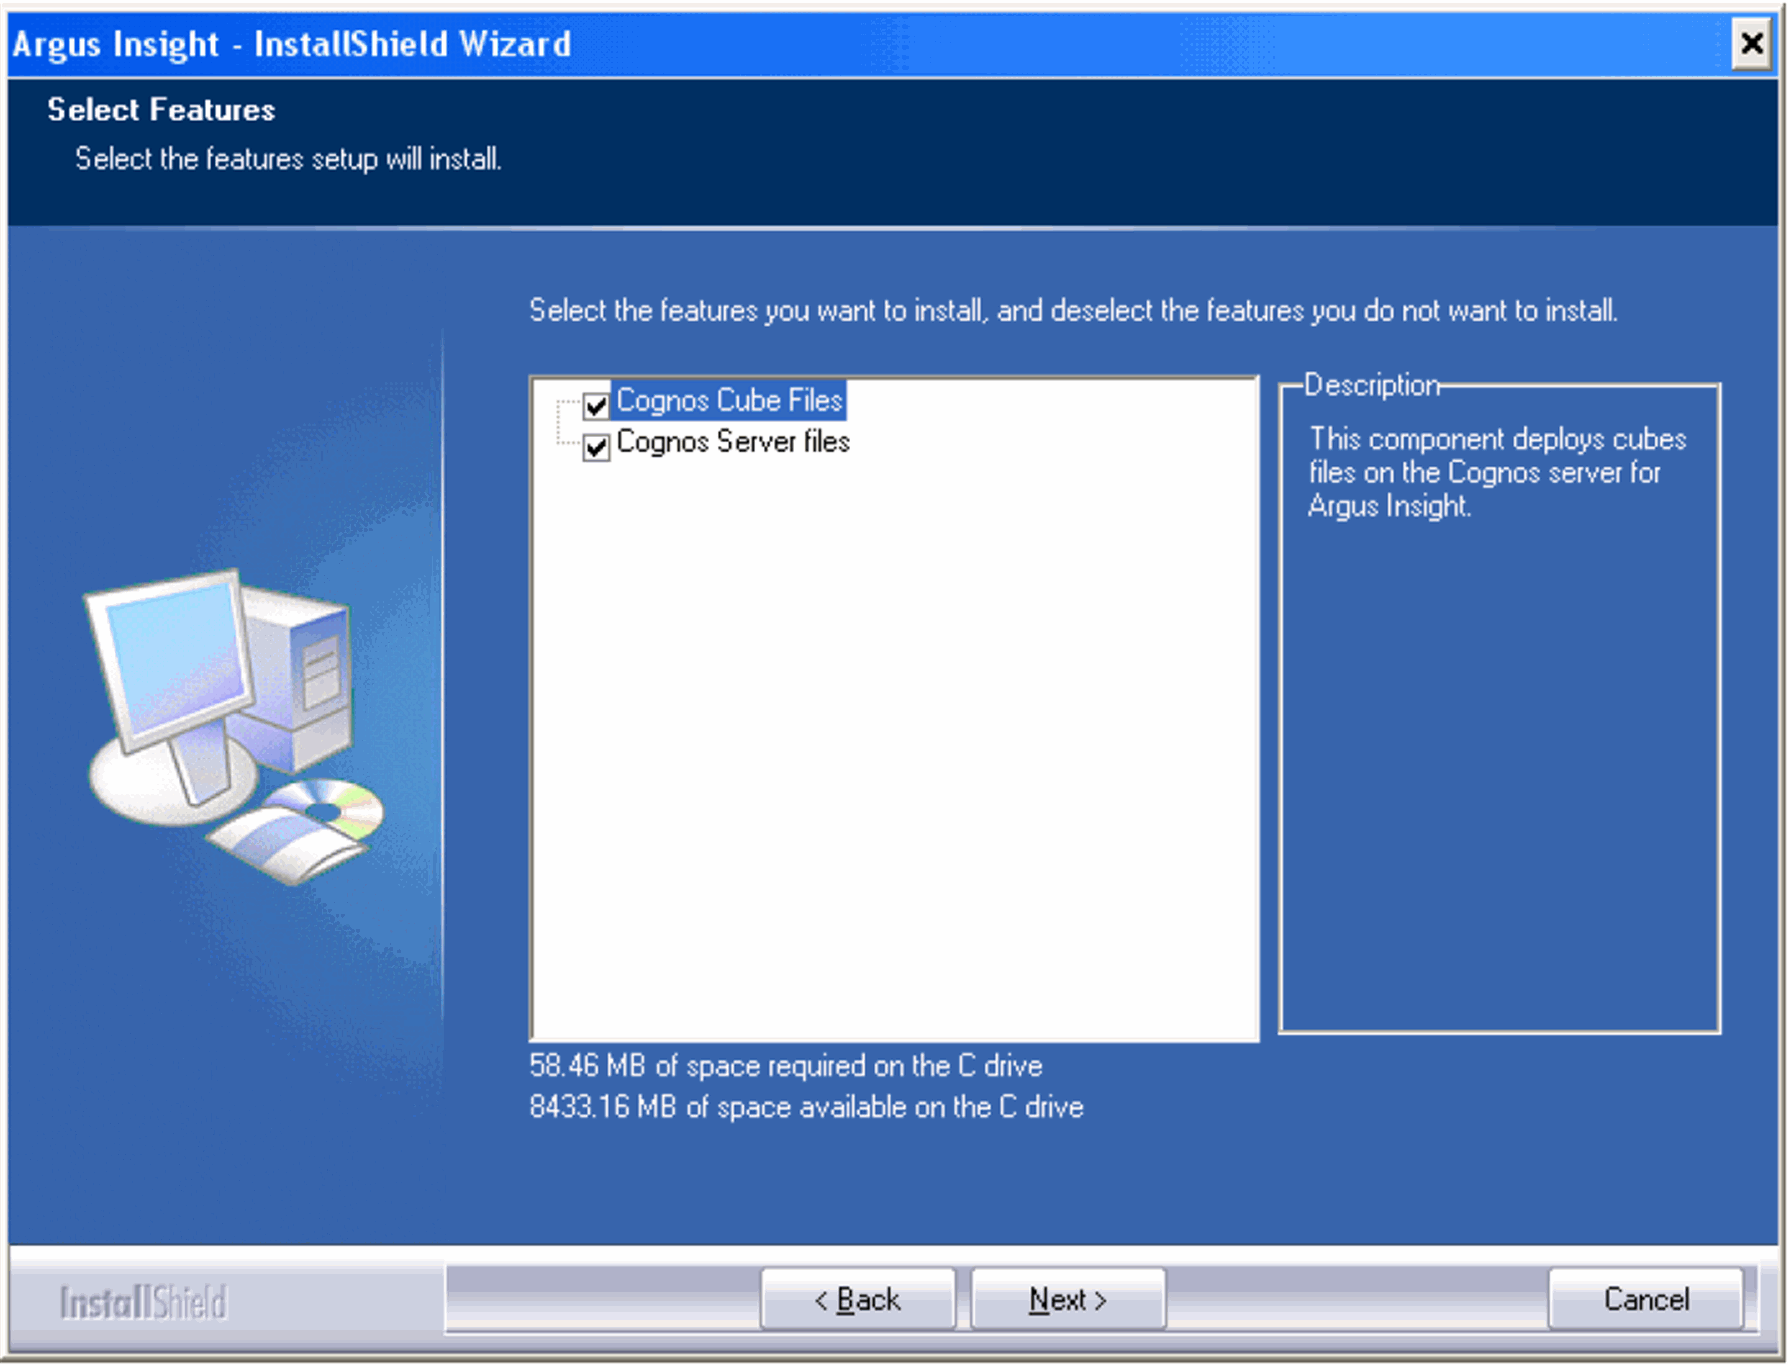
When the system opens the following dialog box, click Next to accept the default installation location: C:\Program Files\Oracle. Click Browse if you want to specify an alternate installation location.

When the system opens the following dialog box, click Install.

The installer installs the selected components.
When the system opens the following dialog box, enter the host name of the database server where the Argus Insight datamart is located. Click Next>.

When the system opens the following dialog box, enter the name of the Argus Insight datamart. Click Next>.

When the system opens the following dialog box, enter the database port number you want to assign to the Argus Insight database. Click Next>.

Wait while the Installation Wizard updates the TNSName.ORA file.

When the system opens the following dialog box, enter the APR_USER password. Click Next.

|
Note: This database user is used for providing initial database access to application user(APR_APP) of Argus Insight. In previous versions, this user was having a hardcoded password which has been removed in this version. Please make sure that this password is same on all machines where any components of Argus Insight are stored. |
When the system opens the following dialog box, re-enter the password for APR_USER password for verification. Click Next>.

When the system opens the following dialog box, click Finish to complete the installation.

When the system displays the following message, click OK to restart the Cognos 8 Server.
