| Oracle® Student Learning Learning Tool User's Guide Release 3.1.3 Part Number E20665-04 |
|
|
PDF · Mobi · ePub |
| Oracle® Student Learning Learning Tool User's Guide Release 3.1.3 Part Number E20665-04 |
|
|
PDF · Mobi · ePub |
This chapter guides students with basic access on how to use the OSL Learning Tool (LT).
The OSL LT enables you to participate in learning activities.
When you log in to the OSL LT, you see your Home page.
If you are assigned to more than one class, your Home page shows the list of classes. But if you are assigned to only one class, the class is automatically selected and your Home page shows the learning activities currently assigned to you.
The bar on top shows:
Your name
The class name, if you selected a class
The Back icon.
If you are assigned to more than one class, click the Back button to return to the list of classes.
If you are in a learning activity, click the Back button to return to the list of learning activities.
The Refresh icon. To refresh the information on the page, click the Refresh icon.
The Options icon. If you want to change the background, click the Options icon, and use the slider to select a background image.
The Logout icon. If you want to exit the OSL LT, click the Logout icon.
From the Home page, select a class.
Big icons that represent learning items appear.
Select a discussion.
The discussion instructions and posts that have been submitted appear. You can listen to attached recordings and view attached files as necessary.
To create a post:

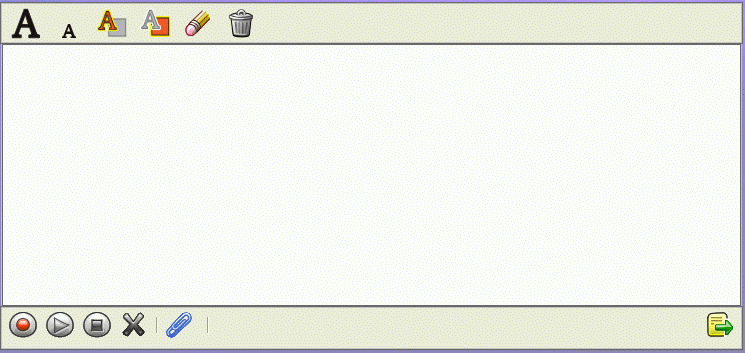
In the text box, enter your post.
To record an audio file, click the Start Recording Audio icon. You can record only one audio file.
To stop recording, click the Stop Recording icon.
To listen to what you recorded, click the Play Recording icon.
To delete your audio file, click the Delete Recording icon.
To attach a file, click the Attach File icon. You can attach only one file. If you want to replace the file, you must delete it first. After you delete the file, attach another file.
To delete the file you attached, click the Delete File icon.
Click the Submit icon.
When you are finished, click Back to return to the list of learning items.
From the Home page, select a class.
Big icons that represent learning items appear.
Select a journal.
The journal instructions and posts that have been submitted appear. You can listen to attached recordings and view attached files as necessary.
To create a post:

In the text box, enter your post.
To record an audio file, click the Start Recording Audio icon. You can record only one audio file.
To stop recording, click the Stop Recording icon.
To listen to what you recorded, click the Play Recording icon.
To delete your audio file, click the Delete Recording icon.
To attach a file, click the Attach File icon. You can attach only one file. If you want to replace the file, you must delete it first. After you delete the file, attach another file.
To delete the file you attached, click the Delete File icon.
Click the Submit icon.
When you are finished, click Back to return to the list of learning items.
From the Home page, select a class.
Big icons that represent learning items appear.
Select a submission.
The submission instructions appear. If you have already submitted your submission, it will be displayed but you cannot edit it. If you have not yet submitted your submission, it will be displayed within the editor for you to continue editing it.
To edit your submission:

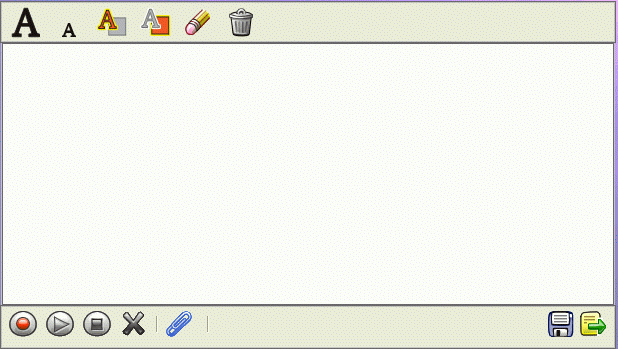
In the text box, enter your text.
To record an audio file, click the Start Recording Audio icon. You can record only one audio file.
To stop recording, click the Stop Recording icon.
To listen to what you recorded, click the Play Recording icon.
To delete your audio file, click the Delete Recording icon.
To attach a file, click the Attach File icon. You can attach only one file. If you want to replace the file, you must delete it first. After you delete the file, attach another file.
To delete the file you attached, click the Delete File icon.
If you want to save your work but not submit it, click the Save icon. You can go back to this entry later and edit it as necessary.
If you want to submit your work, click the Submit icon. If you want to edit your submission after you have submitted it, request your teacher to reopen the submission.
When you are finished, click Back to return to the list of learning items.
From the Home page, select a class.
Big icons that represent learning items appear.
Select a task.
The task instructions appear. You can listen to attached recordings and view attached files as necessary.
Follow the instructions to complete the task.
When you are finished, click Back to return to the list of learning items.
From the Home area, select a class.
Big icons that represent learning items appear.
Select a reference.
The reference instructions and the referenced web site appear.
Follow the instructions by participating in the referenced Web page to complete the learning item.
When you are finished, click Back to return to the list of learning items.