B Installing WebLogic Server
This appendix discusses installing the WebLogic server.
B.1 Prerequisites
-
Install a 64-bit JDK 1.7 based on your platform.
-
Add the JDK 1.7 location to the system path.
B.2 Installing the WebLogic Server
Use these steps to install WebLogic Server 11g.
-
Run the Oracle WebLogic 10.3.6.0 installer from the image that you downloaded from the Oracle Software Delivery Cloud.
The item name of the installer is Oracle WebLogic Server 11gR1 (10.3.6) Generic and Coherence (V29856-01).
The filename of the installer is: wls1036_generic.jar
For Windows, open a command window
> java -jar wls1036_generic.jar
On UNIX platforms, the command syntax to run the installer is platform dependent.
For Linux and AIX (non-Hybrid JDK)
> java -jar wls1036_generic.jar
For Solaris and HP-UX (Hybrid JDK)
> java -d64 -jar wls1036_generic.jar
-
Click Next on the Welcome page.
-
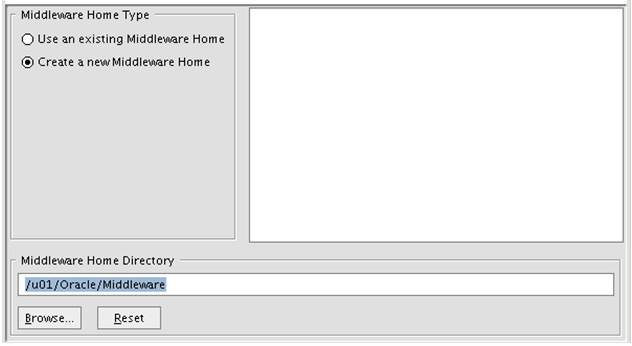
Click Create a New Middleware Home option, and then enter the Home Directory.
-
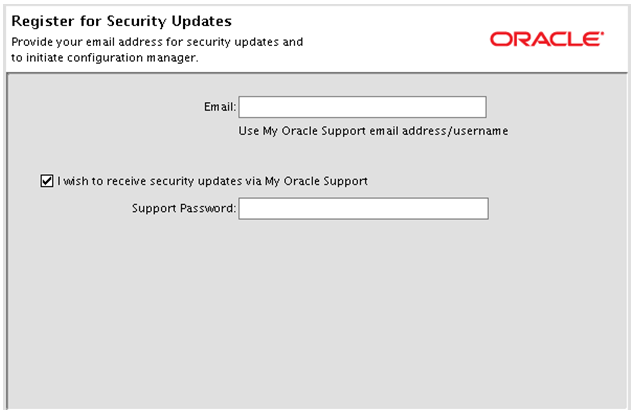
Enter the contact information for Security Updates.
-
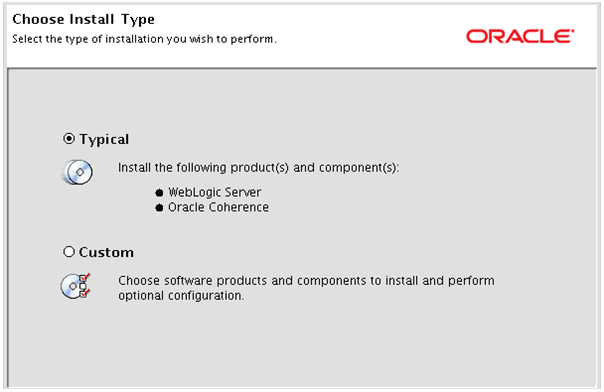
Select Typical as the installation type.
-
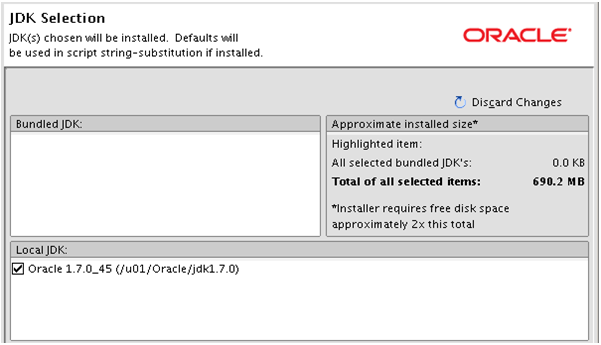
Verify the JDK location.

-
Confirm the install location.
-
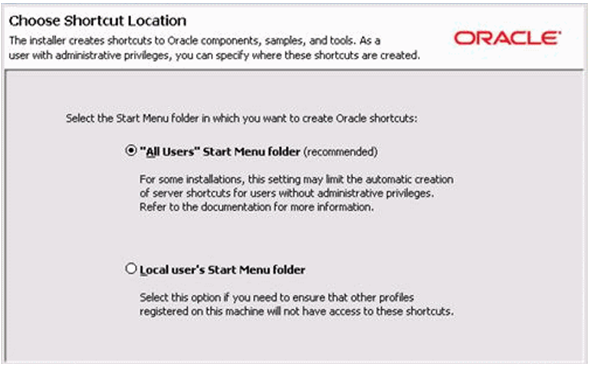
On Windows platform, the system prompts you for a shortcut location.
-
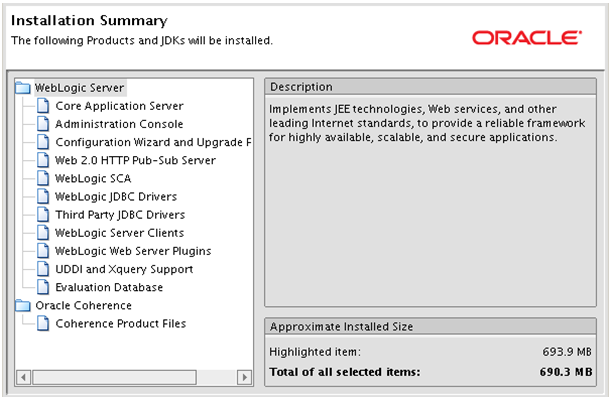
Review the Installation Summary page and click Next.
-
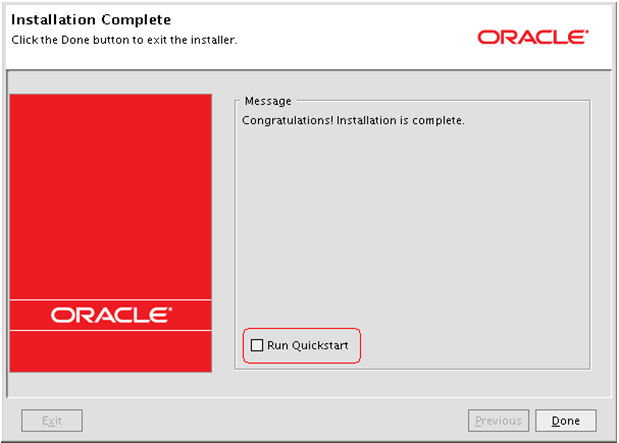
Un-check the Run Quickstart option and click Done.
Note:
A new domain will be created during the WebCenter installation.