A Create Database Schemas with Repository Creation Utility
This appendix discusses creating database schemas with Repository Creation Utility (RCU) 11.1.1.8.0. Prior running this utility, you must have a functioning database such as Oracle database 11g or 12c. RCU is available on only Windows and Linux platforms, but you can create schemas on other supported platforms.
The version of the Repository Creation Utility MUST match the product you are installing.
A.1 Prerequisites
-
You must have a database installed and configured.
If your existing database is not UTF-8 format, you will get a warning message that you can ignore.
If you are installing a new database, set it to use UTF-8 format.
-
You must alter these Oracle database parameters:
-
Alter system set processes=500 scope=spfile
-
Alter system set open_cursors=800 scope=spfile
-
Restart database before running RCU
-
A.2 Launching the Repository Creation Utility
Use these steps to launch the Repository Creation Utility.
-
Download and unzip the Oracle Fusion Middleware Repository Creation Utility 11g for Windows or Linux file.
-
Run rcu.bat on Windows or rcu on UNIX from rcuHome/bin folder.
-
Click Next on the Welcome page.
-
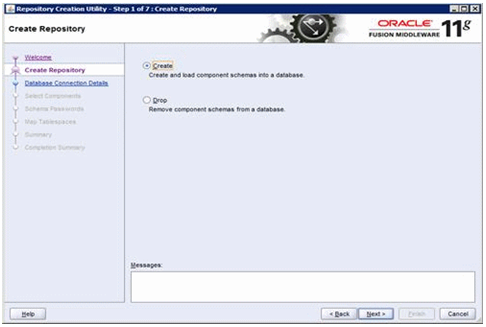
Select the Create option and click Next.
-
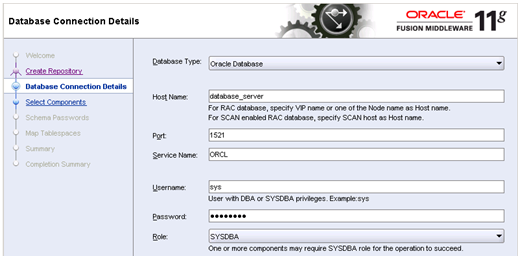
Enter the database connection information.

-
The utility performs a prerequisites check.
-
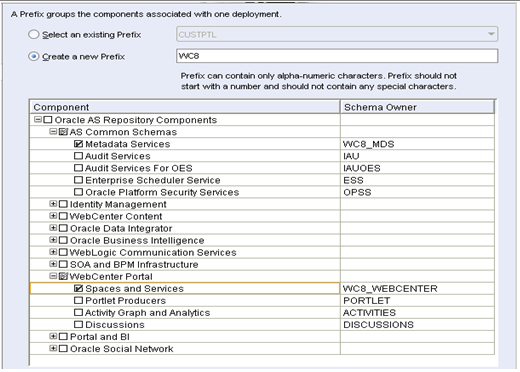
On Select Components, enter the prefix that identifies your environment in the Create a new Prefix field.
-
In the Component area, select the schemas you need to create.
-
For WebCenter - select the Spaces and Services from the WebCenter Portal Section.
-
For OID - If you are planning to use Oracle Internet Directory as your LDAP server, you can select Oracle Internet Directory from the Identity Management section as well.
Note:
You can rerun this utility anytime to add more database schemas for other products.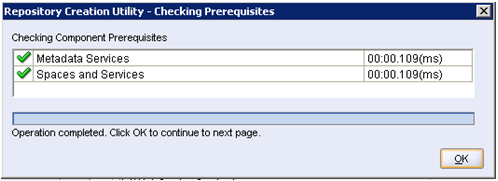
-
-
The utility performs the prerequisites again.
-
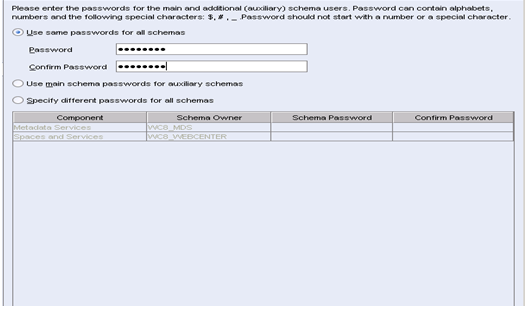
Enter the schema passwords.

-
Review the tablespace mapping.
Note:
This example shows a different schema prefix than the default, which is DEV.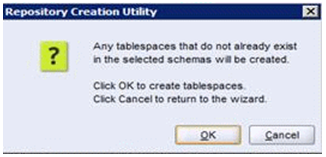
-
The utility creates any tablespaces that do not already exist.

-
The utility validates and creates the tablespaces.
-
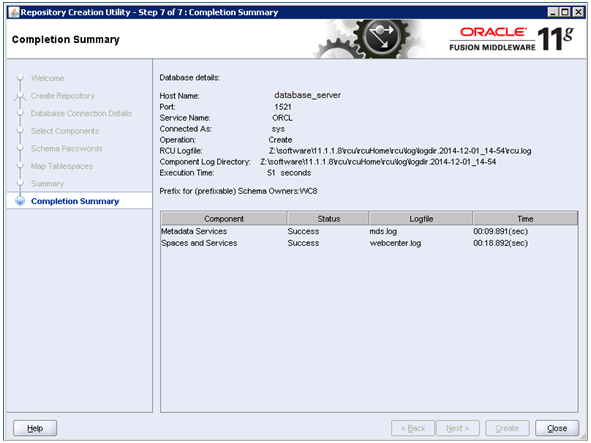
Review the summary.
-
Click Create to start the tablespaces creation.
-
Click Close to exit Repository Creation Utility.