3 Setting Up and Configuring Application Development Framework (ADF)
This chapter contains the following topics:
3.1 Downloading ADF Runtime
Access the download using the following link:
http://www.oracle.com/technetwork/developer-tools/adf/downloads/index.html
From the drop-down menu, select the release that corresponds to the MTRs located in this section, and then click the Download File button.
The appropriate Oracle ADF Runtime Distribution will download.
3.2 Installing ADF Runtime Libraries on Weblogic (WLS)
Now, to Weblogic, install the ADF Runtime Libraries you downloaded in Section 3.1, "Downloading ADF Runtime".
3.2.1 Installing ADF Runtime
To install ADF Runtime:
-
Change directory to java\bin folder.
-
Execute java-jar fmw_12.1.3.0.0_infrastructure.jar file.
-
Click Next on the Welcome screen.
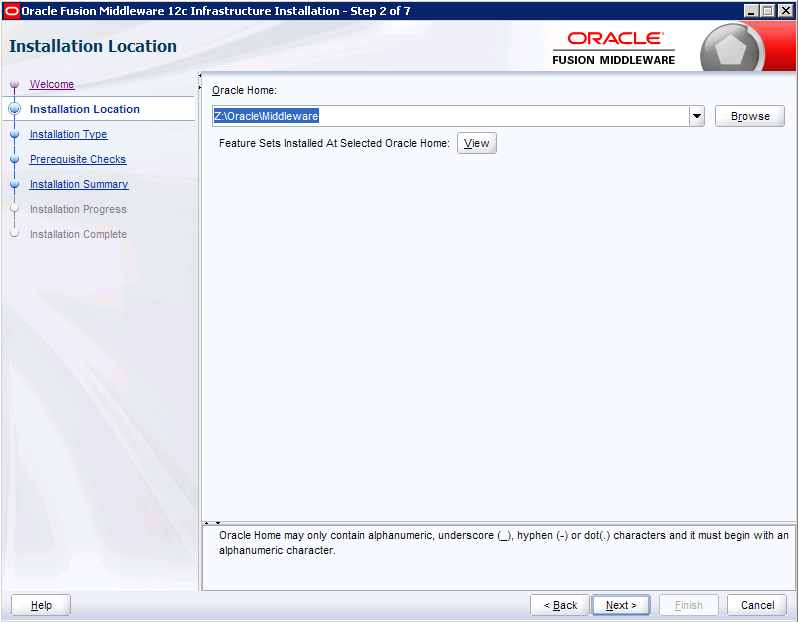
-
Enter the existing Oracle Home, for example, Oracle\Middleware)
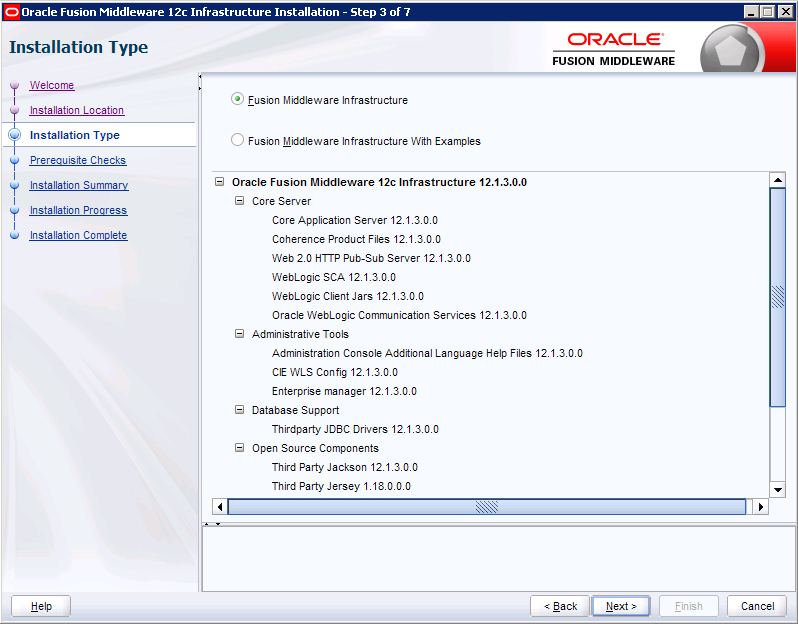
-
Select the Fusion Middleware Infrastructure option and click Next.
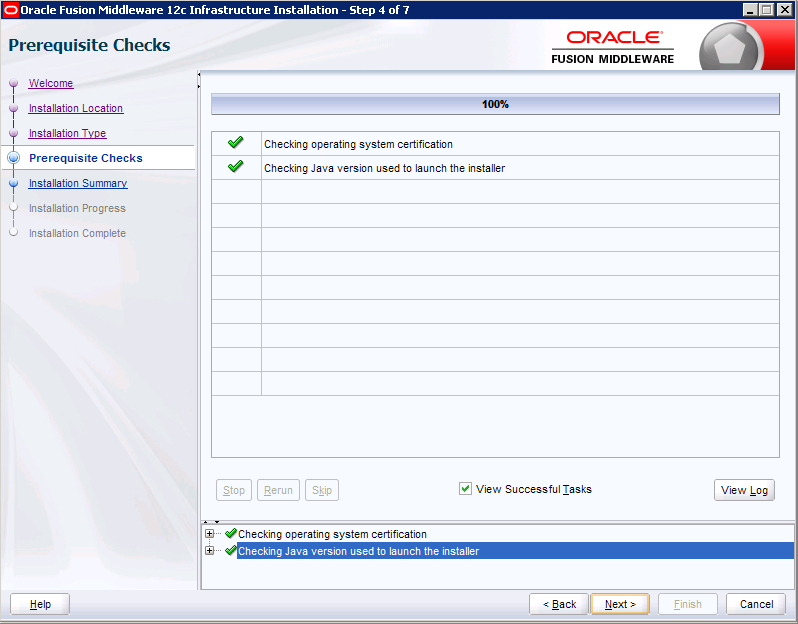
-
Click Next after the Prerequisite Checks.
-
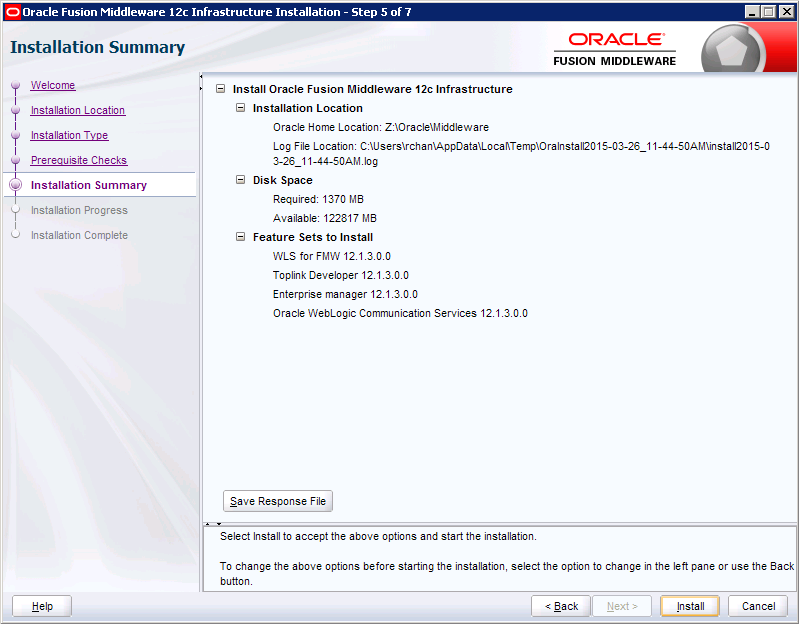
Review the installation summary, and then click Install.
-
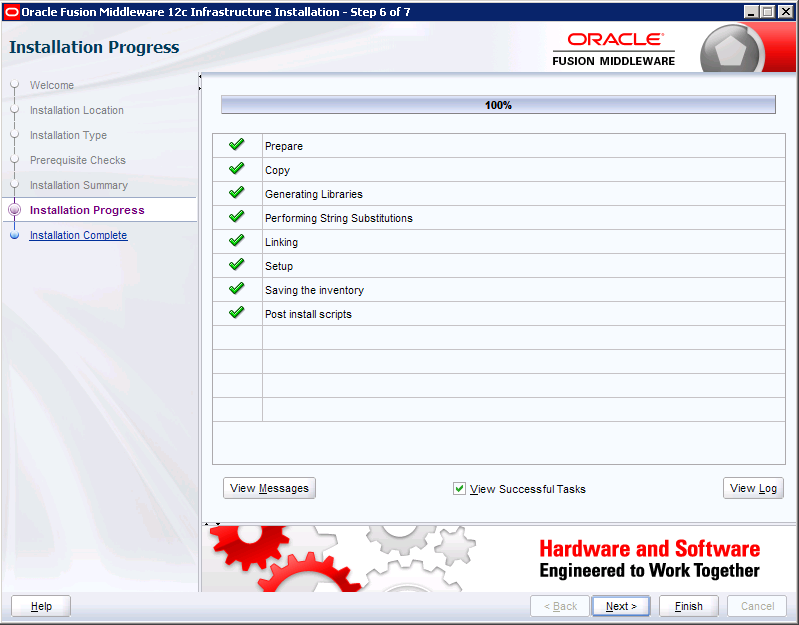
Click Next when installation is completed.
-
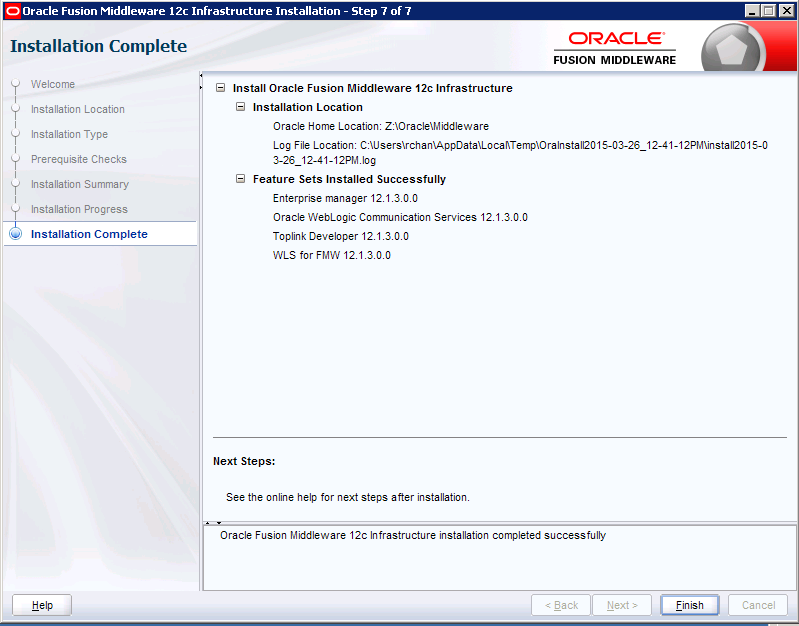
Review the Installation Status and click Finish.
3.3 Configuring ADF Runtime
You configure the ADF runtime by completing the following tasks:
-
Creating the Database Schemas using RCU
-
Extending the Weblogic domain for ADF
-
Creating a managed server
-
Applying the JRF Template to the new managed Server
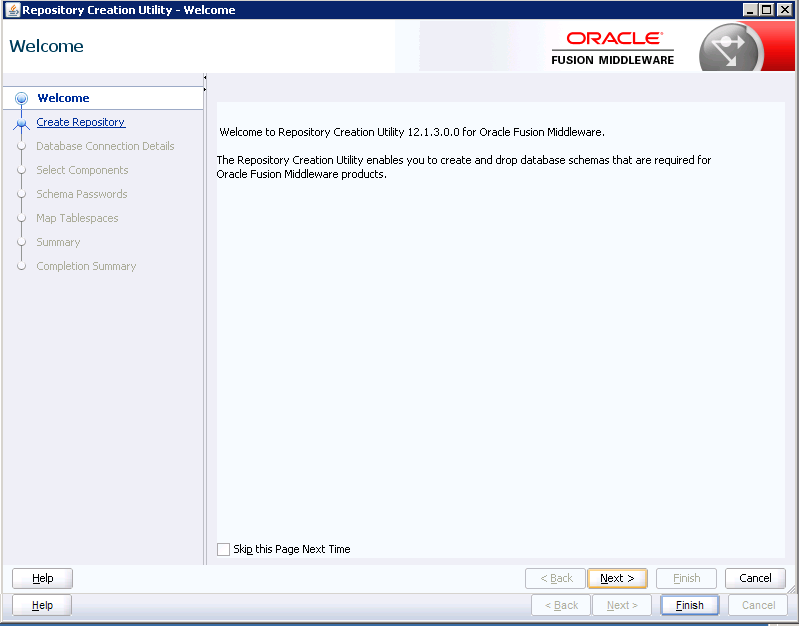
3.3.1 Creating the Database Schemas using Repository Creation Utility (RCU)
To create the database schemas using RCU:
-
Execute the rcu.bat(sh) from the Oracle_Home\oracle_common\bin folder.
-
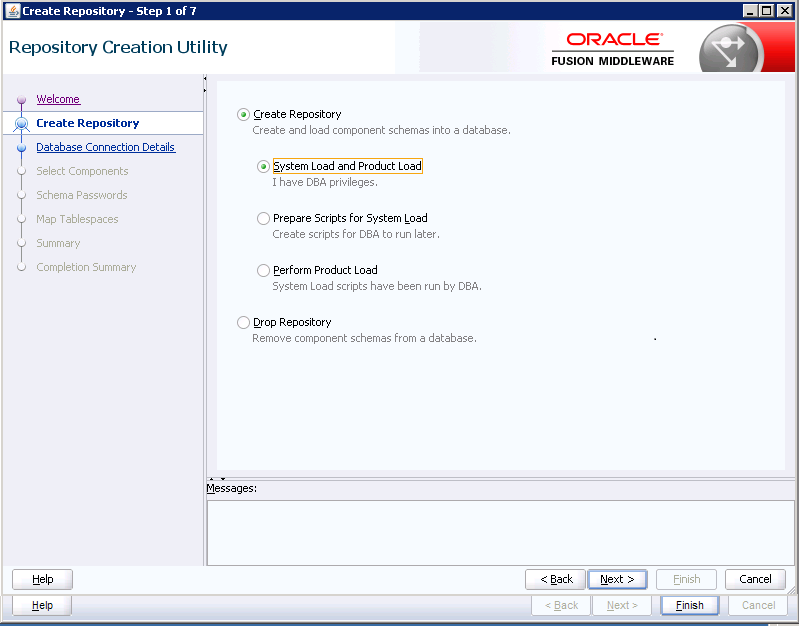
Click Next on the Welcome Screen.
-
Select the Create Repository, and System Load and Product Load options.
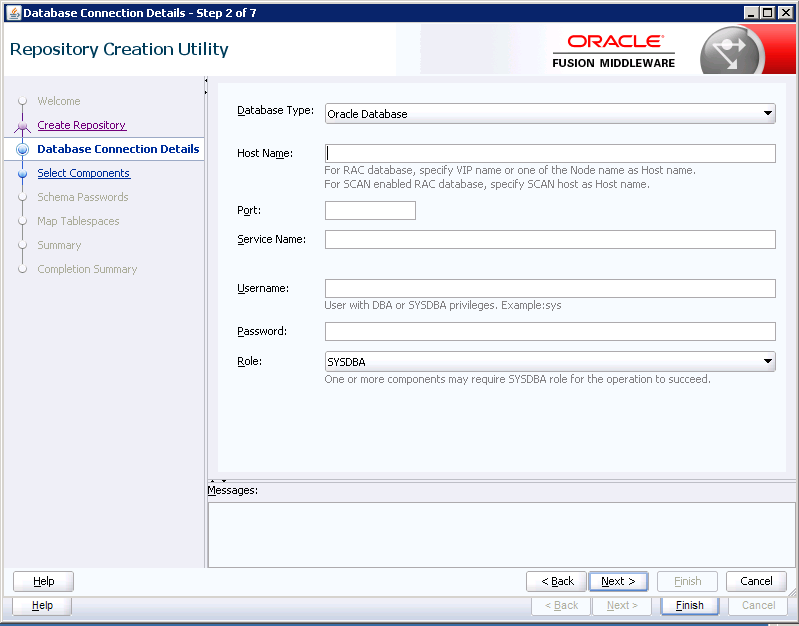
-
Enter the database connection information.
-
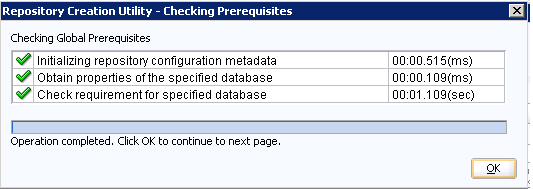
Click OK after the Prerequisites Checks.
-
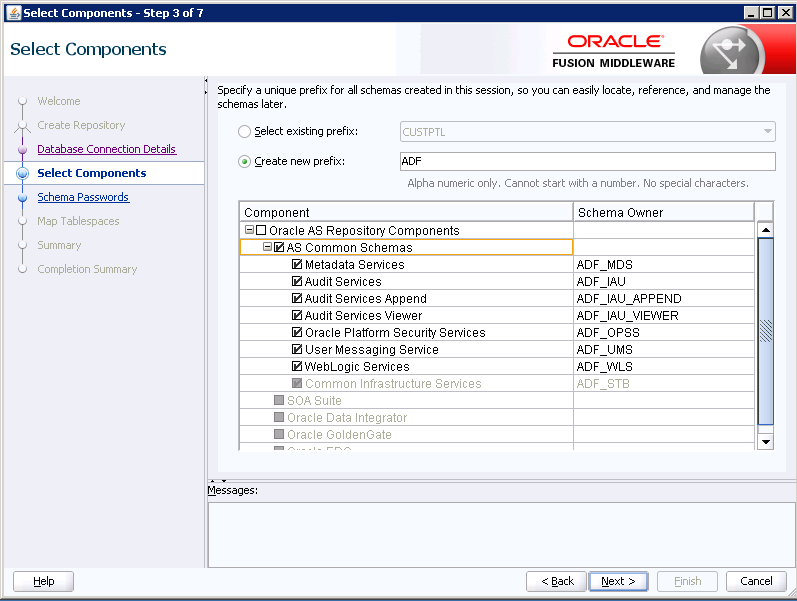
Enter a new schema prefix and select the AS Common Schemas.
-
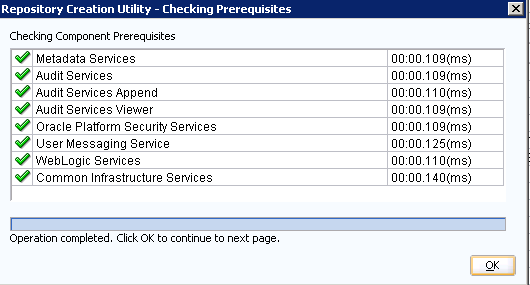
The installer will perform a second check.
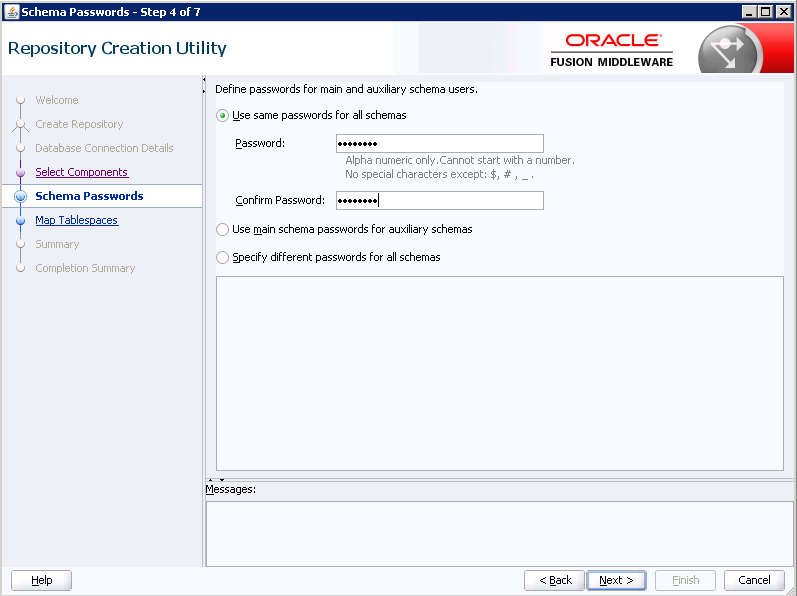
-
Enter the password for all schemas.
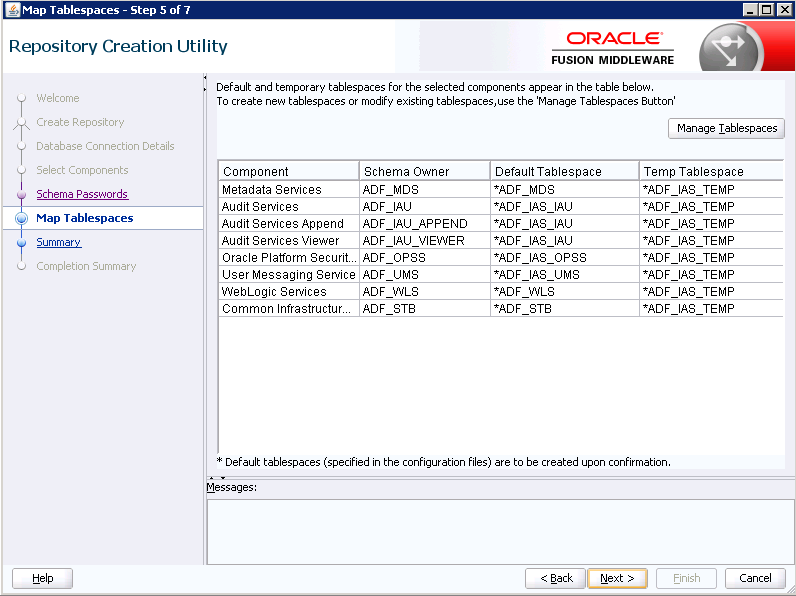
-
Review the tablespaces information.
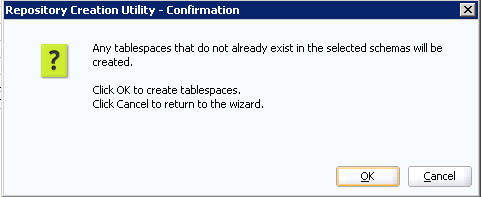
-
Click OK to confirm tablespaces creation.
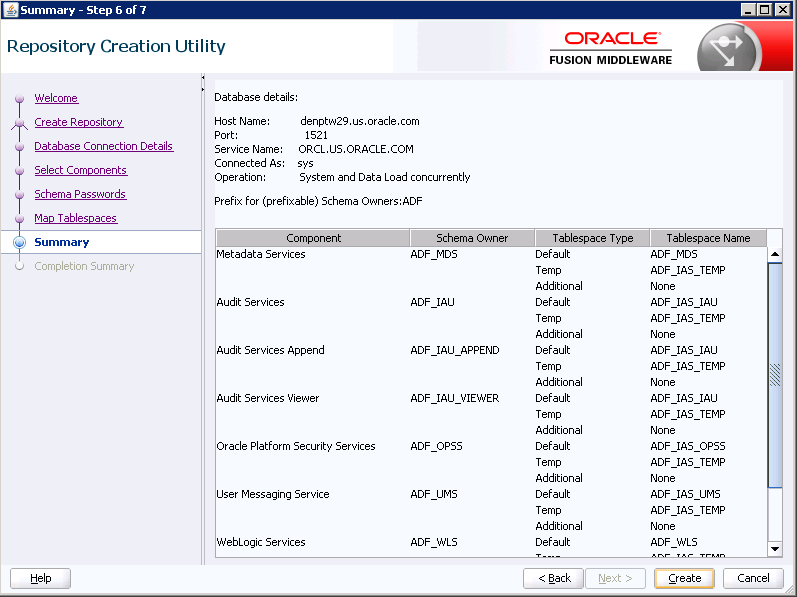
-
Click Create.
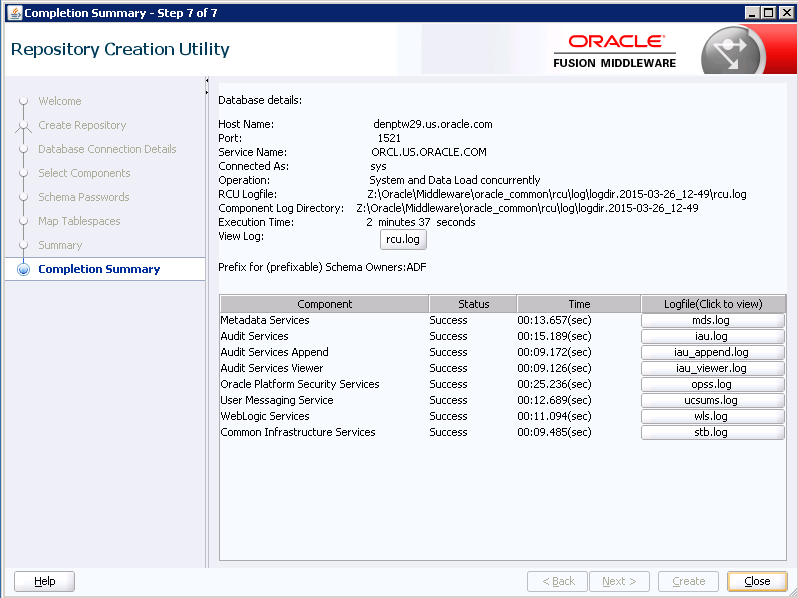
-
Click Close when the tablespaces creation is completed.
3.3.2 Extending the Weblogic Server Domain for ADF Runtime
Since your ADF applications will be on the same domain as your ADF libraries, then you need to extend the Weblogic Server Domain for ADF Runtime.
Note:
If you have not yet created the WLS domain, you can choose "Create a new domain" instead of "Update an existing domain."To extend the Weblogic server domain for ADF runtime:
-
Execute the config.cmd(sh) from Oracle_Home\oracle_common\common\bin folder.
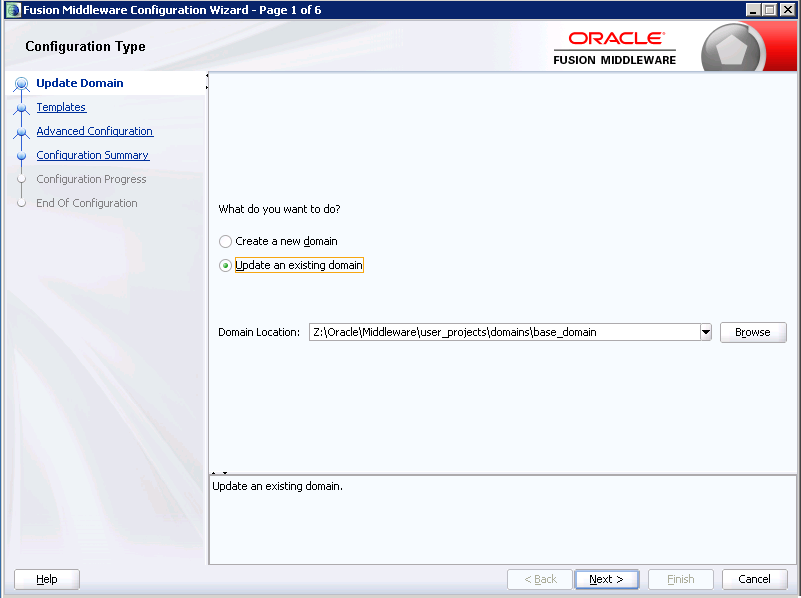
-
Click the Update an existing domain option.
The Create a new domain will be similar.
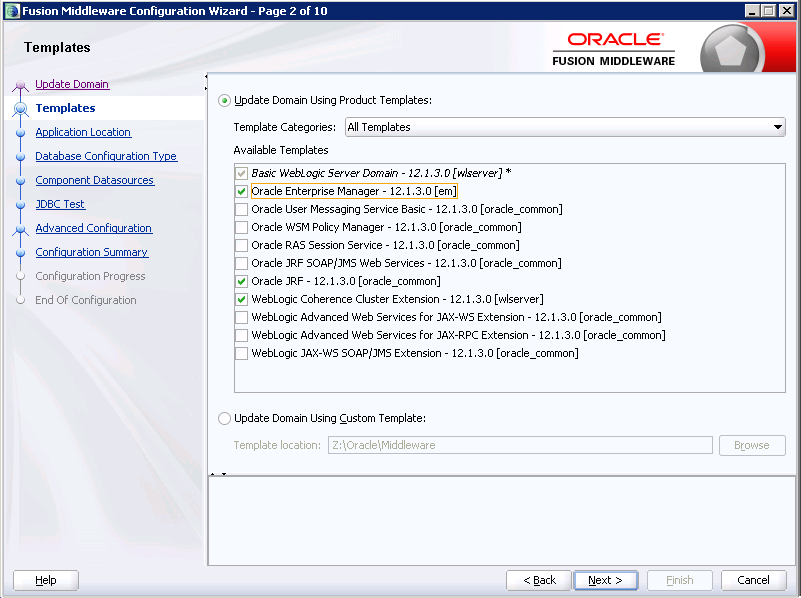
-
Select the Oracle Enterprise Manager option.
The other two options will be selected automatically.
-
Verify the Domain location, and then click Next.
-
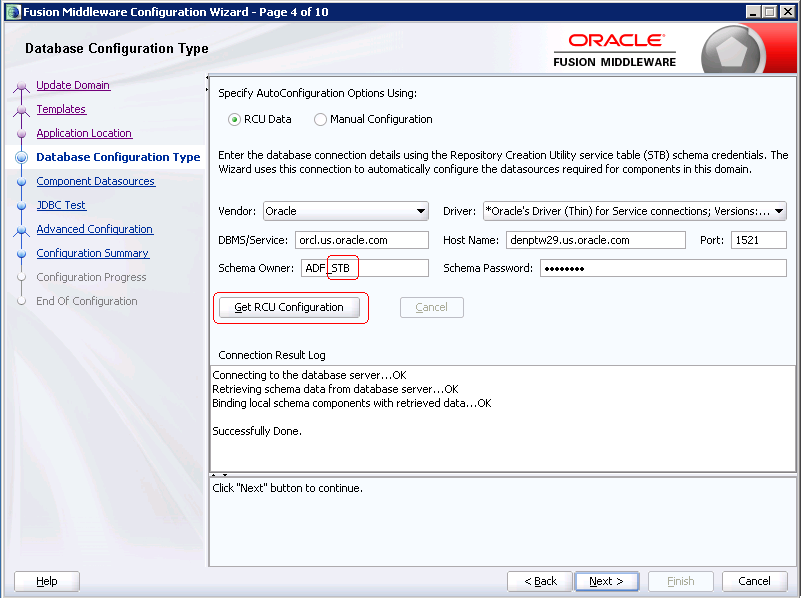
Enter the Database Configuration.
Be sure to use the prefix_STB schema.
-
Click Get RCU Configuration to verify the connection.

-
Review the Data Source Components and verify that the connection info is correct.
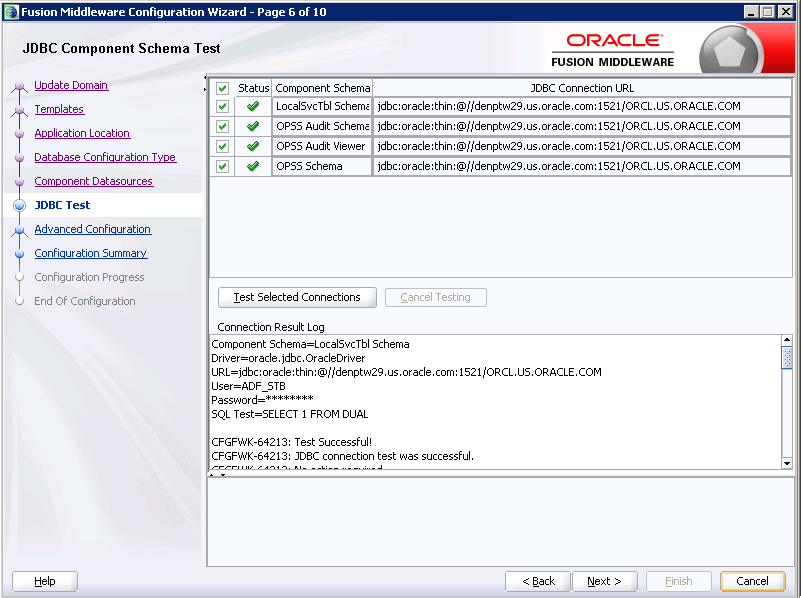
-
The test connection should return successfully.
-
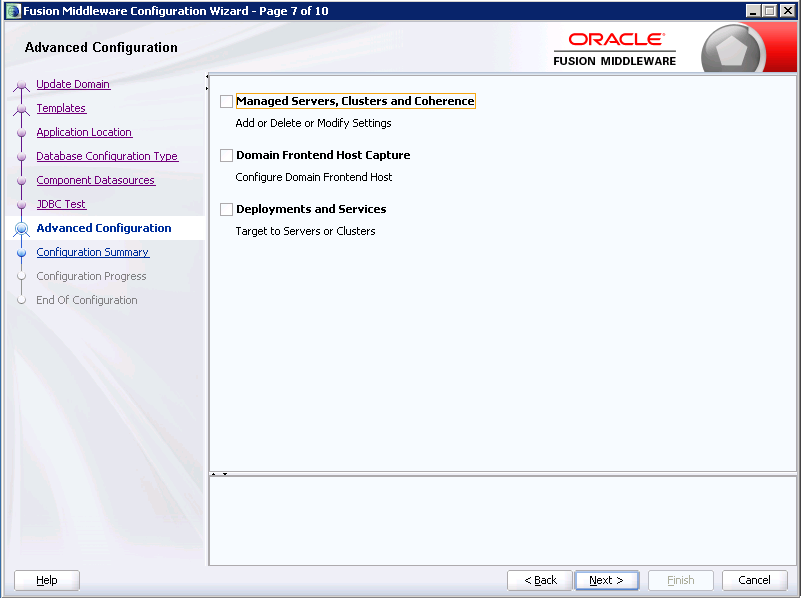
Click Next without selecting any options.
-
Review the Configuration Summary, and then click Update.
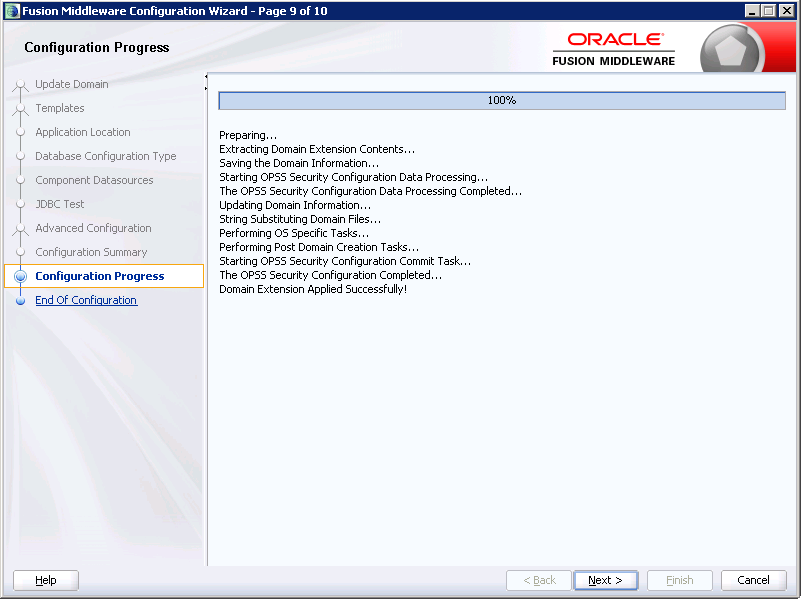
-
Click Next when the upgrade process is completed.
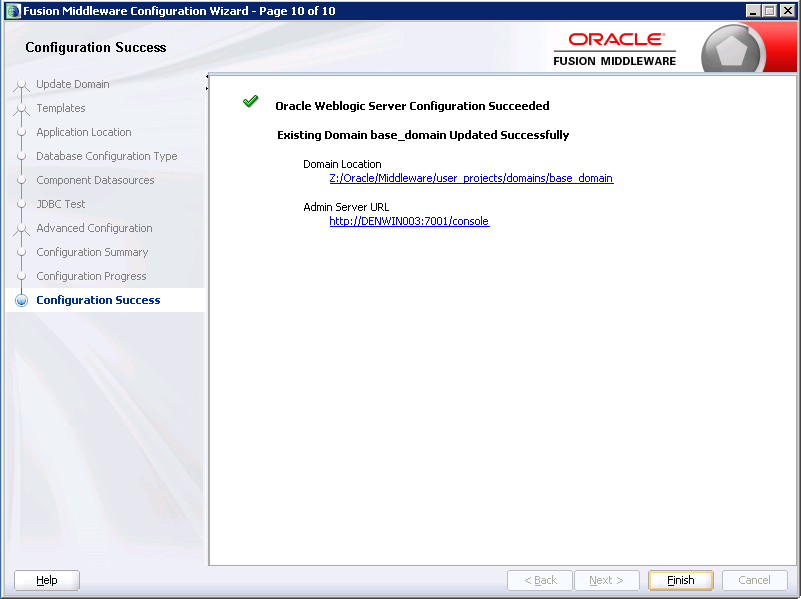
-
Click Finish to exit the installer.
3.3.3 Creating a Managed Server
To create a managed server:
-
Launch the Weblogic Admin Console.
-
Click Server, and then click Lock and Edit.
-
Click New to create a Managed Server.
Note:
If you have Server Manager agent installed and have registered the Weblogic instance to your Server Manager, you can create the J2EE container from Server Manager.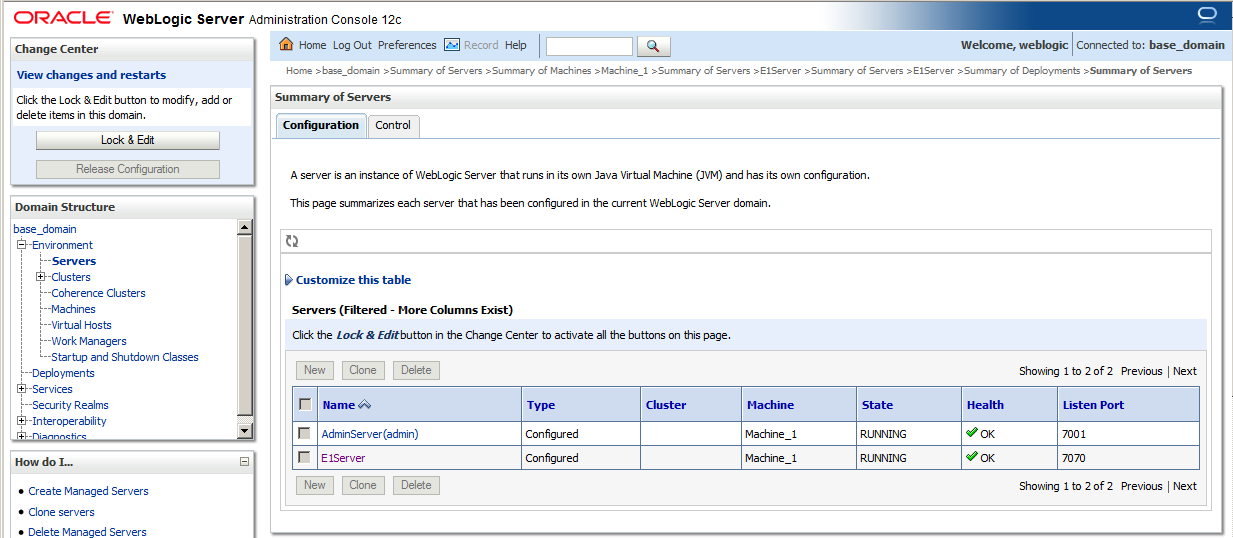
3.3.4 Applying the JRF Template to the New Managed Server
To apply the JRF template to the new managed server:
-
Sign on to Weblogic Enterprise Manager.
http://server:port/em. -
Select the Managed Server.
-
Click the JRF Template.
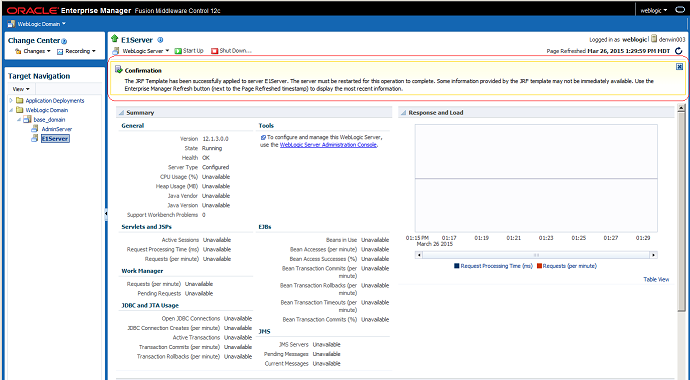
-
Review the Confirmation message.
Now this server is ready for deployment.