20 Work with Audit Trails
This chapter contains the topic:
20.1 Working with Audit Trails
From the FASTR menu (G83), choose Financial Statements
When you need to research questionable account balances for a version, you can create an audit trail. To do this, you must first activate the balance auditor. Because the balance auditor requires significant system resources, you should run a version with it activated only when necessary.
With the balance auditor activated, the system determines which records in the Account Balances table (F0902) were used to create the account balances on your version.
The balance auditor provides an audit trail for non-calculated amounts only. It does not provide an audit trail for amounts that are the result of column, row, or cell calculations.
The information on the audit trail might differ from the information in your account ledger. This is because the account ledger is dynamic. That is, when someone posts a transaction, it is reflected immediately. The audit trail, in contrast, is static. If someone posts a transaction after you create the audit trail, it is not reflected in the audit trail.
Working with audit trails consists of:
-
Creating audit trails
-
Reviewing audit trails
-
Setting up a menu option for Balance Auditor (optional)
You need to run your version with the balance auditor activated. The balance auditor saves a soft copy of the report and creates an audit trail.
On Financial Statements
-
Follow the steps for revising a version.
-
On FASTR Definition Options, select Override Default Information.
-
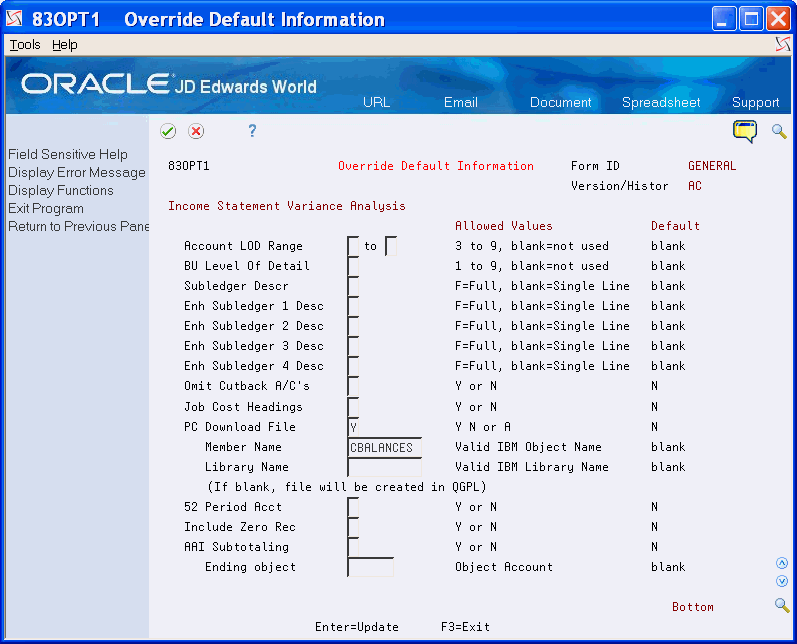
On Override Default Information, access the second screen.
Figure 20-1 Override Default Information screen

Description of "Figure 20-1 Override Default Information screen"
-
Complete the following fields:
-
Enhanced Subledger 1 - 4 Description
-
-
Type A in the following field:
-
PC Download File
-
-
Type a member name (or a value that begins with an alpha character) in the following field and press Enter:
-
Member Name
-
-
On FASTR Definition Options, press Enter.
-
On Financial Statements, choose Run next to the version to create the audit trail.
| Field | Explanation |
|---|---|
| Enhanced Subledger 1 - 4 Description | Determines the amount of detail to print for a subledger description.
Valid values are: Blank Single line. F Full description. S The tax ID for Address Book. |
| PC Download File | Determines whether data is retained for use after you generate a report. Values are:
N – Do not retain any data. Y – Retain a print image to be used later by Excel or other PC-based products. A – Retain data for both the PC Download and Balance Auditor functions. For performance reasons, use this value only when you need to use the balance auditor to audit an amount on a report. |
| Member Name | The IBM member name that is used to hold PC Download or balance auditor information in the worktables (F8308, F8309, and F8310). This name must follow the IBM object name rules. There cannot be any leading blanks, and the first character must be #,$,@ or A-Z. The remaining characters must be #,$,@, _, A-Z or 0-9. |
After creating an audit trail, you can review it.
On Financial Statements
-
Press F8.
Figure 20-2 Balance Auditor Version List screen

Description of "Figure 20-2 Balance Auditor Version List screen"
-
On Balance Auditor Version List, choose Display Print Image to see an online image of your version.
Note:
Only amounts that are not the result of column, row, or cell calculations are available for audit. -
To review the audit trail for an amount, move the cursor to the amount and choose Balance Auditor(Cursor Sensitive).
Note:
The Balance Audit Trail shows the records from the Account Balances table (F0902) that make up the amount you are reviewing. -
To display the account ledger records that the system currently has in the account, choose Account Ledger Inquiry.
Figure 20-5 Account Ledger Inquiry screen

Description of "Figure 20-5 Account Ledger Inquiry screen"
-
On Account Ledger Inquiry, choose Original Entry to review the original entry for a record.
-
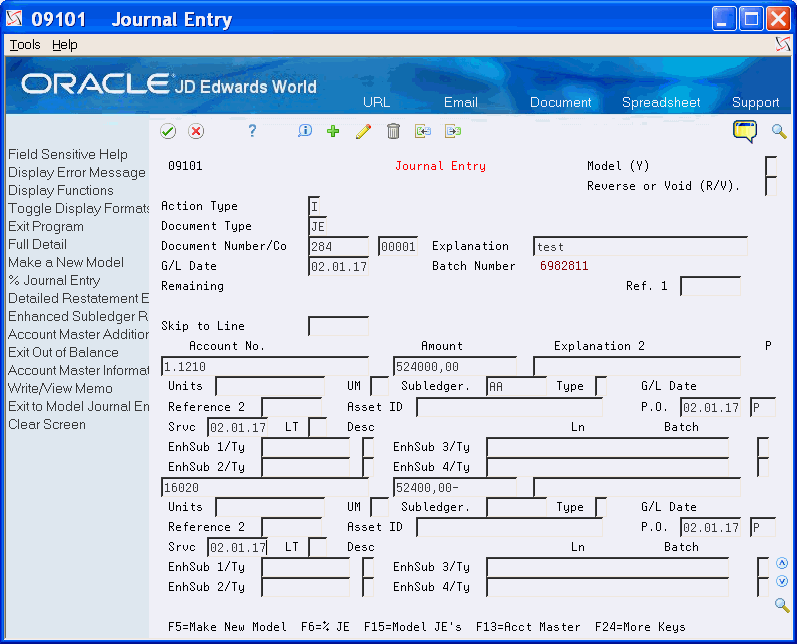
On Journal Entries, choose More Details to display additional information about a record.
-
On Journal Entries, exit the balance auditor until you return to Financial Statements.
When you are done using the balance auditor for a version, return to Override Default Information for the version and remove the values in the PC Download File and Member Name fields.
20.1.1 What You Should Know About
| Topic | Description |
|---|---|
| Purging report copies | The system stores copies of audit trail reports for two days before purging them. |
Set Up a Menu Option for Balance Auditor
To access a Balance Auditor versions list, normally you go into the FASTR form ID and press F8. Alternatively, you can set up a menu option to access the Balance Auditor versions list associated with a specific form ID directly. To attach the correct program for balance auditor you must choose Revisions from Menus (G901).
On Revisions
-
Locate the menu where you want the option to appear.
This could be G83 or a custom FASTR menu.
-
Look for a blank selection on the menu, then Page Down until that number appears in the Selection field.
-
Complete the required fields as follows:
-
Description = Enter the name of the menu
-
Execute Job = P83200
-
Batch = 0
-
Option Cntrl = 2
-
Option Key = Enter the Form ID of the Balance Auditor version you would like to access
-
Version = 1
-


