To install Oracle VM from a CD:
Make sure that the server BIOS is set to boot from CD.
Insert the Oracle VM CD into your CD drive.
Boot the server with the Oracle VM CD.
The Oracle VM Server screen is displayed.
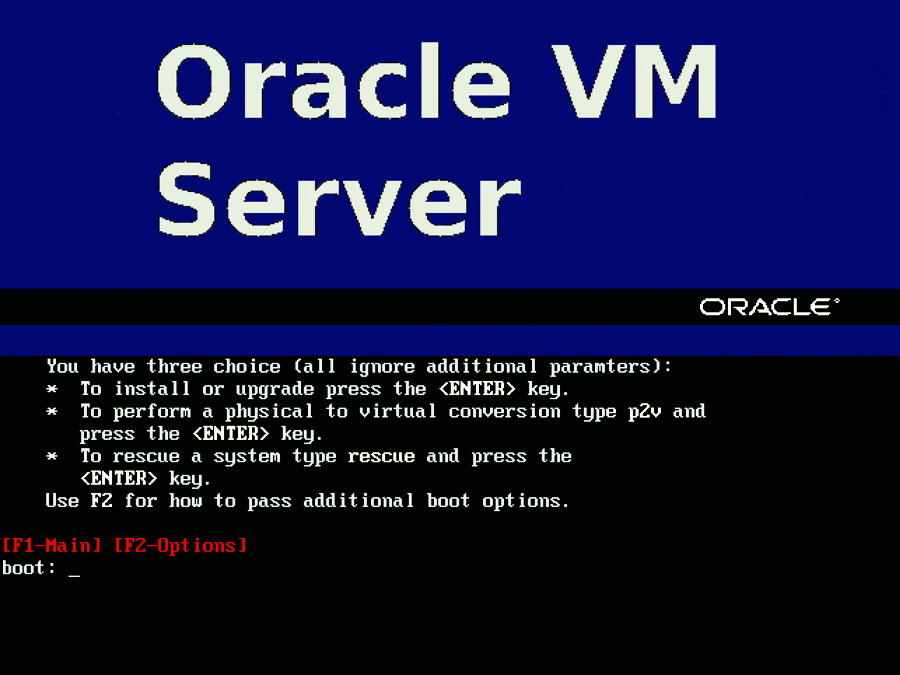
[D]Press Enter to begin the installation. If you do not press a key for one minute, the installer automatically starts. The installer is only available in text mode.
The CD Found screen is displayed.
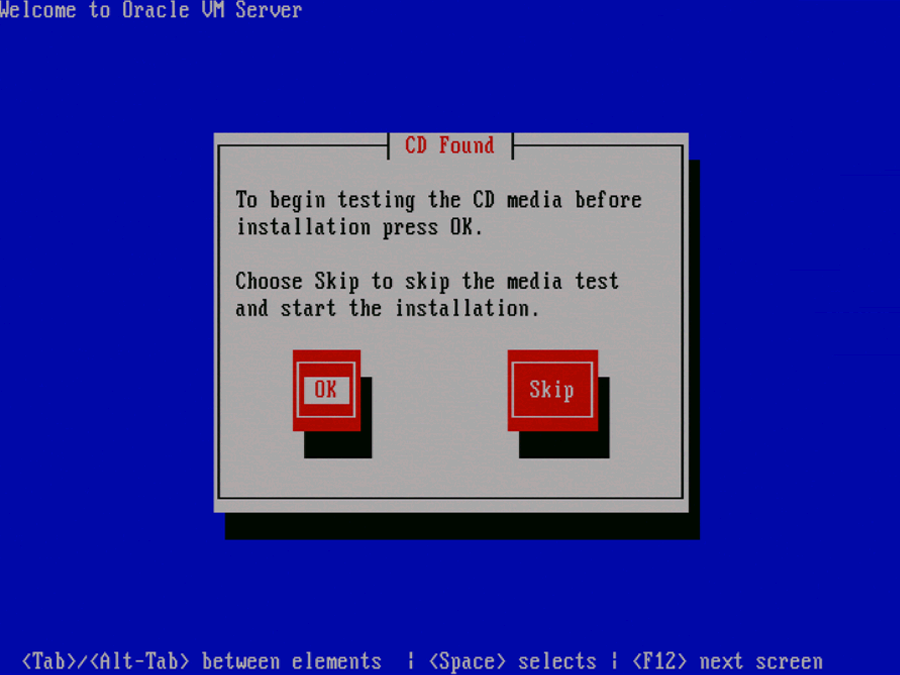
[D]If you want to make sure the CD has been created correctly you can have the installer test it for errors. To test the CD, select OK and press Enter. The CD is tested and any errors are reported.
To skip media testing and continue with the install, select Skip and press Enter.
The Keyboard Selection screen is displayed.
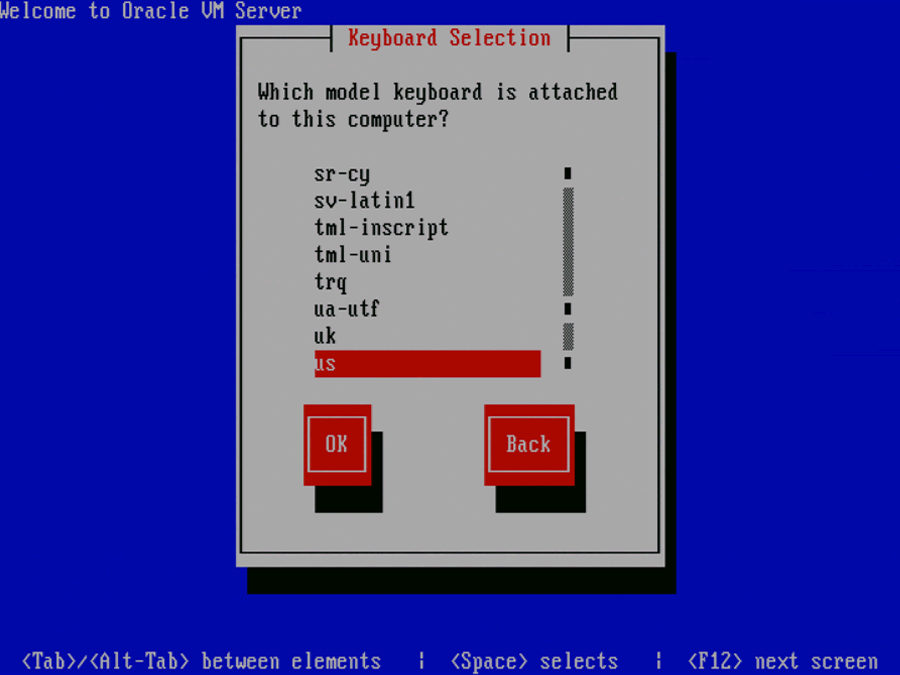
[D]Select the keyboard layout type (for example, us for U.S. English) from the list of available options. The keyboard you select becomes the default keyboard for the operating system.
Select OK and press Enter.
The Oracle VM Server 3.0 End User License Agreement screen is displayed.
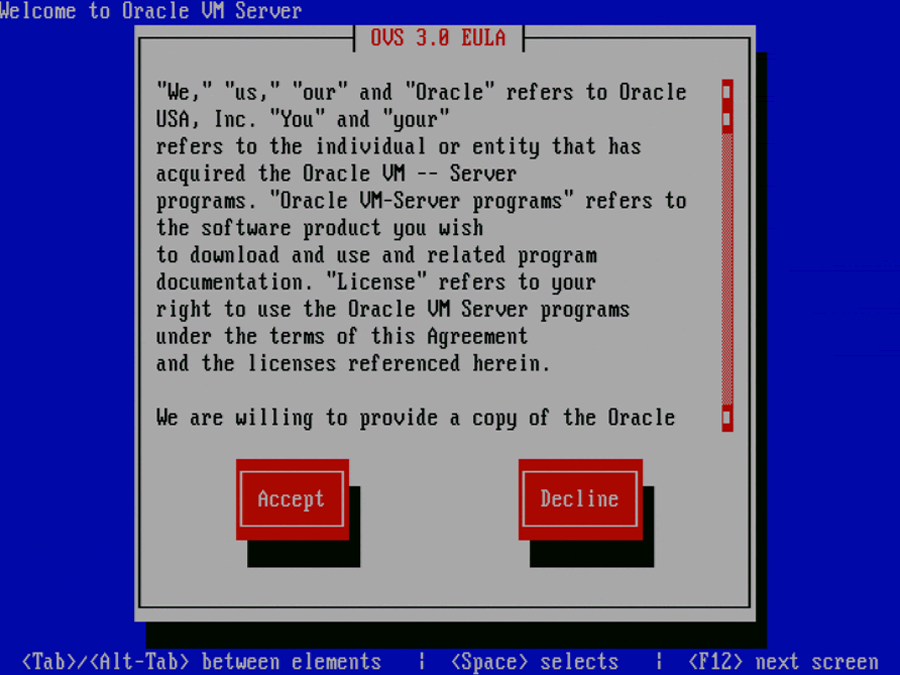
[D]Read the License Agreement text and click Accept to accept the terms of the agreement and continue the installation.
If an existing Oracle VM Server installation is found on the computer, the System to Upgrade screen is displayed.
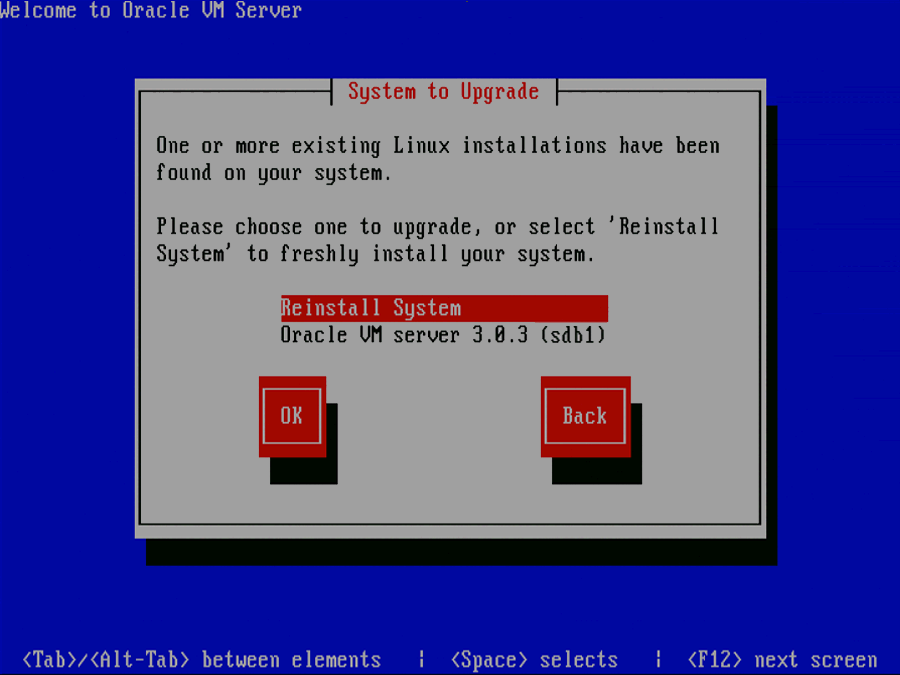
[D]Select Reinstall System to overwrite the existing installation.
Select Oracle VM Server 3.x (disk) to upgrade the existing installation. Upgrade instructions are described in Section 4.3.2, “Upgrading Oracle VM Server Using The CD”. Upgrading an Oracle VM Server from Release 2.x is not supported; you must perform a fresh install.
Select OK and press Enter.
The Partitioning Type screen is displayed.
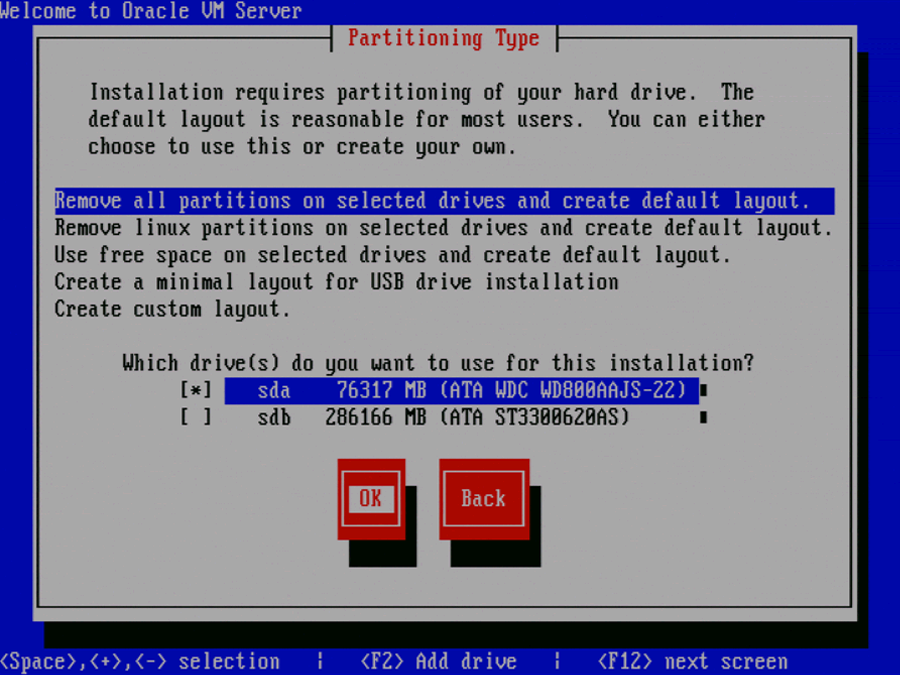
[D]Select whether you want to:
Remove all partitions and create a new default partition layout
Remove all Linux partitions and create a new default partition layout
Use the free space on selected drives to create a new default partition layout
Create a minimal partition layout for installation to a USB drive
Create a custom partition layout
Oracle recommends you use a default partition layout.
NoteAs the Oracle VM installer can only be run in text mode, you cannot set up LVM (Logical Volume Manager). If you want to create an LVM configuration, press Alt + F2 to use the terminal and run the
lvmcommand. To return to the Oracle VM installer, press Alt + F1.Select which drive(s) you want to use for the installation.
Select OK and press Enter.
If you selected to remove a partition, a Warning screen is displayed to confirm that you want to remove the partition(s), including the data contained on any partitions.
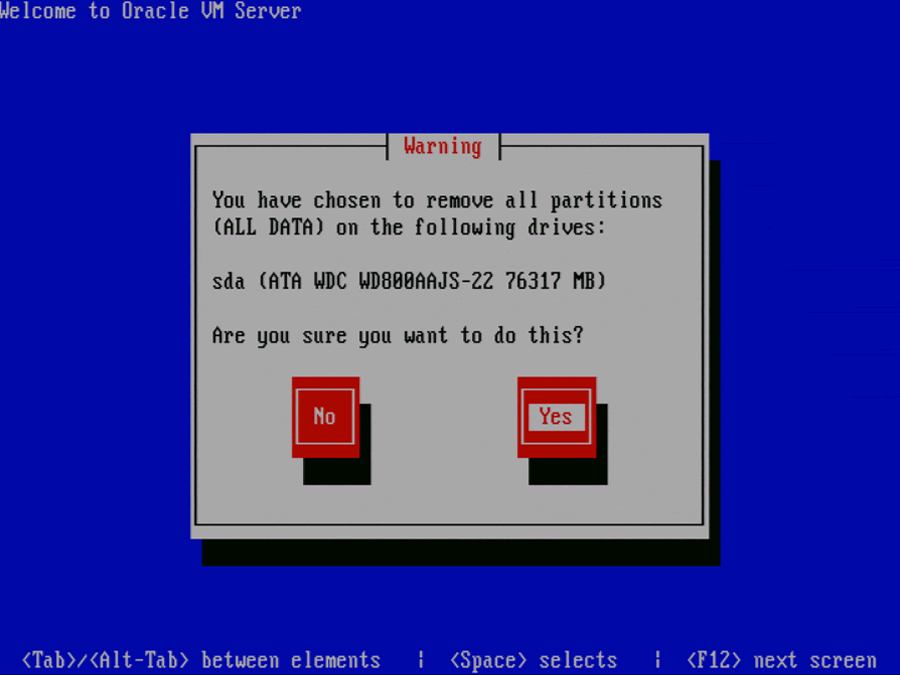
[D]Select Yes and press Enter.
The Review Partition Layout screen is displayed.
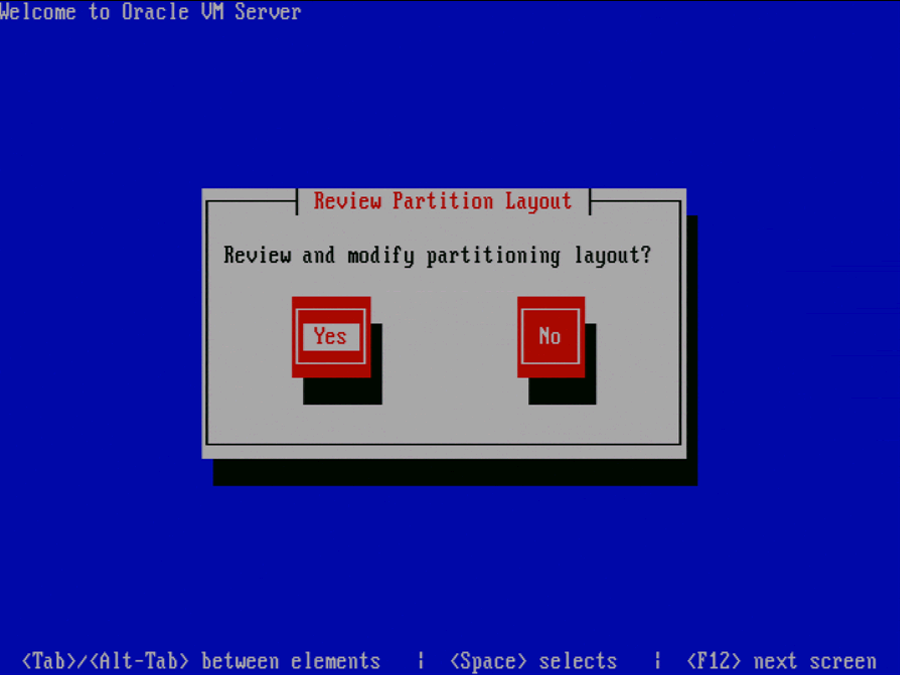
[D]If you do not want to review the partition layout and accept the default partition layout, select No and press Enter.
If you want to review the partition layout, select Yes and press Enter.
The Partitioning screen is displayed.
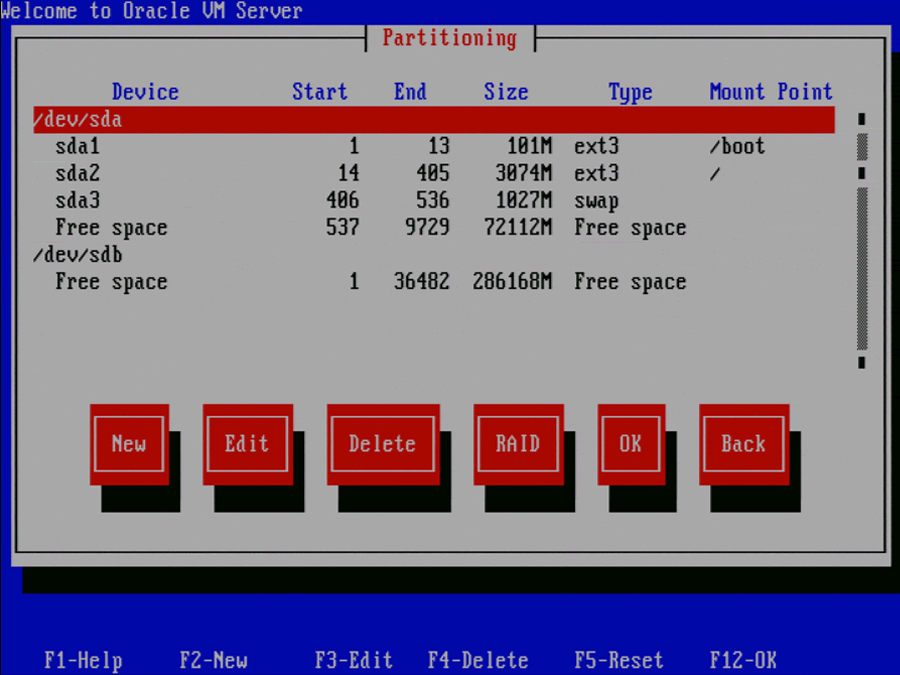
[D]Review the partition layout, and make any changes you want.
Select OK and press Enter to save any changes.
The Boot Loader Configuration screen is displayed.
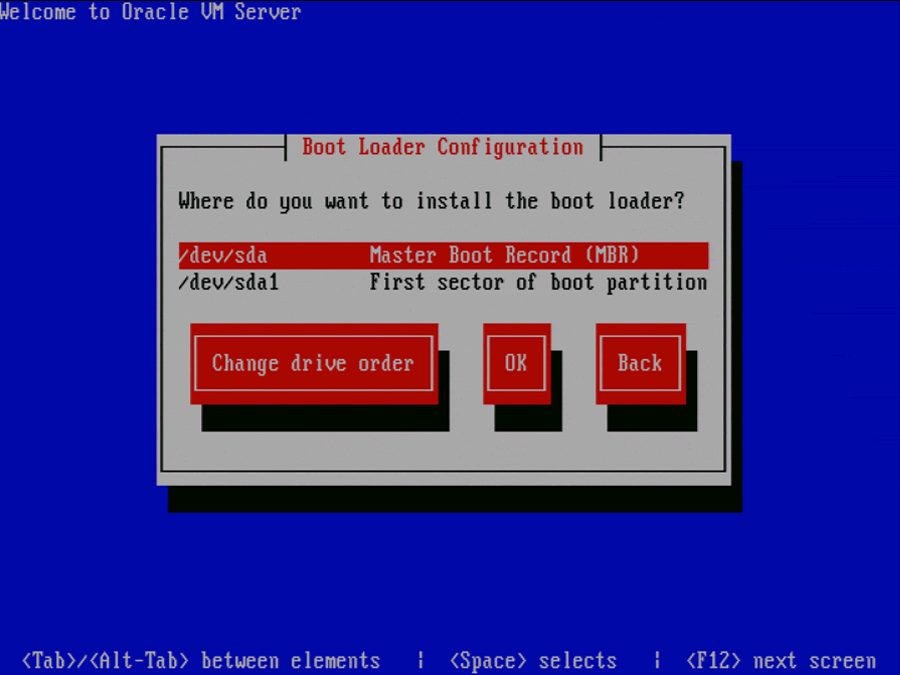
[D]If necessary, you can change the drive for the master boot record by clicking Change drive order and selecting a different drive.
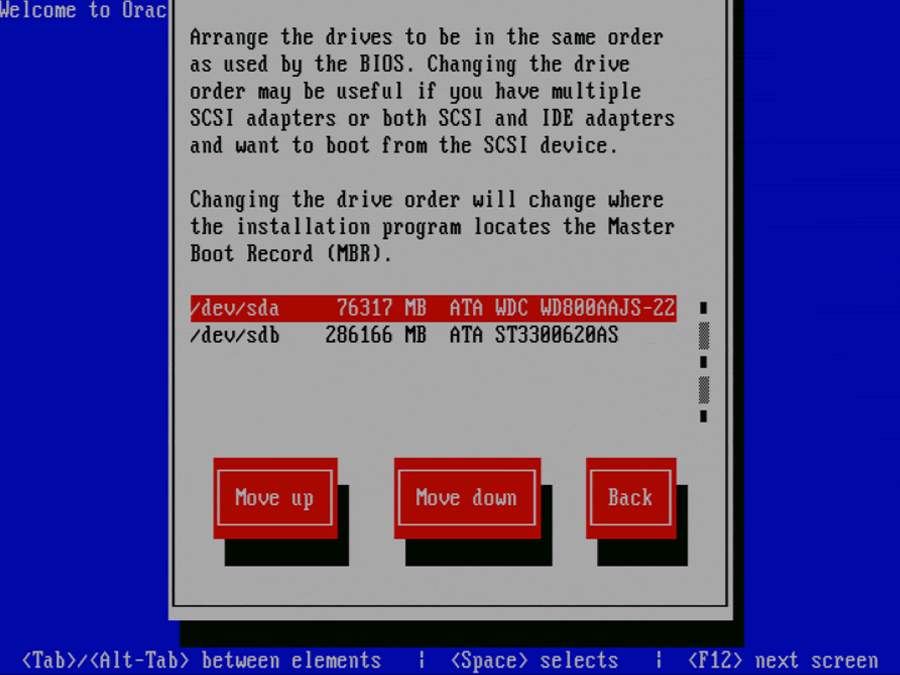
[D]Select a drive in the list and click the Move up and Move down buttons to change the order, making sure that the drive to locate the Master Boot Record is at the top.
Select Back and press Enter to return to the Boot Loader Configuration screen.
Select OK and press Enter.
The Oracle VM Management Interface screen is displayed.
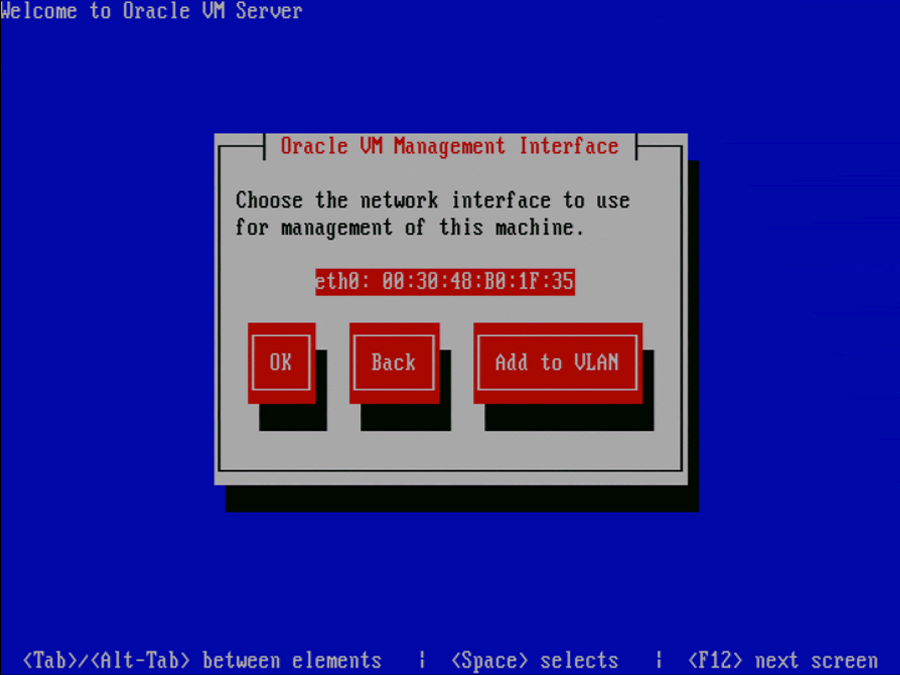
[D]Select the network interface to use for management of the computer.
Choose one of these options:
Select OK to connect the interface to a regular network.
Select Add to VLAN to connect the interface to a VLAN-type network.
Press Enter.
For non-VLAN installation, proceed to the next step.
If you selected Add to VLAN, the Oracle VM Management VLAN screen is displayed.

[D]If your Oracle VM Management network is on a VLAN, enter the applicable VLAN tag. Note that 0 is reserved and that 1 corresponds with "untagged".
Select OK and press Enter.
The Network Interface Configuration screen is displayed.
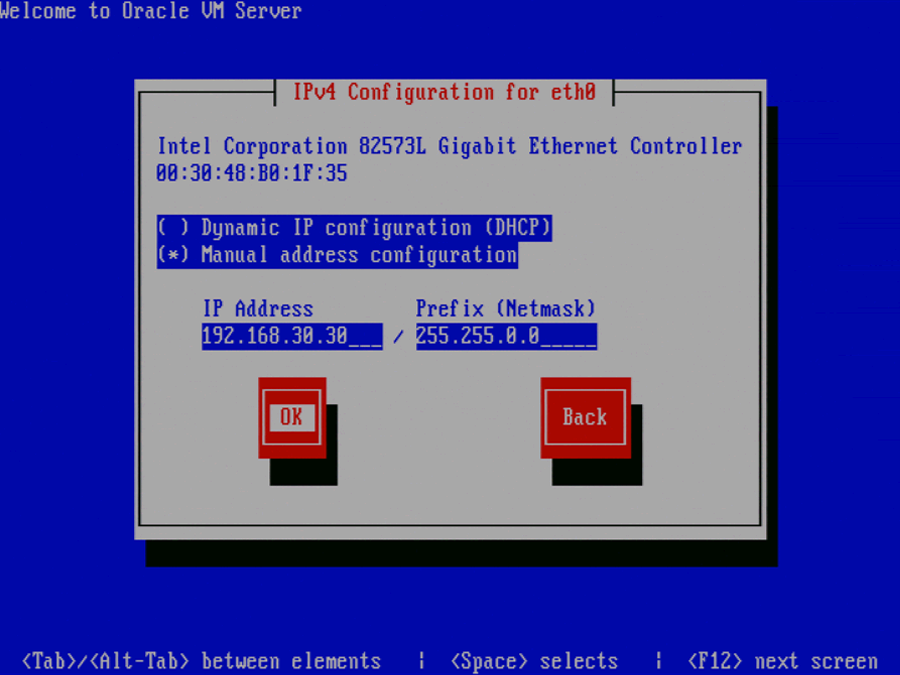
[D]If your computer uses a static IP address, enter the IP address and prefix (netmask) for your computer.
If your computer uses DHCP to assign its IP address, select Dynamic IP configuration (DHCP). See Section 2.1.3, “Network Requirements ” for more information on using DHCP with Oracle VM.
Select OK and press Enter.
The Miscellaneous Network Settings screen is displayed.
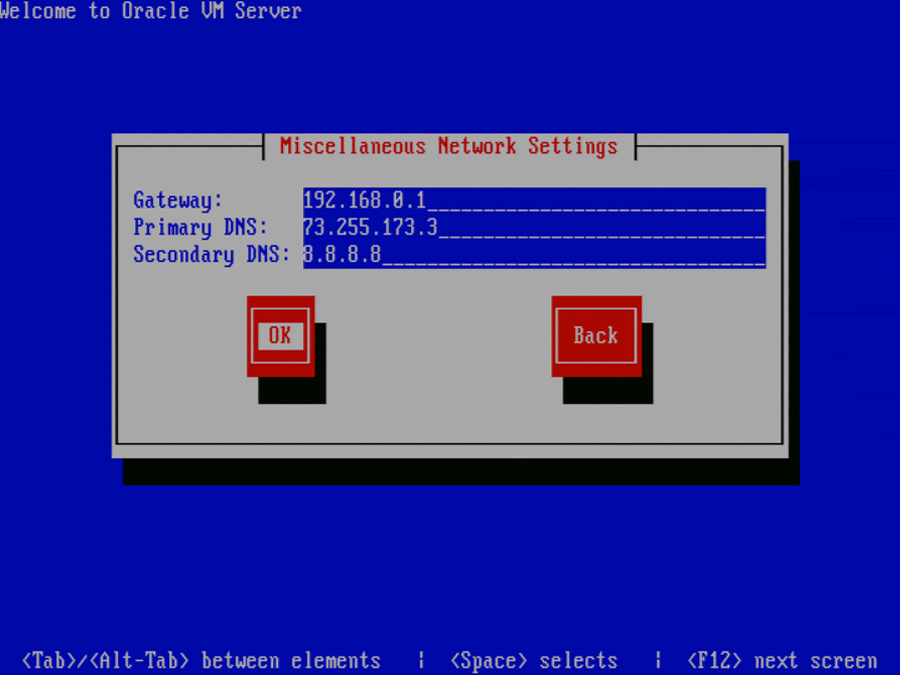
[D]Enter the Gateway, Primary DNS and optional Secondary DNS in the respective fields.
Select OK and press Enter.
The Hostname Configuration screen is displayed.
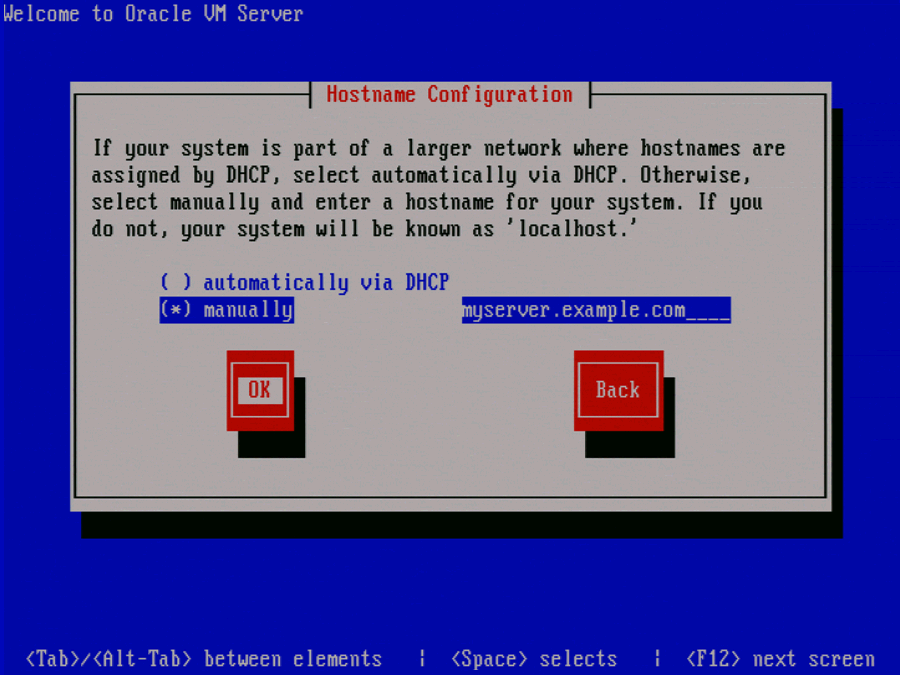
[D]If your machine has its own hostname, select manually and enter the hostname or IP address. You should use a fully qualified hostname, for example, myserver.example.com.
If your machine uses DHCP to assign its hostname, select automatically via DHCP. See Section 2.1.3, “Network Requirements ” for more information on using DHCP with Oracle VM.
Select OK and press Enter.
The Time Zone Selection screen is displayed.
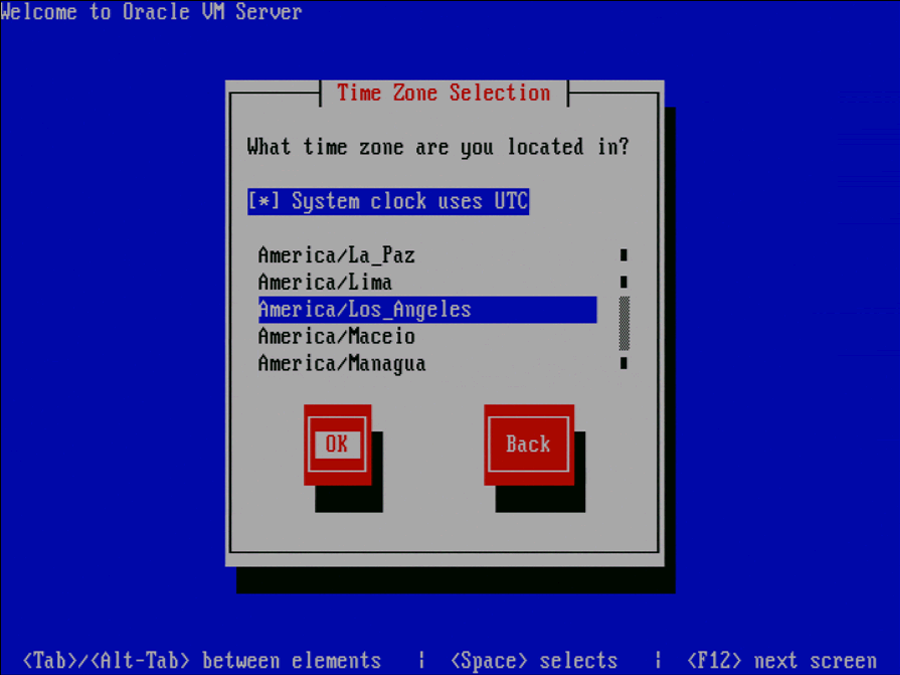
[D]If your operating system uses Coordinated Universal Time (UTC), select System clock uses UTC.
Select your time zone by selecting the city closest to your computer's physical location.
Select OK and press Enter.
The Oracle VM Agent password screen is displayed.
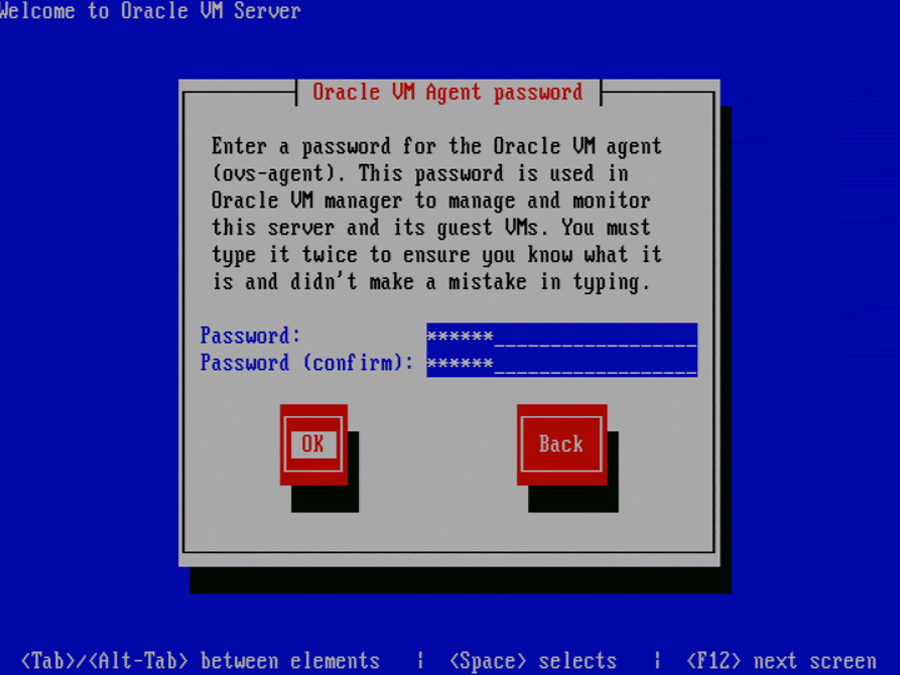
[D]Enter a password to be used for the Oracle VM Agent in the Password field. This password is used by Oracle VM Manager to manage and monitor Oracle VM, and the guests created and running within it. This is the password you use when discovering Oracle VM Servers in Oracle VM Manager.
Re-enter the password in the Password (confirm) field.
The password characters are not echoed to the screen.
Select OK and press Enter. If the two passwords do not match, the installer prompts you to enter them again.
NoteIf you need to change this password, use the ovs-agent-passwd utility. See Section 2.3, “Changing the Oracle VM Agent Password” for more information.
The Root Password screen is displayed.
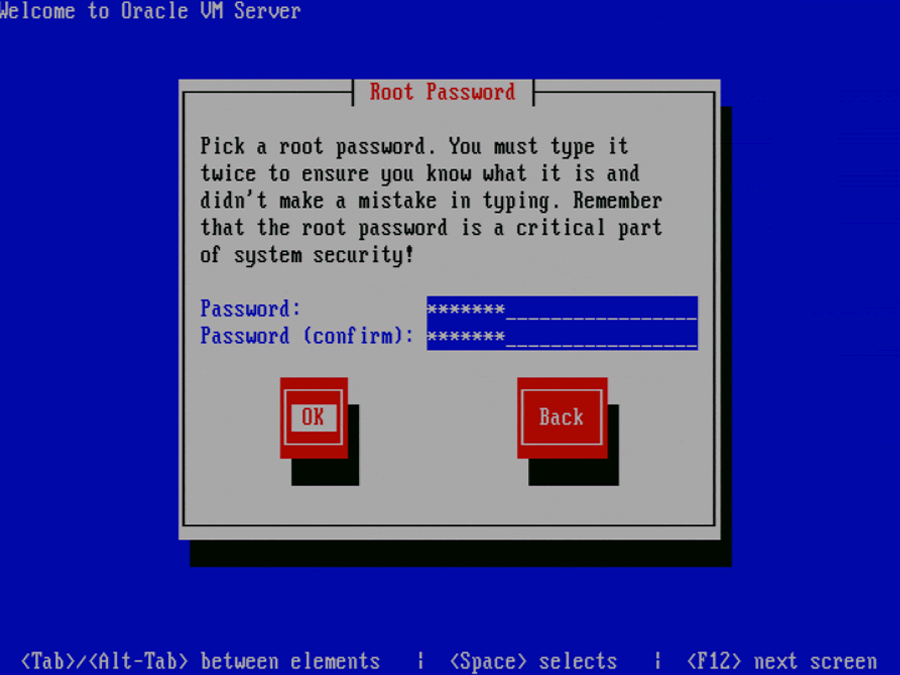
[D]Enter a password for the
rootuser in the Password field. Therootpassword must be at least six characters long.Re-enter the password in the Password (confirm) field.
The password characters are not echoed to the screen.
Select OK and press Enter. If the two passwords do not match, the installer prompts you to enter them again.
The Installation to begin screen is displayed.
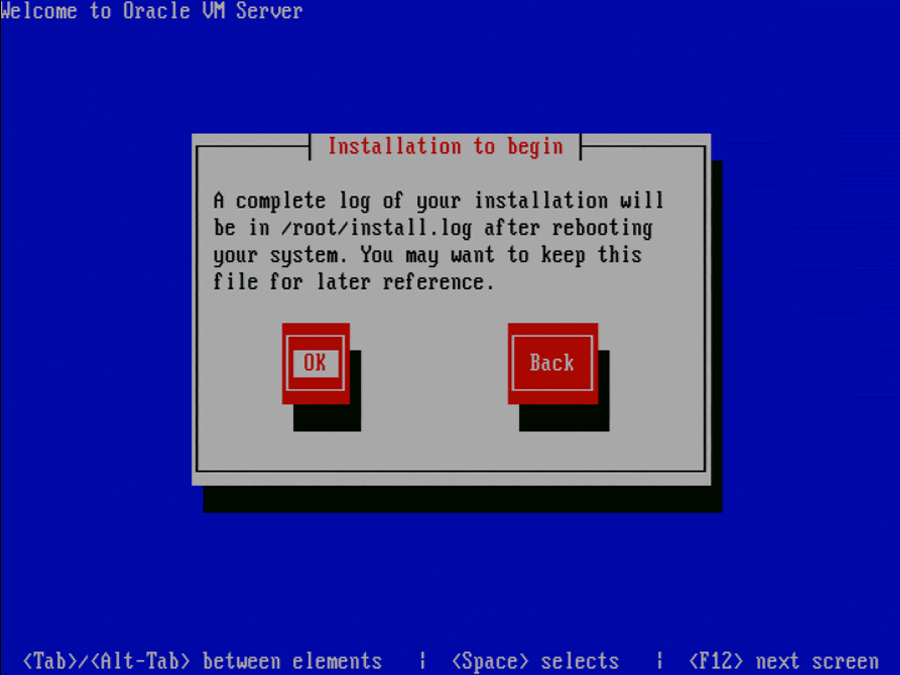
[D]Select OK and press Enter. The installer installs and configures Oracle VM. You can follow the progress of the package installation on-screen.
When all files are installed and configuration is complete, the Complete screen is displayed.
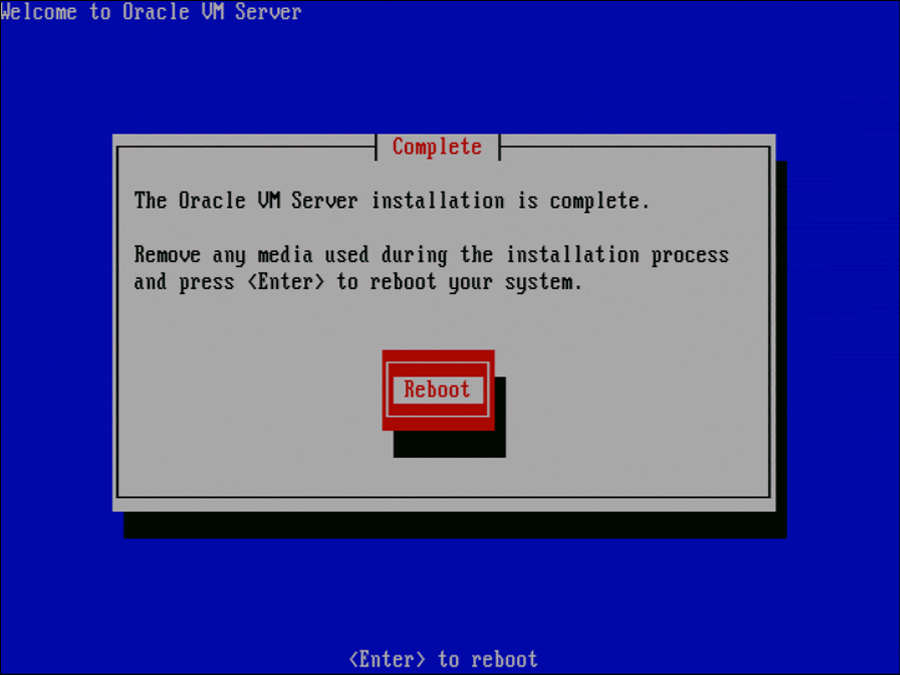
[D]Remove the Oracle VM CD.
Select Reboot and press Enter. The computer reboots.
After reboot, the Oracle VM status console is displayed.
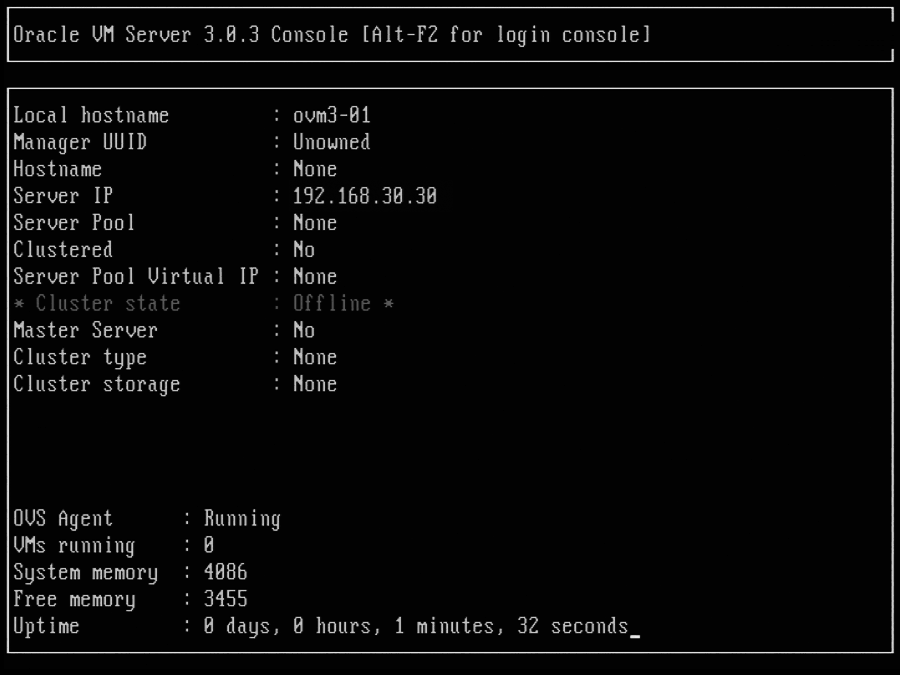
[D]The status console displays useful information about the server's hardware and configuration as well as its cluster and server pool membership.
To log on to the Oracle VM, press Alt+F2 to display the login console.
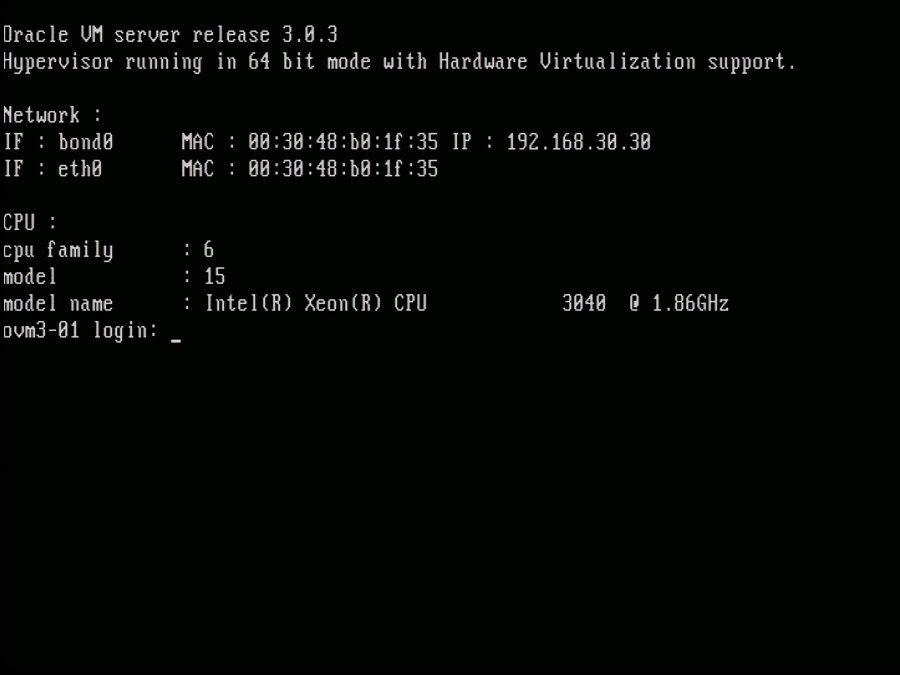
[D]You can log into Oracle VM as
root, with the password you set during the install. To switch back to the status console, press Alt+F1.
The Oracle VM installation is complete. The Oracle VM Agent is started automatically and restarts each time the computer is rebooted.
A log of the install is located in
/root/install.log. If
the install fails, review this log file for help identifying the
cause.