To create a VLAN Group:
In the Hardware view, select the Hardware tab.
In the navigation pane, select Resources. In the management pane, select the VLAN Groups tab.
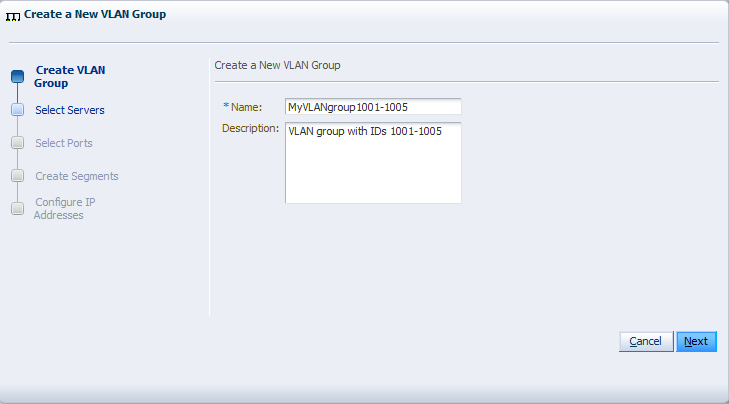
Click Create to start the VLAN Group creation wizard.
Enter a name in the Name field, and optionally a description in the Description field for the VLAN group and click Next.
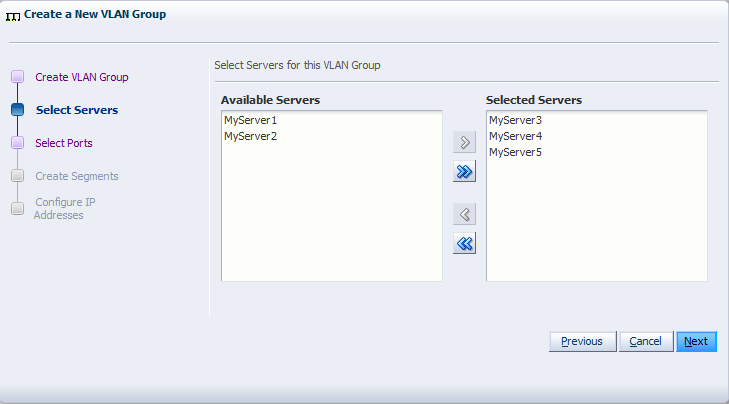
Select the Oracle VM Servers that have ports or bonds for this VLAN group and click Next.
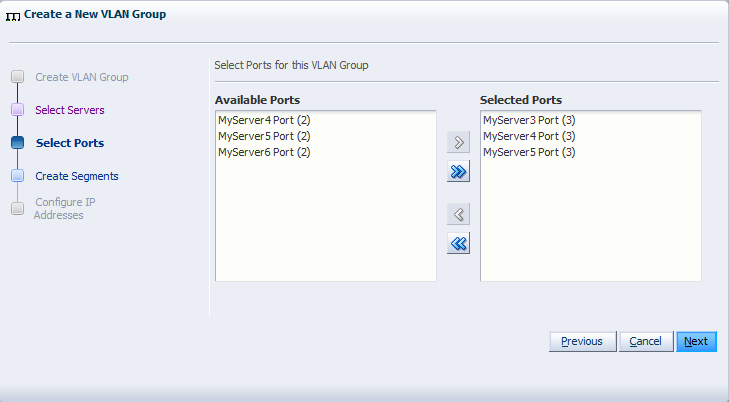
Select the port or bond of each Oracle VM Server that belongs to the network and click Next. The number between brackets next to the name of the Oracle VM Server corresponds with the NIC of the Oracle VM Server.
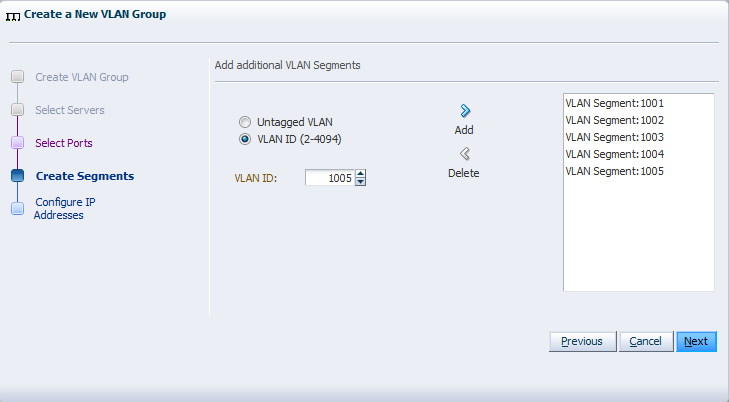
Add all VLAN Ids which belong to the VLAN group, and optionally select Untagged VLAN. Each selected VLAN ID appears as a separate VLAN segment in the VLAN Group.
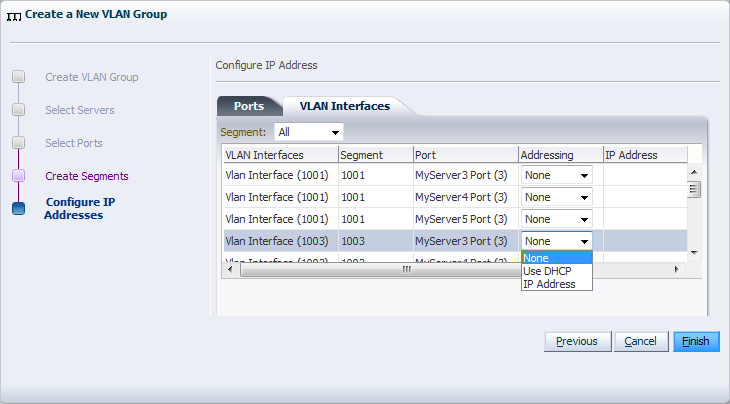
In the next screen, you can set IP addressing to either the ports and bonds or to the VLAN interfaces that are part of this new VLAN Group. Generally, you do not specify IP addresses to VLAN interfaces that are part of a network for virtual machines.
Click Finish to complete the operation.