Oracle VM supports multiple virtual LANs (VLANs) on the same NIC port. Each VLAN is essentially an independent logical network operating with other VLANs over the same physical connection. Using VLANs in an ideal way to minimize the number of required physical connections and NICs while concurrently separating traffic. Configuring networks to support VLAN traffic involves creating one or more VLAN Groups, each of which can house multiple VLANs. Each VLAN is assigned a distinct VLAN identification. The VLAN ID is used by an attached VLAN switch to segregate traffic among the different VLANs operating on the same link. When a VLAN is configured, it functions exactly like a separate physical connection.
VLANs need to be configured in the physical switches before you can use them. See Section 5.6, “VLAN Groups and VLAN Segments” for more information about using VLANs in your networking environment.
To create a VLAN Group:
In Oracle VM Manager, select the Networking tab. Click VLAN Groups to display the VLAN Groups screen.
In the VLAN Groups toolbar, click Create New VLAN Group
 to start the VLAN Group Creation wizard.
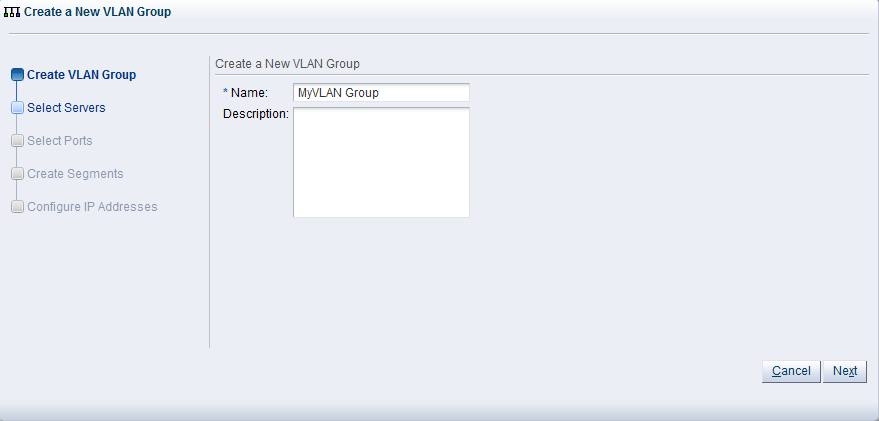
Enter a name in the Name field, and optionally a description in the Description field for the VLAN group and click Next.
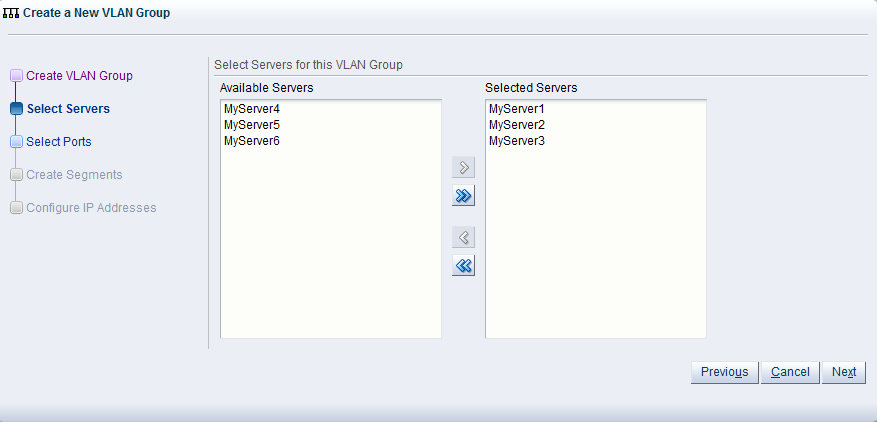
Select the Oracle VM Servers that have ports or bonds for this VLAN group and click Next.
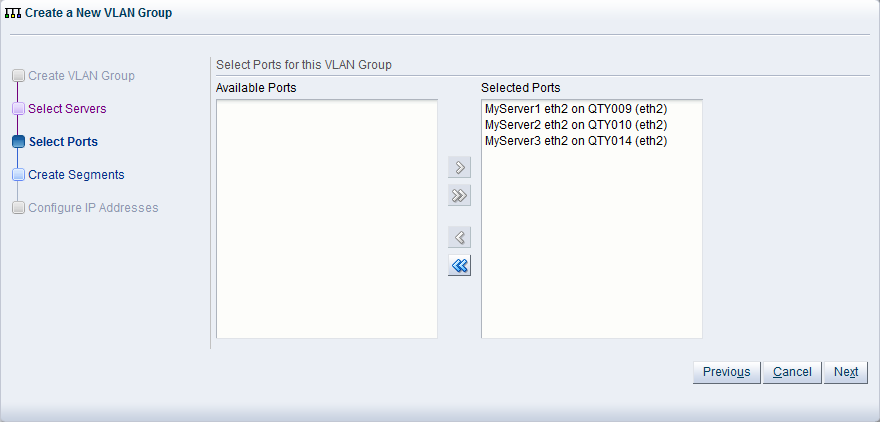
Select the port or bond of each Oracle VM Server that belongs to the network and click Next. The number between brackets next to the name of the Oracle VM Server corresponds with the NIC of the Oracle VM Server.
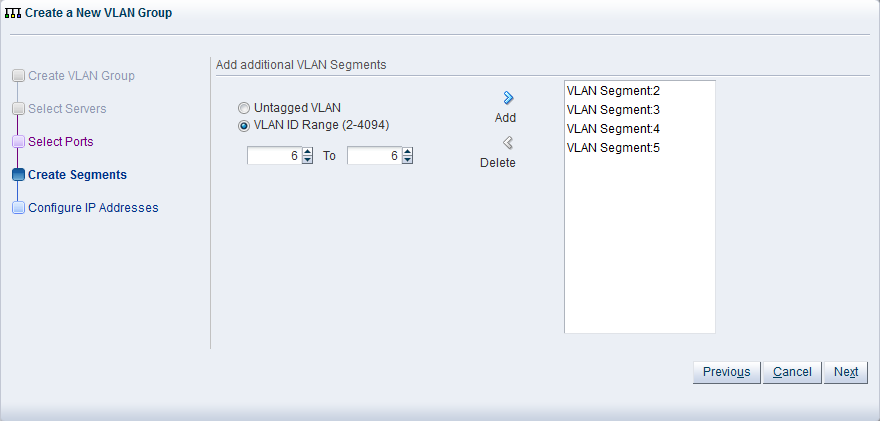
Add all VLAN IDs which belong to the VLAN group, and optionally select Untagged VLAN. Each selected VLAN ID appears as a separate VLAN segment in the VLAN Group.
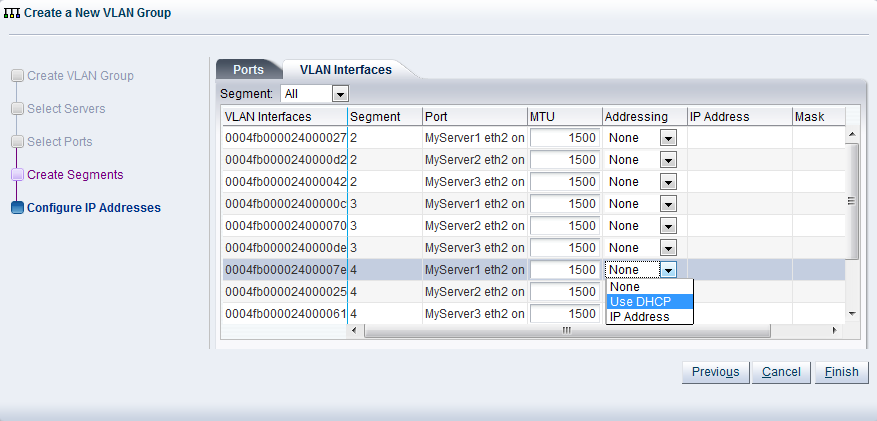
In the next screen, you can set IP addressing to either the ports and bonds or to the VLAN interfaces that are part of this new VLAN Group. Generally, you do not specify IP addresses to VLAN interfaces that are part of a network for virtual machines.
Click Finish to complete the operation.
To edit a VLAN Group:
In Oracle VM Manager, select the Networking tab. Click VLAN Groups to display the VLAN Groups screen.
In the VLAN Groups table, select the VLAN group you wish to edit, and in the toolbar above, click Edit Selected VLAN Group
 . The Edit VLAN Group dialog box appears. The screens in the
wizard are identical to the ones displayed in
Section 5.9.1, “Creating a VLAN Group”.
. The Edit VLAN Group dialog box appears. The screens in the
wizard are identical to the ones displayed in
Section 5.9.1, “Creating a VLAN Group”.
In the Edit VLAN Group screen you can change the name in the Name field, and the description in the Description field. Click Next.
In the Select Servers screen, you can add or remove Oracle VM Servers participating in this VLAN group. Click Next.
In the Select Ports screen, you can add or remove ports or bonds for the Oracle VM Servers in this VLAN Group. The number between brackets next to the name of the Oracle VM Server corresponds with the port of the Oracle VM Server. Click Next.
In the Edit Segments screen, you can add or remove VLAN IDs from the VLAN Group and optionally select Untagged VLAN. Each selected VLAN ID appears as a separate VLAN segment in the VLAN Group. It is possible to combine VLAN IDs with Untagged VLANs, so, first select the proper VLAN IDs, and then select Untagged VLAN.
In the Configure IP Address screen, you can update information for the ports or bond ports and for the VLAN interfaces that are currently part of the VLAN Group.
Select the Ports tab to modify the IP addressing of ports or bond ports that are part of the VLAN Group. You can update the IP addressing type, the IP address if selecting a static address, and the netmask. If the VLAN Group contains bond ports, you can also modify the bonding mode for the bond ports.
Select the VLAN Interfaces tab to modify the IP addressing of the VLAN interfaces that are part of the VLAN Group. You can update the IP addressing type, the IP address if selecting a static address, and the netmask.
Click Finish to complete the update.
You can only delete a VLAN Group if none of the VLAN segments in the VLAN Group are currently being used by a network.
To delete a VLAN Group:
In Oracle VM Manager, select the Networking tab. Click VLAN Groups to display the VLAN Groups screen.
In the VLAN Groups table, select the VLAN group you wish to edit, and in the toolbar above, click Delete Selected VLAN Group
 .
.
In the Delete Confirmation dialog box, click OK to delete the VLAN Group. The VLAN Group is deleted.