5 Adding a Single-Instance Database to a Group
This lesson shows how to add a single-instance database to a group. When you add a single-instance database to a group, you make that database highly available. If the node on which the database is currently running is taken offline or fails, the database is restarted on a surviving cluster node.
In this lesson, you will add the sample database that you created in Chapter 3 to Group 1 group.
5.1 Starting the Add This Resource to a Group Wizard
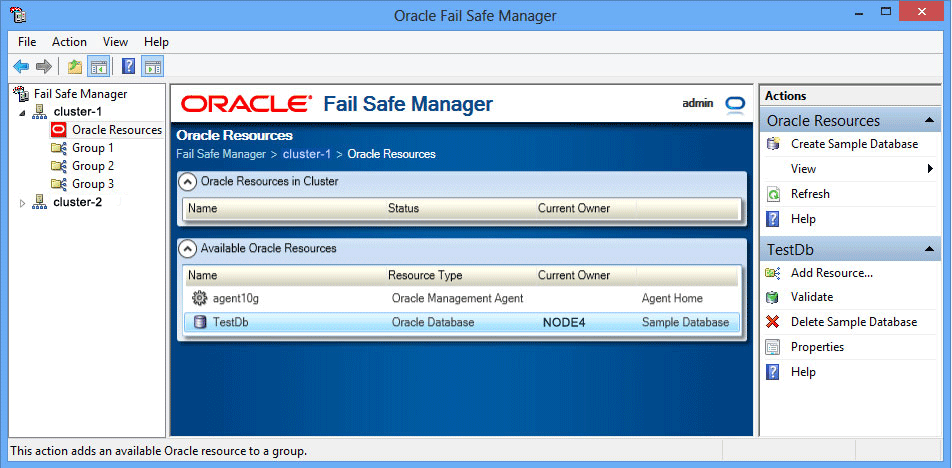
Select the resource you want to add to a group, then select Add Resource action from the Actions menu of the Oracle Resources view. Or right-click the selected resource in the Available Oracle Resources group to select Add Resource from the Available Oracle Resources actions.
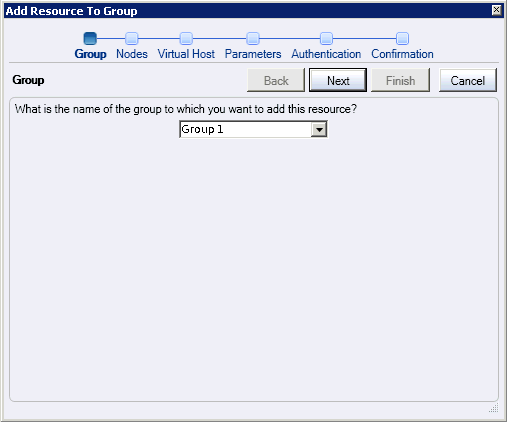
5.2 Using the Add Resource to Group Wizard
Add Resource to Group guided process wizard opens and guides you through the configuration of resources for adding the database to the group. On this page, select the cluster group Group 1 that will own the database.
Click Next.
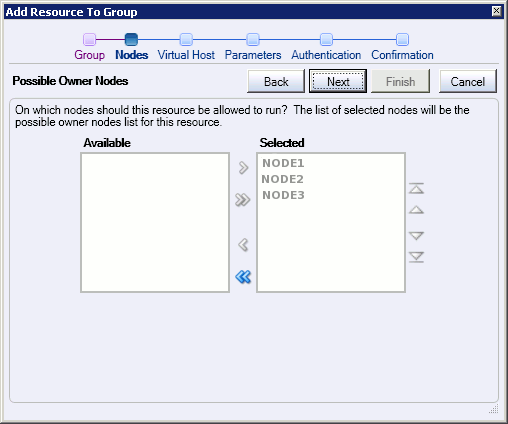
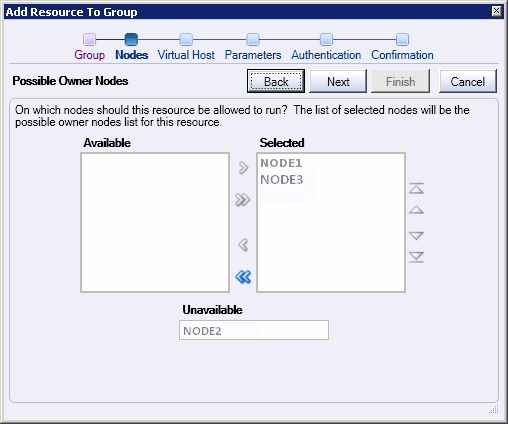
5.3 Specifying the Nodes
If there are more than two nodes in the cluster, then it is necessary to determine which nodes could possibly host the database. Select the desired nodes from the Available list and move them to the Selected list. If any of the resources currently residing in the group exclude one of the nodes as a possible owner, then that node is shown in the Unavailable list. Also, the nodes that are not currently online is shown in the Unavailable list.
Description of the illustration pn_db_wiz.gif
Description of the illustration pn_gen_wiz_unavail.gif
5.4 Specifying the Virtual Host
If the cluster group has multiple network virtual addresses and it currently does not have any Oracle network TNS listeners configured, then you must select the addresses the new network listener should use for incoming database connections. Select the desired virtual addresses from the Available list and move them to the Selected list.
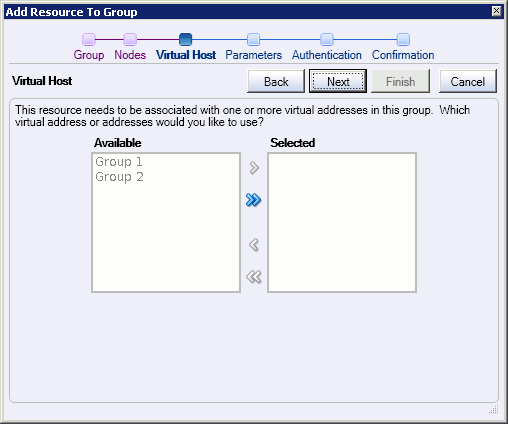
Description of the illustration db_virt_add_wiz.gif
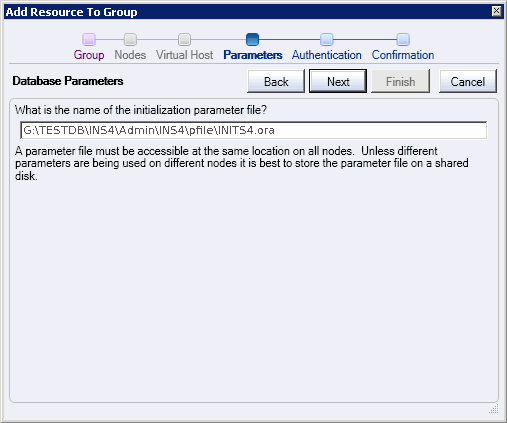
5.5 Specifying the Database Parameters
The Database Parameters file field is retrieved automatically. Enter the file name for the database parameters file (pfile). For most applications it is best to store the pfile on a shared disk in the group rather than on a node local disk. However, in situations where some nodes may not have the same resources available (such as memory or CPUs), it may be helpful to use a different pfile for each node in the cluster so that the database can be started using parameters that are appropriate for each particular node. However, when using local files, the pfile must have the same path and file name, that is, each node must use the exact file name that is entered on this page.
Click Next.
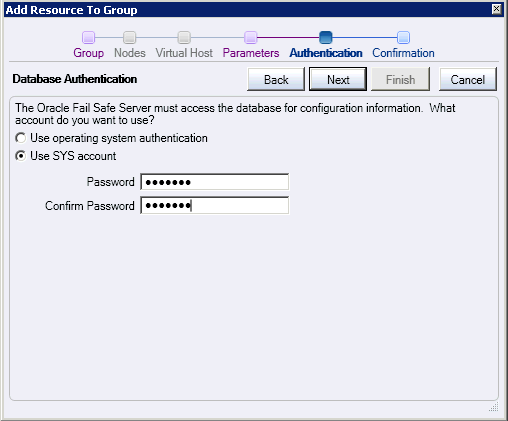
5.6 Specifying Database Authentication
On this page, if operating system authentication is not enabled cluster wide, then the database can be configured to use either operating system authentication or password authentication through the SYS database user.
Click Next.
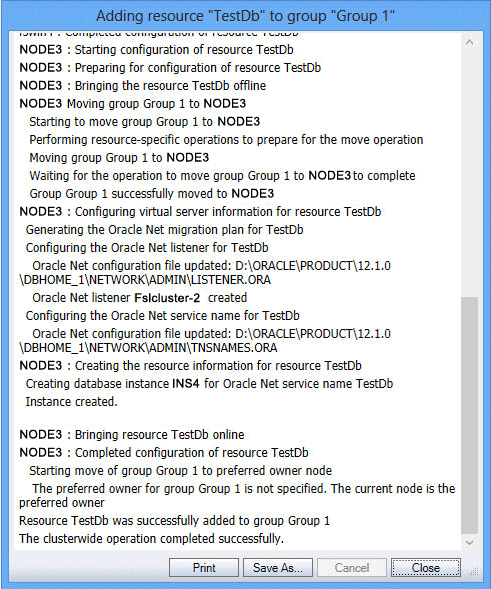
5.7 Confirming the Addition of the Database Resource
Click Finish to begin the process of configuring the database so that it may be accessed as a cluster resource.
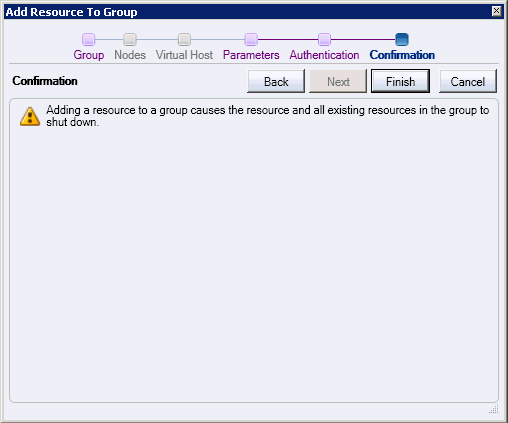
Description of the illustration confirm.gif