1 Creating and Configuring an Oracle 11g Database
Use this chapter to set up an Oracle 11g database for your WebCenter Sites installation.
This chapter contains the following sections:
1.1 Creating an Oracle 11g Database
-
Launch the Oracle Database Configuration Assistant by executing the following command:
<ora_home>/bin/dbca -
In the "Welcome" screen (Figure 1-1), click Next.
Figure 1-1 Database Configuration Assistant: Welcome
Description of ''Figure 1-1 Database Configuration Assistant: Welcome''
-
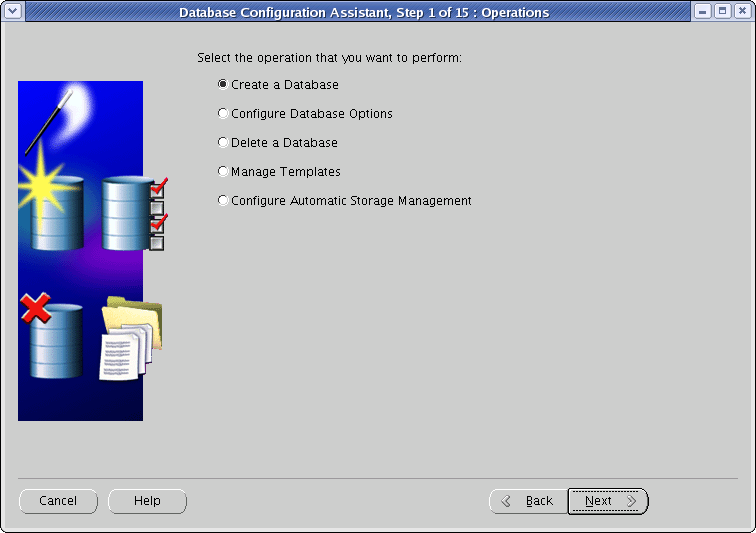
In the "Operations" screen (Figure 1-2), select Create a Database and click Next.
-
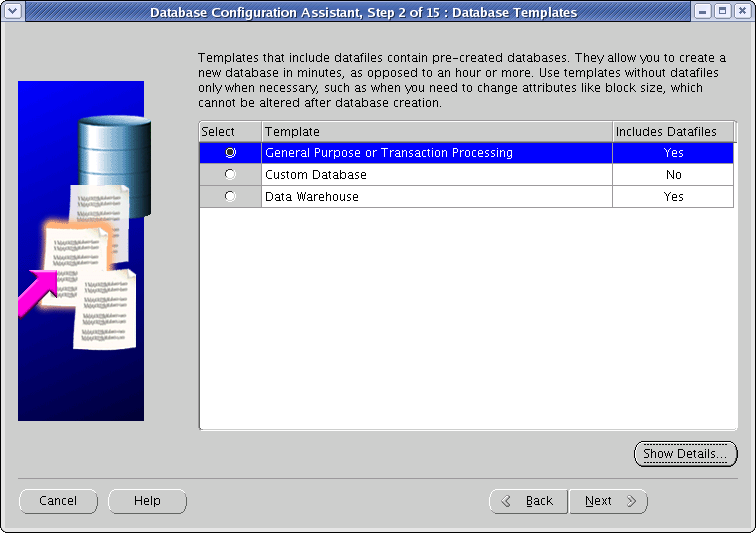
In the "Database Templates" screen (Figure 1-3), select General Purpose or Transaction Processing and click Next.
-
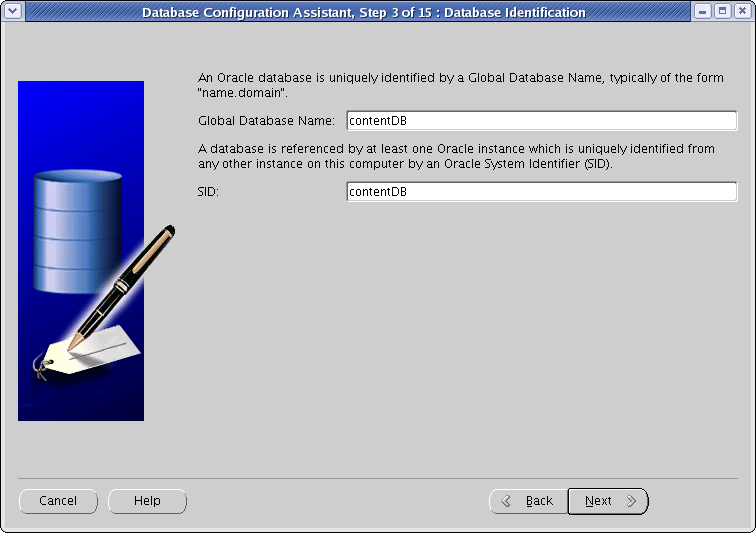
In the "Database Identification" screen (Figure 1-4), enter the global database name and the SID. (Oracle recommends using the same value for both; in our example, we are using
contentDB.) When you are finished, click Next. -
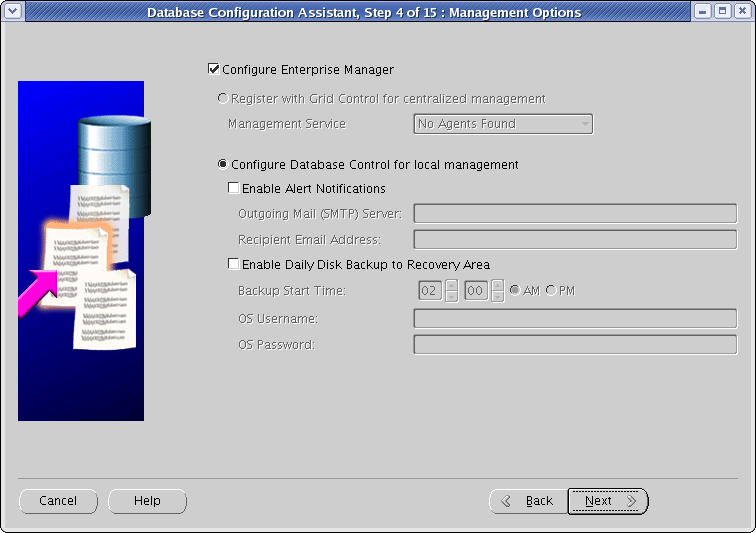
In the "Management Options" screen (Figure 1-5), select the Configure Enterprise Manager check box. Select other options as desired. When you are finished, click Next.
-
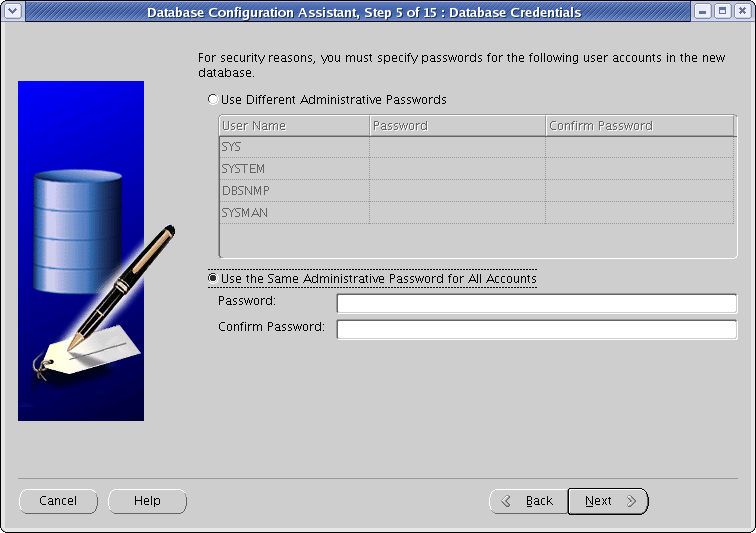
In the "Database Credentials" screen (Figure 1-6), do one of the following:
-
If you are installing a production system, select Use Different Administrative Passwords, enter a unique password for each database user shown in the table, and click Next.
-
If you are installing a non-production system, select Use the Same Administrative Password for All Accounts, enter and re-enter a password, and click Next.
-
-
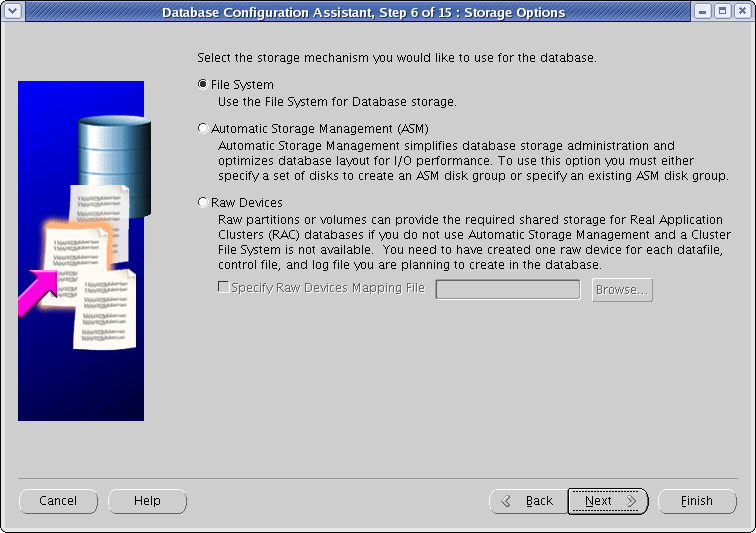
In the "Storage Options" screen (Figure 1-7), select File System and click Next.
-
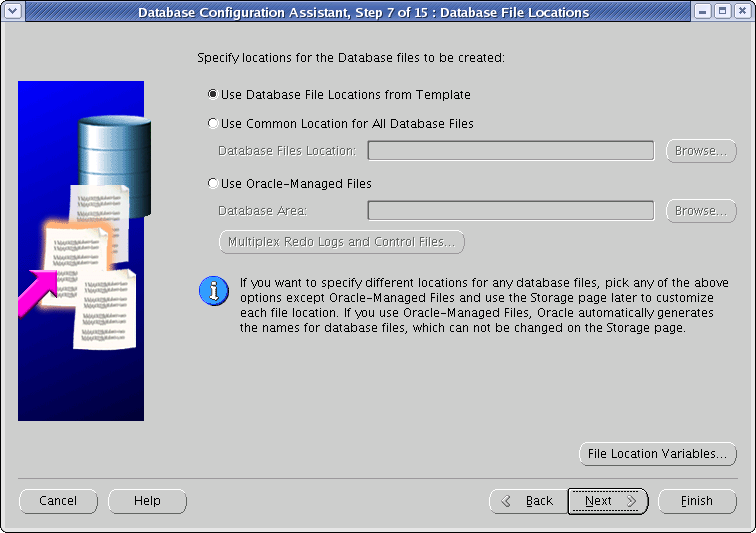
In the "Database File Locations" screen (Figure 1-8), select Use Database File Locations from Template (unless you want to use custom file names and locations) and click Next.
Figure 1-8 Database Configuration Assistant: Database File Locations
Description of ''Figure 1-8 Database Configuration Assistant: Database File Locations''
-
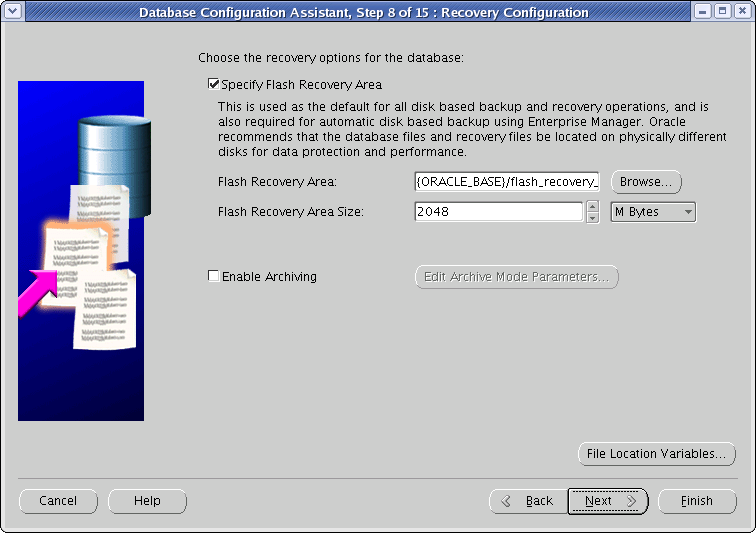
In the "Recovery Configuration" screen (Figure 1-9), leave the default values and click Next.
-
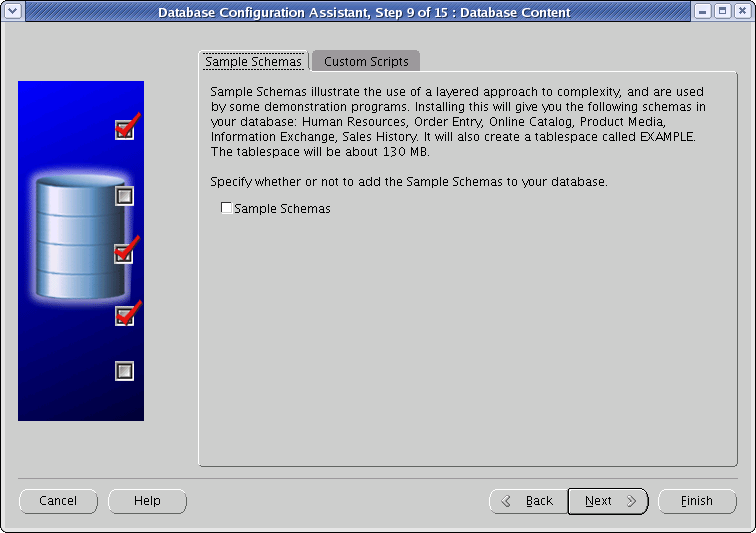
In the "Database Content" screen (Figure 1-10), click Next.
-
In the "Initialization Parameters" screen, do the following:
-
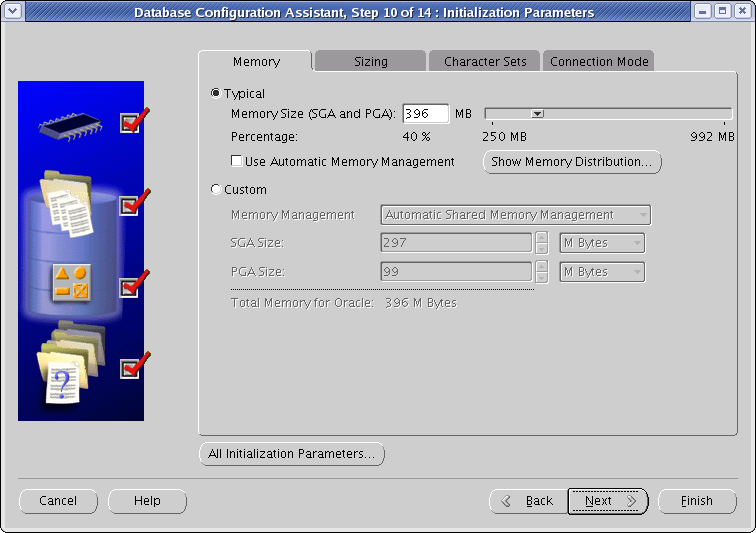
In the Memory tab (Figure 1-11), set the preferred memory size for your database:
-
For the development system, set the preferred memory size to 512MB.
-
For the production system, the value you enter depends on the size and contents of your database.
Figure 1-11 Initialization Parameters - Memory
Description of ''Figure 1-11 Initialization Parameters - Memory''
-
-
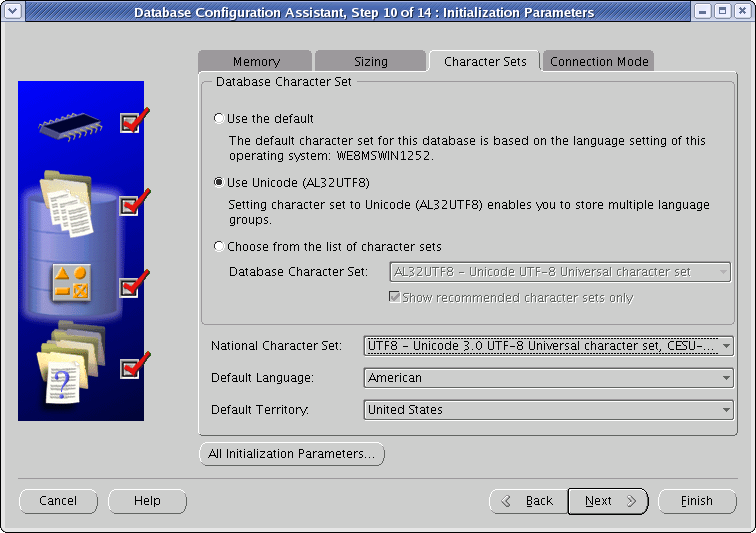
In the Character Sets tab (Figure 1-12), do the following:
Select the Use Unicode (AL32UTF8) radio button.
In the "National Character Set" drop-down list, select UTF-8 - Unicode 3.0 UTF-8 Universal Character Set.
Figure 1-12 Initialization Parameters - Character Sets
Description of ''Figure 1-12 Initialization Parameters - Character Sets''
-
Click Next.
-
-
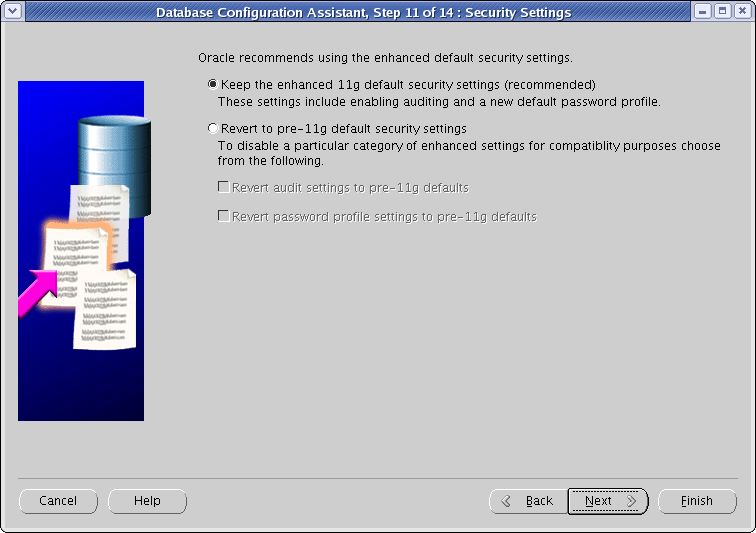
In the "Security Settings" screen (Figure 1-13), click Next.
-
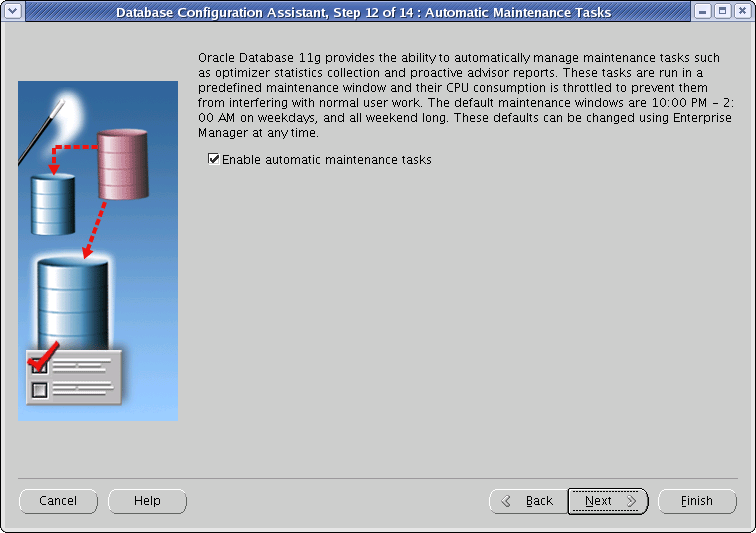
In the "Automatic Maintenance Tasks" screen (Figure 1-14), click Next.
-
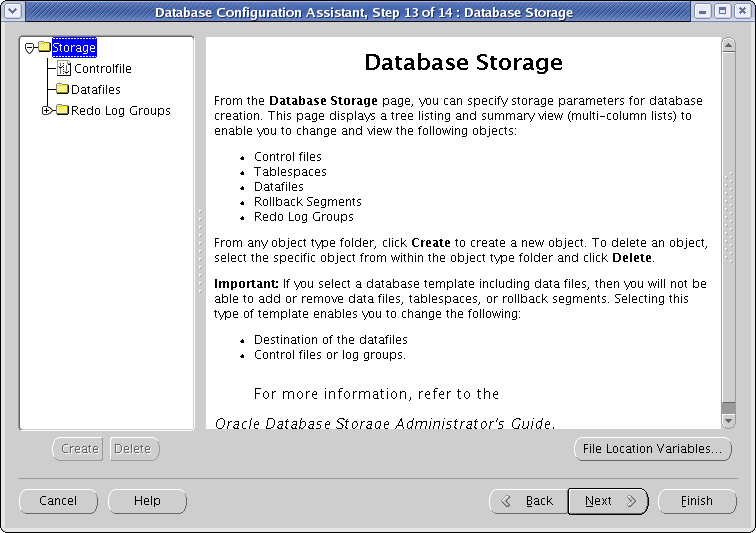
In the "Database Storage" screen (Figure 1-15), review the selected file locations. (If you need to make changes, click File Location Variables.) Click Next.
-
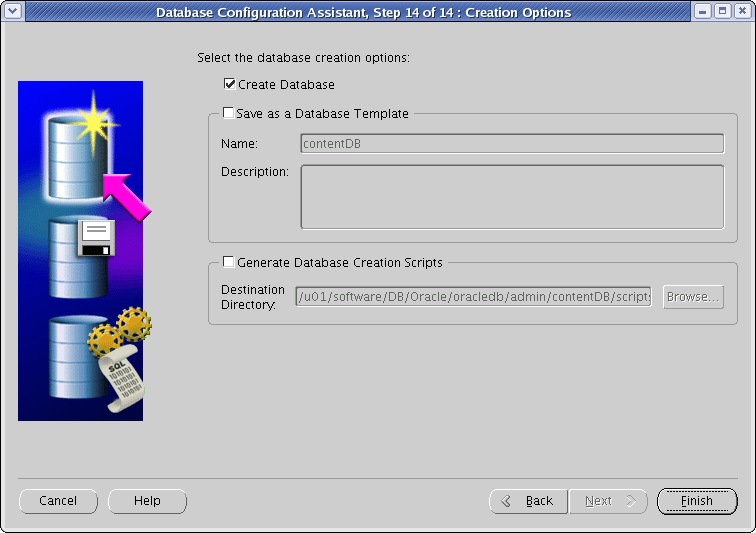
In the "Creation Options" screen (Figure 1-16), click Finish.
-
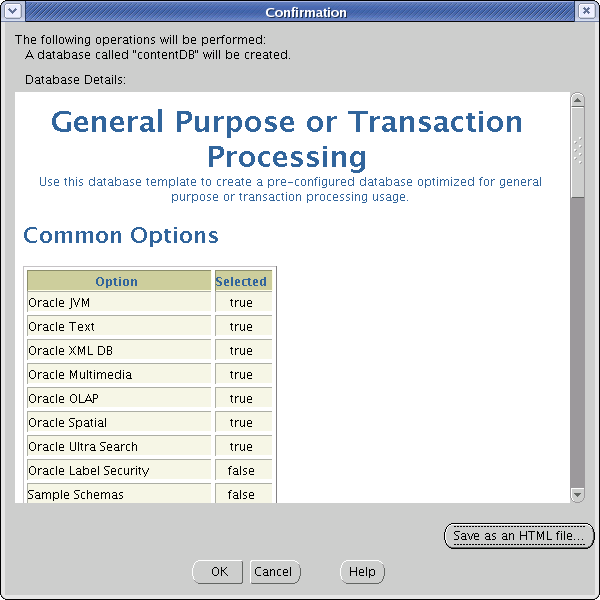
In the "Confirmation" screen (Figure 1-17), review the selected options, then click OK.
-
Allow the database creation tasks to complete (Figure 1-18). If any one of the tasks fails, remedy the problem before continuing.
Figure 1-18 Database Configuration Assistant
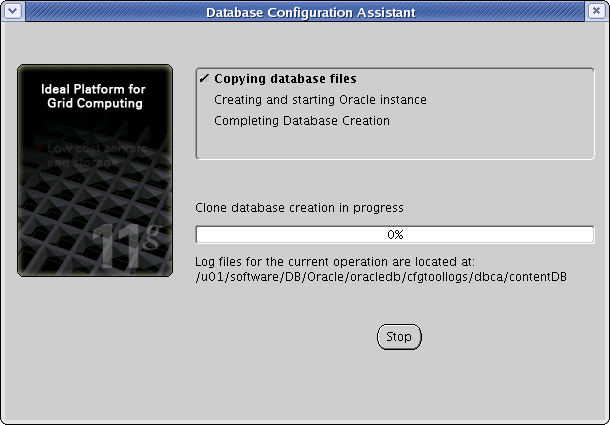
Description of ''Figure 1-18 Database Configuration Assistant''
-
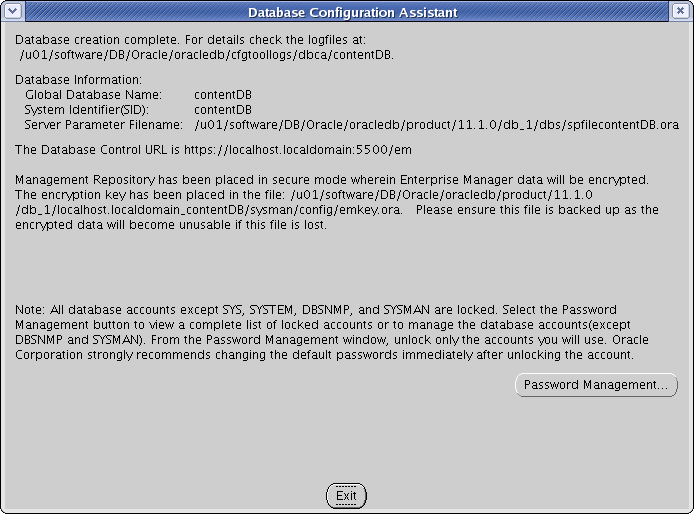
At the summary screen (Figure 1-19), make a record of the database SID and the database control URL, then click Exit.
1.2 Creating a New User for WebCenter Sites
Note:
Before you begin, determine the Console Server port:-
Open the
emoms.propertiesfile in a text editor. The file is located in:<ora_home>/<servername>_<SID>/sysman/config/ -
Find the line,
oracle.sysman.emSDK.svlt.ConsoleServerPortand make a record of the port number value at the end of the line.
-
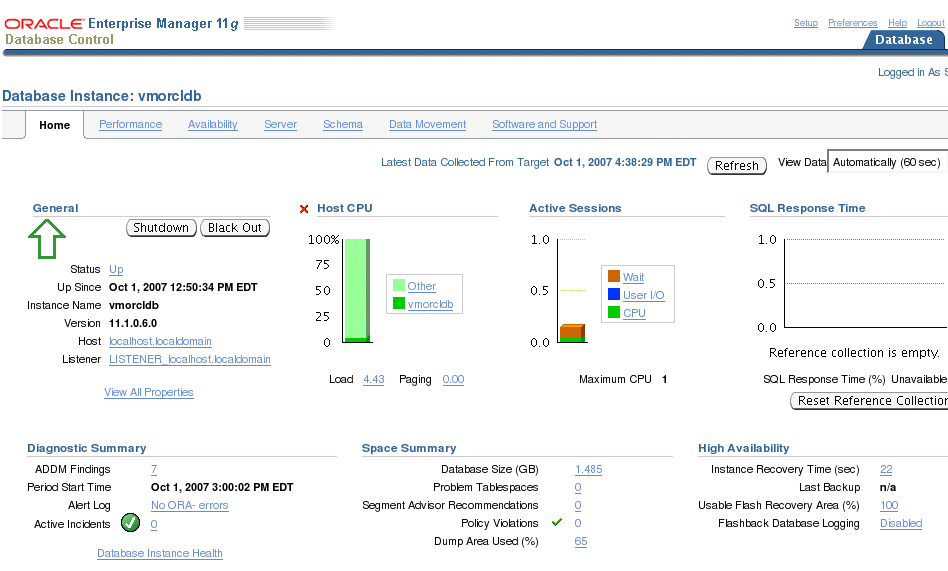
Log in to the Oracle Enterprise Manager console:
-
Execute the following command:
emctl status dbconsoleThe command should return an output similar to the following:
Oracle Enterprise Manager 11g Database Control Release 11.1.0.6.0 Copyright (c) 1996, 2007 Oracle Corporation. All rights reserved. https://localhost.localdomain:1158/em/console/aboutApplication Oracle Enterprise Manager 11g is running. ------------------------------------------------------------------ Logs are generated in directory /u01/software/DB/Oracle/oracledb/product/11.1.0/db_1/localhost.localdomain_vmorcldb/sysman/log -
Open a browser and go to the URL highlighted in bold in step a above. If you see a "Security Mismatch" error, ignore it (the error appears if you are using a self-signed certificate).
-
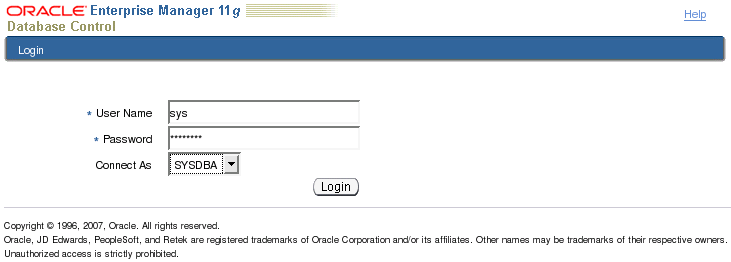
Log in as the
sysuser (you specified a password for this user in step 7 connecting as SYSDBA (Figure 1-20).
-
-
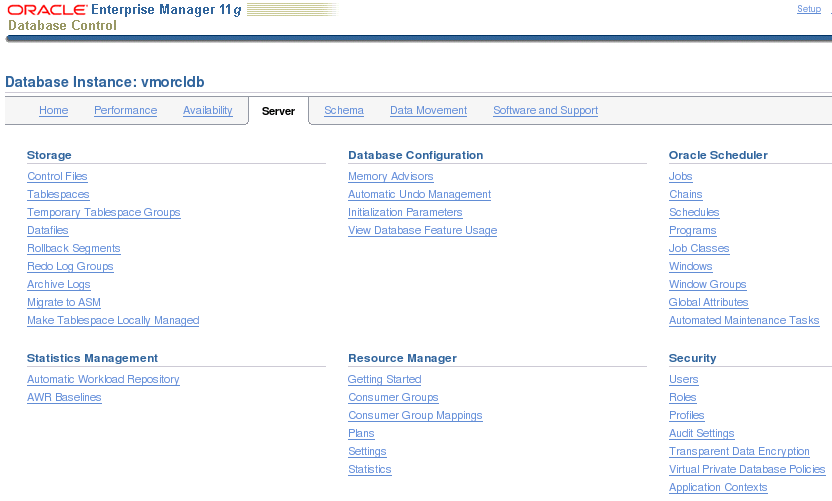
In the tab bar (Figure 1-21), click Server.
-
Create the new user (Figure 1-22). Do the following:
-
In the "Security" section of the page, click Users.
-
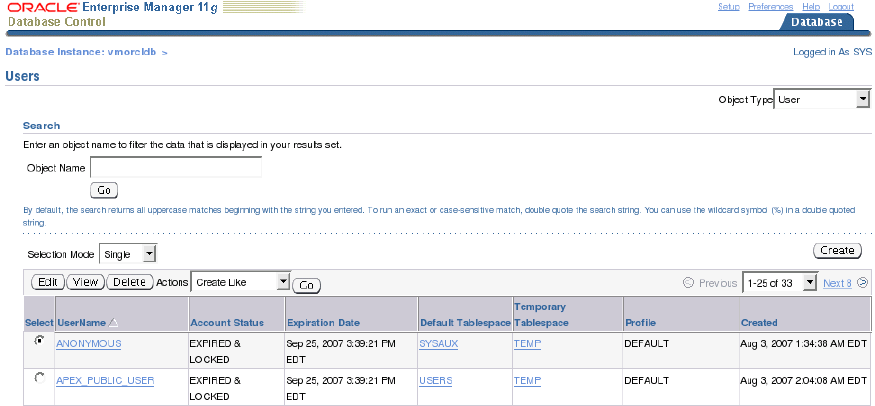
Click Create near the top right corner of the user list (Figure 1-23).
-
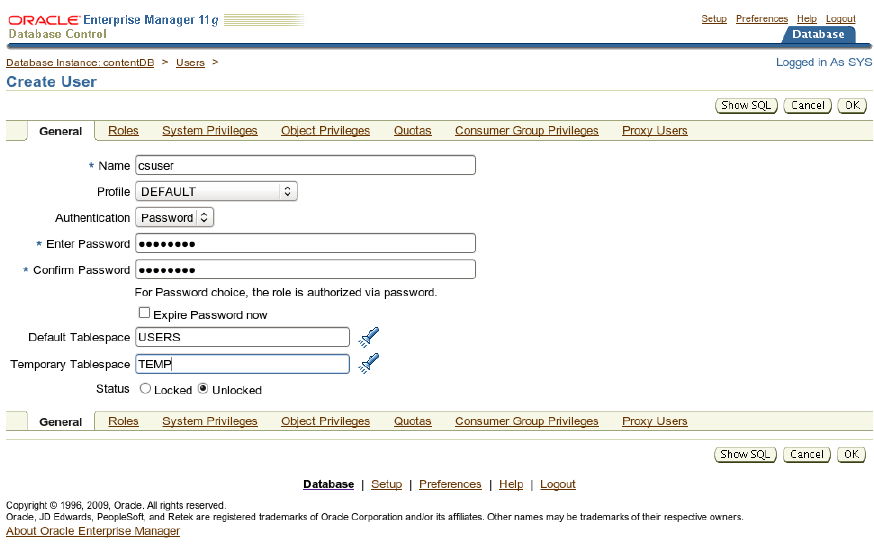
In the "Create User" form (Figure 1-24), fill in all required fields (marked with an asterisk). Fill in all other fields as necessary.
-
-
Select the default and temporary tablespaces for the new user (Figure 1-25). Do the following:
Note:
The actual tablespace may differ depending on your installation. For more information about the tablespace for your installation, see your database administrator.-
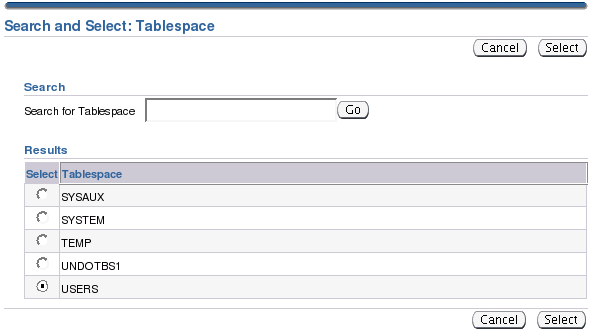
Select the default tablespace:
In the "Create User" form, click the flashlight button next to the Default Tablespace field.
In the form that appears, select the USERS radio button.
Click Select.
Figure 1-25 Search and Select: Tablespace
Description of ''Figure 1-25 Search and Select: Tablespace''
-
Select the temporary tablespace:
In the "Create User" form, click the flashlight button next to the Temporary Tablespace field.
In the form that appears, select the TEMP radio button.
Click Select.
-
-
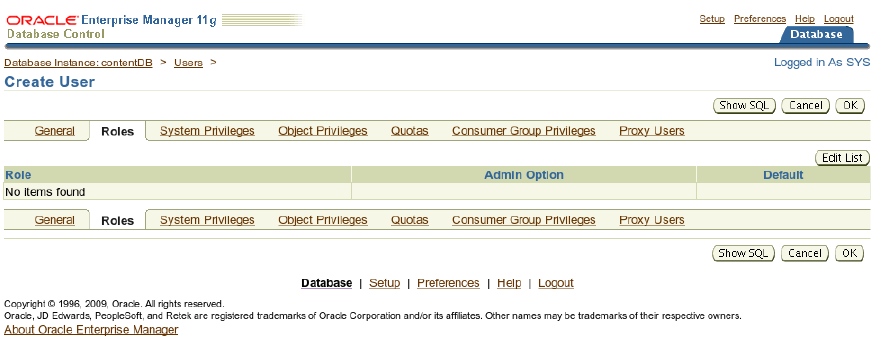
Assign roles to the new user (Figure 1-26), as required.
-
In the tab bar, click Roles.
-
Click Edit List at the top right corner of the list of roles.
-
In the "Available Roles" list, select the required roles and click Move.
The roles appear in the "Selected Roles" list.
-
Click OK.
-
-
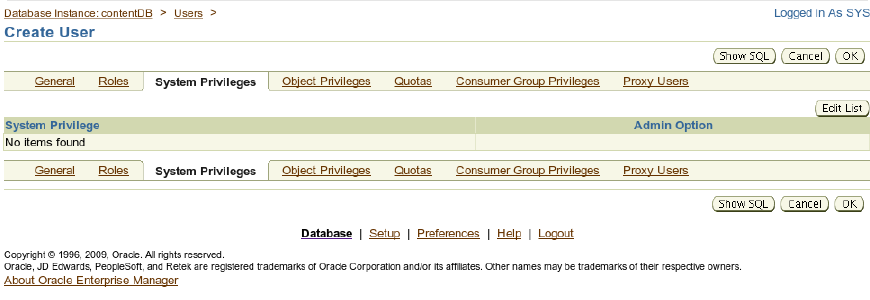
Assign system privileges to the new user. Do the following:
-
In the tab bar (Figure 1-27), click System Privileges.
-
Click Edit List at the top right corner of the list of privileges.
-
In the "Available System Privileges" list, select CREATE SESSION, CREATE TABLE, CREATE VIEW, and UNLIMITED TABLESPACE, then click Move.
The privileges are moved to the "Selected System Privileges" list.
Figure 1-28 System Privileges - Unlimited Tabspace
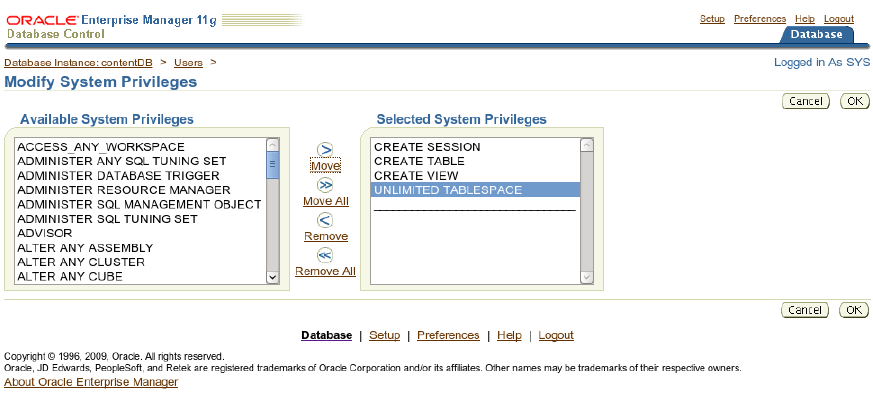
Description of ''Figure 1-28 System Privileges - Unlimited Tabspace''
-
Click OK (Figure 1-28).
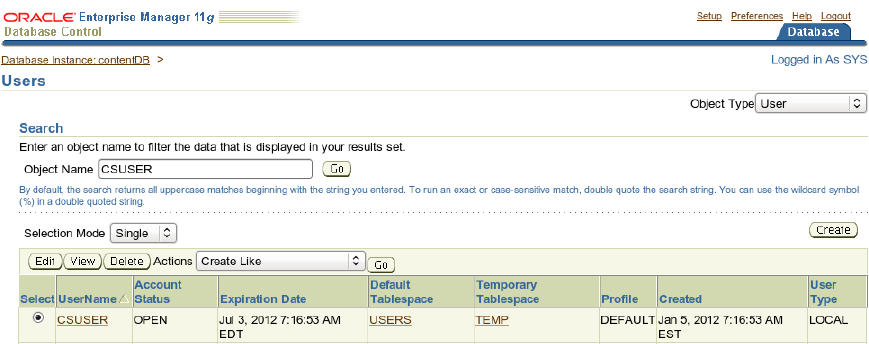
A message confirming the creation of the new user is displayed (Figure 1-29). The user appears in the list of users.
Note:
While creating the directory, do not select "Any Dictionary or DBA role" as it would lead in creating more one schema.
-
1.3 Next Step
You are now ready to create and configure the data source. For instructions, refer to the Oracle Fusion Middleware WebCenter Sites Installation Guide.