4 Installing Oracle WebLogic Server
This chapter is not exhaustive, as it covers the installation of Oracle WebLogic Application Server so far as needed to install and run WebCenter Sites. For more extensive documentation on the installation process and best practices, see the Oracle Fusion Middleware Installation Guide for Oracle WebLogic Server.
4.1 WebLogic Server Installation Steps
-
Run the WebLogic Server installer (on UNIX, make sure your
DISPLAYvariable is set). -
In the "Welcome" screen, as shown in Figure 4-1, click Next.
-
Either use an existing WebLogic home directory or select Create a new WebLogic Home and browse for a directory (Figure 4-2). Click Next.
Figure 4-2 Middleware Home Directory Location
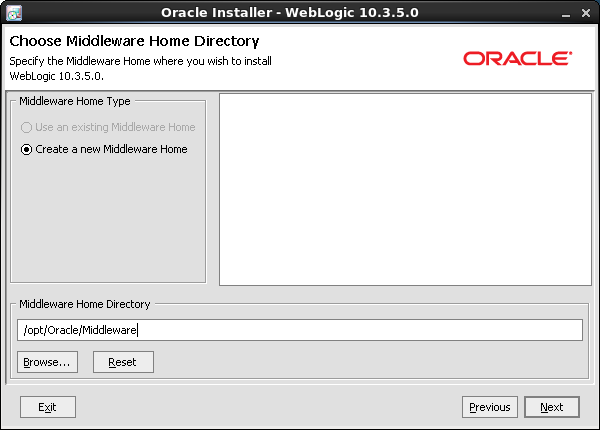
Description of ''Figure 4-2 Middleware Home Directory Location''
Note:
The WebLogic home directory will be referred to throughout this chapter as<wl_home>. -
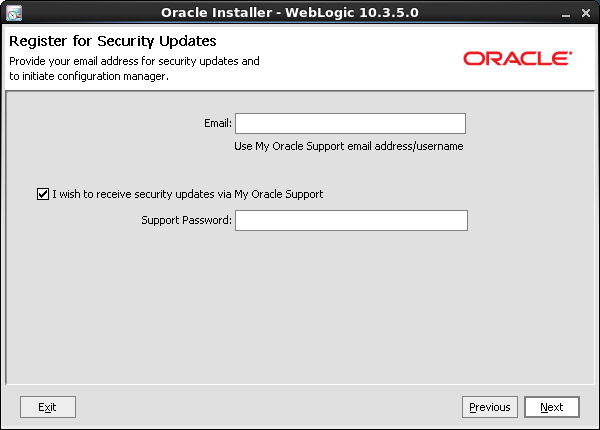
In the "Register for Security Updates" screen, as shown in Figure 4-3, enter the appropriate information and click Next.
-
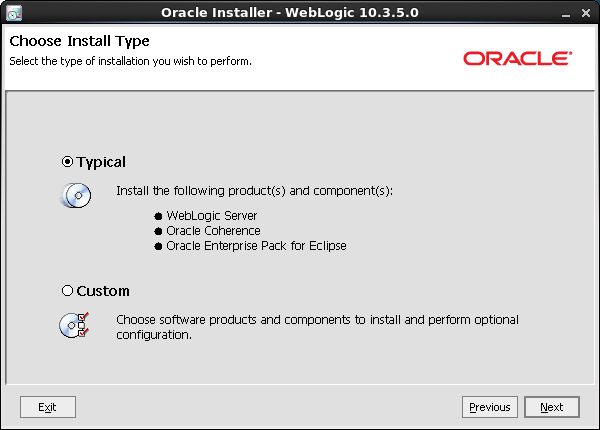
Select Custom Install Type (Figure 4-4) and click Next.
-
In the "Choose Products and Components" screen (Figure 4-5), the required components are selected by default. If you wish to install other components, select their check boxes. Click Next.
Figure 4-5 Products and Components for Installation
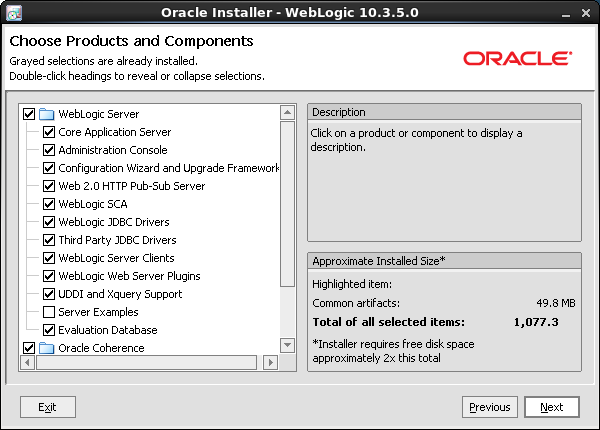
Description of ''Figure 4-5 Products and Components for Installation''
-
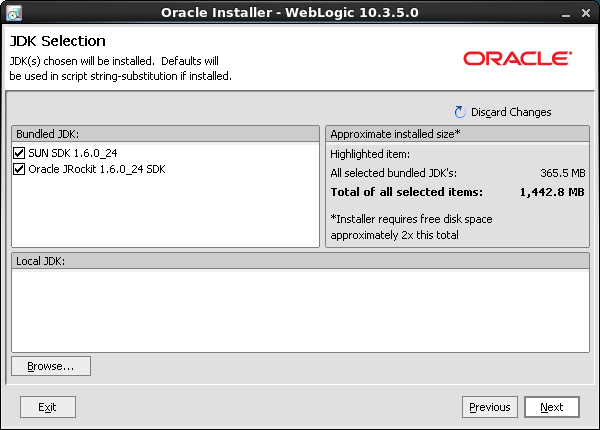
In the "JDK Selection" screen (Figure 4-6), select both JDKs and then click Next.
-
In the "Choose Product Installation Directories" screen (Figure 4-7), verify the product installation directories and then click Next.
Figure 4-7 Product Installation Directories
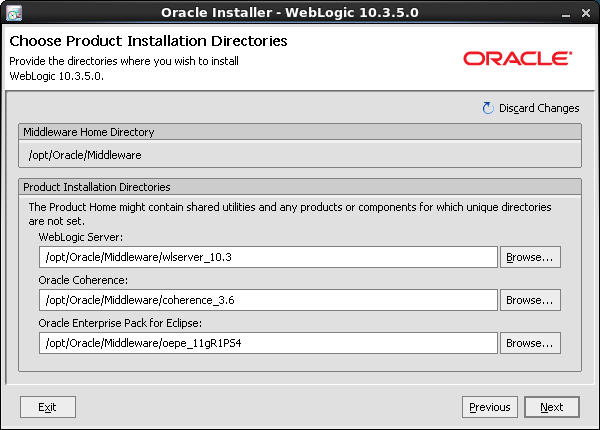
Description of ''Figure 4-7 Product Installation Directories''
-
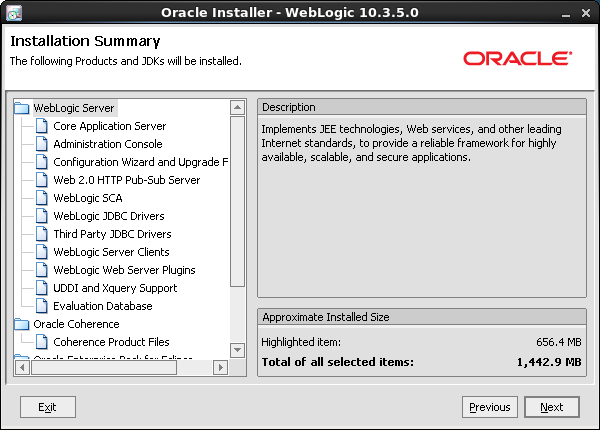
In the "Installation Summary" screen (Figure 4-8), click Next to start the WebLogic installation.
-
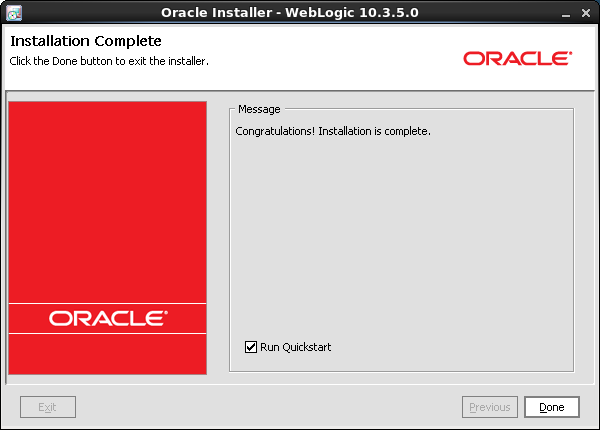
The installation starts. Close the window after completion (Figure 4-9).
-
After you have successfully installed WebLogic Server, you will need to configure WebLogic Server for WebCenter Sites before installing WebCenter Sites. For information about the WebCenter Sites installation process and WebLogic configuration procedures, see the Oracle Fusion Middleware WebCenter Sites Installation Guide.