15 Setting Up IBM Tivoli Directory Server 6.x
This chapter contains the following sections:
-
Section 15.2, "Before Installing IBM Tivoli Directory Server"
-
Section 15.5, "Connecting to IBM TDS Using the LDAP Browser"
Note:
In this chapter, Tivoli Directory Server is also referred to as "TDS."
15.1 IBM Tivoli Directory Server Commands
Table 15-1 IBM Tivoli Directory Server Commands
| Action | Command |
|---|---|
|
Starting an instance |
|
|
Stopping an instance |
|
|
Checking an instance |
|
|
Displaying list of instances |
|
|
Loading the instance administration tool |
|
|
Loading the configuration tool for an instance |
|
15.2 Before Installing IBM Tivoli Directory Server
-
Create the following group:
idsldap -
Create a user for the LDAP instance and write down the password, for example,
ldapdb2. This password will be used in step 7 of Section 15.3, "Installing IBM Tivoli Directory Server." -
Check that
pdkshis installed.
15.3 Installing IBM Tivoli Directory Server
-
Download the Tivoli Directory Server from IBM.
-
Unzip the archive into a temporary directory.
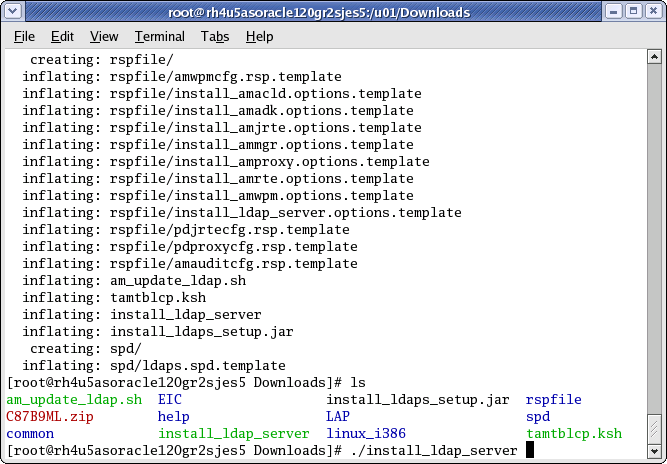
-
Go to the temporary directory and run (Figure 15-1):
./install_ldap_server.
Figure 15-1 IBM Tivoli Directory Server Installation
Description of ''Figure 15-1 IBM Tivoli Directory Server Installation''
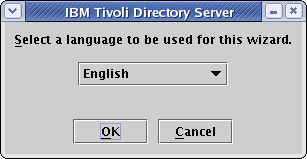
-
When the installation dialog box appears, select your language (Figure 15-2) and click OK.
Figure 15-2 IBM Tivoli Directory Server Dialog Box
Description of ''Figure 15-2 IBM Tivoli Directory Server Dialog Box''
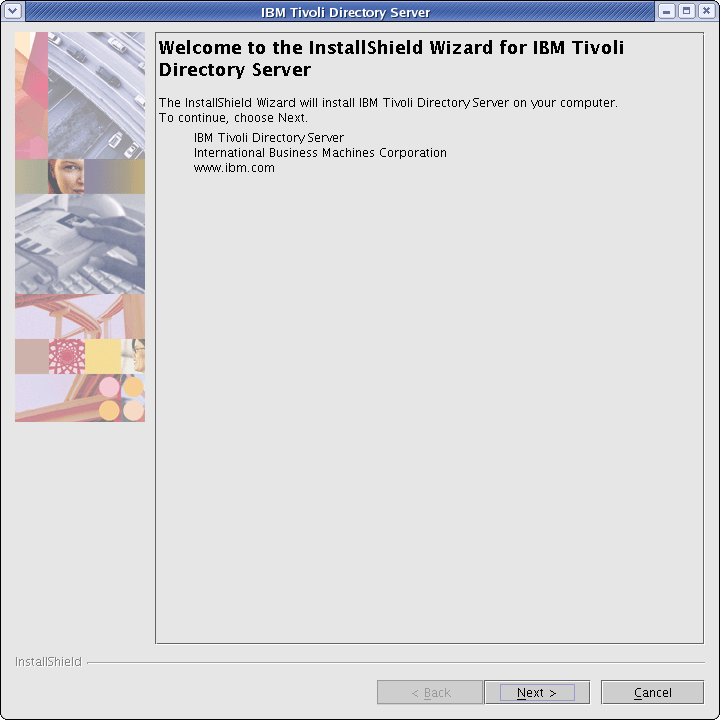
-
Click Next (Figure 15-3).
Figure 15-3 IBM Tivoli Directory Server - Welcome
Description of ''Figure 15-3 IBM Tivoli Directory Server - Welcome''
-
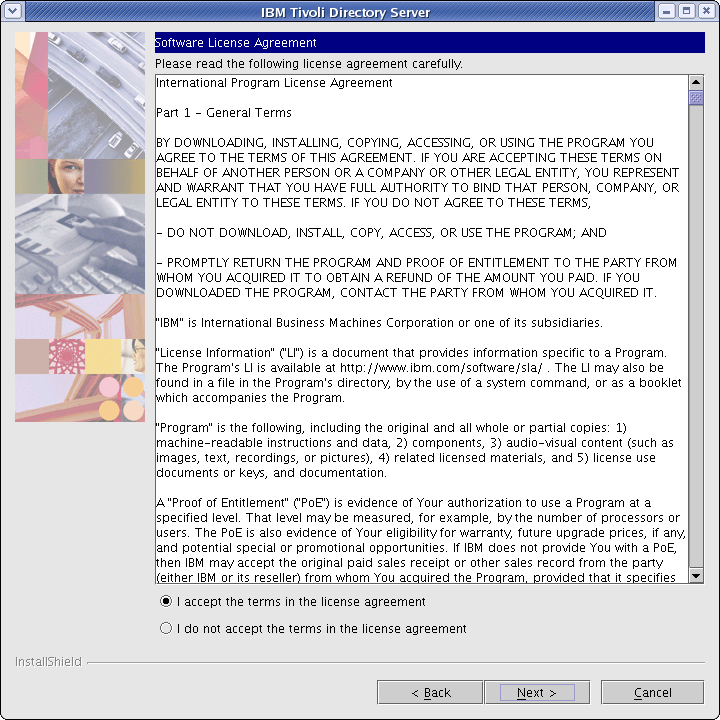
On the "License Agreement" screen (Figure 15-4) select I Accept the terms in this license agreement, then click Next.
-
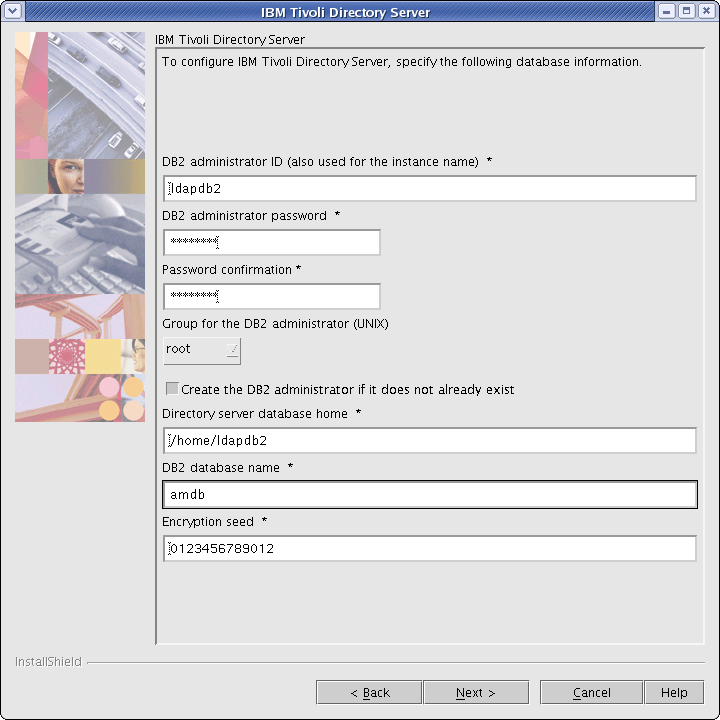
On the first configuration screen (Figure 15-5), fill in the fields:
-
DB2 administrator ID: Name of the user you created for the LDAP instance.
-
DB2 administrator password: Enter the password (
ldapdb2) given to the LDAP instance user in step 2, Section 15.2, "Before Installing IBM Tivoli Directory Server." -
Keep the default values for the other fields.
-
Click Next.
-
-
On the second configuration screen (Figure 15-6), fill in the fields:
-
Administrator password: Enter a password and remember it. This password will re-occur throughout the configuration and will be referred to as
sn=root. -
User-defined suffix:
dc=<domain>,dc=<ext>For example, if your domain isexample.com, then the User-defined suffix should read:dc=example,dc=com. -
Confirm that the Local hostname is correct.
-
Click Next.
Figure 15-6 Database Information Continued

Description of ''Figure 15-6 Database Information Continued''
-
-
On the third configuration page (Figure 15-7):
-
Fill in the fields:
-
SSL key file password: Enter a password for SSL.
-
Non-SSL port: Confirm the Non-SSL port value is set to
389.If the Non-SSL has been changed, use the new value when installing WebCenter Sites.
-
-
Click Next.
Figure 15-7 Database Information Continued

Description of ''Figure 15-7 Database Information Continued''
-
-
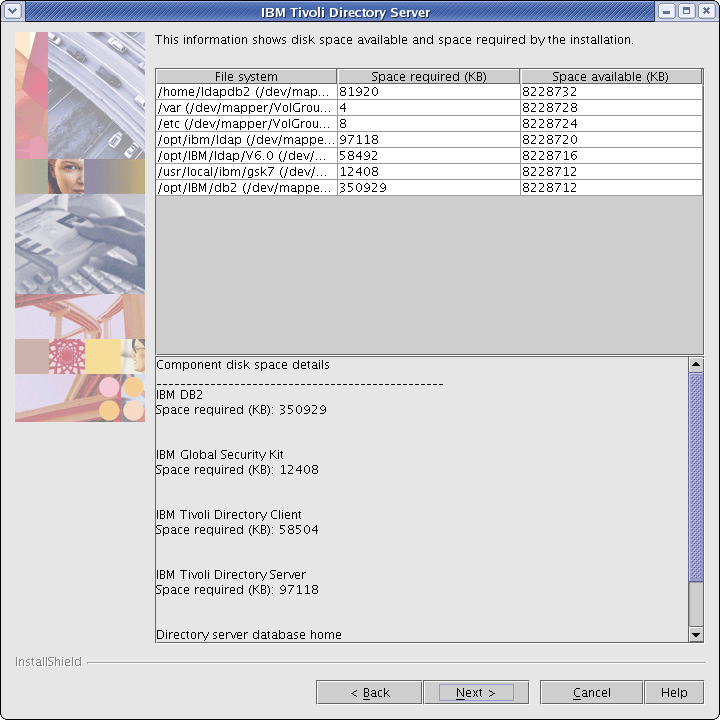
Confirm that enough disk space exists for the installation to succeed (Figure 15-8) and click Next.
-
Review the summary (Figure 15-9) and click Next.
Figure 15-9 Configuration Options Review
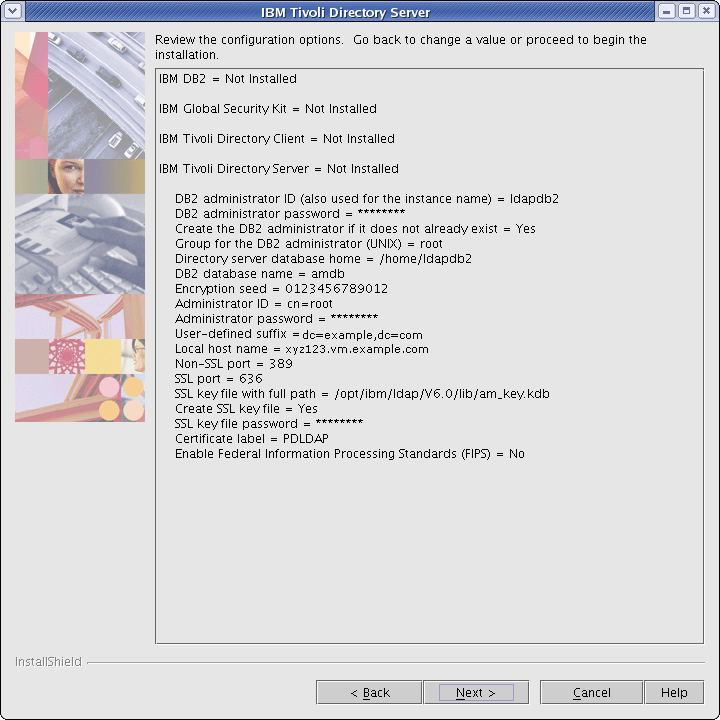
Description of ''Figure 15-9 Configuration Options Review''
-
Wait for the installer to finish (Figure 15-10).
Figure 15-10 IBM Tivoli Directory Server Installation in Progress
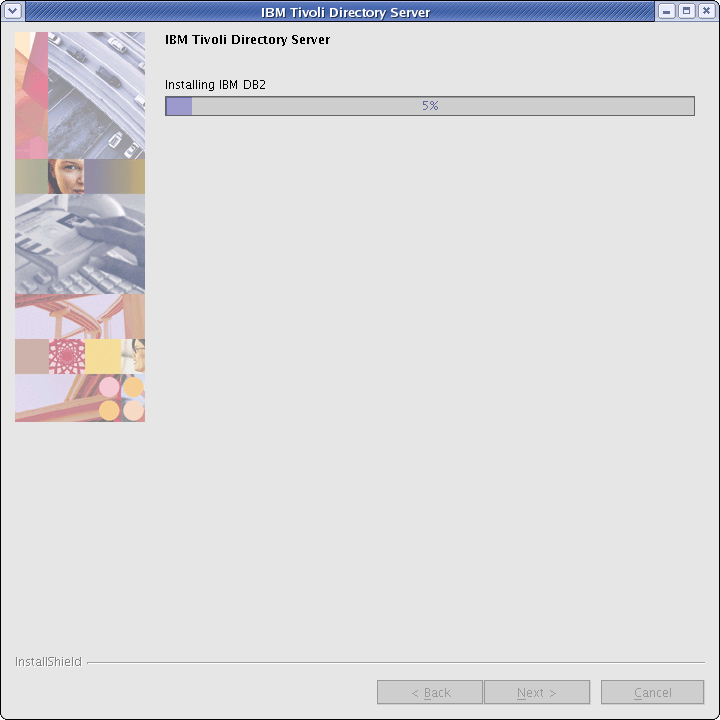
Description of ''Figure 15-10 IBM Tivoli Directory Server Installation in Progress''
-
Click Finish. The installation is now complete (Figure 15-11).
Figure 15-11 IBM Tivoli Directory Server Installation Completed
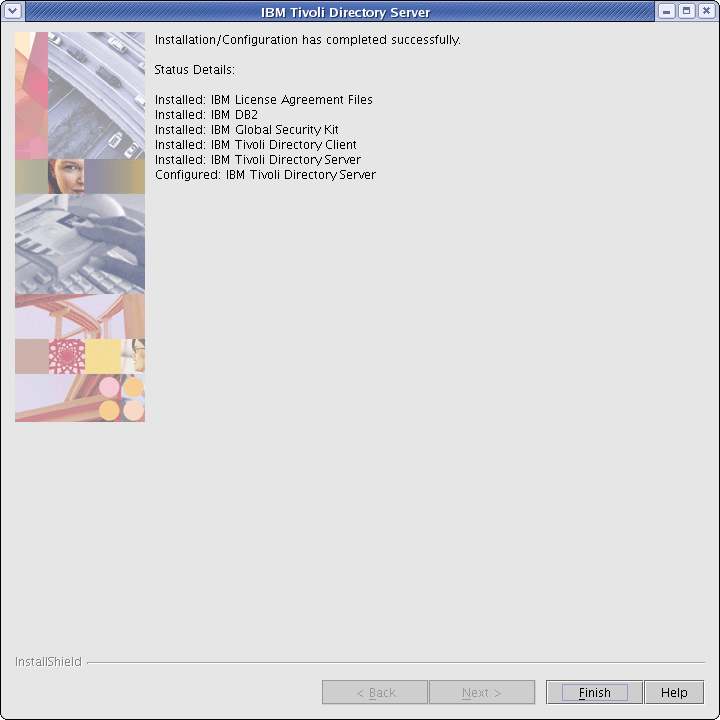
Description of ''Figure 15-11 IBM Tivoli Directory Server Installation Completed''
15.4 Configuring Tivoli Directory Server
Note:
Only IBM TDS withsha encryption is supported by WebCenter Sites.-
In a text editor open:
/home/<ldap user>/idsslapd-<ldap user>/etc/ibmslapd.conf.
-
Search for the
ibm-slapdPwEncryptionparameter and change the value tosha. -
Save the change in the text editor.
Completing and Verifying the LDAP Configuration
-
Start the IBM TDS instance:
<LDAP Install directory>/sbin/idsslapd -I <instance name>
-
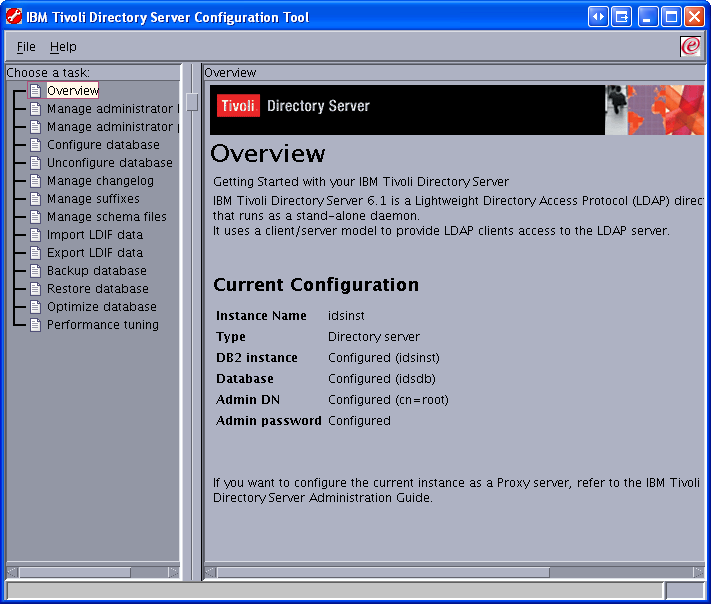
Start the IBM TDS instance configuration tool (your display (Figure 15-12) must be set in order to continue the configuration process):
<LDAP Install directory>/sbin/idsxcfg -I <name of instance>
Figure 15-12 IBM Tivoli Directory Server Configuration Tool
Description of ''Figure 15-12 IBM Tivoli Directory Server Configuration Tool''
-
Select Manage suffixes (Figure 15-13).
Figure 15-13 IBM Tivoli Directory Server Configuration Tool - Manage Suffixes
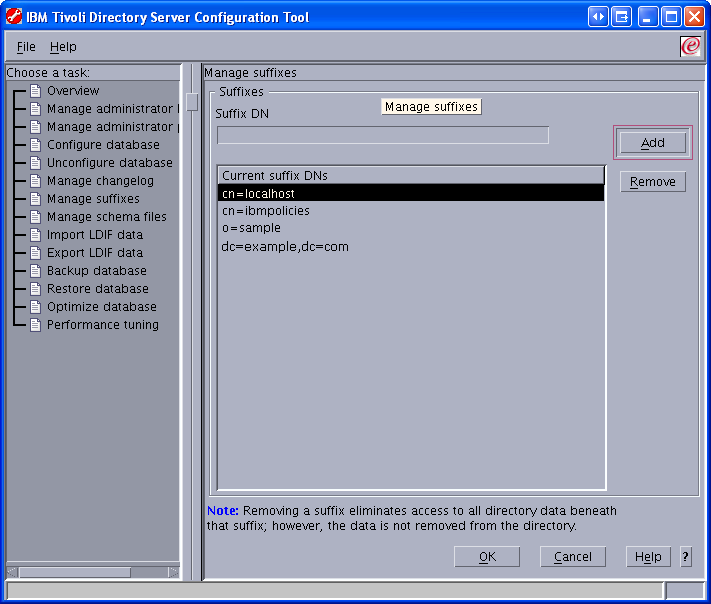
Description of ''Figure 15-13 IBM Tivoli Directory Server Configuration Tool - Manage Suffixes''
-
Make sure the User-defined suffix that was specified during installation appears in the list, then click OK.
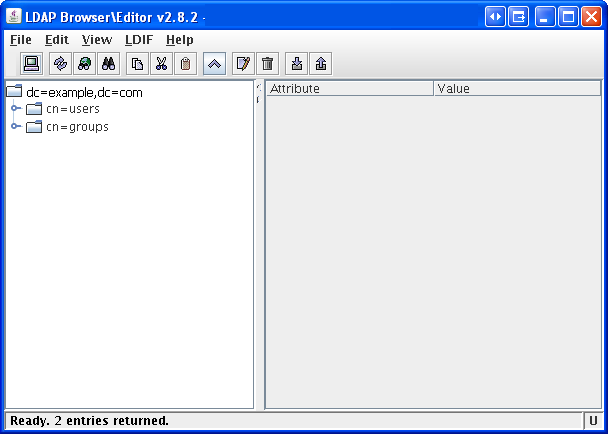
Importing an LDIF file (LDAP Browser)
-
Start the IDM TDS instance:
<LDAP Install directory>/sbin/idsslapd -I <instance name>
-
Connect to IBM TDS using the LDAP browser, for instructions see Section 15.5, "Connecting to IBM TDS Using the LDAP Browser".
-
Select:
dc=<domain>,dc=<ext>. Click the LDIF menu, and select Import (Figure 15-14).Figure 15-14 LDAP Browser\Editor - Import
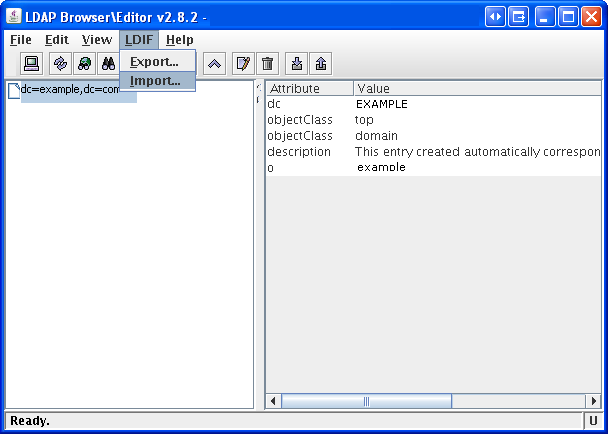
Description of ''Figure 15-14 LDAP Browser\Editor - Import''
-
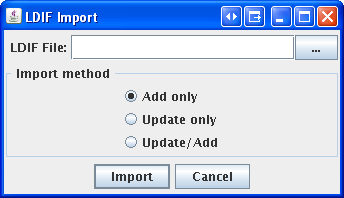
Click the Add only button (Figure 15-15).
-
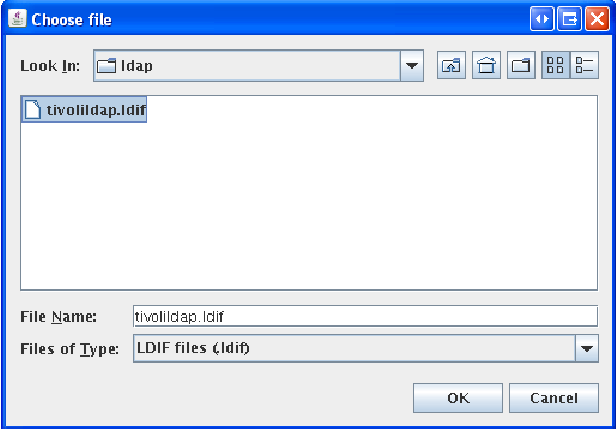
Browse to the LDIF file
<cs_install_dir/ldap>/tivolildap.ldif(Figure 15-16) and click OK. -
Click Import.
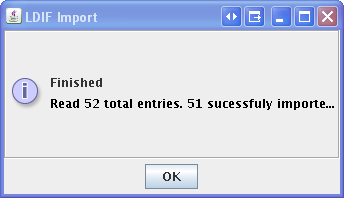
Note:
The root entry will fail to import because it already exists, but all others will import successfully. -
Click OK (Figure 15-17).
Importing an LDIF file (Configuration Tool)
-
Convert the LDIF file to UNIX format using the
dos2unixutility.-
Linux:
dos2unix <tivolildap.ldif> -
Solaris:
mv tivolildap.ldif > tivolildap2.ldif dos2unix tivoli.ldap2.ldif > tivolildap.ldif
-
-
Stop the IBM TDS instance:
<LDAP Install directory>/bin/ibmdirctl stop -h localhost -D cn=root -w <password for cn=root>
-
Start the IBM TDS instance configuration tool (your display must be set in order to continue with the import process):
<LDAP Install directory>/sbin/idsxcfg -I <name of instance>
-
Select Import LDIF data (Figure 15-18).
Figure 15-18 Path and Name of the LDIF File on the LDAP Server
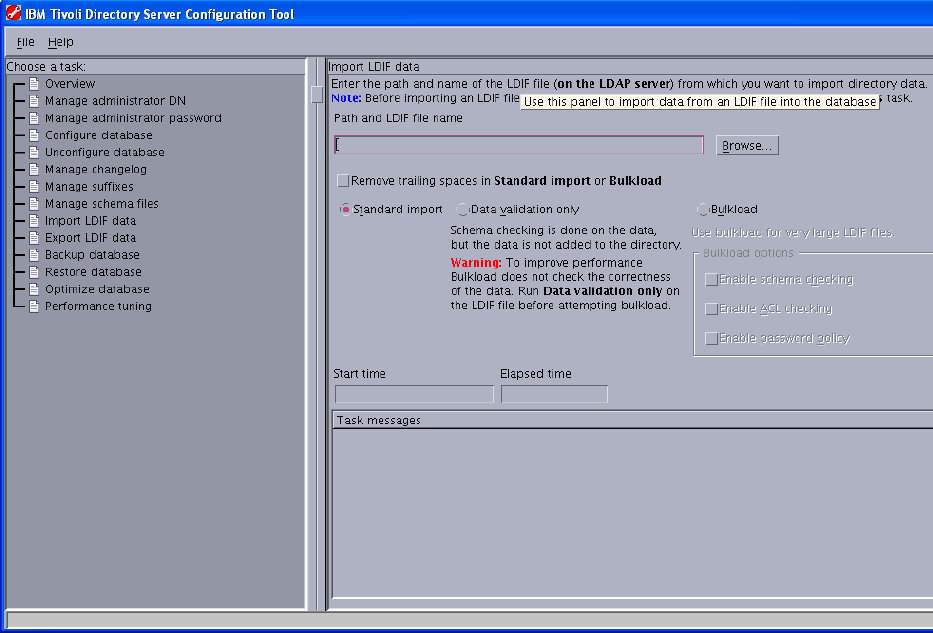
Description of ''Figure 15-18 Path and Name of the LDIF File on the LDAP Server''
-
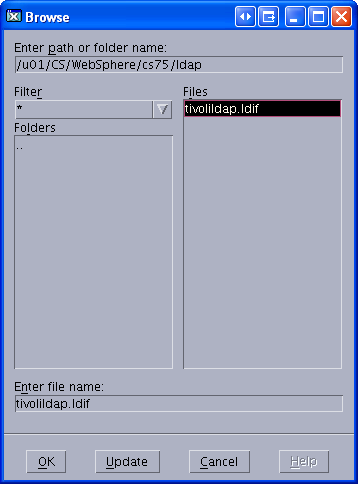
Click Browse.
-
Browse to the LDIF file (Figure 15-19) you wish to import and click OK.
-
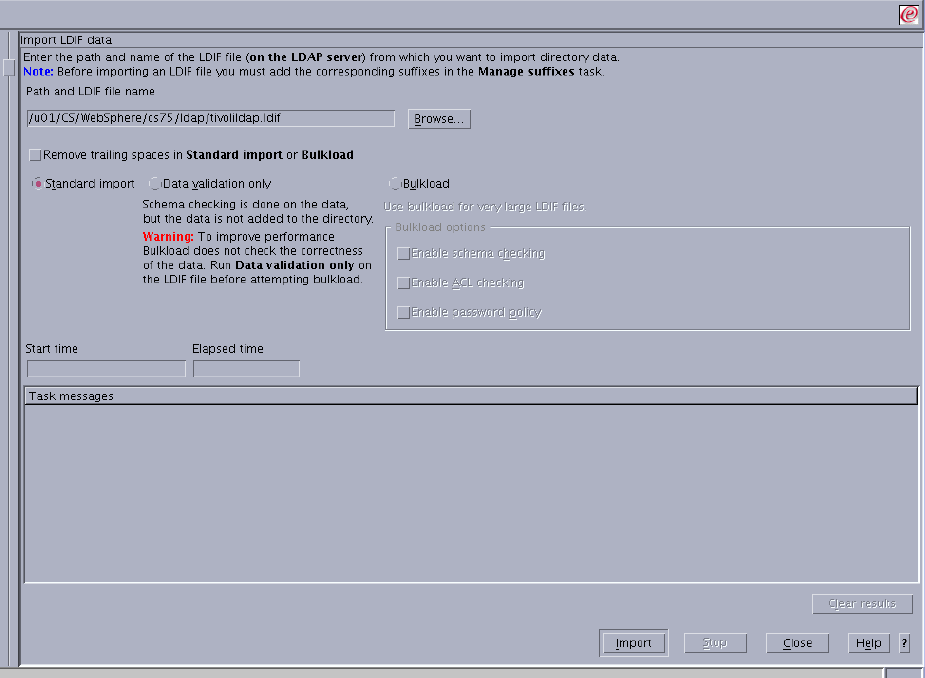
Click Import (Figure 15-20).
-
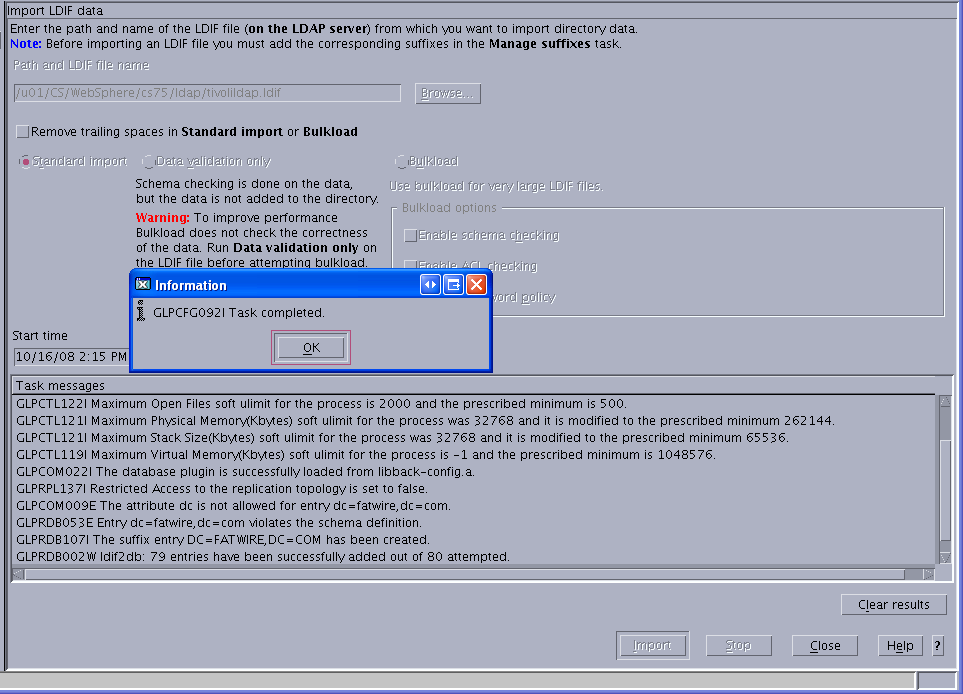
Click OK when the import is complete (Figure 15-21).
Adding Users and ACLs using an LDIF file
-
Create a blank LDIF file (for example,
addstuff.ldif). -
For each user that you wish to add, add the following to the LDIF file:
dn: uid=<User_Name>,cn=users,dc=<domain>,dc=<ext>
userPassword: <password>
uid: <User_Name>
objectClass: top
objectClass: person
objectClass: organizationalPerson
objectClass: inetOrgPerson
sn: <User_Name>
cn: <User_Name>
-
For each ACL you wish to add, add the following to the LDIF file:
dn: cn=<ACL Name>,cn=groups,dc=<domain>,dc=<ext>
objectClass: top
objectClass: groupOfNames
member: uid=<User_Name 1>,cn=users,dc=<domain>,dc=<ext>
member: uid=<User_Name 2>,cn=users,dc=<domain>,dc=<ext>
.
.
.
member: uid=<User_Name n>,cn=users,dc=<domain>,dc=<ext>
-
Import the LDIF file by following the steps in Section 15.4, "Importing an LDIF file (LDAP Browser)" or Section 15.4, "Importing an LDIF file (Configuration Tool)."
15.5 Connecting to IBM TDS Using the LDAP Browser
-
Download and install the LDAP browser.
-
Start the LDAP browser:
./lbe.sh
-
Fill in the required fields:
-
Host: Enter the IP or hostname of IBM TDS.
Note:
The default port which IBM TDS runs on is389. -
Port: Enter the port on which IBM TDS is running.
-
Base DN: Enter the user-defined suffix that was entered during the installation of IBM TDS (see step 8 for more information about the User-defined suffix).
-
Anonymous bind: Deselect the check box
-
User DN: Enter
cn=root -
Password: Enter the password for
cn=root(Figure 15-22).
-
-
Click Save (Figure 15-23).