This example uses the ISO file you imported in Section 8.3, “Importing an ISO file” to create a virtual machine, and deploy it in the server pool.
To create a virtual machine from an ISO file:
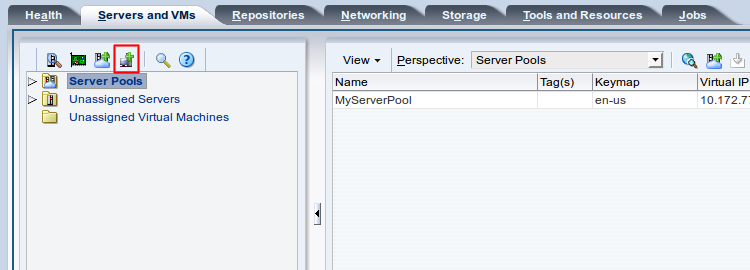
Click the Servers and VMs tab.
Click Create Virtual Machine
 in the toolbar.
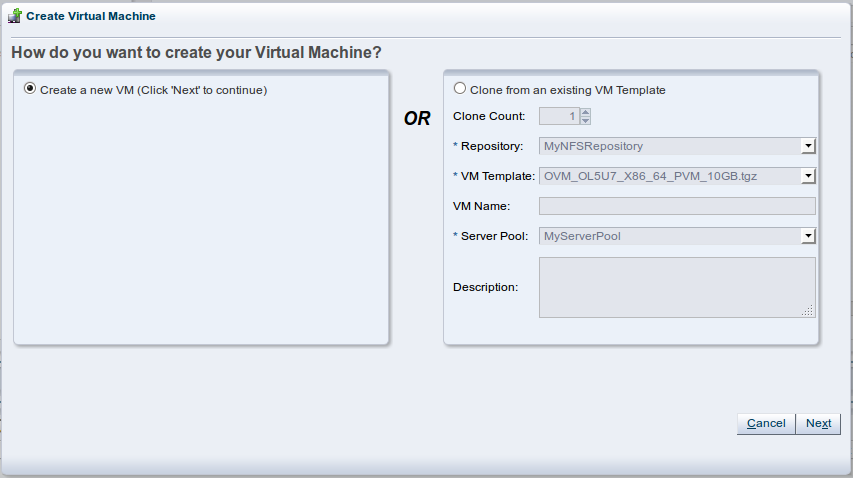
The Create Virtual Machine dialog box is displayed. Select the Create a new VM option. Click Next.
The Create Virtual Machine wizard is displayed. In the Create Virtual Machine step, select the server pool you created earlier, the repository you created as the location to store the virtual machine configuration file, and enter a name for the virtual machine. Click Next.
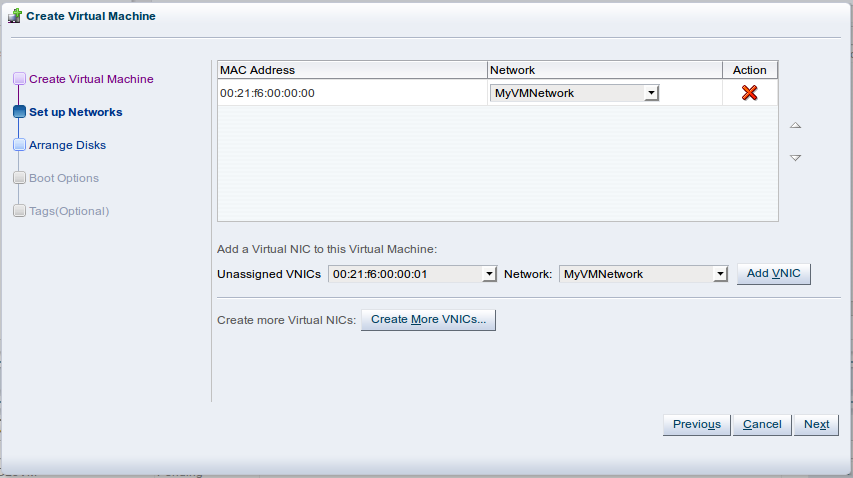
In the Setup Networks step, add one or more VNICs to the virtual machine. Click Next.
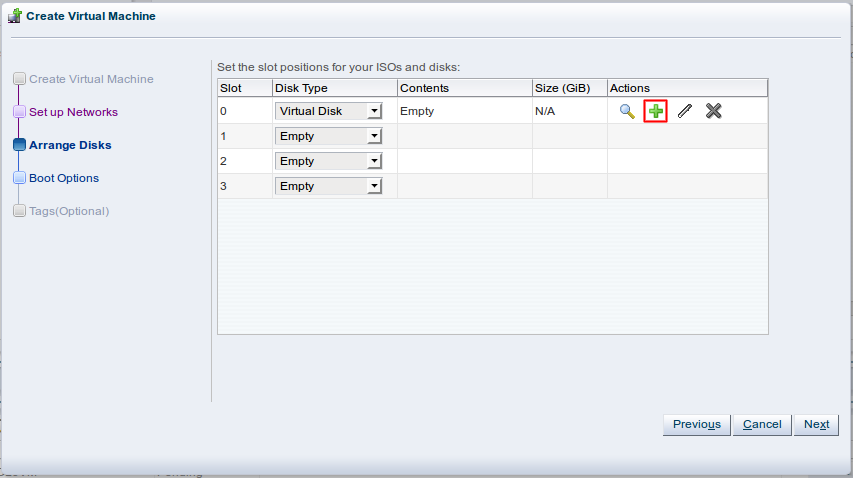
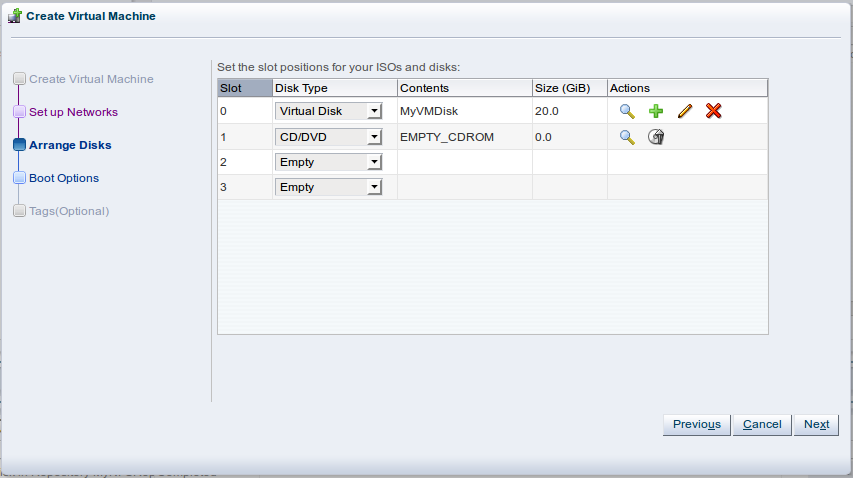
In the Arrange Disks step, create a virtual disk to use as the virtual machine's hard disk and select the ISO to use to create the virtual machine. For slot 0 select Virtual Disk from the Disk Type drop-down list. Click Create a Virtual Disk
 .
.
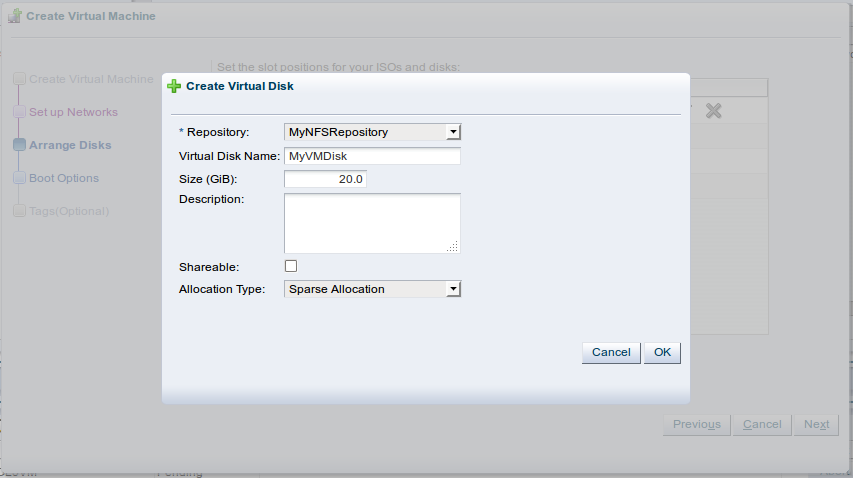
The Create Virtual Disk dialog box is displayed. Select the repository on which to create the virtual disk, enter a name for the disk, and enter the size of the disk. Click OK.
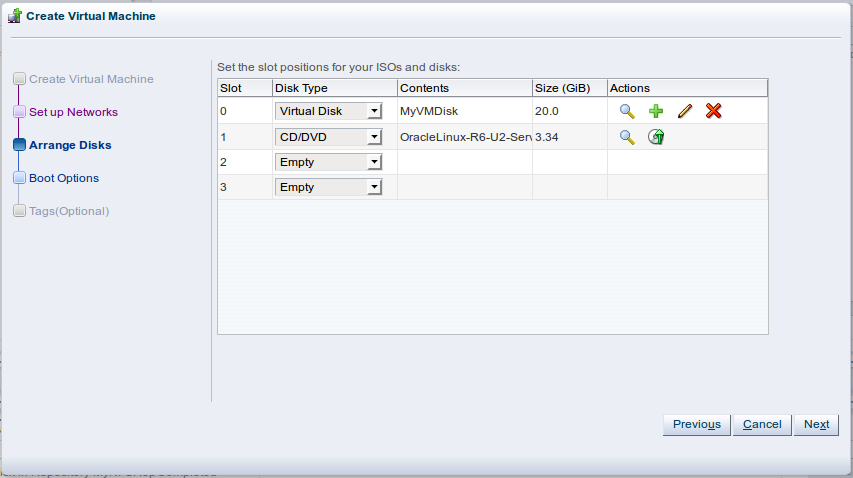
For slot 1 select CD/DVD from the Disk Type drop-down list. Click Select a Virtual Machine Disk
 .
.
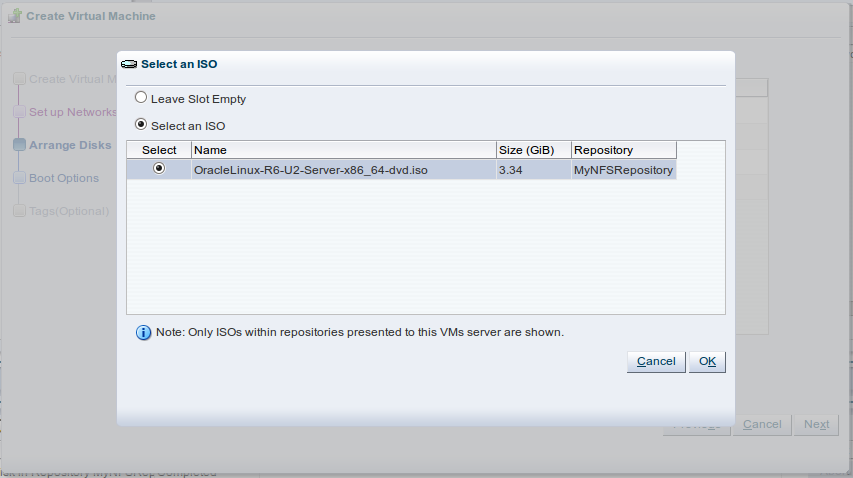
The Select an ISO dialog box is displayed. Select the ISO file and click OK.
You have now created a virtual disk to use as the virtual machine's hard disk, and added the ISO file which contains the operating system to be installed. Click Next.
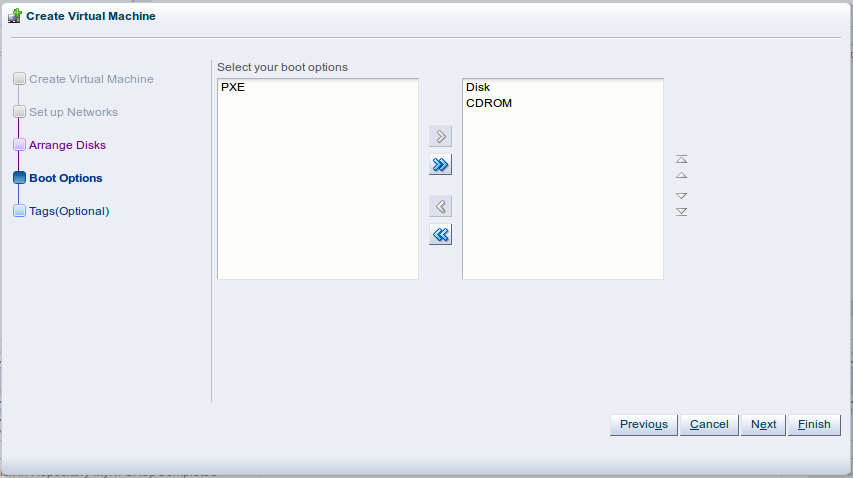
In the Boot Options step, select the boot media and order for your virtual machine. Click Finish.

The virtual machine is created and deployed to an Oracle VM Server in the server pool. To see the virtual machine, select the server pool in the navigation pane and select Virtual Machines from the Perspective drop-down list in the management pane toolbar.