A custom installation of Oracle Financial Management Analytics enables you to select the specific components that you want to install. For example, this option may be useful if you have an existing installation and want to use the existing RPD file or catalog.
Caution! | To complete the custom installation, Oracle highly recommends that you have extensive business knowledge of your Financial Management and Financial Close Management applications and Oracle BI EE. Oracle also recommends that you are the Oracle Financial Management Analytics system administrator. |
 To perform a custom installation of Oracle Financial Management Analytics:
Ensure that all system and software prerequisites are available. See System and Hardware Prerequisites and Software Prerequisites.
Ensure you have installed Oracle BI EE 11.1.1.5 and the required Patch 11.1.1.5.1 MLR.
See Supported Components.
Optional: If you plan to use the Process Management Dashboards, apply the following patches before beginning the installation:
For Financial Management version 11.1.1.3.500, apply required patch 12843958
For Financial Management version 11.1.2.1.000, apply the required patch set update release 11.1.2.1.102.
See Supported Components.
From the installation directory, select the installation file, setup.exe, for your Microsoft Windows operating system:
32-bit
64-bit
Note:
For the default installation path, see Default Installation Path.
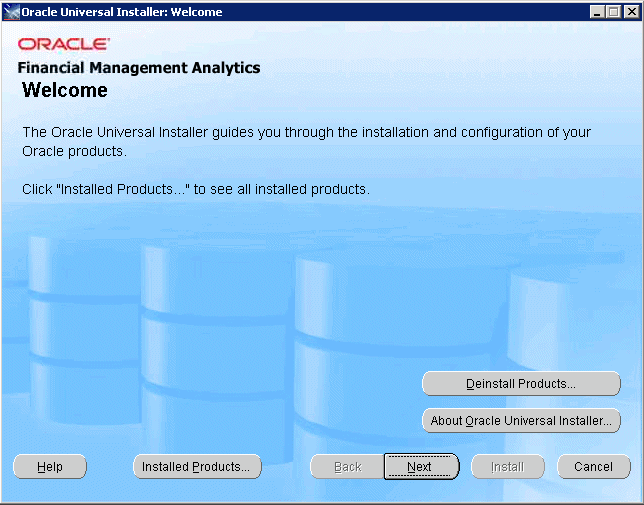
The Welcome screen of the Oracle Universal Installer (OUI) is displayed.
On the Select Installation Type screen, click Custom, and then click Next.
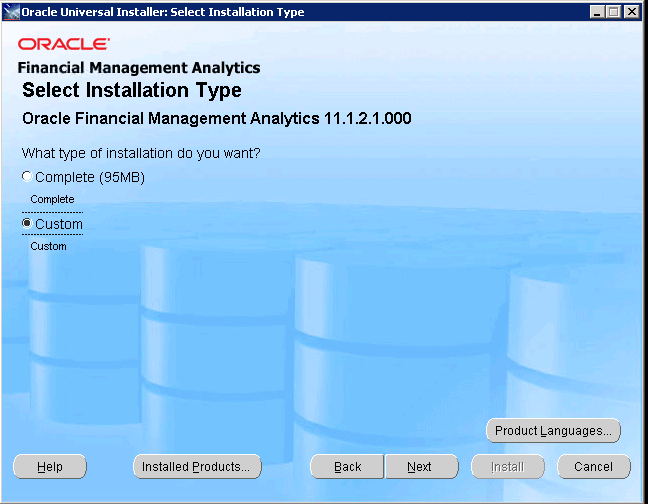
Optional: Click Product Languages to set the language in which you want to use the application. See Setting the Application Language .
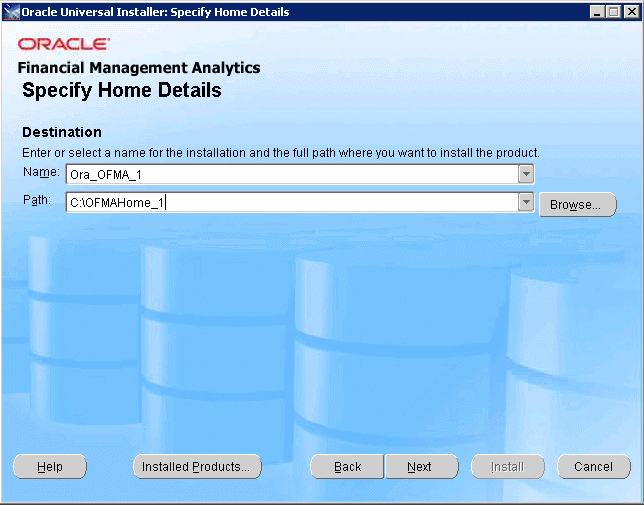
On the Specify Home Details screen, enter the details for the new installation:
Under Name, enter the name of the installation.
Under Path, enter the path, or browse to the location where Oracle Financial Management Analytics is to be installed.
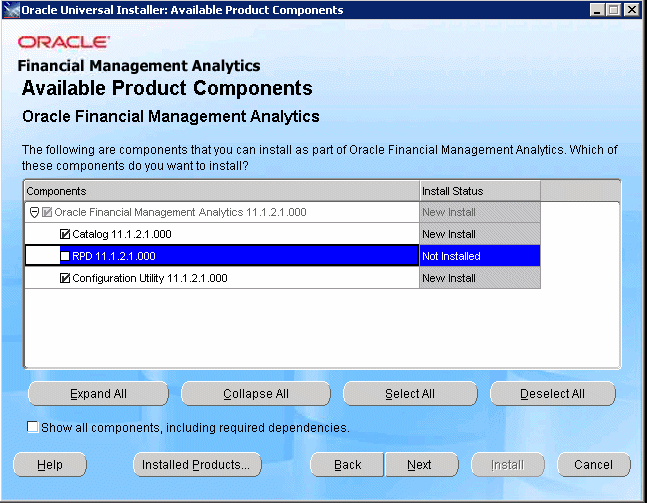
On the Available Product Components screen, select the components that you want to install, and then click Next.
You must select one or more of the following components:
Repository (FinancialManagementAnalytics.rpd)
Catalog - FinancialManagementAnalytics folder
Configuration Utility
On the Summary screen, review the components that have been selected for installation, and then click Install.
To change any selections, click Back to return to the associated screen and make the change.
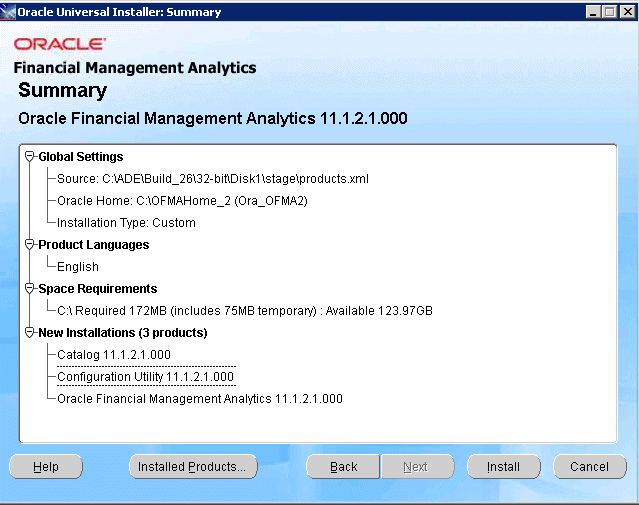
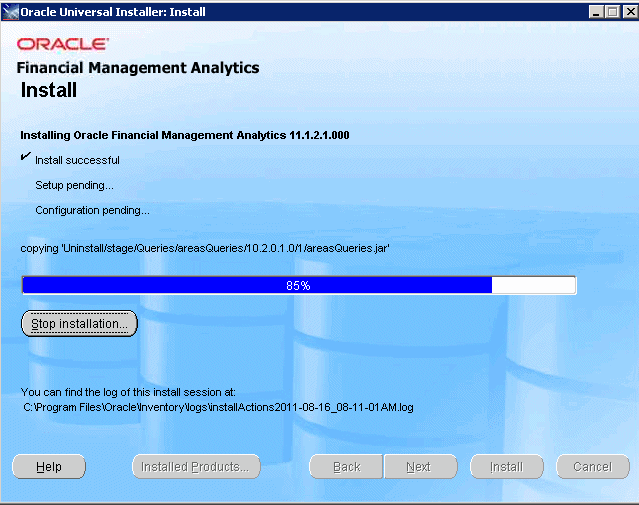
On the Install screen, monitor the progress of the installation.
When the installation is complete, a confirmation dialog box is displayed.
When the installation is successfully completed, click Exit.
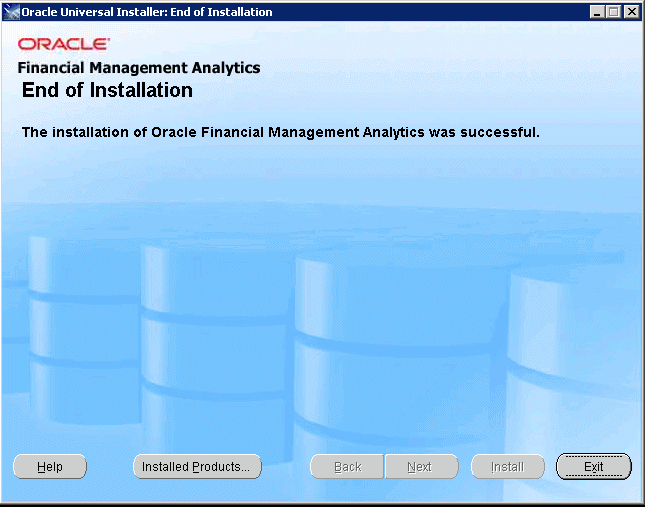
Click Yes on the Exit dialog box to finish the installation.

Configure the application, as outlined in Configuring Oracle Financial Management Analytics.