The EditDept_LOV workbook contains a list of values field and a table that has insert/update/delete functionality. You also add ribbon commands to the Excel ribbon in the workbook.

-
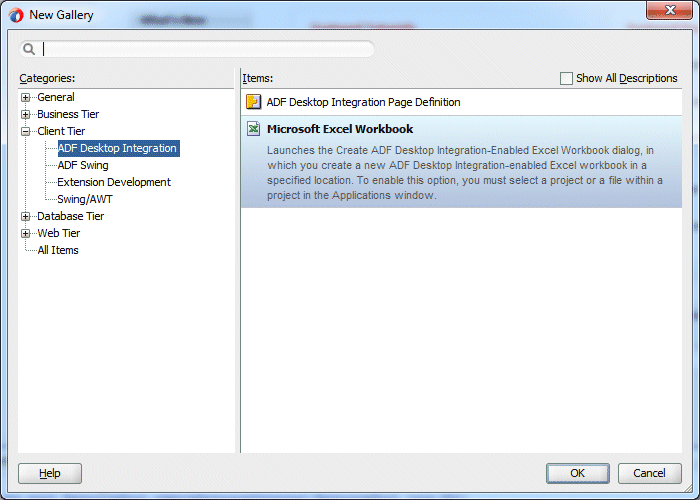
Right-click the ViewController project in the Navigator and select New - From Gallery... from the context menu. In the New Gallery expand the Client Tier node if it is not already expanded, and select ADF Desktop Integration. Microsoft Excel Workbook should be automatically highlighted in the Items pane, so click OK to select it.
-
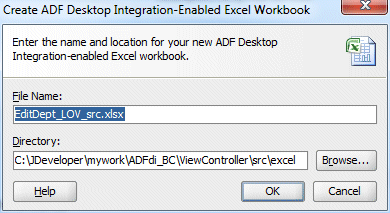
Name the workbook EditDept_LOV_src.xlsx and click OK.
-
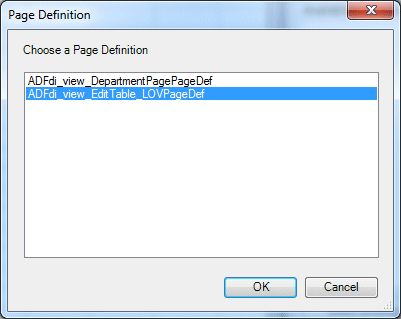
Excel opens, loading Oracle ADF Desktop Integration. In the Page Definition dialog, select the ADFdi_view_EditTable_LOVPageDef page definition.
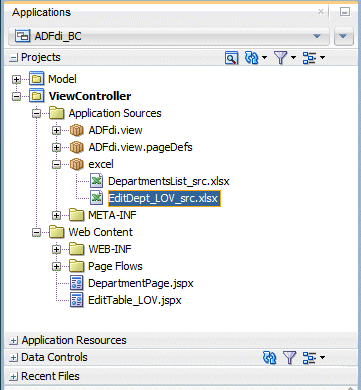
Also, in the Applications window, EditDept_LOV_src.xlsx is displayed..
-
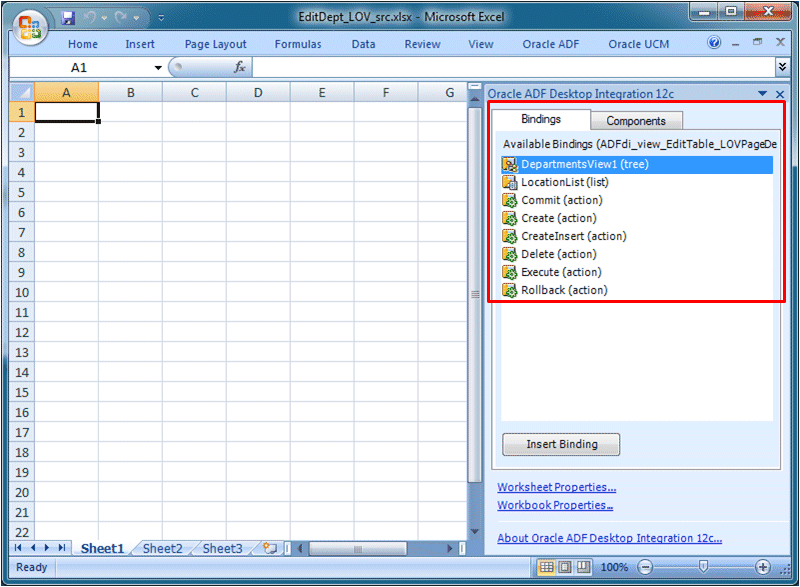
Back in Excel, the ADF Desktop Integration bindings pane displays the available bindings from the page definition.
-
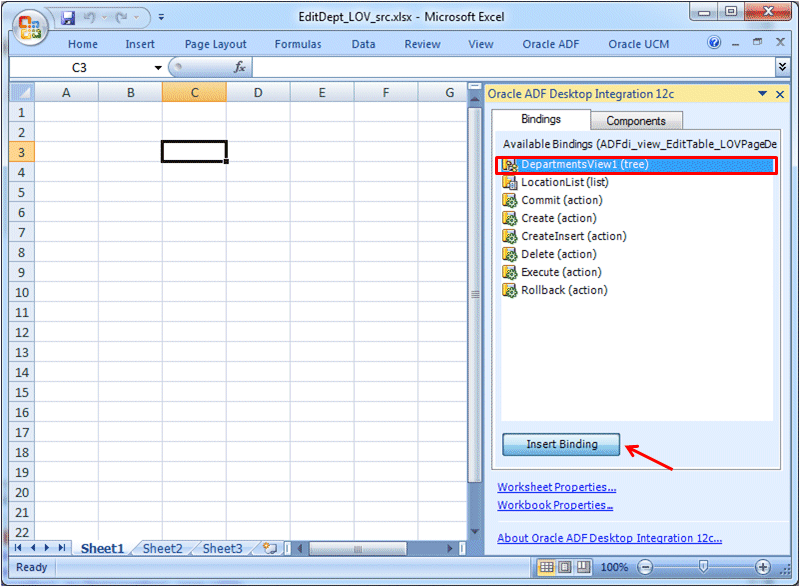
In the worksheet, select a cell and in the Bindings tab, select DepartmentsView1 and click Insert Binding.
-
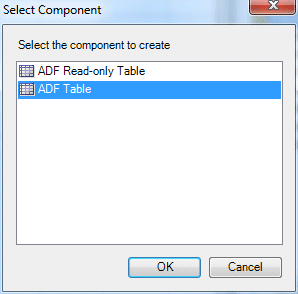
In the Select Component dialog, select ADF Table. Click OK.
-
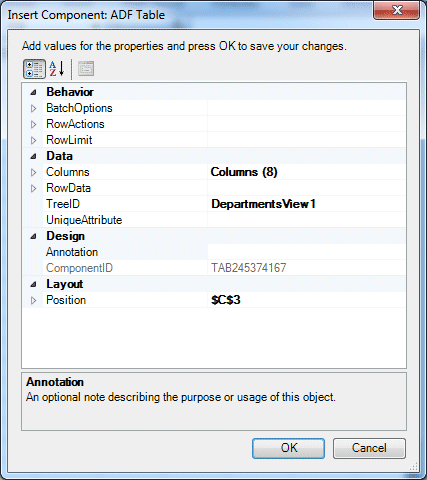
In the Insert Component: ADF Table dialog, click OK to accept default values.
-
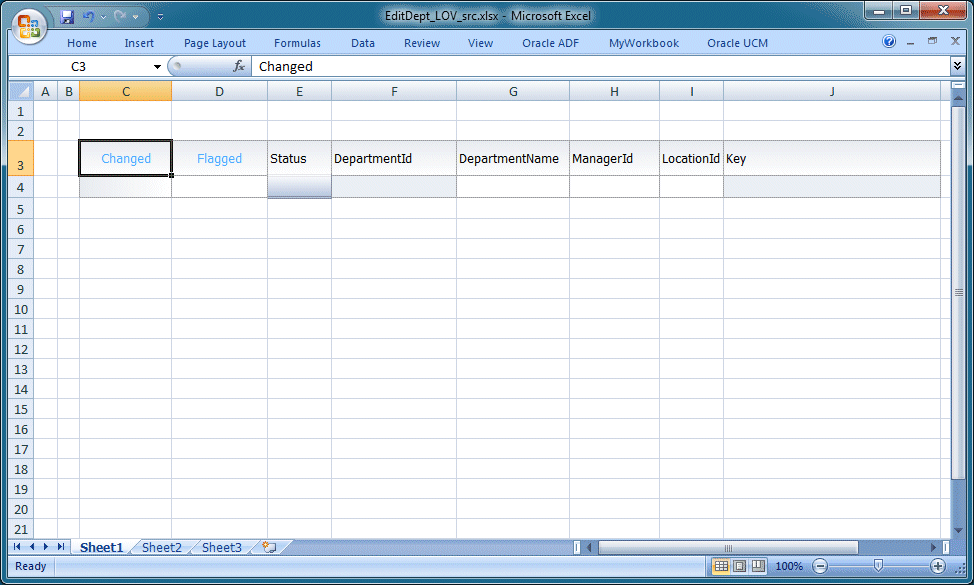
The Excel worksheet should look like this:
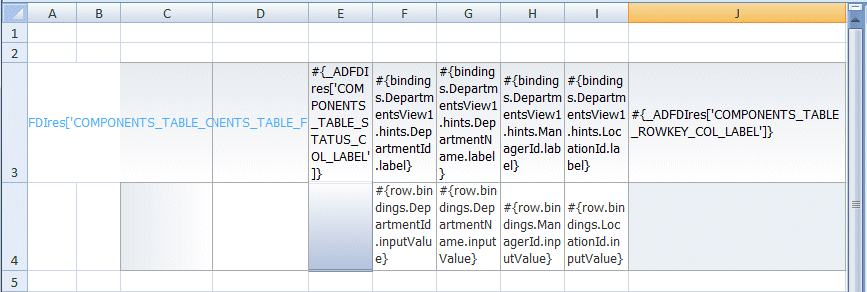
Notice that the first three columns, and the last one (the key column) are automatically generated in the context of an editable table for information purposes.
-
Click the Save icon
 to save the workbook.
You create a new ADF desktop integration-enabled workbook.
You open the workbook in Excel.
You choose a page definition for the worksheet.
You add a binding to the worksheet.
You choose a component to add to the worksheet.
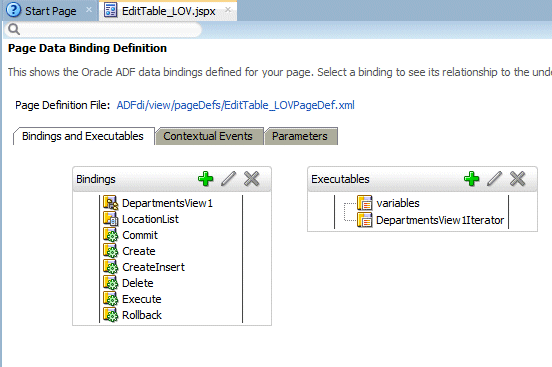
Notice the different bindings in the screenshot of the data bindings for the EditTable_LOV.jspx page: the action bindings represent the button actions that the JSF page contains.
-
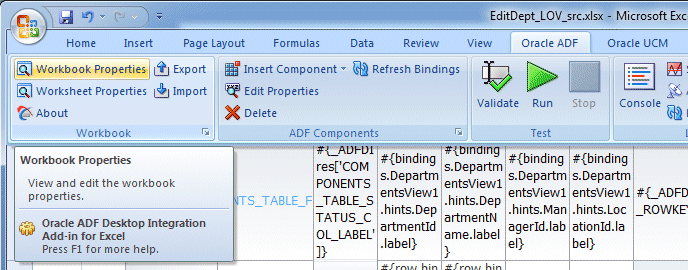
Click the Workbook Properties button in the Oracle ADF tab of the Excel ribbon.
-
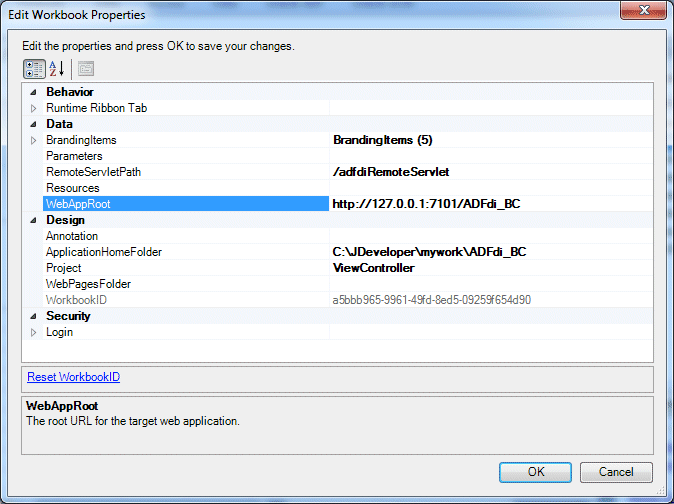
In the Edit Workbook Properties, next to the WebAppRoot field, enter http://127.0.0.1:7101/ADFdi_BC as before, and click OK. This is the URL for the Fusion Web application with which the workbook is integrated.
-
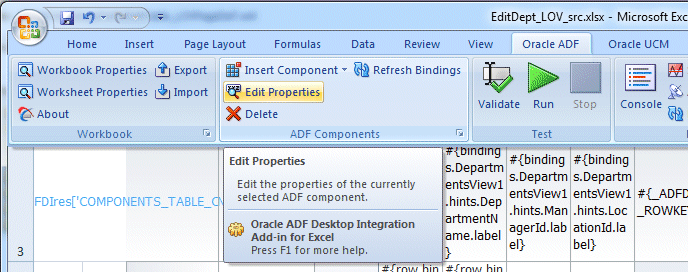
In the Excel worksheet, select the top left cell of your table (i.e. C3), and click the Edit Properties icon
 in the ADF Components group of the Oracle ADF tab in the Excel ribbon.
-
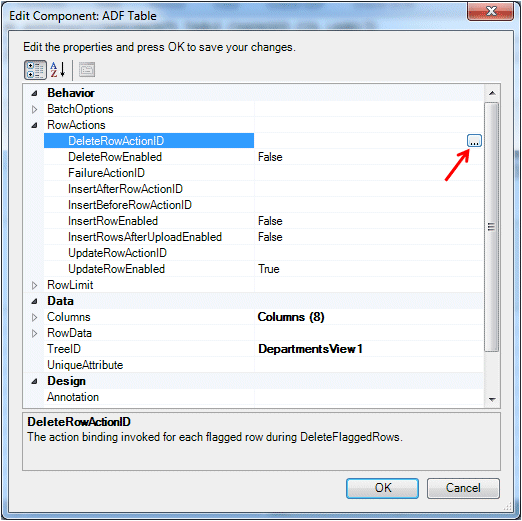
In the Edit Component: ADF Table dialog, expand the RowActions node and click the more button
 next to the DeleteRowActionID field.
-
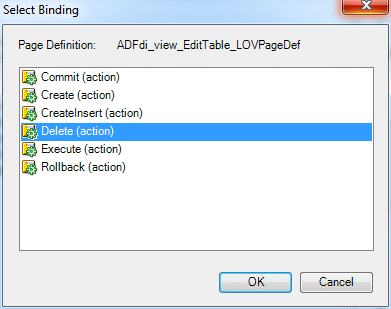
In the Select Binding dialog, select Delete (action) and click OK.
-
Repeat the previous step for the InsertBeforeRowActionID field and choose the CreateInsert (action).
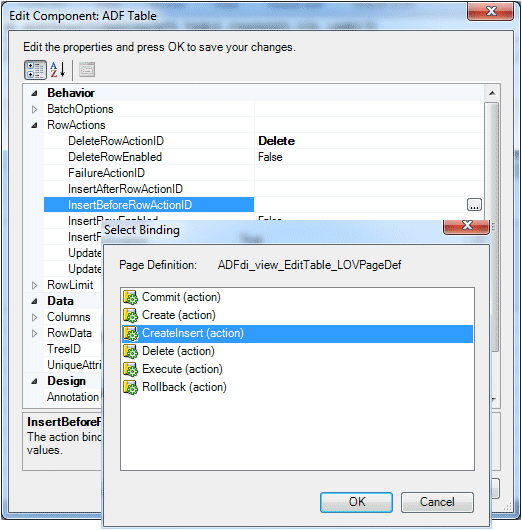
Click OK.
-
In the RowActions section, set the following additional values from drop-down list:
Option Value DeleteRowEnabled True InsertRowEnabled True UpdateRowEnabled True The RowActions properties should look as follows:
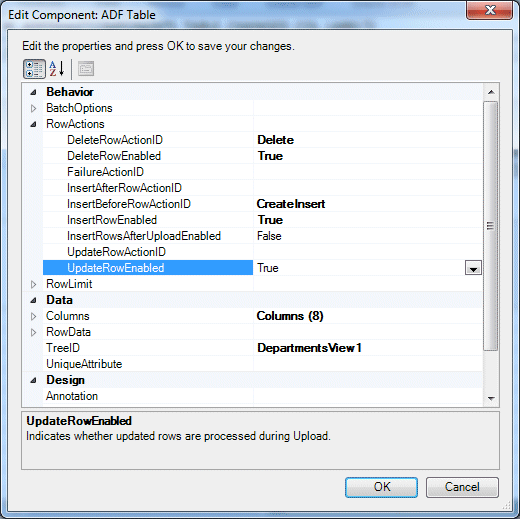
-
In the BatchOptions section, set the CommitBatchActionID to Commit and click OK.
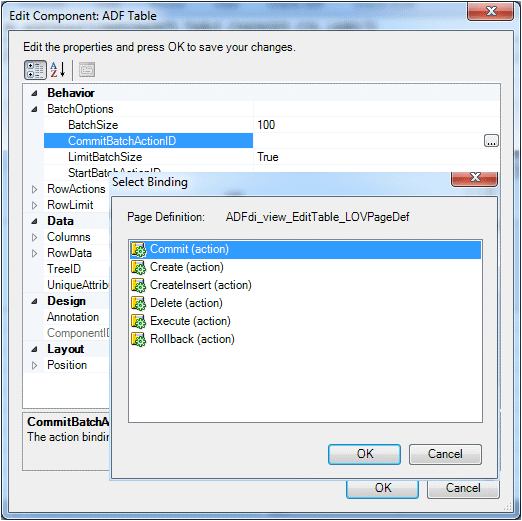
-
In the Edit Component dialog, click the more button
 next to the Columns field.
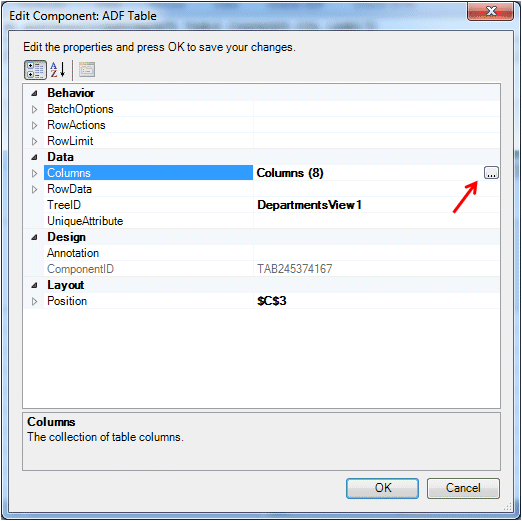
-
Select column 6 (LocationId) in the Members pane and click the more button
 next to the UpdateComponent field.
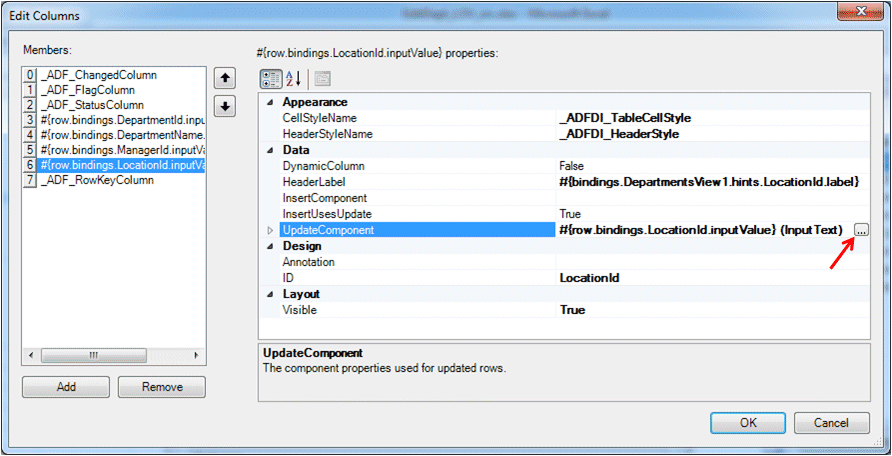
-
In the Select Component dialog, select TreeNodeList and click OK.
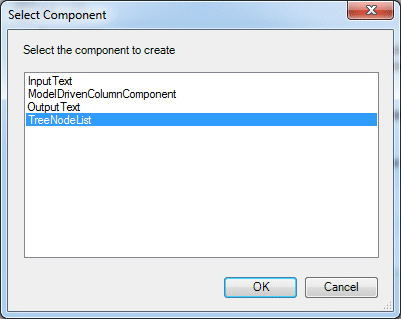
-
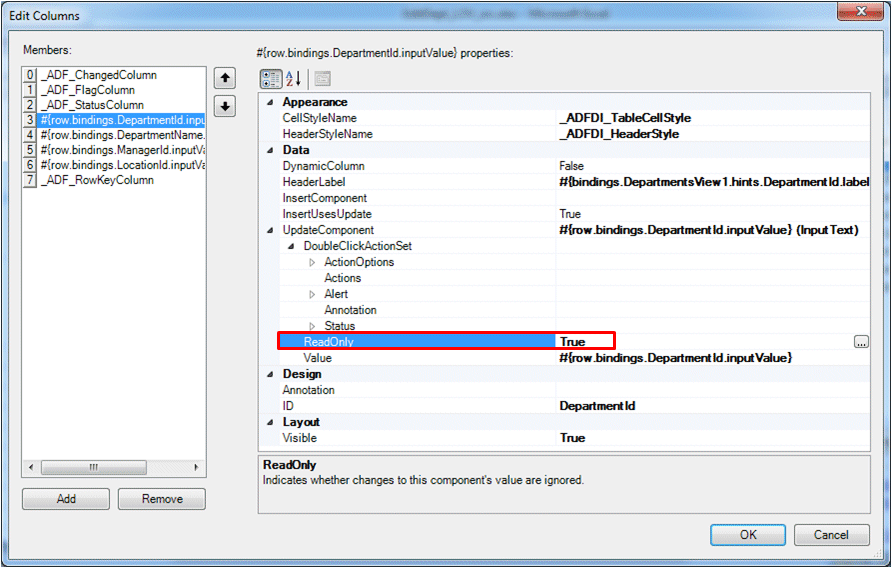
Select column number 3 (DepartmentId) and expand the UpdateComponent node. Change the ReadOnly property to True.
-
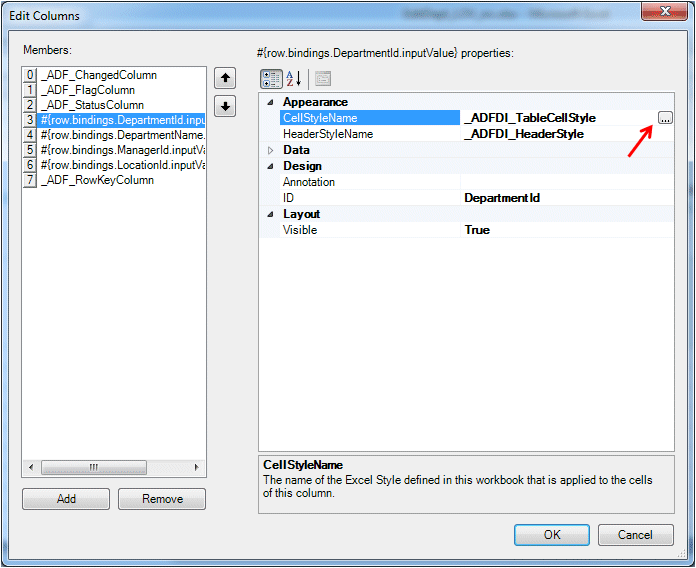
With column number 3 (DepartmentId) still selected, click the more button in the CellStyleName field.
-
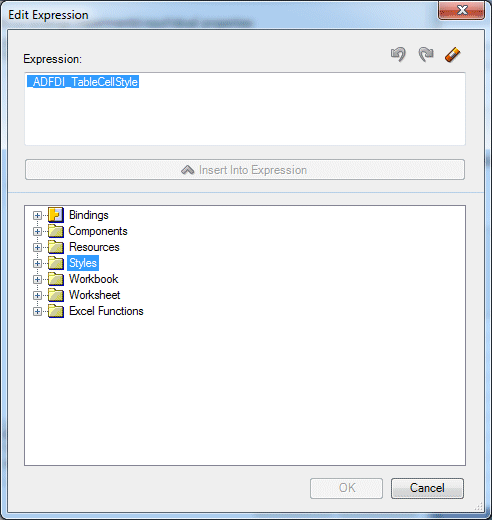
In the Edit Expression dialog, expand the Styles node.
-
Select _ADFDI_TableCellROStyle (this is the style that visually indicates that a column is read-only) and click Insert Into Expression.
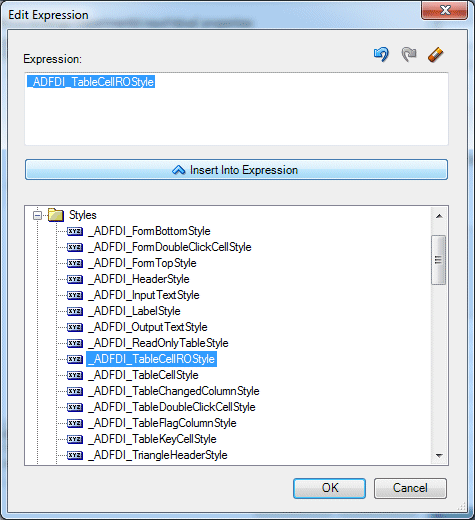
Click OK, then OK again.
-
Save your Excel workbook.
For example selecting Delete in this step defines the action binding that should be invoked for each flagged row during DeleteFlaggedRows. The steps that follow define behaviors for other rows in the worksheet.
To implement this requirement you set the ReadOnly property to True (which you have just done in this step) and you also apply a style to the field as a visual indicator to users that they cannot update the DepartmentId field.
-
In the Oracle ADF tab, click the Worksheet Properties button. Locate Ribbon Commands and click the more
 button.
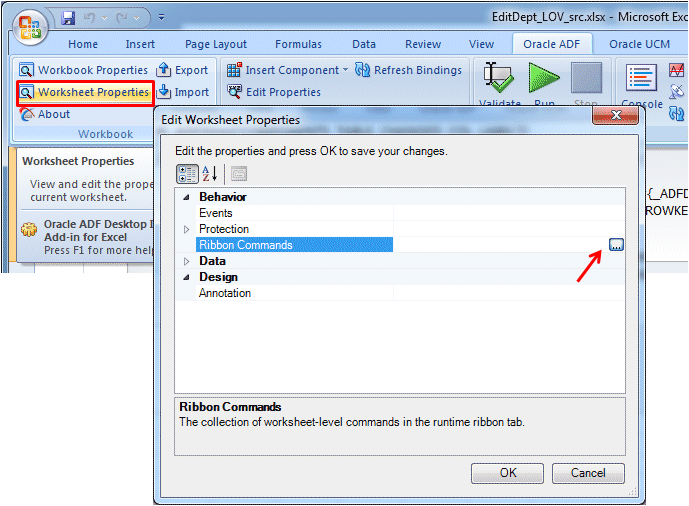
-
In the Edit Ribbon Commands dialog click Add.
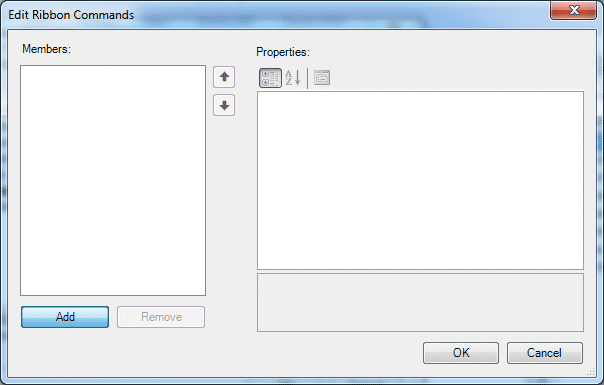
-
In the right-hand pane, expand the SelectActionSet node, then click the more button
 next to the Actions field.
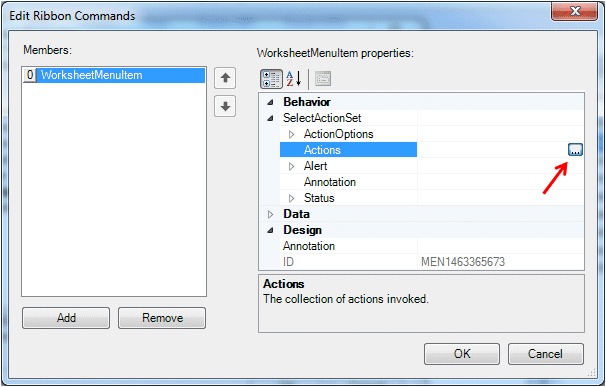
-
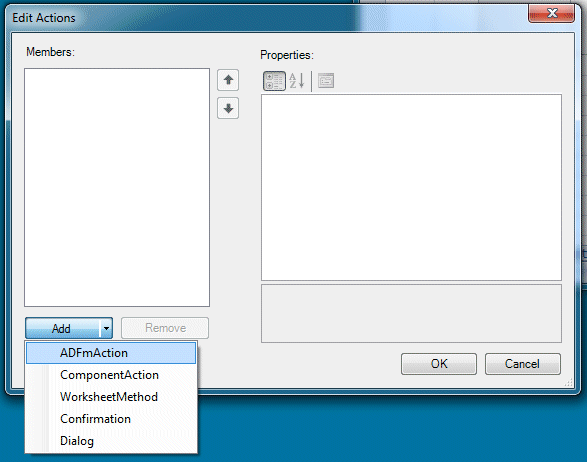
In the Action Collection Editor dialog, click the triangle in the Add button and select ADFmAction from the drop down list.
-
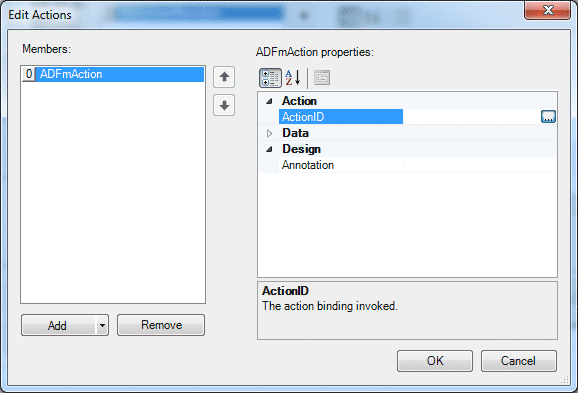
In the Edit Actions dialog for the ADFmAction properties, click the more button
 next to the ActionID field.
-
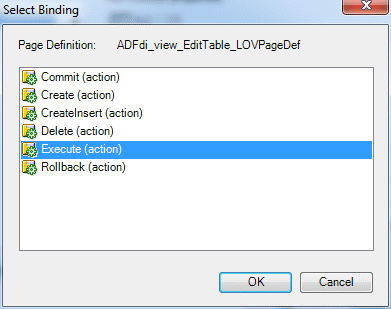
In the Select Binding dialog, select Execute and click OK.
-
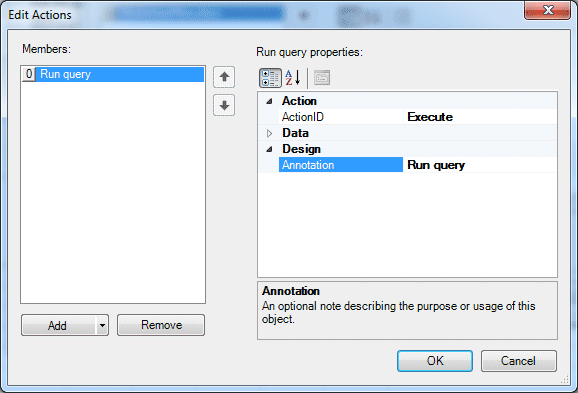
Back in the Edit Actions dialog, in the Design - Annotation field, type Run query .
-
In the Edit Action dialog, click the Add button and select ComponentAction from the drop-down list.
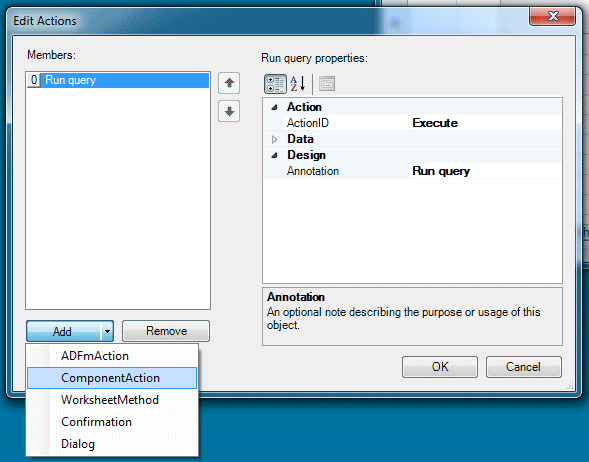
-
Click the more button
 next to the Action field.
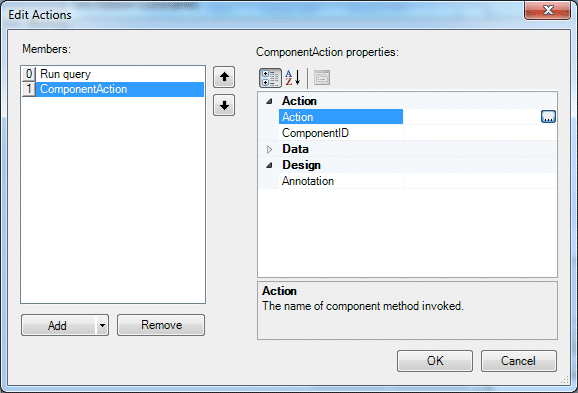
-
In the Choose Component Action dialog, select Download and click OK.
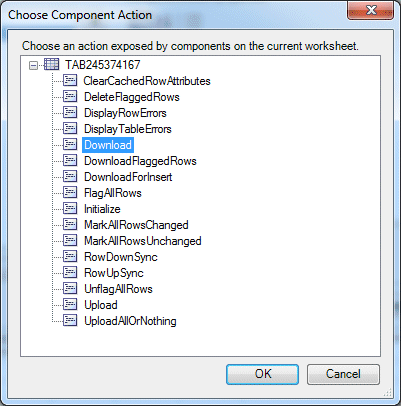
-
Then, back in the Edit Action, in the Design - Annotation field, type Download and click OK.
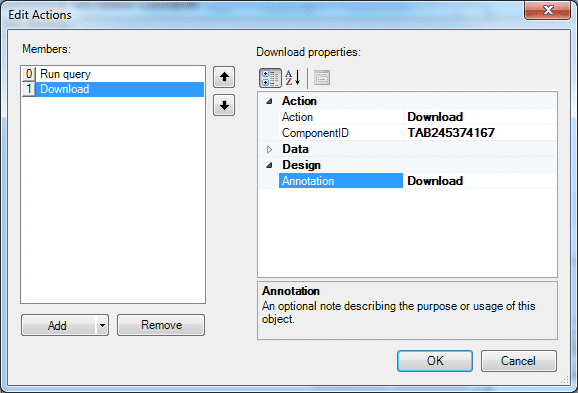
-
Back in the Edit Ribbon Commands dialog, type Query in the Label field.
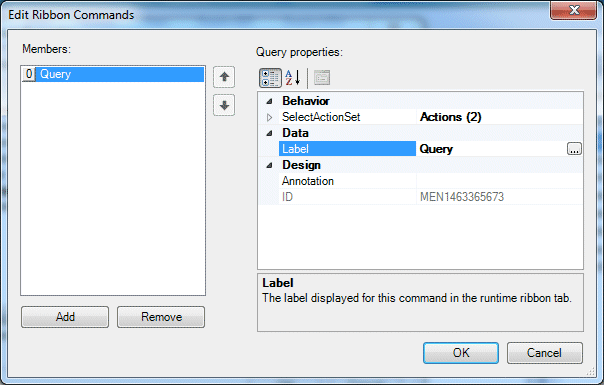
Click OK and OK again.
-
Click the Save
 button to save your Excel workbook.
You can also create resource expressions for labels in order to create a 'localized' application.
-
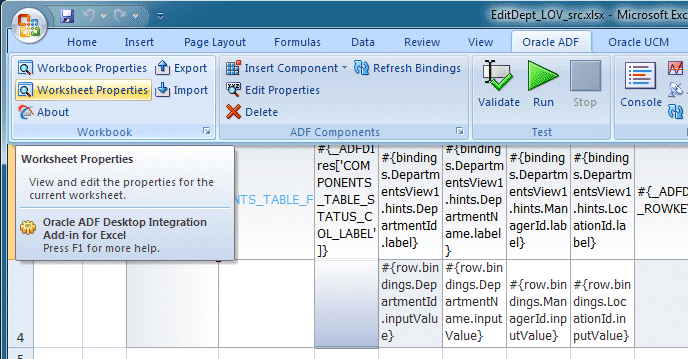
In the Oracle ADF tab, click the Worksheet Properties button.
-
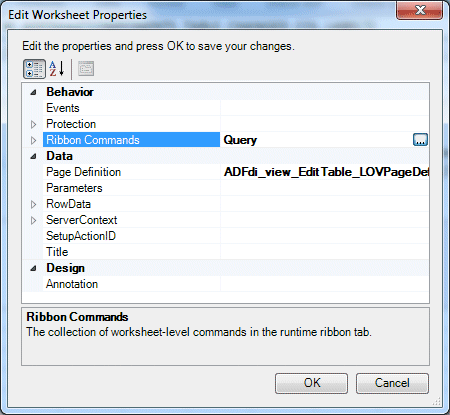
In the Edit Worksheet Properties dialog, locate Ribbon Commands and click the more button.
-
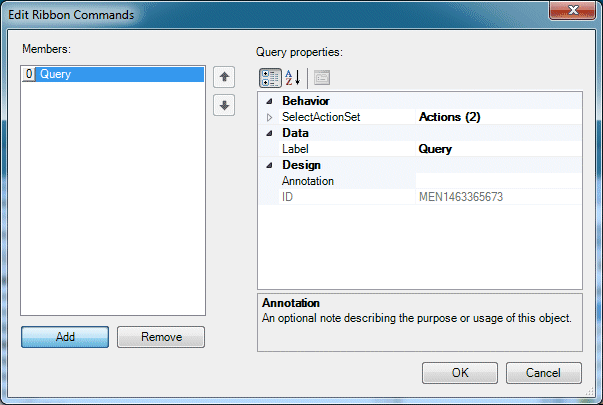
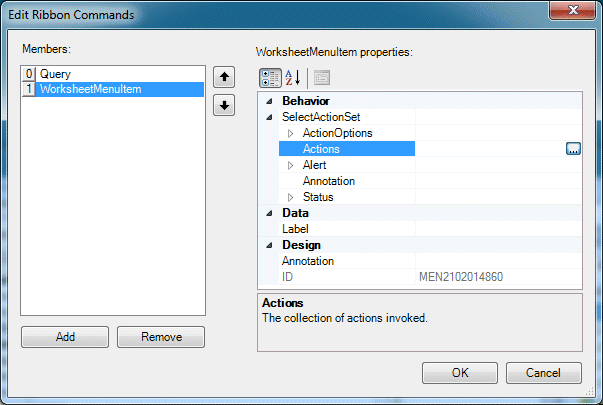
In the Edit Ribbon Commands dialog click Add.
-
In the right-hand pane, click the more button
 next to the Actions field.
-
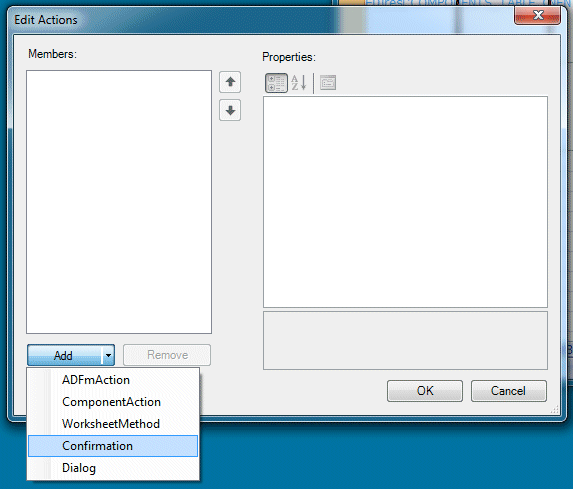
Click the triangle in the Add button and from the drop-down list select Confirmation.
-
In the Data section, enter the following values:
Property Value Prompt Are you sure you want to delete these rows? Title Delete Departments
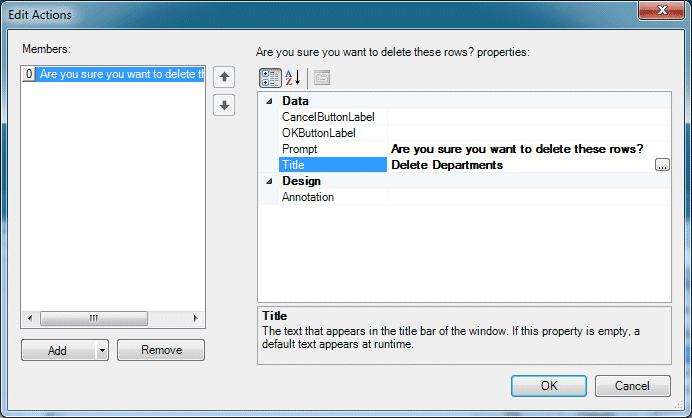 Defining label properties.
This example illustrates that you can display labels coming from resource expressions (i.e. OKButtonLabel) or from literal values (Title).
Use the resource expression technique for localized application. -
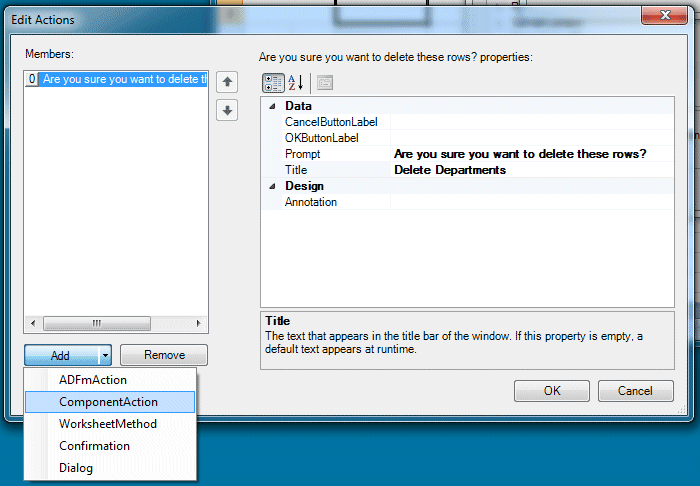
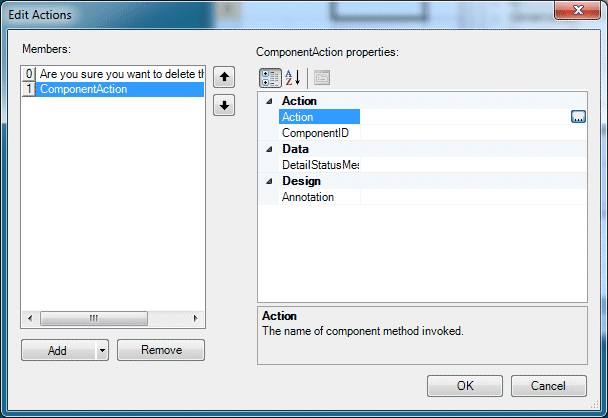
Click the triangle in the Add button, and from the drop-down list select ComponentAction.
-
In the Action Collection Editors dialog, click the more button
 next to the Action field.
-
In the Choose Component Action, select DeleteFlaggedRows.
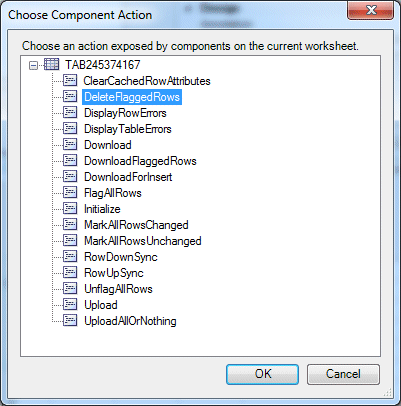
Click OK and OK again. -
In the Edit Ribbon Commands, type Delete Flagged in the Label field.
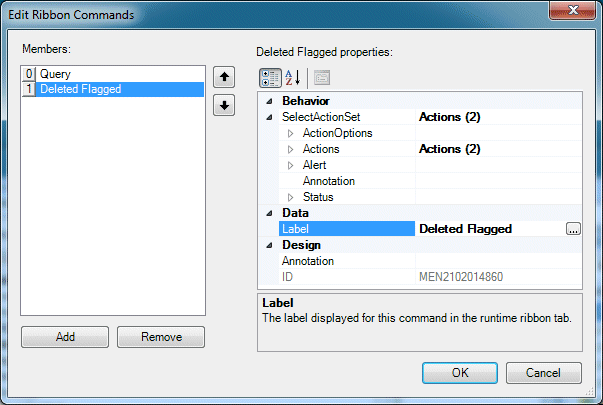
Click OK. Click OK again.
Save your work.
-
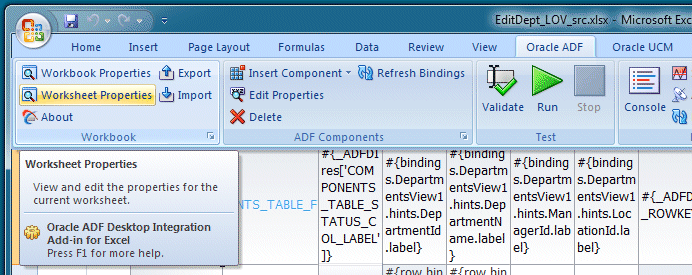
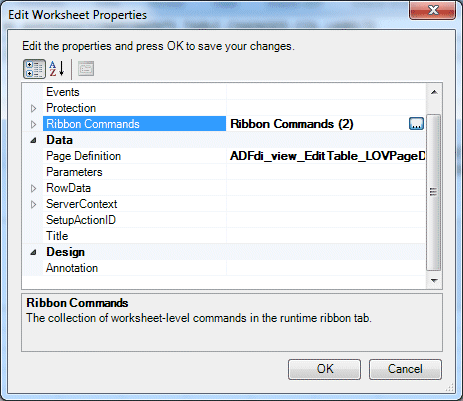
In the Oracle ADF tab, click the Worksheet Properties button.
-
Locate Ribbon Commands and click the more button.
-
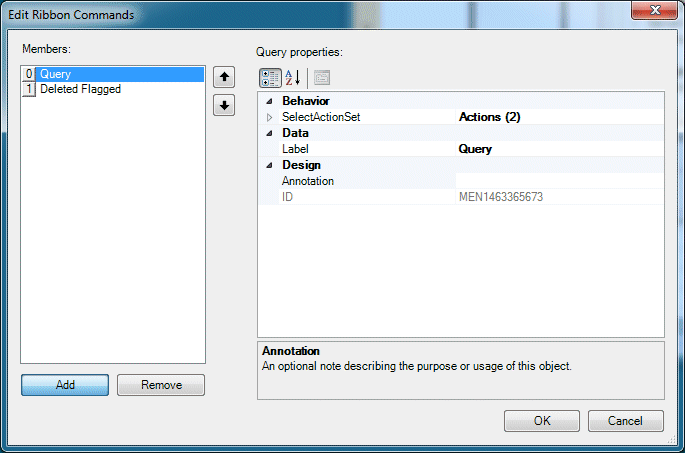
In the Edit Ribbon Commands dialog, click Add.
-
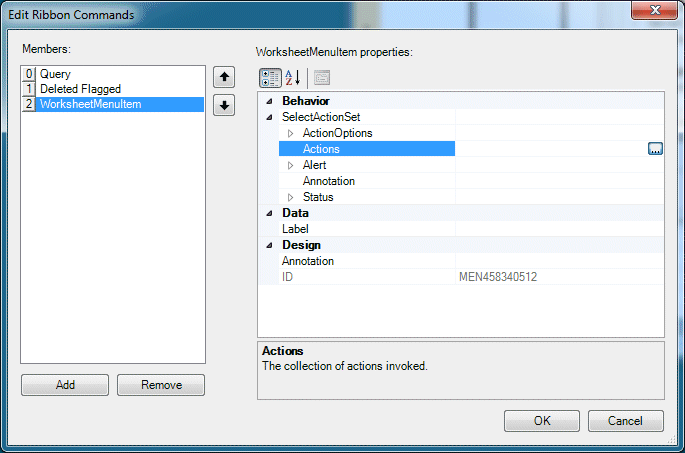
In the right-hand pane, click the more button
 next to the Actions field.
-
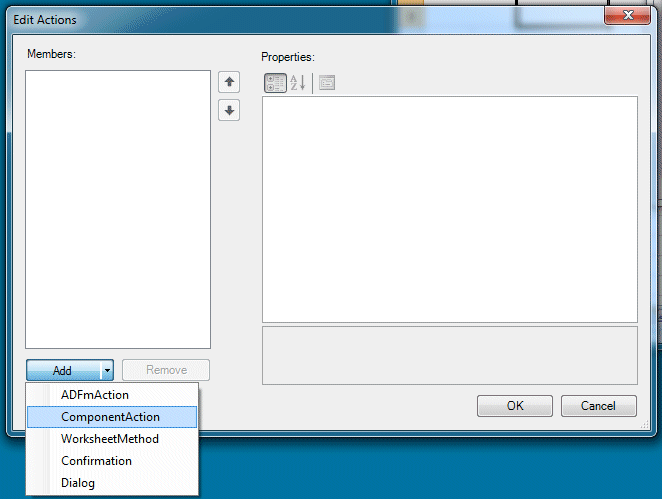
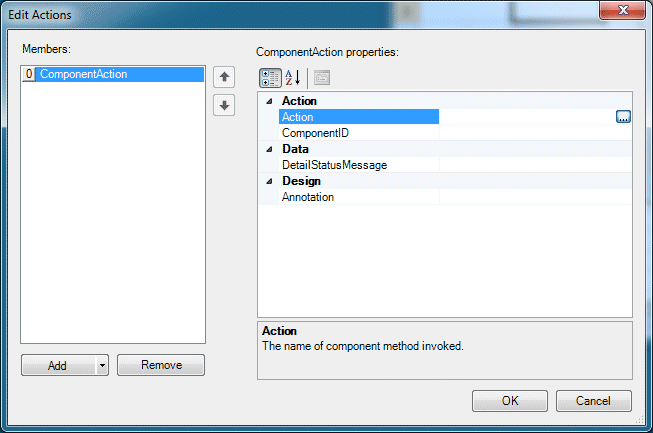
In the Edit Actions dialog, click the Add button and select ComponentAction from the drop down list.
-
In the Edit Actions properties, click the more button
 next to the Action field.
-
In the Choose Component Action dialog, select Upload. Click OK.
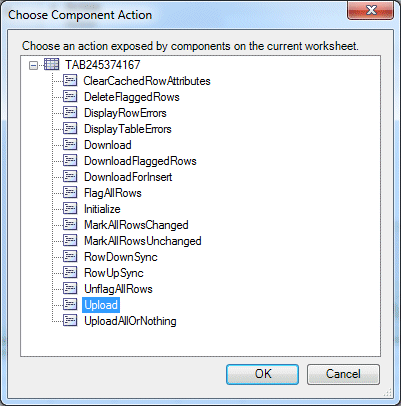
Click OK again.
-
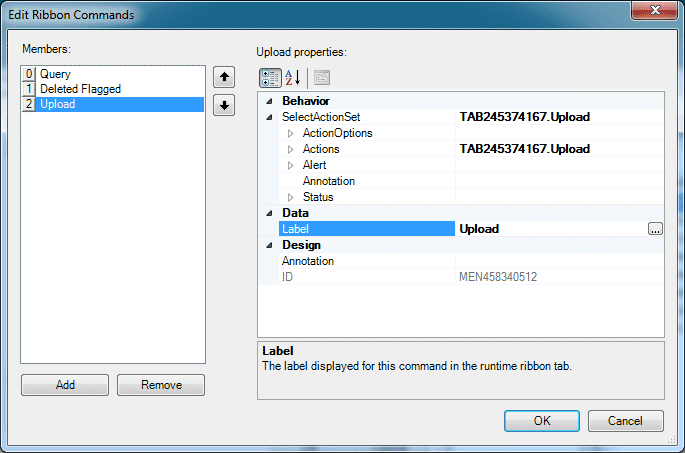
In the Edit Ribbon Commands dialog, type Upload in the Label field and click OK.
-
Now you have three ribbon commands defined for your worksheet.
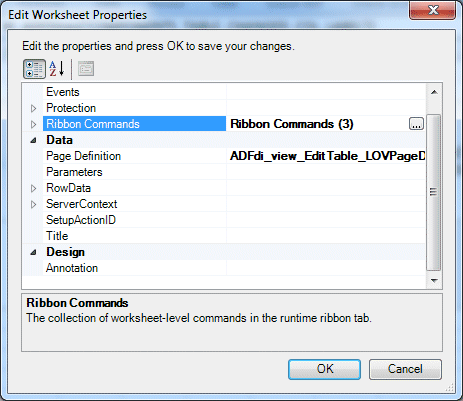
Click OK.
-
Save
 the workbook.
-
Click the Oracle ADF tab in the Excel ribbon.

-
Click the Run button in the Test group.
 Clicking Validate button.
 Read more...
Notice that you could click the Validate button prior to running the worksheet to find and fix any configuration problems with your workbook.
-
The workbook loads, displaying the ADF table, not yet populated with data.
-
Click the MyWorkbook tab, displayed in the Excel ribbon to the right of the Oracle ADF tab.

-
Notice the three command items that you have just created, in the Worksheet group. These correspond to the three ribbon items.
Click the Query button.
-
Retrieved data are then displayed in the worksheet.

-
Insert a new row, right-click anywhere within the worksheet, and choose Insert from the context menu.
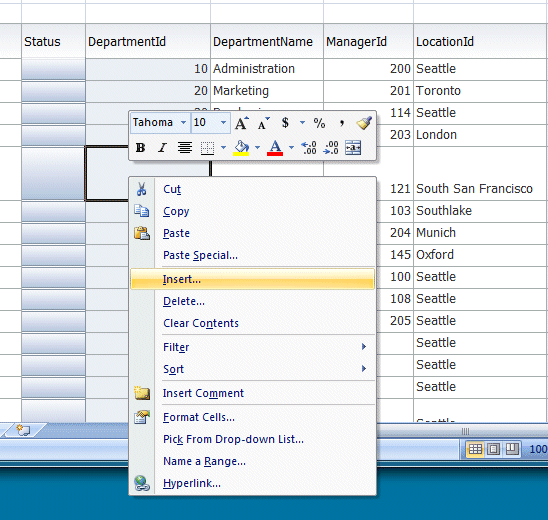
In the Insert dialog choose Entire Row and click OK.
-
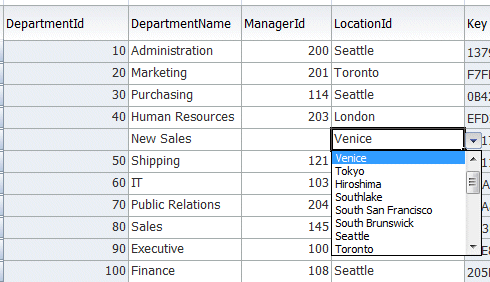
Type a new department name (New Sales) and select a city from the drop down list.
-
Notice that the new row is automatically flagged in the Changed column.

-
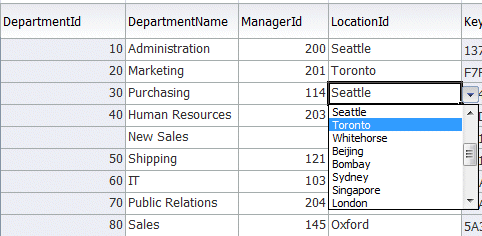
For an existing row, try changing the location from the drop down list.
-
Click the newly-created Upload command item in the Excel ribbon to save the changes.
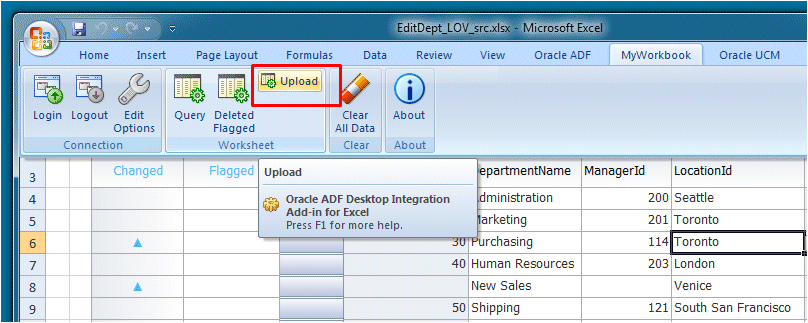
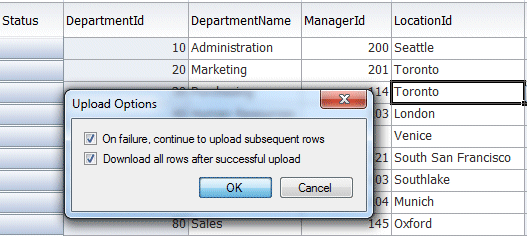
On the Upload Options dialog check the Download all rows after successful upload checkbox. Notice the two flags for the updated rows in the changed column.
-
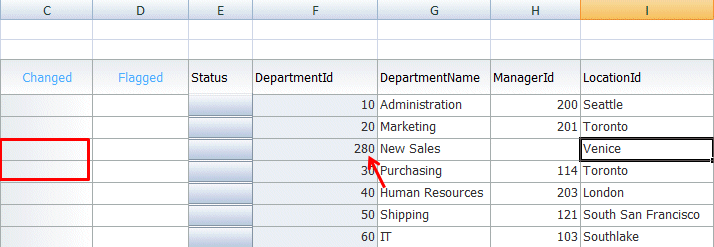
Notice that the new row has been inserted, a Department Id has been generated, and the flags have been removed.
-
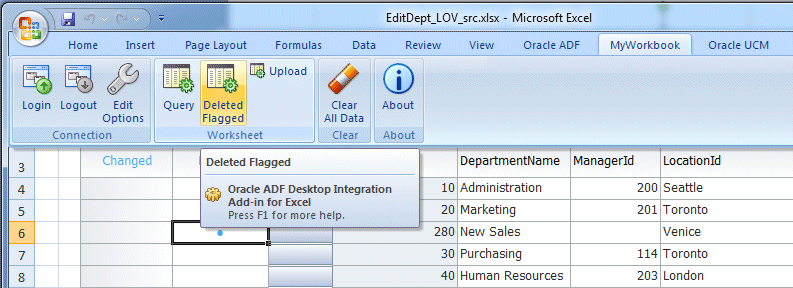
Double click in the Flagged column for the row you just inserted.

-
Click the Delete Flagged button.
-
In the Delete Confirmation dialog you created previously, click Yes.
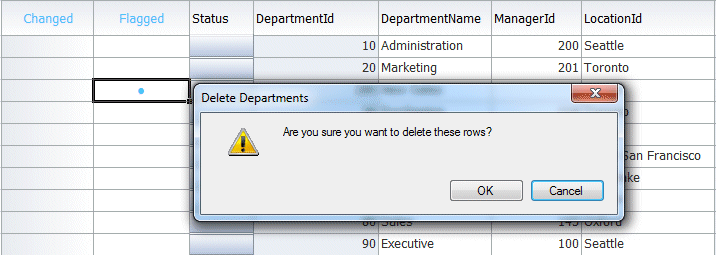
-
The worksheet is updated.
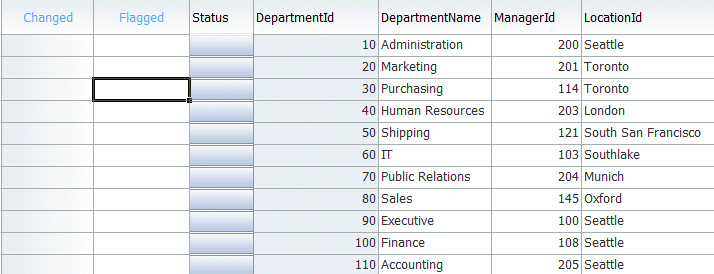
-
Click the Oracle ADF tab, then click the Stop button, to return to design mode.
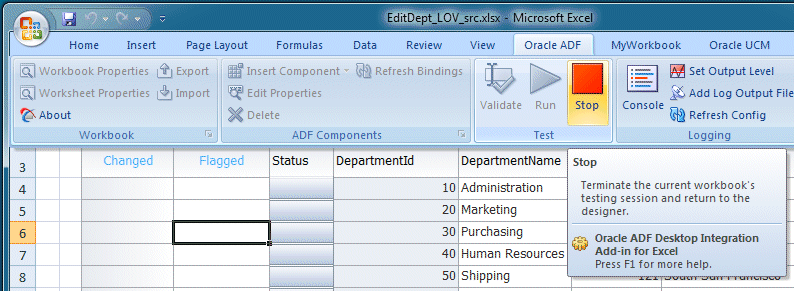
You have created a fully-functioning workbook that is integrated with a Fusion Web application, and which allows you to insert, update and delete data from the database. The next part of this tutorial guides you through publishing your workbooks.

 Part 1: