| Oracle Health Sciences Mobile Clinical Research Associate Server Administrator's Guide Release 1.3 E38741-04 |
|
|
PDF · Mobi · ePub |
| Oracle Health Sciences Mobile Clinical Research Associate Server Administrator's Guide Release 1.3 E38741-04 |
|
|
PDF · Mobi · ePub |
Version 1.2 of the Oracle Health Sciences Mobile Clinical Research Associate Server (Mobile CRA) lets you register, define, and manage key performance indicators (KPIs) either from the Oracle Health Sciences Development Analytics (OCDA) or from other external sources. You can now use the site-at-a-glance (SAAG) feature of Mobile CRA to view analytical data and metrics even if you do not use OCDA.
This chapter contains the following topics:
You must provision the client in the Adaptive SAAG through WebLogic Server configuration. Use the Client Name and your credentials to receive the Client ID and Client Key.
You must procure (offline activity) and submit the Client ID and the Client Key through the Mobile CRA Admin UI application.
Figure 4-1 displays the Client Registration screen.
Figure 4-1 The Client Registration Screen
Note:
The Client ID and Client Key are sent to the Mobile CRA Admin UI user through offline communication such as an e-mail.You must register the various external sources (such as labs, imagery services, and so on) within the system before they can start sending information.
The Admin UI has the following enhancements for registering KPIs:
The Source Registration on the Configurations page. Send the Source Name and Source Type to the SAAG server. The returned information, Source ID and Source Key, is displayed.
To add a source, perform the following:
Click Add. The Add Source window is displayed.
From the Source Type drop-down list, select KPI for a source that sends KPIs. Select ALERT for a source that sends Alerts.
Enter the details and click OK.
Figure 4-2 displays the Add Source screen.
Mobile CRA's site-at-a-glance is a key feature as it assists CRAs in monitoring sites.
Earlier, Mobile CRA pulled in data only from the Oracle CDA system. To let you use non-OCDA systems with this feature, Mobile CRA has been re-designed to make SAAG an open feature by exposing APIs using which any system can push in KPI information, once registered into the system. This feature is now called the Adaptive SAAG.
The Mobile CRA Admin UI Web application now includes multiple enhancements for setting up KPIs from external systems.
After the Sources for KPIs are defined, you must define and manage the KPIs to be displayed on the mobile application.
Clicking Site-at-a-glance opens up the Register KPIs table on the right side of the page.
The system assigns the display order for the KPIs. However, you can add, edit, or delete a KPI as needed. There is no restriction on the number of KPIs that you can register.
To add a KPI, perform the following:
Click Add. The Add KPI window is displayed.
Enter the details and click OK.
Figure 4-3 displays the Add KPI screen .
To edit a KPI, perform the following:
Click Edit. The Edit KPI window is displayed.
Edit the required details and click OK.
Figure 4-4 displays the Edit KPI screen.
Any number of KPIs can be registered and defined here. The first 3 KPIs are used for the trending graphs in the mobile application. You can define the order in which these KPIs are displayed here. The order can be changed and the mobile application reflects the change accordingly, including the KPIs for the trending graphs.
Figure 4-6 displays the trending graphs.
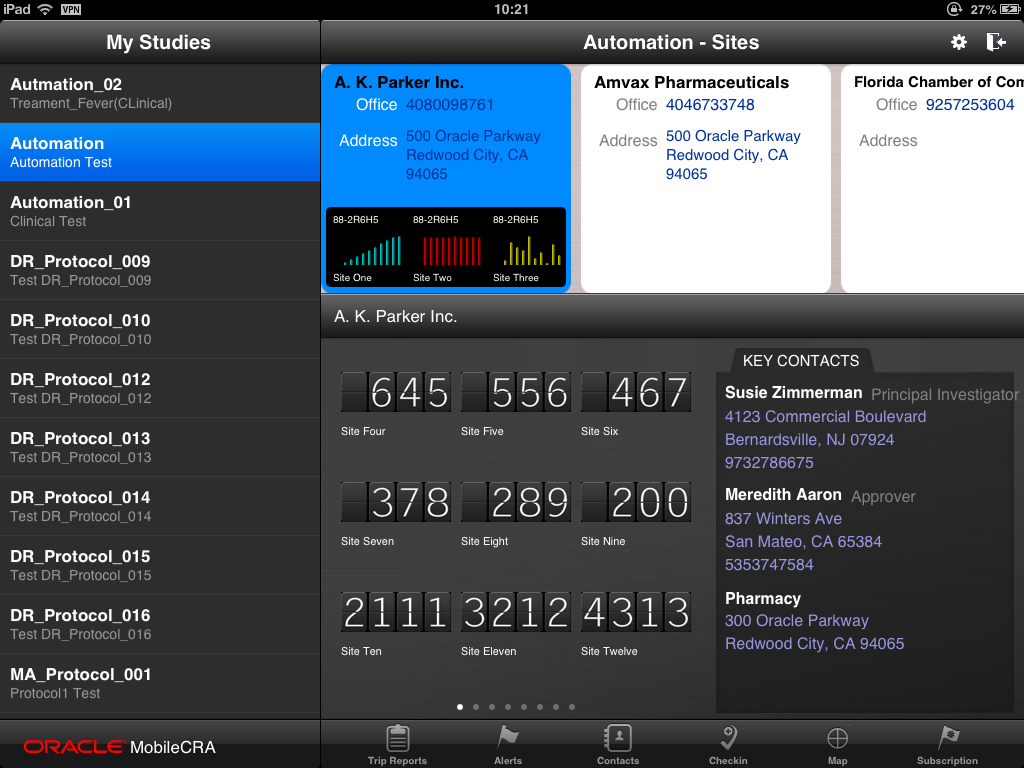
You can choose the number of KPIs you want to view on a page: 6, 9, or 12.
Figure 4-7 illustrates the standard 6 KPI display screen.
Figure 4-8 illustrates selecting the 9 KPI display setting.
Figure 4-8 Selecting the 9 KPI Display Setting
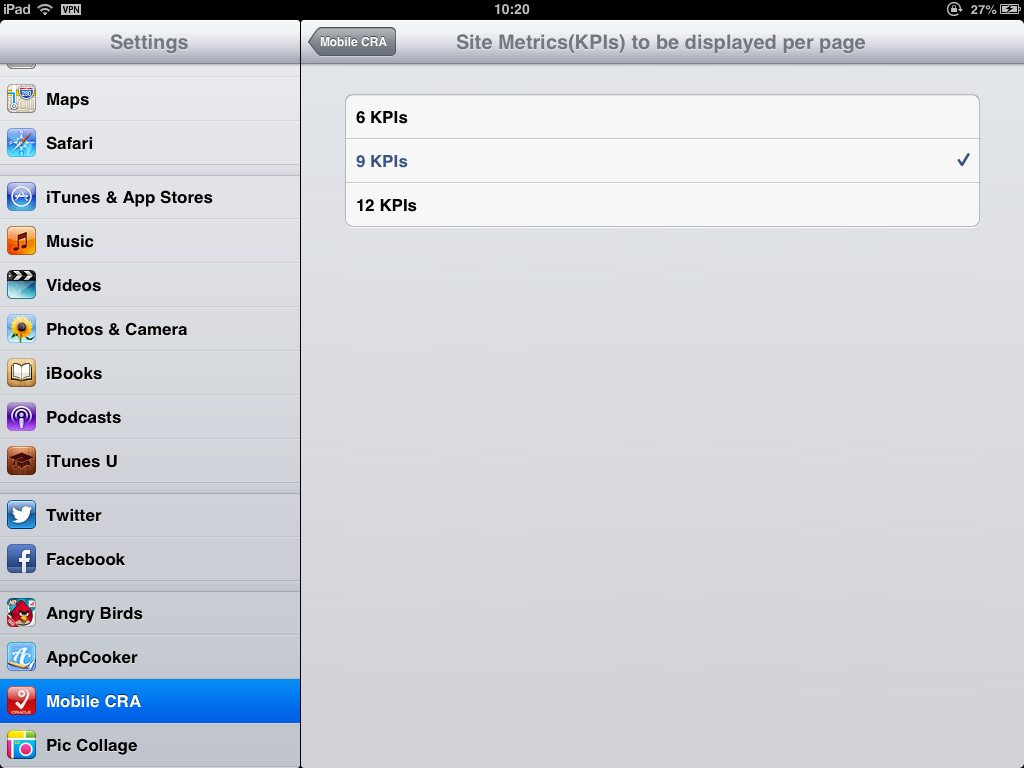
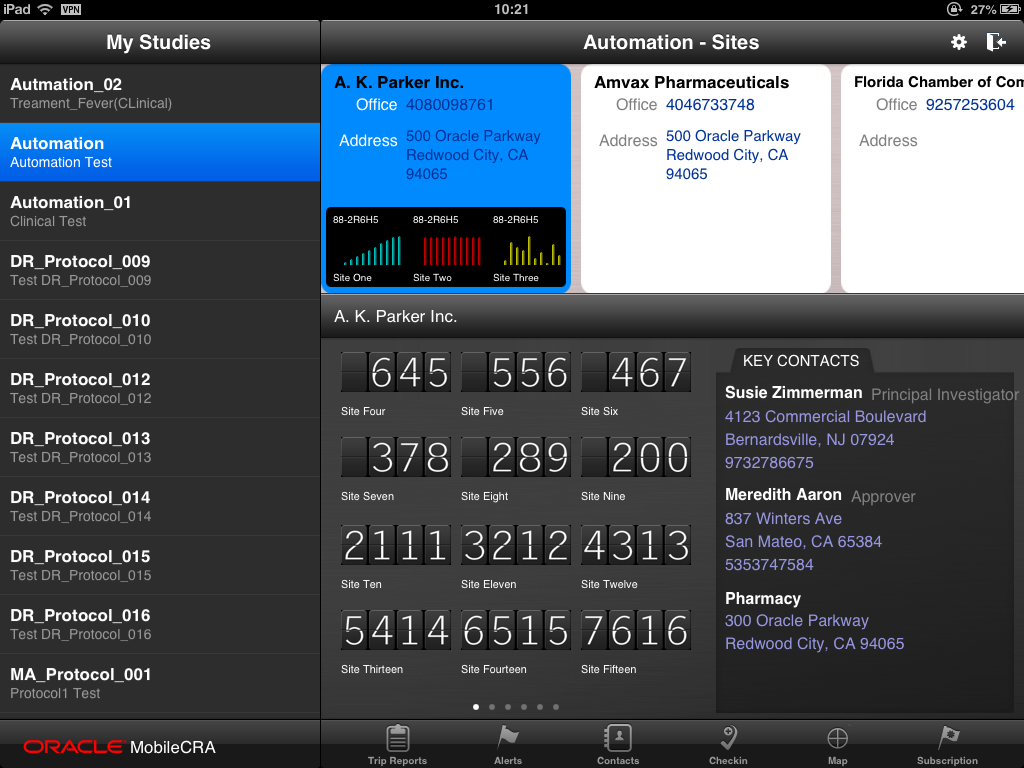
Figure 4-9 illustrates the 9 KPI display.
Figure 4-10 illustrates selecting the 12 KPI display setting.
Figure 4-10 Selecting the 12 KPI Display Setting
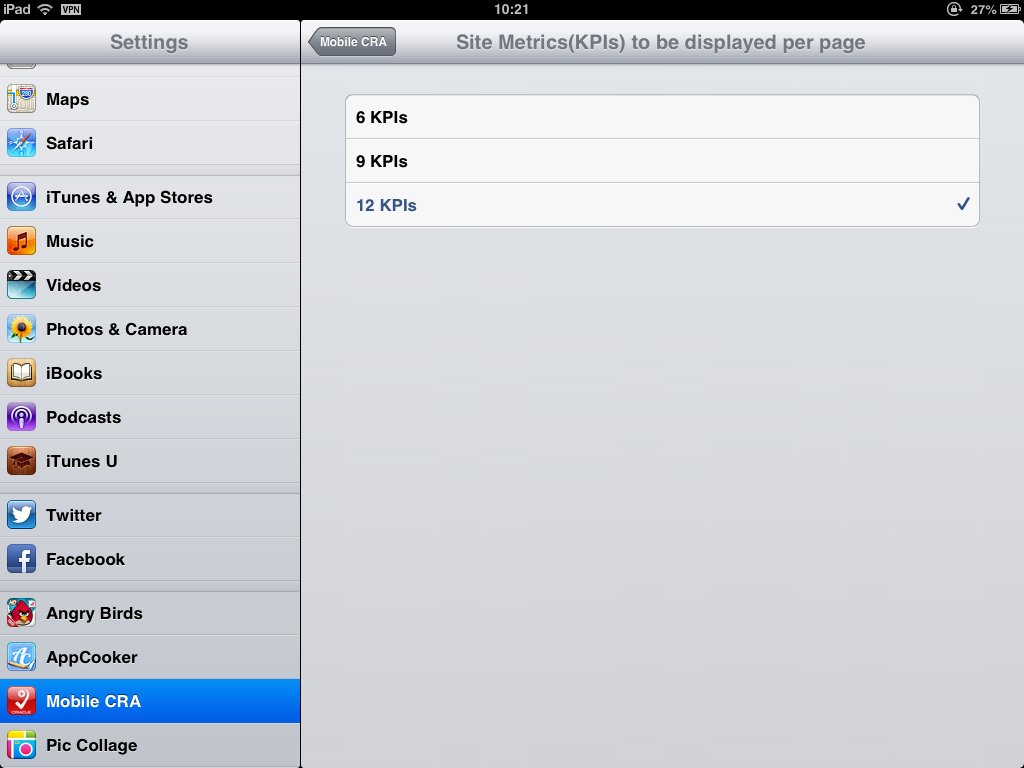
Figure 4-11 illustrates the 12 KPI Display
You can change the order of the KPIs displayed. Perform the following steps:
Select the KPI whose display order you want to change. Click Edit.
Enter the new display order number in Display Order. Click OK.
Figure 4-12 displays the existing KPI order in Admin UI.
Figure 4-12 Existing Order in the Admin UI
Figure 4-13 displays the corresponding display on the Ipad.
Figure 4-13 Corresponding Display in the Ipad.

Figure 4-14 displays the changed order in the ADmin UI.
Figure 4-14 Changed Display Order in the Admin UI
Figure 4-15 displays the changed display in the Ipad.
Figure 4-15 Corresponding Changed Display Order in the Ipad
External sources (such as labs, drug companies, and imagery services) must use the Source ID and Source Key to push information such as KPI ID, KPI Name, Study Site ID or Study ID or General, and KPI Value.
The external source can send information in bulk or for a KPI at a time. In case of errors, appropriate error messages are sent back to the external source.
An Alert is a notification by which CRAs are notified about the various aspects of the studies that they are involved in. These Alerts may be about a site's performance, number of patients being enrolled in sites, visit dates, and so on.
Mobile CRA lets the users from non-OCDA sources create subscriptions for such notifications here. CRAs who have subscribed to such Alerts receive these as and when the thresholds (set against that particular Alert) are met.
To add an Alert, perform the following:
Click Add. The Add Alert window is displayed.
Enter the details and click OK.
Note:
Only those sources registered as Alerts (as type) are displayed.To edit an Alert, perform the following:
Click Edit. The Edit Alert window is displayed.
Edit the required details and click OK.
Figure 4-17 displays the Edit Alert screen.
|
Copyright © 2013, 2014, Oracle and/or its affiliates. All rights reserved. Legal Notices |
|