Studio must be installed in its own WebLogic domain. To avoid any conflicts, the domain cannot contain any other applications. Even if you are installing Studio on the same instance of WebLogic Server as Endeca Server, you must create a separate domain for Studio.
To create and configure the WebLogic domain, and verify that the domain is not already in use:
-
If you are not starting the domain creation using the
Run Quickstart option of the WebLogic
Installation Complete page, then to start the
Configuration Wizard:
The Configuration Wizard Welcome page is displayed.

-
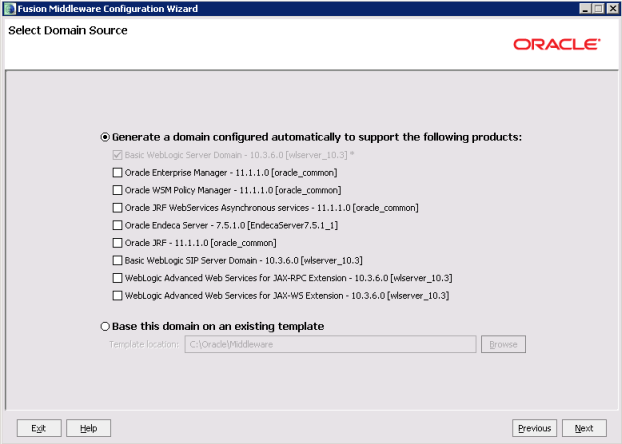
On the
Select Domain Source page, the
Basic WebLogic Server Domain checkbox is
checked by default. Click
Next.
-
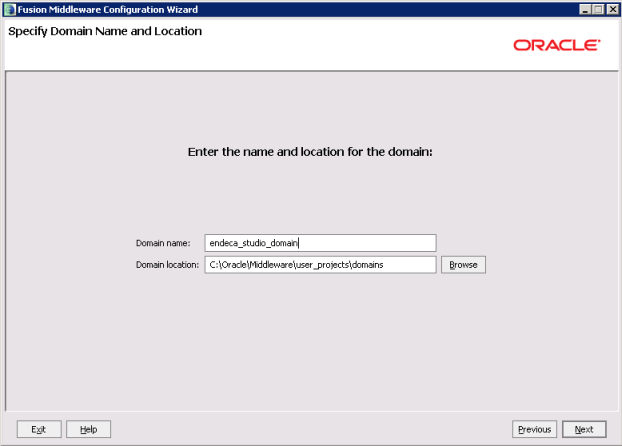
On the
Specify Domain Name and Location page:
- Set the domain name to endeca_studio_domain
- Keep the default domain location.
- Click Next.
-
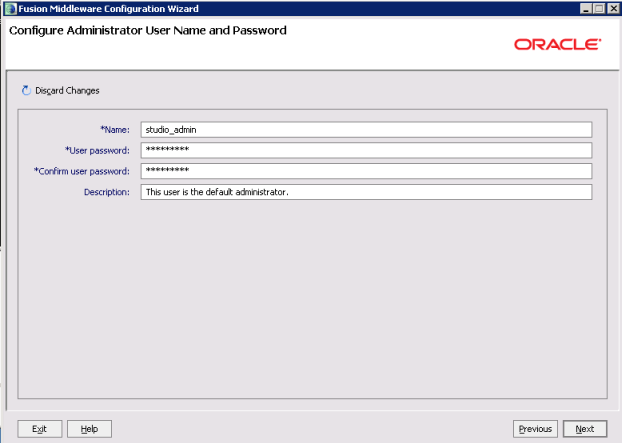
On the
Configure Administrator User Name and Password
page, to create the administrator credentials for starting the Studio domain:
-
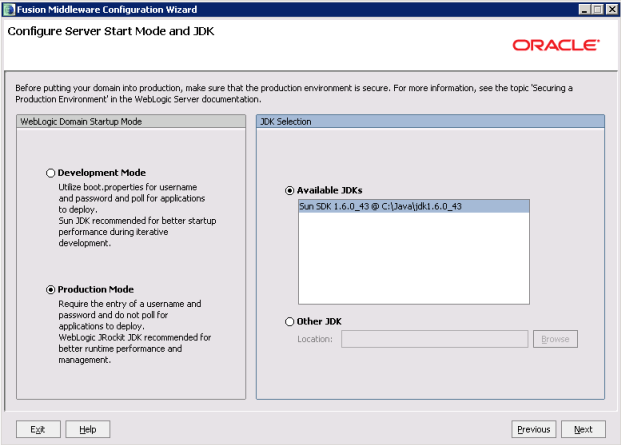
On the
Configure Server Start Mode and JDK page:
- Under WebLogic Domain Startup Mode, click the Production Mode radio button.
- Under JDK Selection, click the Available JDKs radio button.
- In the JDK list, click the Sun Java JDK that you installed earlier. If the JDK is not displayed, click the Other JDK button, and then browse to it.
- Click Next.
-
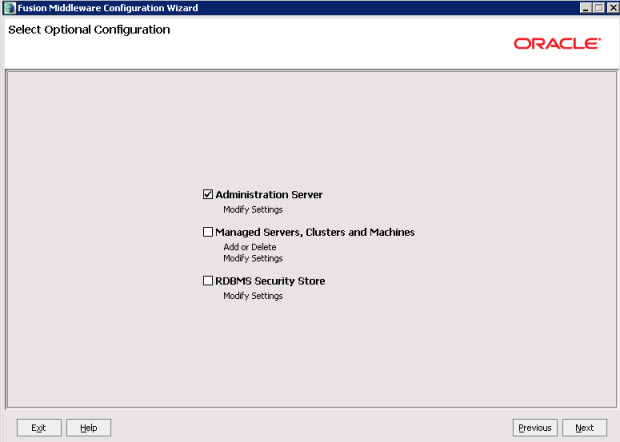
On the
Select Optional Configuration page, check the
Administration Server checkbox, then click
Next.
-
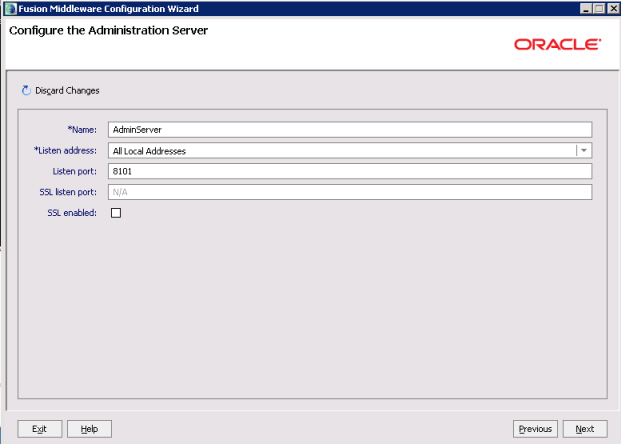
On the
Configure the Administration Server page:
-
In the
Listen port field, type
8101.
-
In the
Listen port field, type
8101.
-
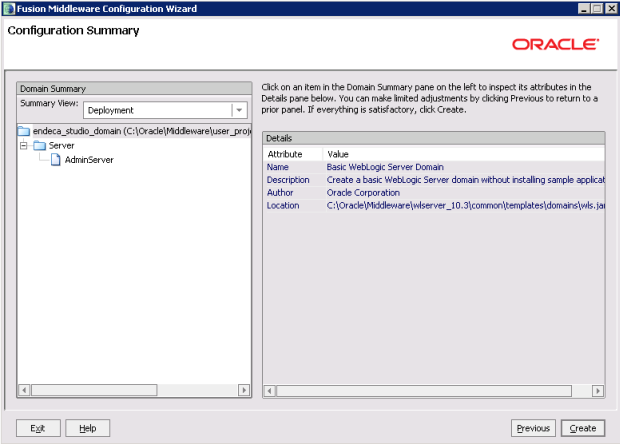
On the
Configuration Summary page, to create the
domain, click
Create.
On the Creating Domain page, the message "Domain Created Successfully!" signifies the end of the domain creation process.
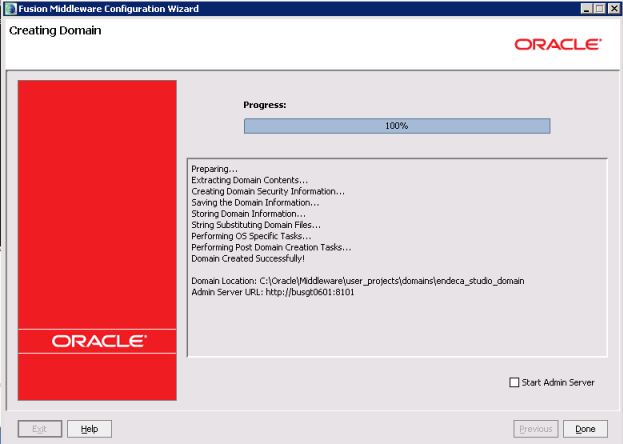
After you create the WebLogic domain for Studio, then you can deploy the Studio .ear file. See Deploying Studio to the WebLogic domain.
