| Agile Product Lifecycle Management Product Cost Management Supplier Guide Release 9.3.3 E39299-02 |
|

 Previous |
 Next |
| Agile Product Lifecycle Management Product Cost Management Supplier Guide Release 9.3.3 E39299-02 |
|
Previous |
Next |
This chapter provides information about managing your user profile.
You can access Web Client user settings by clicking the My Settings button (in Advanced Table Edit or Advanced Wizard Edit response edit modes) or the My Profile button (in Basic response edit mode).
This chapter includes the following topics:
Changing Your User Profile
Changing Your Password
Viewing Signoff Authority Transfers
RFQ Response Edit Mode
|
Note: Supplier Managers can see and modify additional information on the Administrator page. For details, see "Managing Supplier Details." |
Your user profile contains a variety of information about how to contact you, your date and time preferences, and several Agile Web Client onscreen display preferences. You have an opportunity to enter information when you first log in to Agile Web Client.
To edit, or add information to, your user profile:
Click the My Settings icon or My Profile to open your user profile.
|
Note: The My Settings icon does not appear in all response edit modes. In Advanced Table Edit and Advanced Wizard Edit response edit modes, the My Settings icon appears in the Courtesy Controls area. In Basic response edit mode, the My Profile button appears instead in the toolbar at the top of the right pane. |
Click the tab on which you want to make changes.
To make changes to the General Info and Preferences tabs, click Edit and use the lists, browse buttons, and text boxes to enter the requested information.
In the Escalations tab, you can add new notifications, by clicking Add, or remove existing notifications by selecting the row(s) and clicking Remove. To make changes, click directly in the field you want to edit and make changes, as needed.
If you have a separate approval password, the process to change your approval password is similar to using the Change Approval Password option.
To change your login password:
Click the My Settings icon or My Profile to open your user profile.
|
Note: The My Settings icon does not appear in every response edit mode. In Advanced Table Edit and Advanced Wizard Edit response edit modes, the My Settings icon appears in the Courtesy Controls area. In Basic response edit mode, the My Profile button appears in the toolbar at the top of the right pane. |
Click Change Passwords. The Change Passwords dialog appears.
Type your old login password in the Login Password field.
Type your new login password in the New Login Password and Confirm Login Password fields. (Passwords are case-sensitive.)
Fill in the Approval Password fields.
|
Note: If the Use Login Password for Approval field in your profile is set to Yes, then you see only the Login Password fields. |
Click Save.
If you have not followed the rules defined in your Agile system for selecting passwords, you are prompted to correct your password.
An Agile user with the appropriate privileges can have sign-off authority transferred from you to another user or from another user to you. This is useful when, for example, you are out of the office and unavailable to sign-off on changes, such as price change orders (PCOs).
To view transfers that have been set up for you, click the My Settings icon or the My Profile button, as appropriate, to open your user profile and then click the Transfer Authority button.
If you are a price collaborator (you have the ability to approve PCOs), you may have the ability to create sign-off authority transfers for yourself. For information about how to create, modify, and delete sign-off authority transfers, see the topic about routing objects with workflows in Getting Started with Agile PLM.
You can enter RFQ line item responses using one of the following three edit modes:
Basic
Advanced Wizard Edit
Advanced Table Edit
You can select the response entry mode you want to use from within the Preferences tab of your user profile. You can change your selection at any time. If you like, experiment with each response entry mode to discover which one you prefer.
|
Note: In all three response edit modes, you can choose to export response lines, complete them and then import them back into the RFQ Response. |
To switch between entry modes:
Click the My Settings icon or My Profile, depending on your Response Edit Mode preference, to open your user profile.
Go to the Preferences tab, and click Edit.
From the Response Edit Mode dropdown list under Display Preferences, select the method you want to use.
Click Save.
For more details about the various methods for entering response information, see "Entering and Modifying RFQ Response Information."
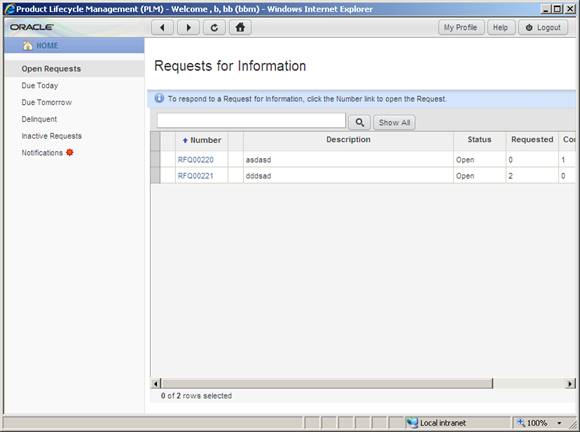
If you choose to use the Basic edit mode, when you log into PCM, you see the Welcome page. In the left pane, there are quick links that you can use to filter requests. For example, you could click the Due Today link to view requests that are due today.
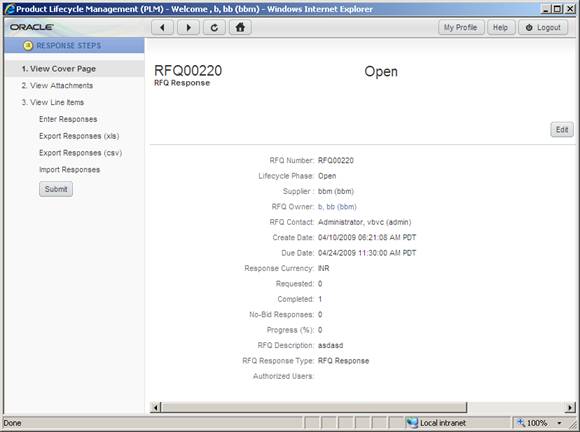
When you open an RFQ, you only see the Cover Page without any tabs. Instead of tabs, there are links in the left pane that allow you to step through the process of viewing, completing, and submitting responses.
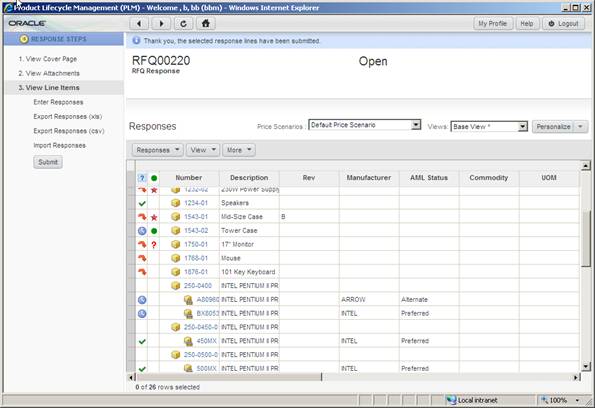
You must use the links in the left pane to navigate through the process. The first three links are in the order that you would want to view the RFQ, i.e. view the Cover Page, attachments, and then the line items. For example, to view line items, click the link, 3. View Line Items. The following is an example of an RFQ Response's line items.
When editing line items, the Basic edit mode displays a single page, the Response Entry dialog, for each line item. You fill out the fields for one line item, then click the Next button to save your entries and go to the next line item in the RFQ. For more information about the form used to edit responses in Basic edit mode, see "Response Entry Form." For more information about this mode, see "Basic Edit."
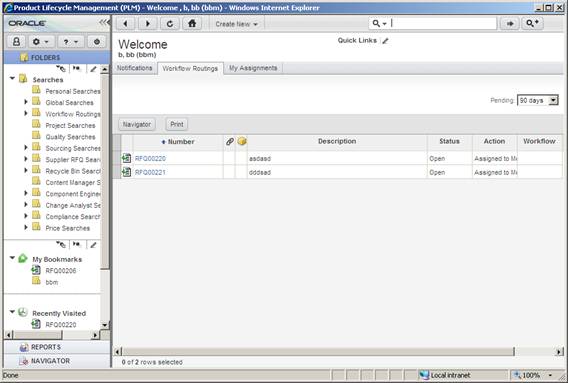
If you choose the Advanced Wizard Edit mode, when you log into PCM you see the Welcome page. As shown below, in this edit mode, you have access to the Folders, Reports, and much more in the left pane.
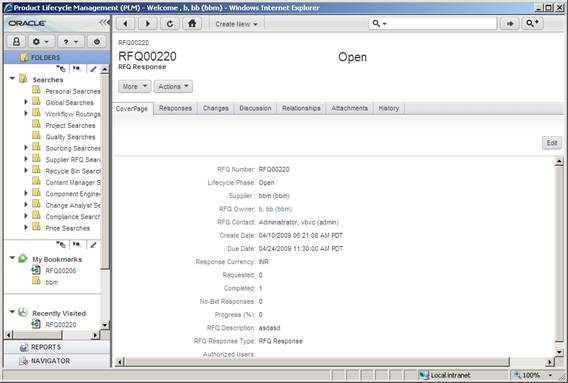
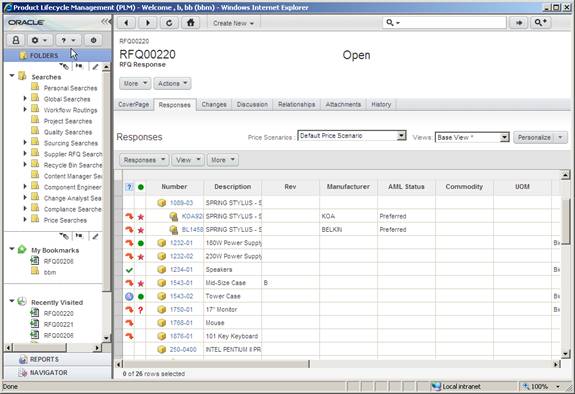
As shown below, when you open an RFQ Response in this mode, there are tabs that help you navigate through viewing the line items, the attachments, and other data relevant to the RFQ.
To view line items, you can click on the Responses tab. The Responses table contains details for the line items.
When editing line items, the Advanced Wizard Edit mode displays a single page, the Response Entry dialog, for each line item. You fill out the fields for one line item, then click the Next button to save your entries and go to the next line item in the RFQ. For more information about the form used to edit responses in the Advanced Wizard Edit mode, see "Response Entry Form." See Advanced Wizard Edit for more details about this mode.
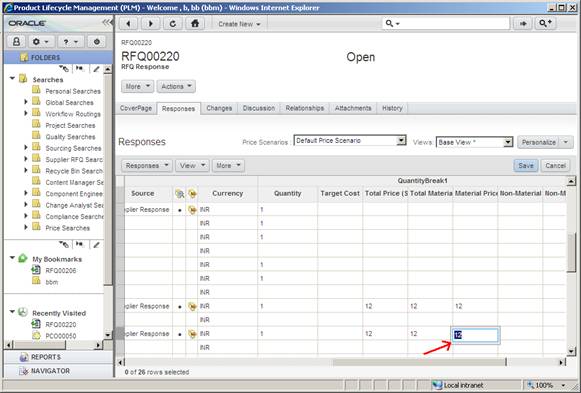
If you choose the Advanced Table Edit mode, when you log into PCM you see the Welcome page. This mode is very similar to the Advanced Wizard Edit mode, as described in Overview of Advanced Wizard Edit Mode on page 16. The difference between the two modes is how line items are edited. In this mode, when you want to edit a field, you type directly into the editable field. Not all fields are editable.
The image below shows how a field appears when it is being edited.
For more details about editing RFQ Responses in the Advanced Table Edit mode, see "Advanced Table Edit."
|
 Copyright © 2010, 2013, Oracle and/or its affiliates. All rights reserved. Legal Notices |
|