To correlate a single assumption with others:
Click Define Correlations,
 , or click Correlate in the Define Assumptions dialog.
The selected assumption is displayed in the Show correlations for assumption box.
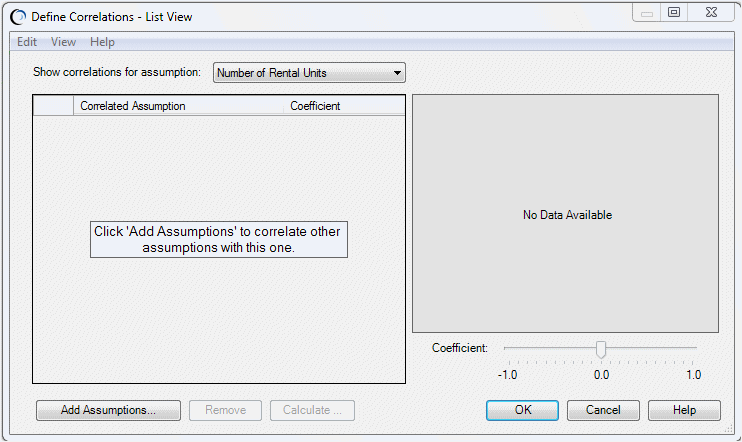
Click Add Assumptions to select one or more assumptions to correlate with the first.
Select at least one assumption and click OK.
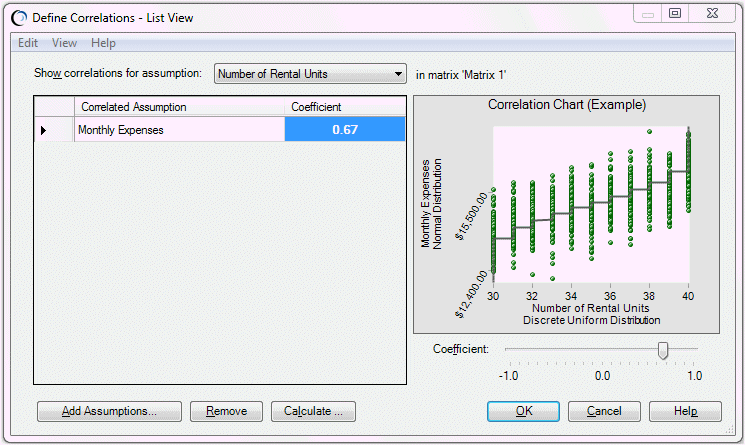
The selected assumption is added to the Correlated Assumption list (Figure 10, Define Correlations Dialog with One Assumption Selected).
In the Define Correlations dialog, enter a correlation coefficient for the selected assumption using one of the following methods:
In the Coefficient text box, enter a value between -1 and 1 (inclusive).
Drag the slider control along the correlation coefficient scale. The value you select is displayed in the Coefficient text box.
In the Coefficient text box, enter a cell reference to a coefficient in the spreadsheet. Cell references must be preceded by an equal sign (=). (Alternately, click the cell reference icon.)
If you select a cell with values that change during the simulation, the initial value of the cell is used for the coefficient.
Click Calculate.
A small dialog opens. Enter the range or ranges of cells in the spreadsheet that contain the pairs of empirical values that Crystal Ball should use to calculate a correlation coefficient.
Enter cell ranges in the standard A1:A2 format. For example, if one set of values is in column Q, rows 10 through 15 and the second set of values is in column R, rows 10 through 15, enter the range in the first text box as Q10:Q15 and the range in the second text box as R10:R15.
When you click OK, Crystal Ball calculates the correlation coefficient, enters it in Coefficient text box, and moves the slider control to the correct position.
Note:
The two cell ranges need not have the same dimensions, but they must contain the same number of value cells and must be in the same workbook. The cell ranges are read in a row-by-row fashion.
The Correlation Chart shows an example of the correlation for the selected cell (Figure 11, Define Correlations Dialog With Two Correlated Assumptions).
Optional: Correlate other assumptions to the assumption in the drop-down menu, or select another assumption in the menu and correlate assumptions to it.
You can specify as many of these paired correlations as you want for each assumption, up to the total number of assumptions defined in the workbook.
Click Help at any time for detailed information about the dialog (see About the Define Correlations Dialog).
When all correlations have been defined, click OK to save them.