
|
|
|
Owner Payment
Available when the OPV_ <version number> OPERA Vacation Ownership license code is active, the Owner Payment functionality displays open negative account balances for any number of vacation unit owners, and allows you to print a check and post a payment for an owner based on their account balance.
Note: Prior to using this functionality, you must set-up a bank account in OVOS (see OVOS Bank Account for details).
Select Ownership>Accounts>Owner Payment to display the Owner Payment screen.
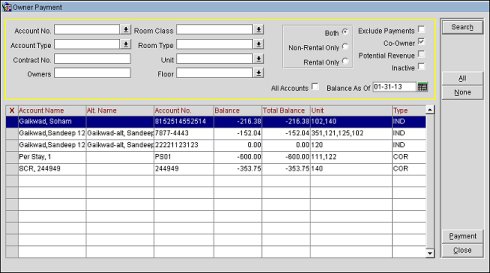
The Owner Payment screen contains the following information.
Enter your search option and select the Search button.
Account No. Select the down arrow to choose an account number(s) to search for.
Account Type. Select the down arrow to choose an account type(s) to display in the results.
Contract No. Enter the contract number of the contract.
Owners. Enter the name(s) of the owner(s) to search for.
Room Class. When the General>Room Class application function is active, you may select the down arrow to choose which classes of rooms to search for.
Room Type. Select the down arrow to choose the types of rooms to display in the search results.
Unit. Select the down arrow to signify the specific unit/room number(s) to search for.
Floor. Select the down arrow to search for one or more floors.
Both. Select the radio button to display information for both rental program and non-rental units.
Non-Rental Only. Select the radio button to display information only for non-rental units.
Only Rental. Select the radio button to display information only for rental program units.
All Accounts. Select the check box to display all accounts and all dates.
Exclude Payments. Select to exclude any accounts with payments.
Co-Owner. Select the check box to display the units with co-owners and their names in the results.
Potential Revenue. Available when the Ownership>Nightly Revenue Split application parameter is set to N, select the check box to search for rooms that are occupied with arrival date less than the current business date. Based on the values returned, a temporary column value should be populated reflecting the split revenue value for these occupied rooms.
Inactive. Select to include any accounts that have been marked as inactive.
All Accounts. Select the check box to display all accounts and all dates.
Balance As Of. Select the calendar button to choose a date to display the accounts that have a balance as of the date selected. If no date is specified in this field, then the current balance is displayed.
Note: The date entered cannot be a date in the future.
Based on the search criteria that was entered, all accounts that have a negative open balance will be displayed in the search results grid. From here the user can select to print checks for all or only specific owners.
X. Click in this field to select the account for check processing. Select the All button to mark all accounts. Select the None button to un-select all accounts.
Account Name. The name that has been assigned to the account.
Alt. Name. When the General>Alternate Name application function is active, this column displays the alternate name for the account.
Account No. The number assigned to the account.
Balance. Displays the activity for the period, from the date specified in the Balance As Of field to the current date, that is associated with the account.
Total Balance. This column will display the total balance for the account since it was created for the owner.
Unit. Displays all of the units that are attached to the account.
Type. Displays the type of account.
To print a check and apply a payment, select the appropriate accounts, then select the Check Print button. The Owner Payment screen appears displaying the Account Name, Account No., Type, and Balance information.
Provide the following information, as necessary.
X. Click in this field to select the account for check processing.
Account Name. The name that has been assigned to the account.
Account No. The number assigned to the account.
Type. Displays the type of account.
Balance. Displays the activity for the period associated with the account.
Amount. The amount of the payment.
Note: The amount of the payment cannot be less than zero.
Supplement. Additional information regarding the transaction.
Reference. Transaction reference information.
Total Balance. Displays the total of all the values in Balance field for all records.
Total Amount. Displays the running total of all the values in Amount field for all records.
Balance Remaining. Displays the value based on Total Balance + Total Amount.
All. Select the All button to mark all accounts.
None. Select the None button to un-select all accounts.
Clear. Select to clear the amounts and the selected records.
Pay Full. Select the Pay Full button to pay the full balance, which will automatically populate the values from the Balance column into the Amount column for the selected accounts. If the Balance for any of the selected accounts is a positive value, the Amount will not be automatically populated.
Pay. Select the Pay button to continue the payment process. Once selected, you are prompted to verify that you want to make the payment. Select the Yes button to proceed, or the No button to return to the Owner Payment screen. You are prompted to enter the first check to be used.
Note: Available when the OPV_<version number> OPERA Vacation Ownership license is active, the CHECK_PRINTER print task must be setup on the workstation in which the user is printing from. If the print task is not setup, then the checks will not print and the amount will not be deducted from the owner's account.
Note: You can only edit the check number in the First Check No. to be used field if the Edit Check Number check box is selected in the Bank Accounts screen (see OVOS Bank Account for details).
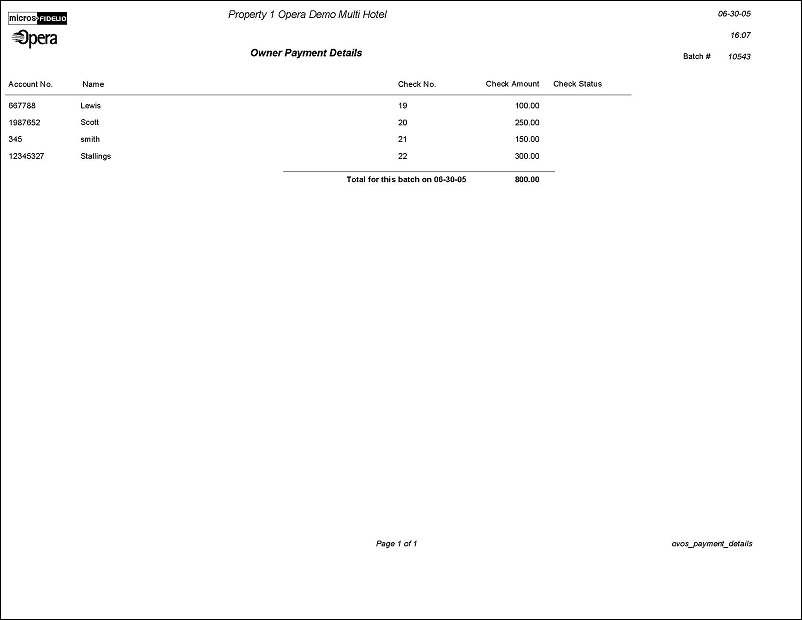
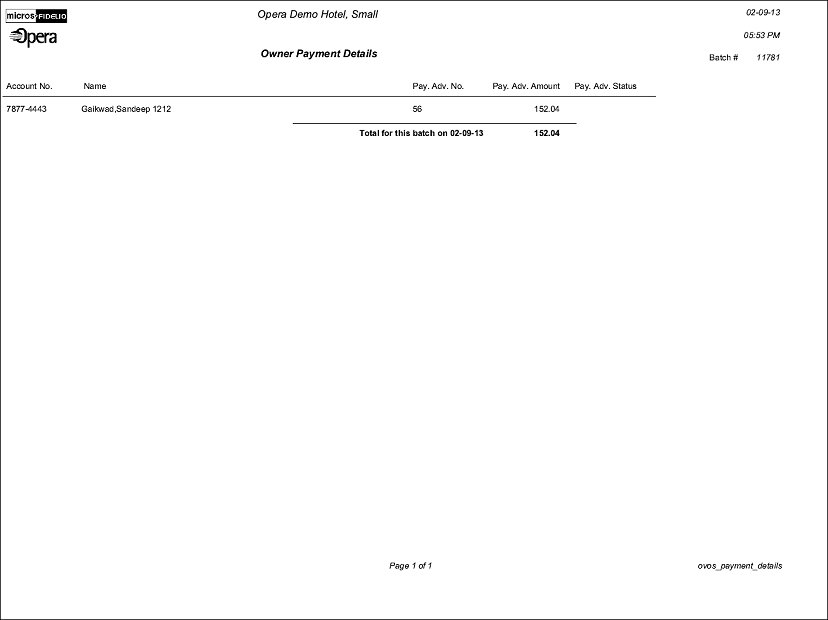
Select the OK button to print the check(s). You are prompted that the checks have finished printing and to remove them from the printer. Select the Yes button to print the Owner Payment Detail report (below), or the No button to skip printing the report and to continue with the payment.
You are prompted to verify the checks. Select the Yes button if the checks have printed successfully and you want to proceed for payment posting in which the specified amount will be deducted from the owner's account, or the No button to discard the printed checks and return to the Owner Payment screen.
The payment that was made to the owner will appear on their account using a 9099I transaction code.
Select Ownership>Accounts>Owner Payment to display the Owner Payment screen.
See Check Payments above for a description of this screen.
To print a check and apply a payment, select the appropriate accounts, then select the Payment button. The Owner Payment screen appears displaying the Account Name, Account No., Type, and Balance information. See Printing A Check and Applying a Payment above for a description of this screen.
See Also