


| Preparation | Application |
|---|---|
This part of the tutorial is designed to be completed in order and as the second step in this tutorial. However, you may choose to download the application that has part 1 completed for you. If you would like to start from the completed application, download the compressed file using the download button to the right, and import the file into your workspace. |
 |
In this section, you add a button to the employeeList page that integrates with the camera of the device and navigates to the picture page. On the picture page, you add a button for taking another picture and a button to return to the employeeList page. You also add an image that shows the picture you just took. If you are using the emulator, then the picture will be provided by the emulator.
-
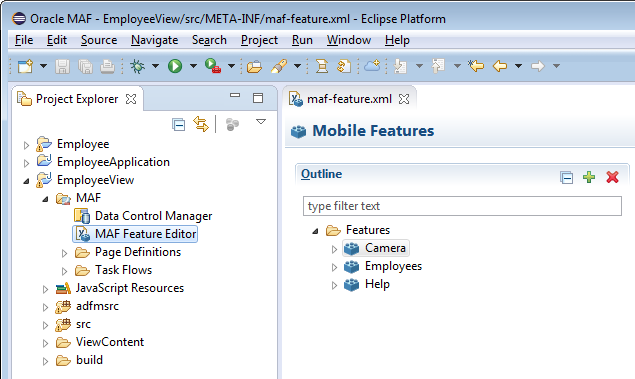
In OEPE, close all the open editor tabs and open the MAF Feature Editor.
 .
. -
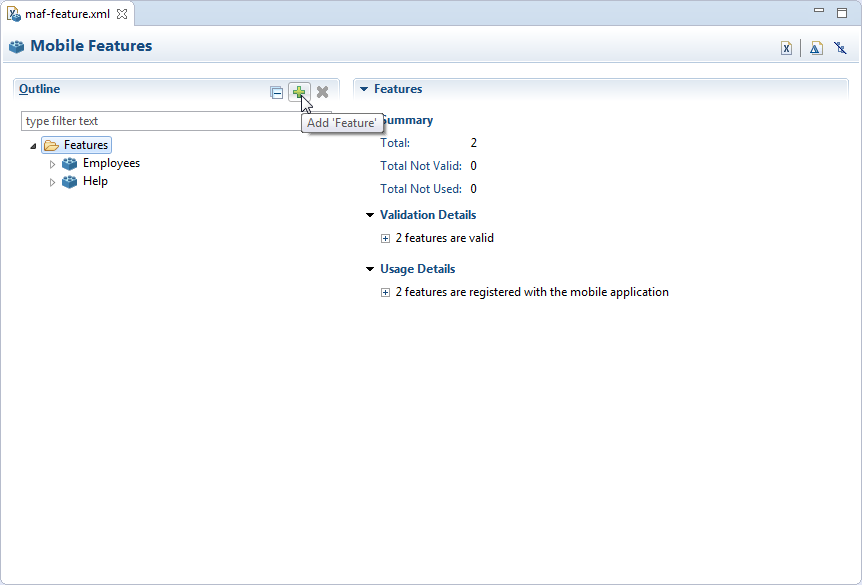
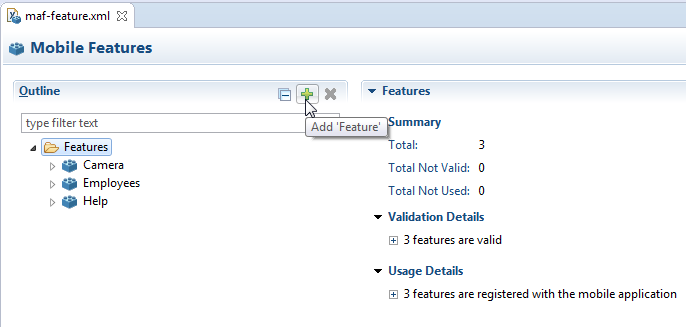
Click Features and then click New to create a feature.
-
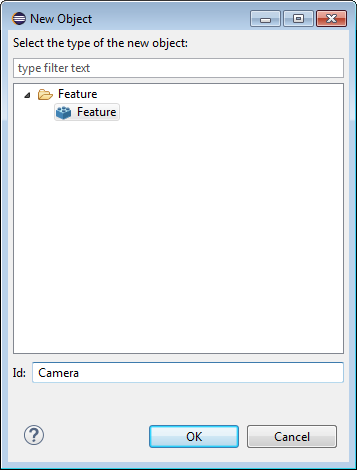
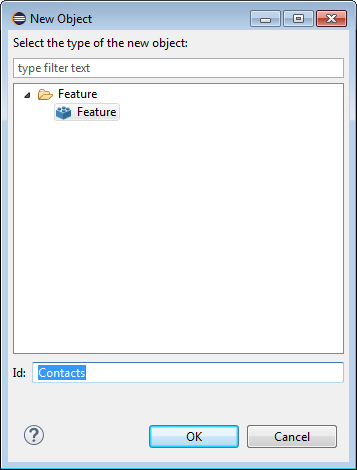
Set the ID of the feature to Camera and click OK.
-
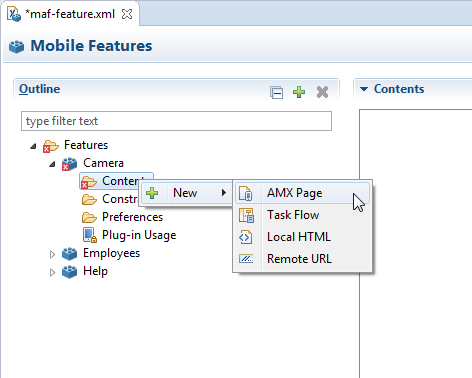
Expand the Camera feature and right-click Contents and select New > AMX Page.
-
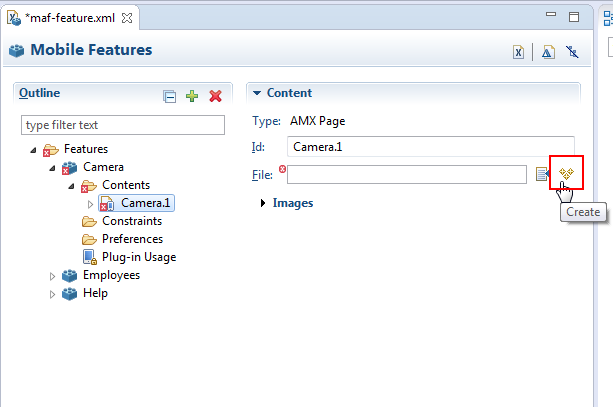
In the Content area, click the create icon for the File property.
-
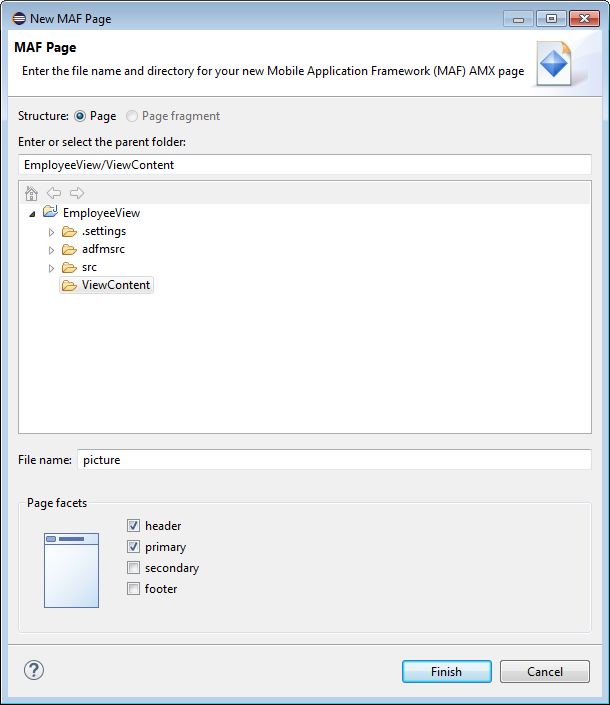
In the New MAF Page wizard, set the name of the page to picture and select only the header and primary facets. Click Finish to accept the default name and to create the page.
-
Save your work.
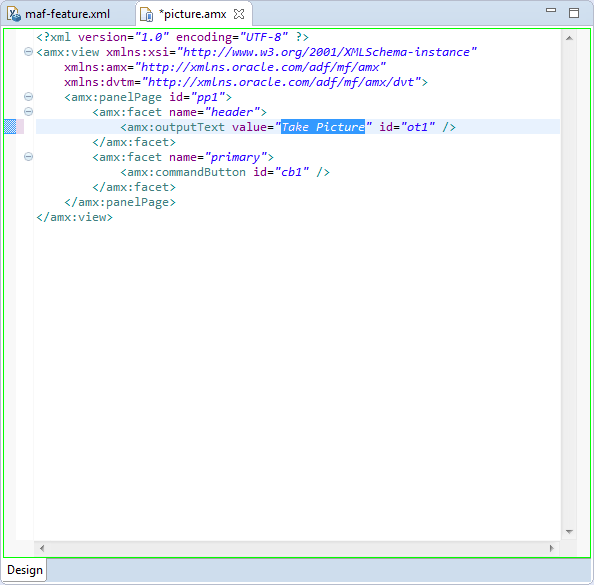
When you create a page, OEPE opens the page in the editor.
-
Look for the outputText component under the header facet and set the value to Take Picture.
-
Save your work.
-
The support for device features is exposed as data controls.
Open the Data tab on the Data Control Palette and e expand the Device Features node to show Device Features. These data controls abstract all of the device features that MAF supports..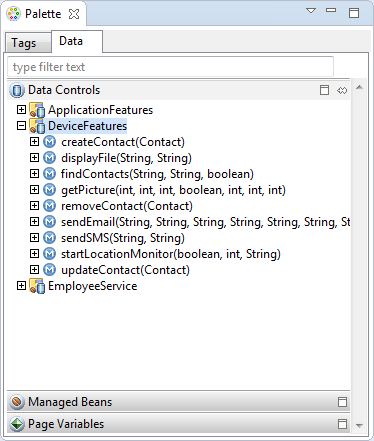
-
Expand getPicture(int,int,int,boolean,int,int,int).
Notice the parameters that the getPicture method requires. The getPicture method allows the caller to set parameters on the method which control various aspects of the device. For example the method call can set the quality, height, and width of the results.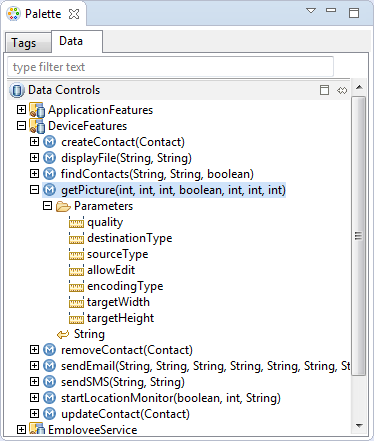
-
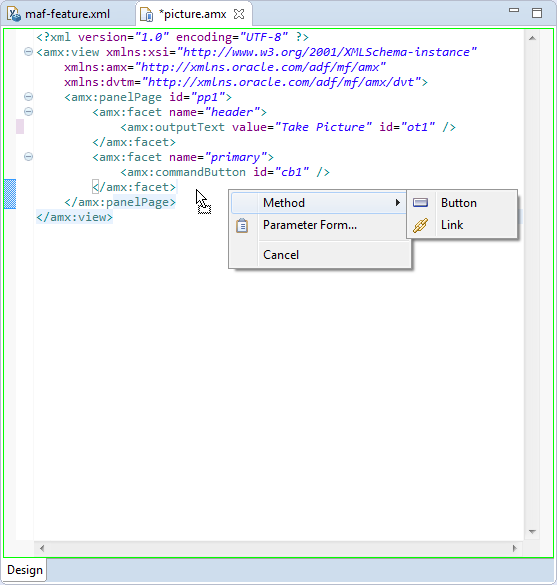
Drag getPicture(int,int,int,boolean,int,int,int) to the Picture.amx page and drop it after the closing </amx:facet> tag. Select Method > Button from the context menu.
-
In the Edit Action Binding dialog box, enter the following values for the parameters and click Finish to create the button.
Name Value quality 50 destinationType 1 sourceType 1 allowEdit true encodingType 1 targetWidth 200 targetHeight 200 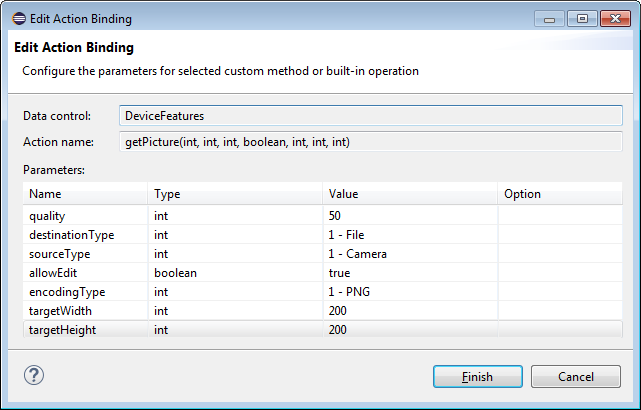
That added the button to the page to call the getPicture method.
-
Save your work.
-
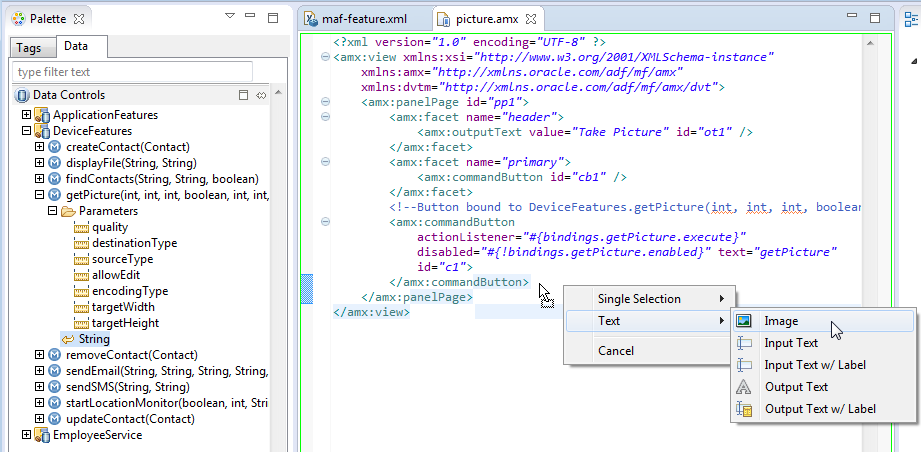
From the Data Controls palette, drag the String return from the getPicture method to just after the command button you just added, and drop it as a Text > Image component.
-
Save your work.
Next, we'll define navigation from the Picture page back to main page.
-
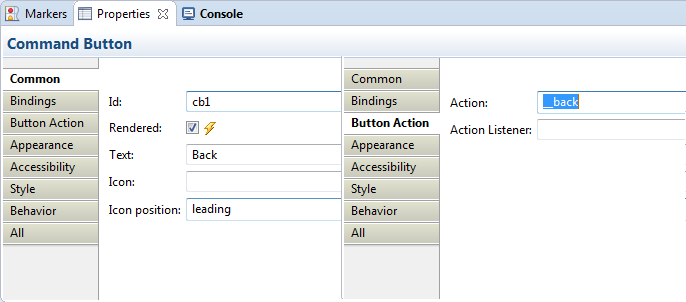
In the editor select the amx:commandButton in the primary facet and use the Properties Inspector to set the Text property to Back and the Action to __back. (HINT: For the Action, use the property drop down list to select the implicit __back.)
-
Save your work.
So now that you have added a device level feature, you are ready to deploy and test it.
-
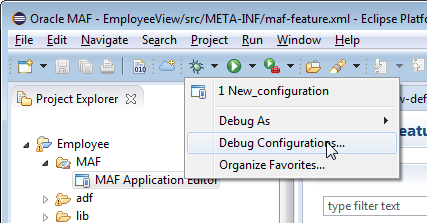
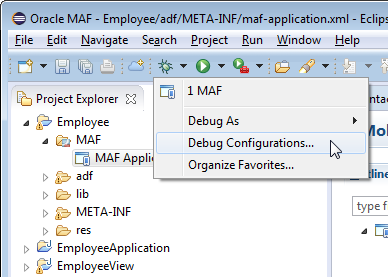
Just as you did before, click the Debug drop down list on the toolbar and select Debug Configurations.
-
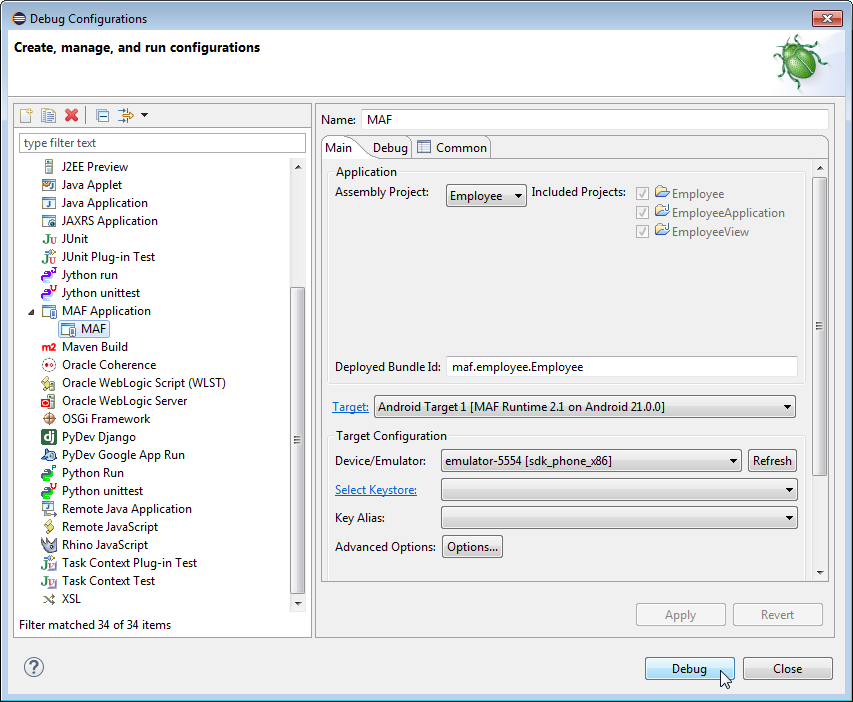
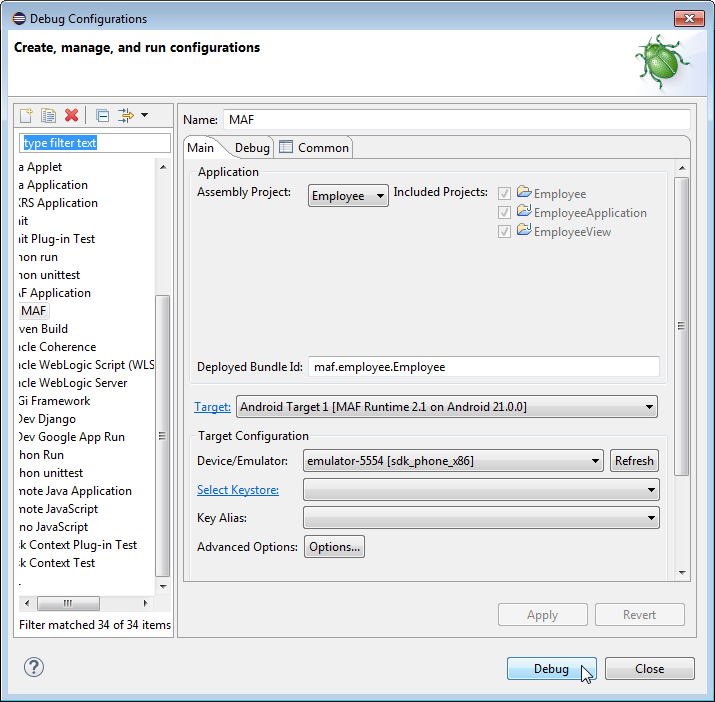
If your emulator and Debug Bridge are running, the Debug button will be enabled. If so, click Debug.
If Debug is not available, then your emulator or Debug Bridge is not running. Check the emulator steps in Part 1 of this tutorial for a reminder of how to launch the emulator.
-
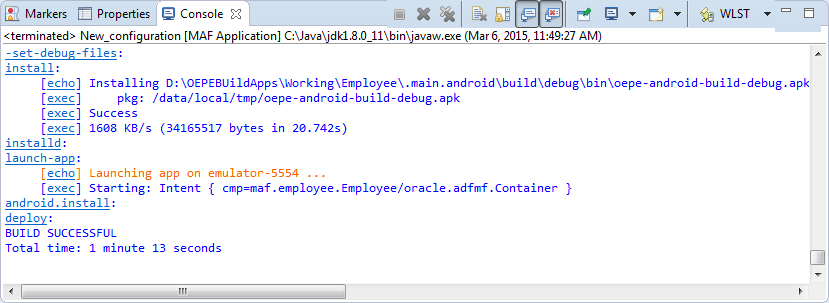
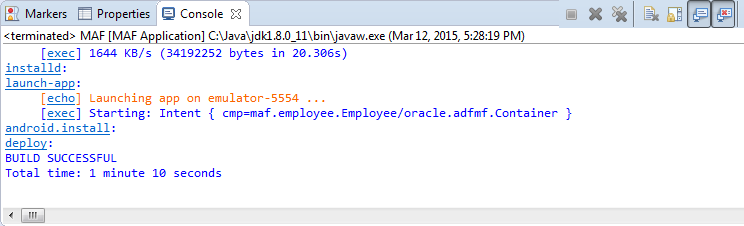
The deployment is complete when you see the following in the Console window.
-
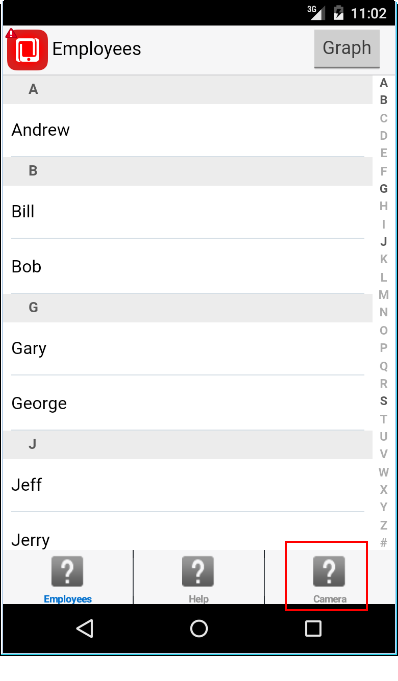
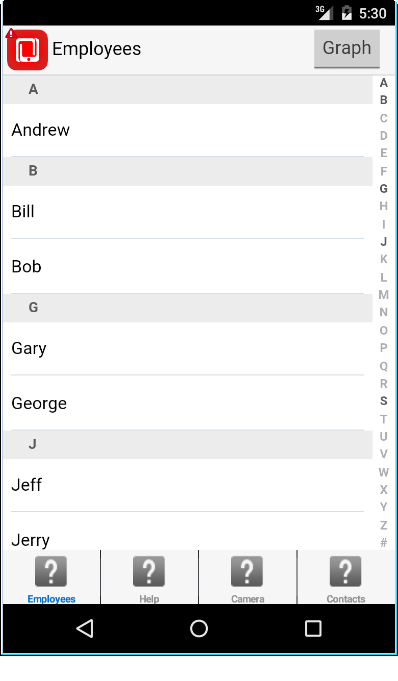
On the Employees page, click the Camera feature.
-
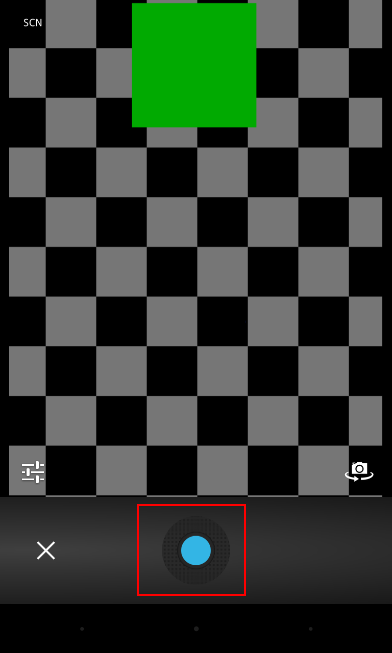
You will now see the camera emulator. Click the shutter button at the bottom of the page to take the picture.
-
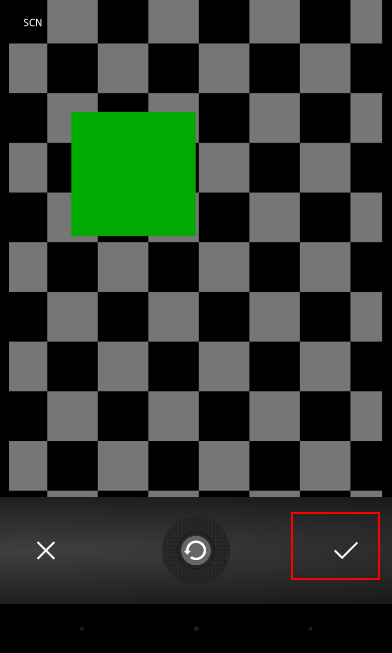
After you take the picture, you will see a check mark at the bottom left of the camera. Click the check mark to accept the picture. That action will navigate to a 'save the picture' page.
-
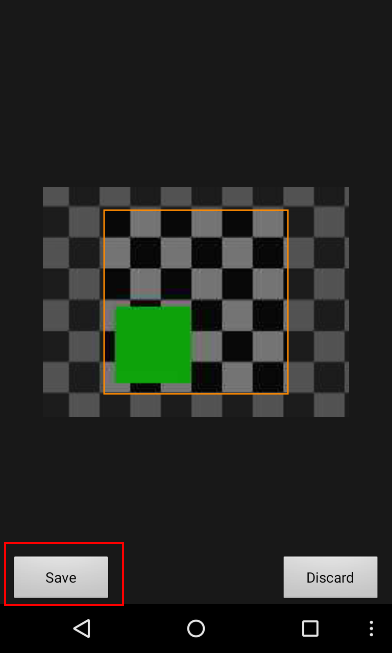
Click Save to accept the picture you took.
-
You will now see the Take Picture page with the image that you just took with the camera emulator.
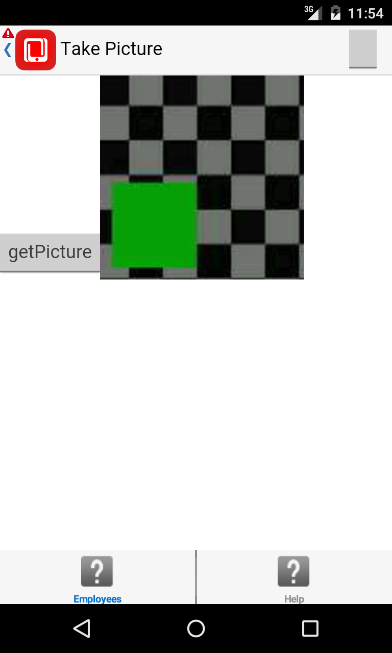
You have successfully used Mobile Application Framework (MAF) to interact with a standard device feature (the camera). In the next section you add a Java program that interacts with the email feature of the device.
In the next few steps, you to add a component bound to the return of the getPicture method. As you can see, the return value of the method is a String. However, as you would suspect, the return from the camera is a picture, not text. When you add the text component to the page, there is an option to add it as a image. The component will then interpret the contents of the return value as an image.
In this section, you expand the application by adding Java code to interact with the device's contacts programmatically. The interaction will be a simple create operation just to show the technique. Rather than dragging a device data control to a page, you access the device feature from Java code.
The Contacts interaction will be a feature just like Employees and Camera, so you start be creating the feature.
-
In OEPE, close all the open editor tabs and open the MAF Feature Editor.
-
Click Features and then click New to create a feature.
-
Set the ID of the feature to Contacts and click OK.
-
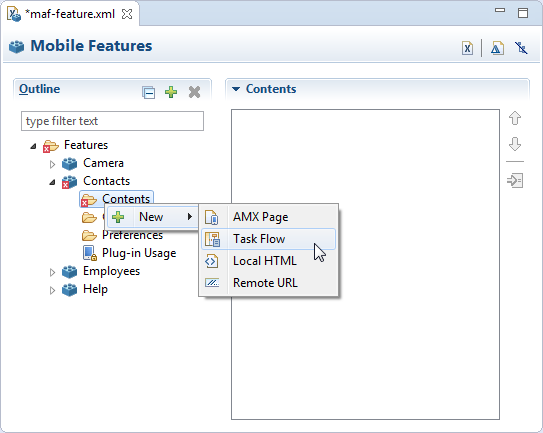
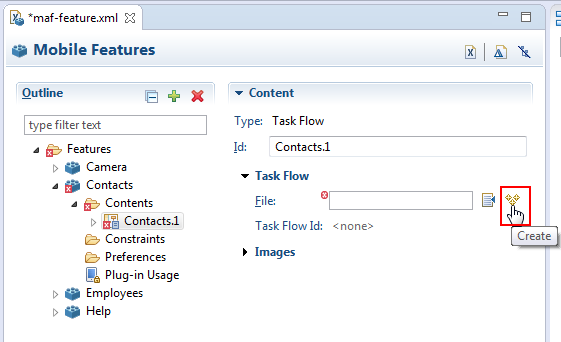
Expand the Contacts feature and right-click Contents and select New > Task FLow .
-
In the Content area, click the create icon for the File property.
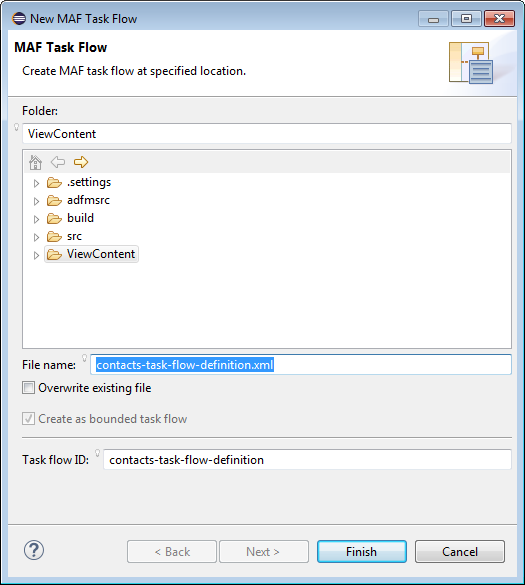
-
In the New MAF Task Flow wizard, set the File name to contacts-task-flow-definition.xml and click Finish
-
Save your work.
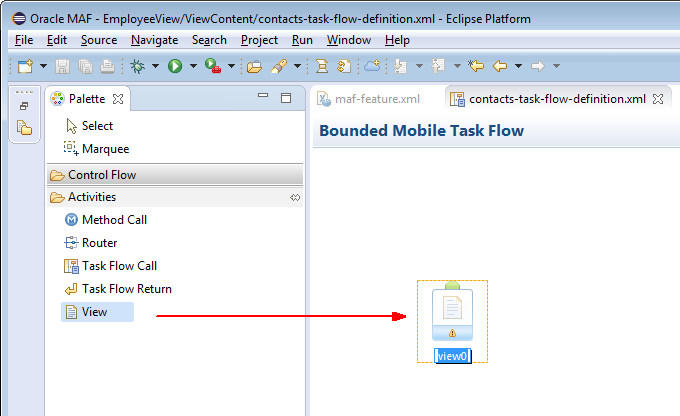
Next, you create a page for contacts.
-
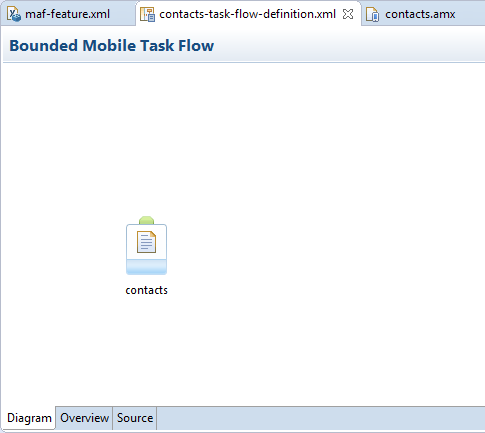
Drag a view activity from the component palette to the task flow.
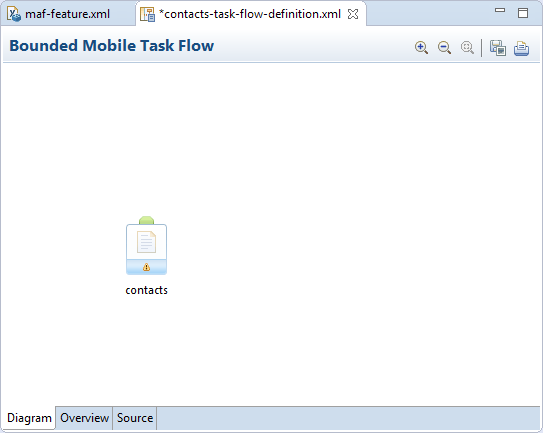
-
Name the view contacts.
-
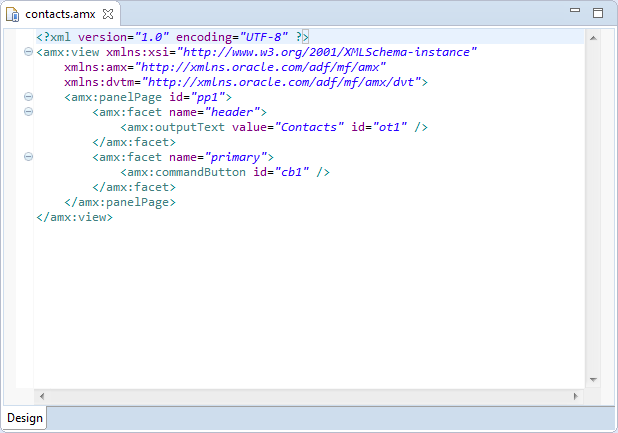
Double-click the contacts view to open the New MAF Page dialog. Make sure the FIle name is contacts.amx and only the header and primary facets are selected, then click Finish

-
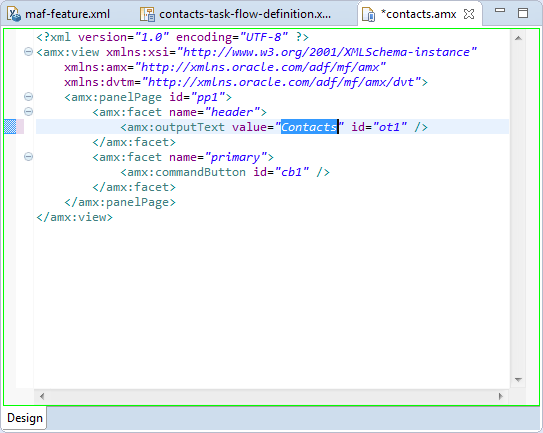
Look for the outputText component under the header facet and set the value to Contacts.
-
Save your work.
Now that you have a page to use, we'll create the java class that will access the Contacts Device feature..
-
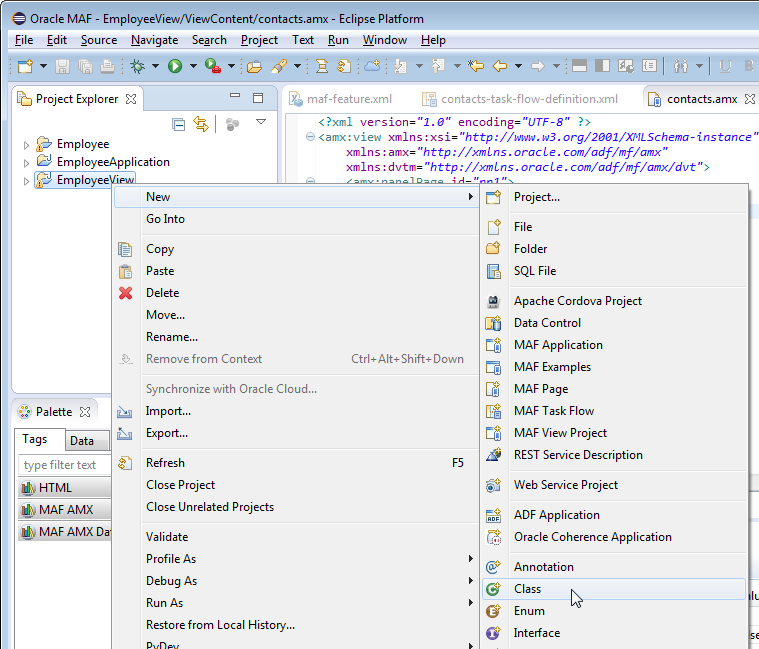
Right-click EmployeeView and select New > Class
-
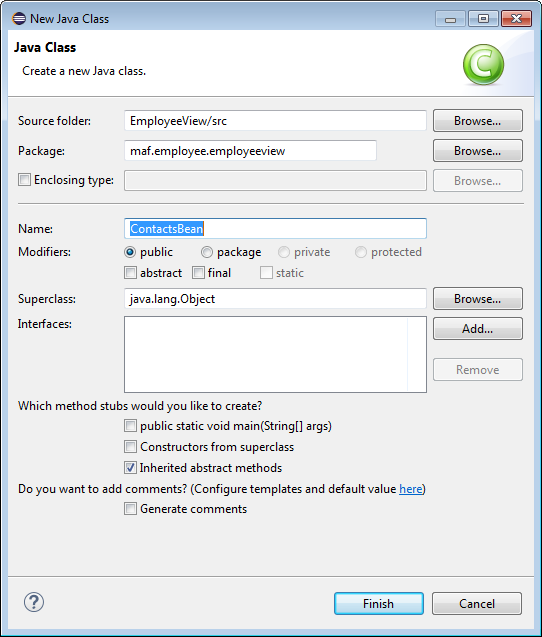
In the dialog, name the class ContactsBean and click Finish to create the Java class.
-
The dialog will create the ContactsBean Java class and open it in the editor. Copy the following code and paste it into the editor, replacing all the code in the class after the package statement.
-
Save your work.
Now that you have created the Java class, you need to register it as a managed bean.
-
Open contacts-task-flow-definition.xml.
-
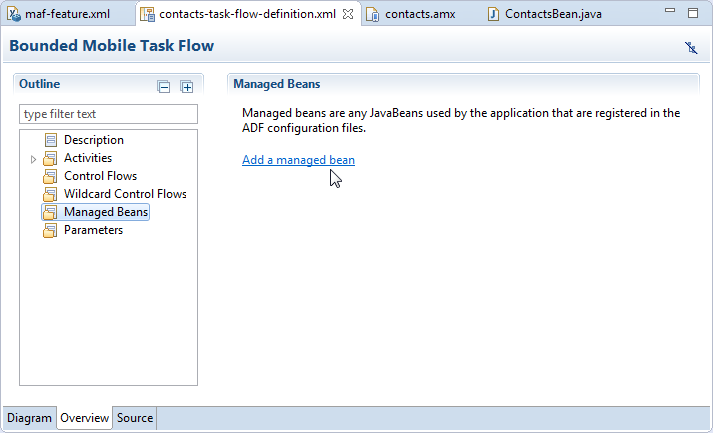
Select the Overview tab and then click Managed Beans in the Outline, then click Add a managed bean.
-
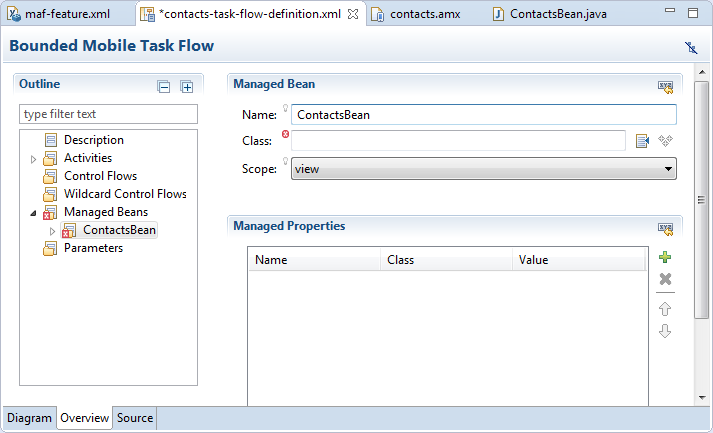
In the Managed Bean panel, name the bean ContactsBean.
-
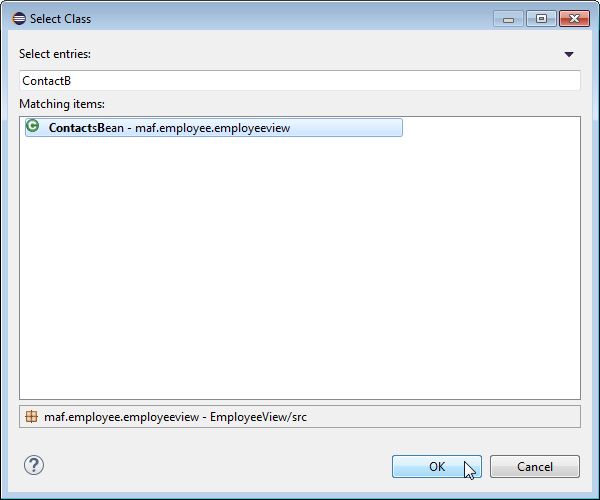
Using the browse button, find ContactsBean - maf.employee.employeeview, select it and click OK.
You have now created a Java class (ContactsBean) and registered it. You can now consume the methods within the managed bean.
-
Save your work.
-
Open contacts.amx.
-
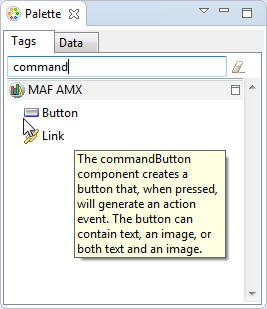
Using the filter in the Palette, find the command button.
-
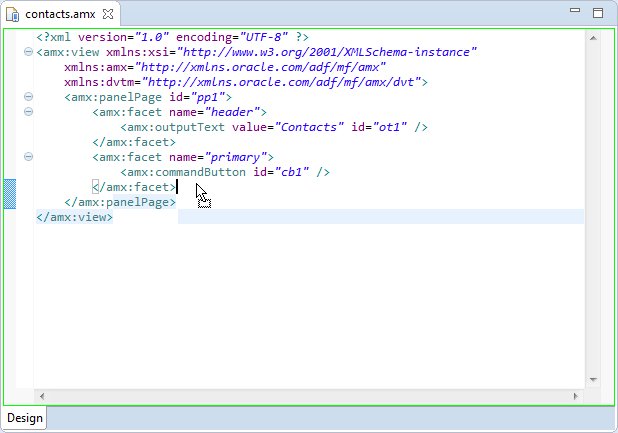
Drag the command button to just after the </amx:facet> tag.
-
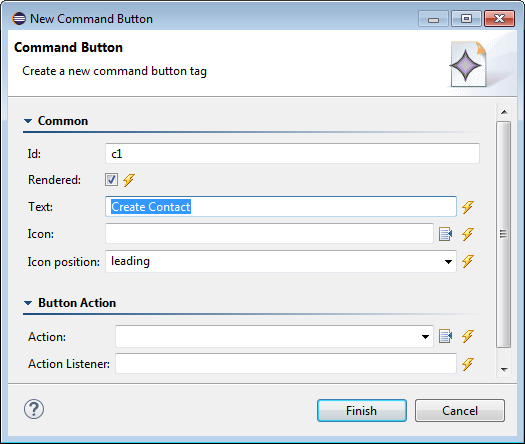
Set the Text value to Create Contact.
-
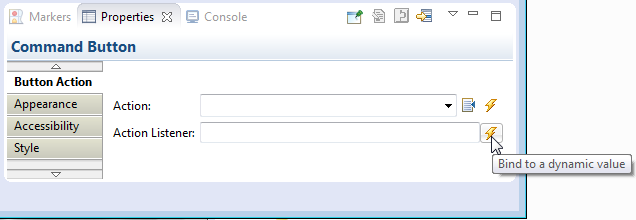
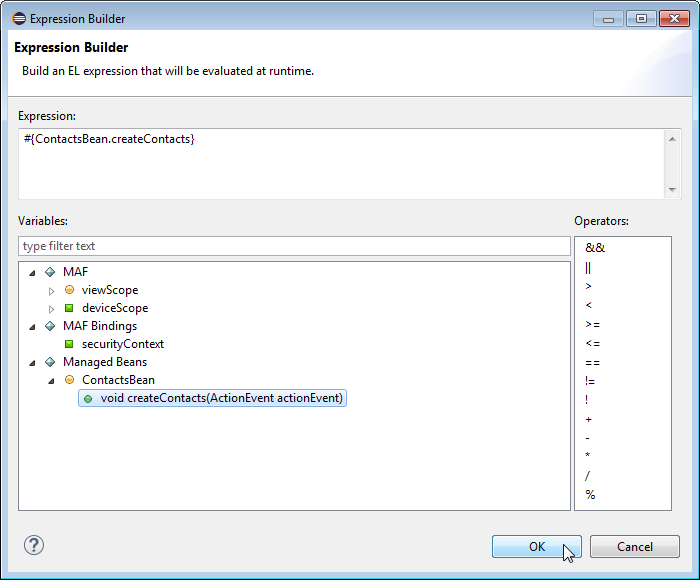
Use the Bind to a dynamic value button to open the Expression Builder for the Action Listener property.
-
In the Expression Builder, double-click Managed Beans > emailBean > void sendEmail(ActionEvent actionEvent) and click OK. This binds the button you are adding to the sendEmail method.
-
Save you work.
When you added the Camera feature, you added it from the Data Controls palette. OEPE knew to enable the Camera plug-in for your application. Since you are using Java code to access the device feature directly, OEPE isn't aware that you need to enable the Contacts plug-in.
In the next few steps, you enable the Contacts plug-in for your application.
-
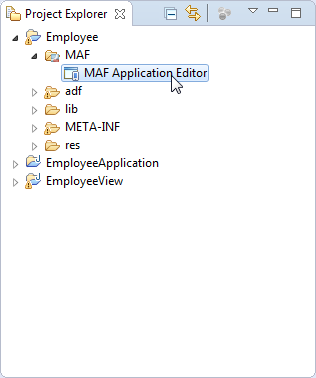
Double-click Employee > MAF > MAF Application Editor to open the editor.
-
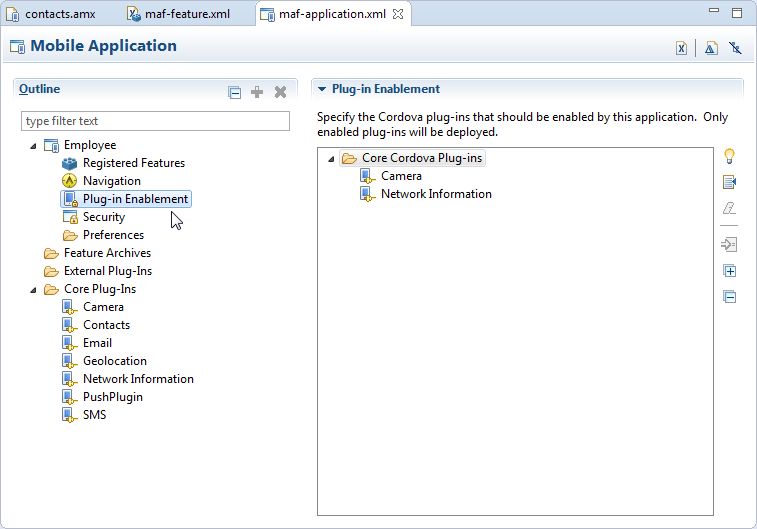
Click Employee > Plug-in Enablement.
-
Click the Browse icon beside the Plug-in Enablement panel.

-
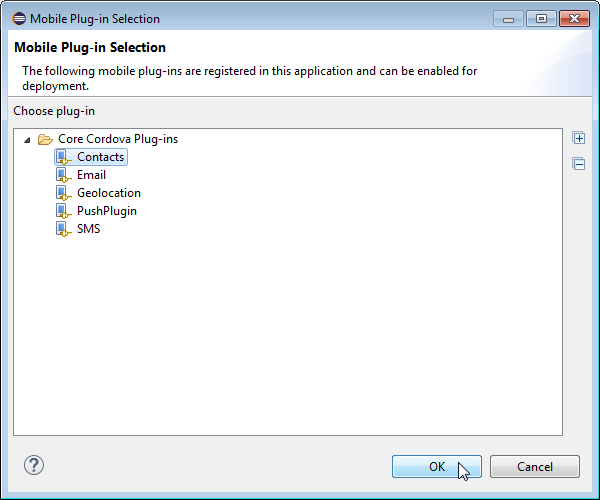
Select Contacts from the list and click OK.
-
Save you work.
You have now created a managed bean with a createContacts method. You have also added feature and a page that will call that method. You can now deploy and test the application.
-
From the menu, click Debug and select Debug Configurations.
-
Just as you did before, select the MAF configuration you created and click Debug.
You will see a build successful message when the build and deploy is complete.
-
Switch to the emulator. The Employee application should have run automatically.
-
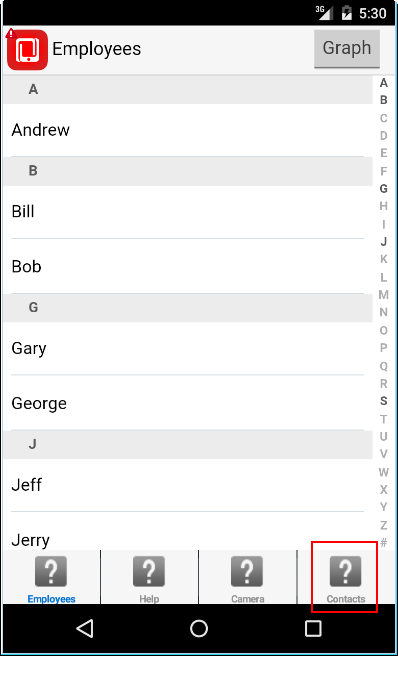
Click the Contacts icon on the Navigator bar.
-
The page that you created is pretty simple. It only has a button that invokes the createContacts method. Click Create Contact.
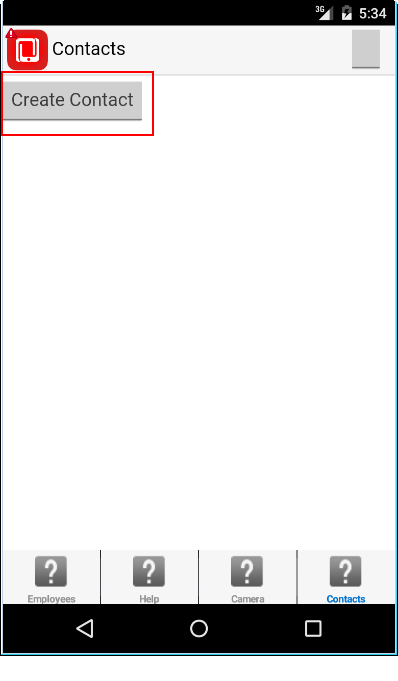
Remember that the button only calls the createContact method so to see the results, you need to open the Contacts feature on the device.
-
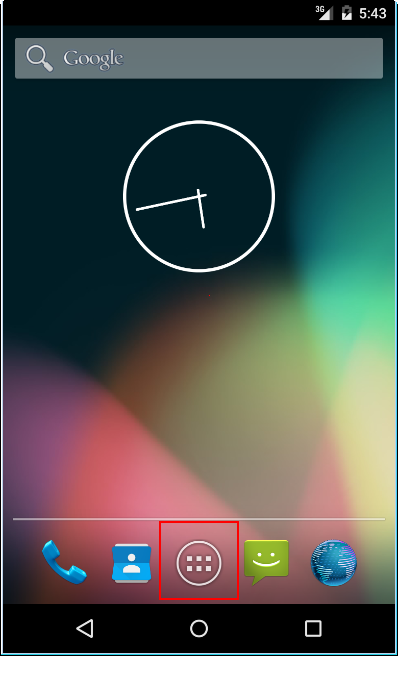
In the emulator, navigate to the home screen. (click the circle at the bottom of the screen).

-
Click the Applications button to get to the list of installed applications.
-
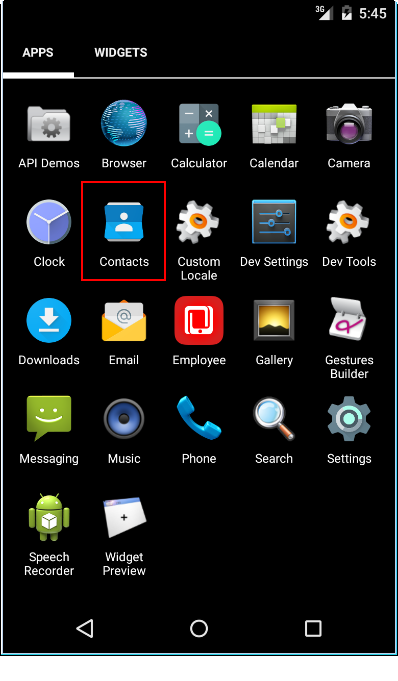
Click Contacts to open the Contacts feature.
-
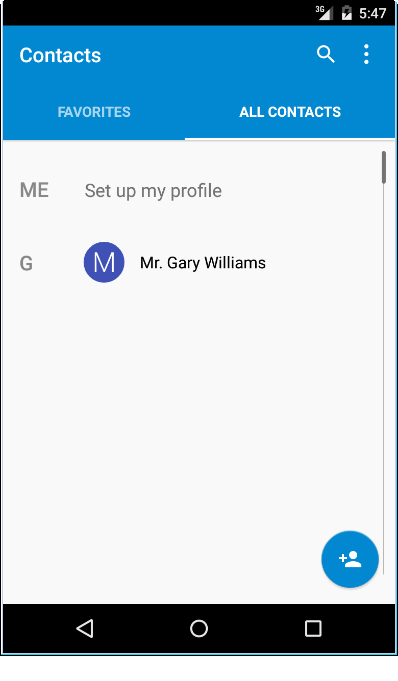
Depending on the emulator you are using, there may be seeded contacts. In any case, the Contact you created will show in the list.
import oracle.adf.model.datacontrols.device.Contact;
import oracle.adf.model.datacontrols.device.ContactName;
import oracle.adf.model.datacontrols.device.DeviceManager;
import oracle.adf.model.datacontrols.device.DeviceManagerFactory;
import oracle.adfmf.amx.event.ActionEvent;
public class ContactsBean {
public ContactsBean() {
}
public void createContacts(ActionEvent actionEvent) {
// Add event code here...
DeviceManager deviceManager = DeviceManagerFactory.getDeviceManager();
Contact aContact = new Contact();
ContactName contactName = new ContactName();
contactName.setGivenName("Gary");
contactName.setFamilyName("Williams");
contactName.setHonorificPrefix("Mr.");
aContact.setName(contactName);
aContact.setNote("This is my first contact");
deviceManager.createContact(aContact);
}
}
In this tutorial, you created an MAF Mobile application and deployed to a mobile device or emulator. The application includes a data bound page as well as interaction with device features like the camera and and contacts.

 Expand all |
Hide all
Expand all |
Hide all