Generating PBI Communications
After the system assigns event IDs, use the following process to notify applicants or students about CAS Number or fee update details:
Use the 3C Engine Trigger Results page to view the result records that have been added ().
Run the 3C Engine process for each event ID.
Use the Person Communication page to view the assigned communication.
Run the Communication Generation process to create the communication that you can send to applicants and students.
This section describes the steps to assign and generate communications for CAS Number and fee update notifications.
Access the 3C Engine Trigger Results page ().
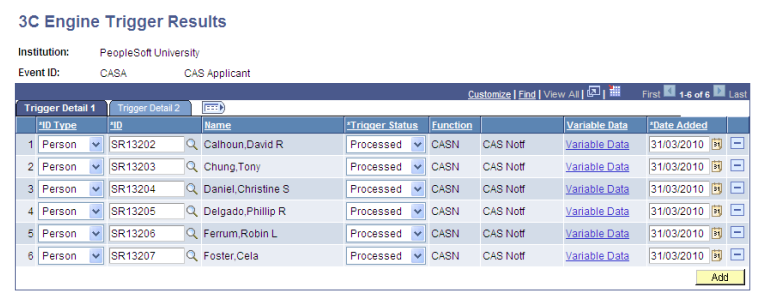
Use the 3C Engine Trigger Results page to review records that the Import CAS Details process or the Create Extract - update process creates.
Use the page to add any additional records required. Select Variable Data to add the required values for any additional records added.
Image: 3C Engine Trigger Results page for CASA
This example shows the 3C Engine Trigger Results page for CAS Number notification.
Access the 3C Engine Parameters page ().
Image: 3C Engine Parameters page
This example illustrates the fields and controls on the 3C Engine Parameters page.

Run the 3C Engine process for each of the Event IDs defined on the PBI Configuration page. The process assigns communications, comments and checklists associated with the Event ID to the ID of the applicant or student.
Assigned communications can be reviewed on the Person Communication page. To navigate to the Person Communication page, select .
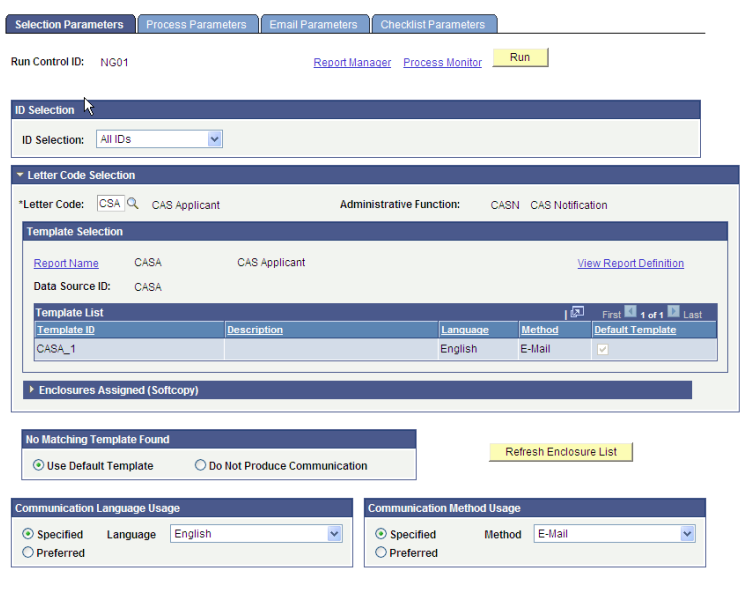
Access the Selection Parameters page ().
Run the Communication Generation process for each standard letter code to generate the communications for the assigned communications.
Image: Selection Parameters page
The following example shows that the Communication Method is set to E-Mail. Note that the ID Selection value should be set to All Person IDs rather than All IDs as shown on the example.
Define the Person Communication Usage values on the Process Parameters page.
Image: Process Parameters page (1 of 2)
This example illustrates the fields and controls on the Process Parameters page (1 of 2).
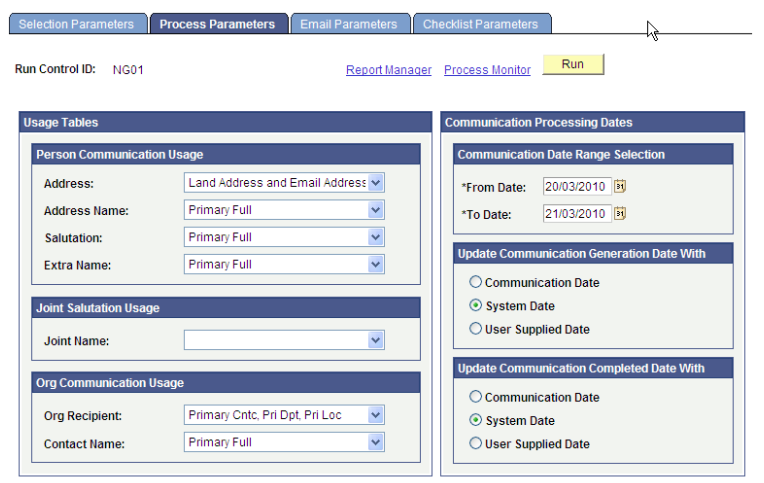
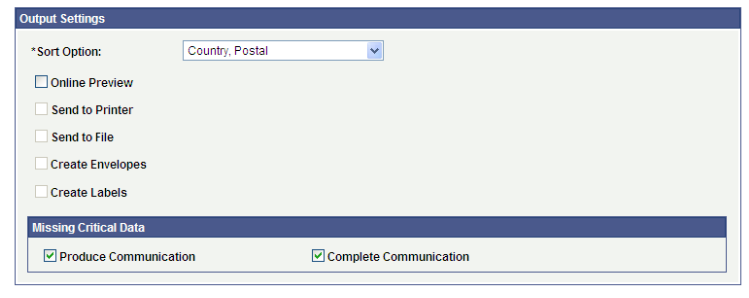
Image: Process Parameters page (2 of 2)
This example illustrates the fields and controls on the Process Parameters page (2 of 2).
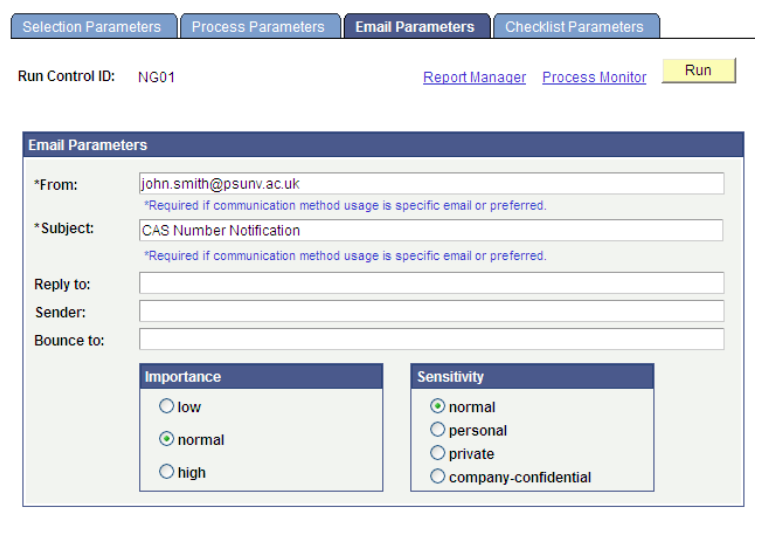
Define the From and Subject values on the Email Parameters page.
Image: Email Parameters page
This example illustrates the fields and controls on the Email Parameters page.
Review the communications generated by the process on the Communications Management page ().