3 Language Upgrades for Customers with English as the Base Language Or Language Installations for New A9.4 Installs
This chapter contains these topics:
3.1 Install or Upgrade a Base or Alternate Language
Use this method to perform the application of a new language if you are:
-
A new JD Edwards World client
-
An existing client that currently has JD Edwards World English software only
-
An existing client with English as the base language, and one (or more) alternate language
For upgrades, any existing language records that you have customized will be replaced.
3.2 Language Install
3.2.1 Install or Upgrade (Reinstall) JD Edwards World Software
Be sure you completely install or reinstall your JD Edwards World software to the A9.4 release level before you follow the other procedures in this chapter.
3.2.2 Back Up Libraries
Back up all JD Edwards World and custom libraries that are part of the environment to which you will perform the language upgrade.
3.2.3 Download the Language Library from the Update Center
Refer to Doc ID 761132.1 JD Edwards World Language Libraries Available for Download. Proceed to the Update Center once you obtain the appropriate update number to download.
3.2.4 Create Upgrade Plan to Perform the Language Upgrade
You must create an upgrade plan for merging the new language text into your environment control files. In the plan you will specify the libraries you would like the language records to be merged into.
-
Sign on as JDEINSTAL.
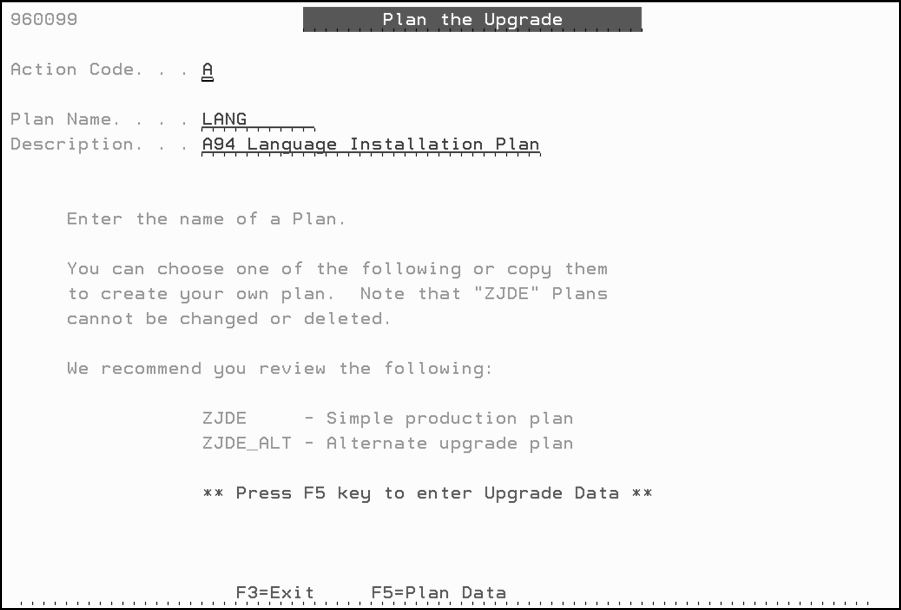
The Software Upgrade Menu (A97JDE) appears. Take menu selection 2 for the Upgrade Planner. Inquire on plan ZJDE. Press Enter. Specify an 'A' in the Action Code, then a name for your plan, and a description. Press Enter.
Re-inquire on your new plan and press F5. The Libraries for This Plan screen appears.
Figure 3-2 Plan the Upgrade (Libraries for this Plan) screen
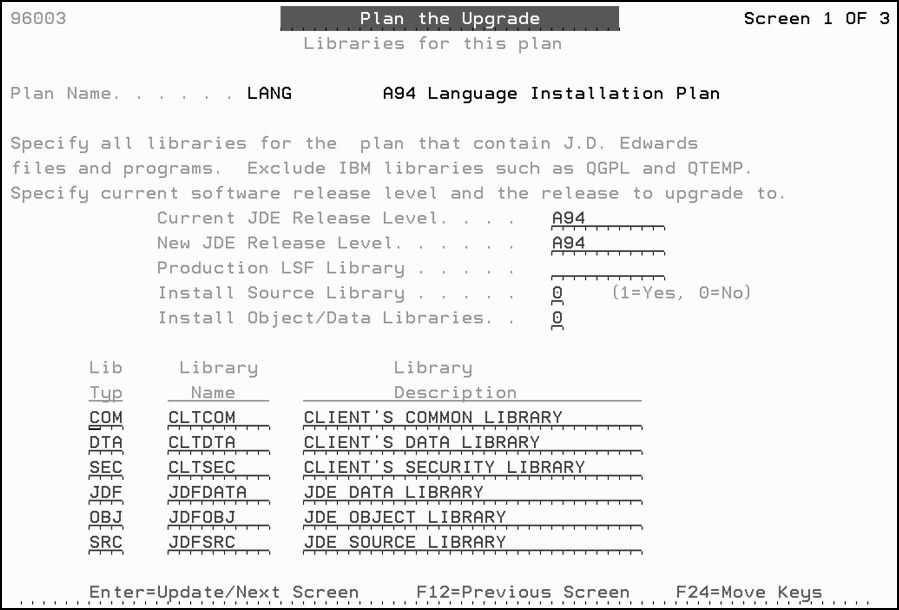
Description of ''Figure 3-2 Plan the Upgrade (Libraries for this Plan) screen''
-
Specify A94 in the Current JDE Release Level and New JDE Release Level fields. Specify your object library in the Production LSF Library field. Enter 0 for the Install Source Library and the Install Object/Data Libraries fields. Also, specify your A9.4 libraries in the Library Name fields for the environment in which you want your language applied.
-
From the Merge Information screen, set the merge modes for data dictionary, vocabulary overrides, DREAM Writer, menus, and user-defined codes to 3 (Replace). Set the other merge modes to 0 (No Merge).
Figure 3-3 Plan the Upgrade (Merge Information) screen
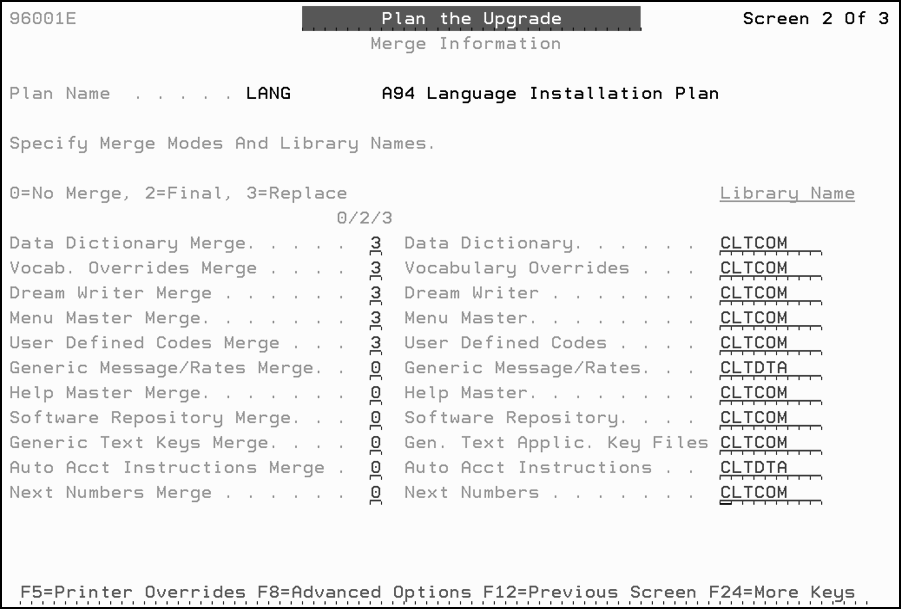
Description of ''Figure 3-3 Plan the Upgrade (Merge Information) screen''
-
The Data Dictionary Field Ownership screen appears. Leave the defaults as they do not affect the language merge. Press Enter.
Figure 3-4 Plan the Upgrade (Data Dictionary Field Ownership) screen
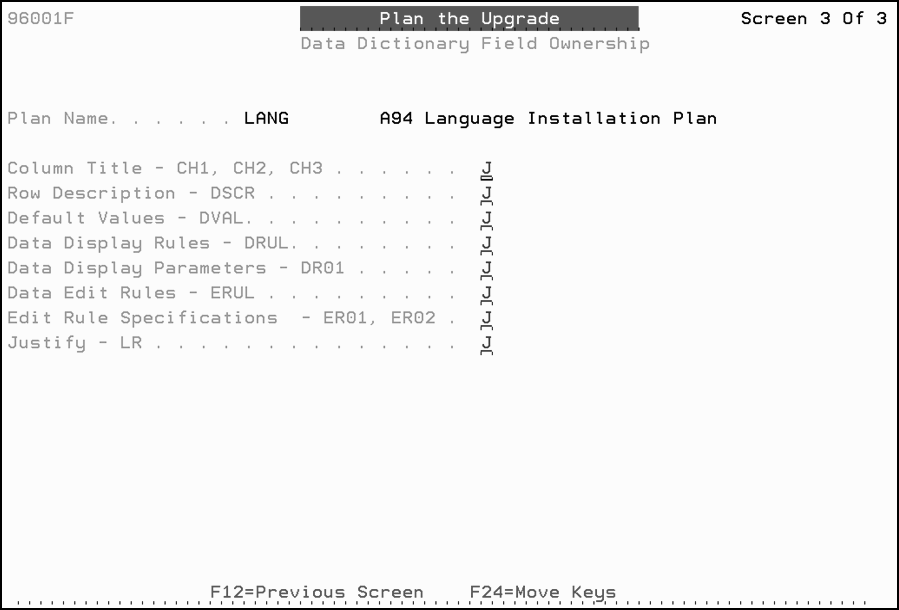
Description of ''Figure 3-4 Plan the Upgrade (Data Dictionary Field Ownership) screen''
Once your plan is complete, you can sign off of as JDEINSTAL and sign into the environment that is to have language installed. Do not validate the plan.
3.2.5 Identify Your Language Preference Code (Alternate Languages Only)
To run the language upgrade, you must specify a language by indicating a language preference code if you are installing an alternate language. These codes are stored in the user-defined code table 01/LP.
To verify a language preference code:
-
Sign on as a user who accesses the production library you want to update.
-
From the Run Time Setup menu (G90), select User Defined Codes.
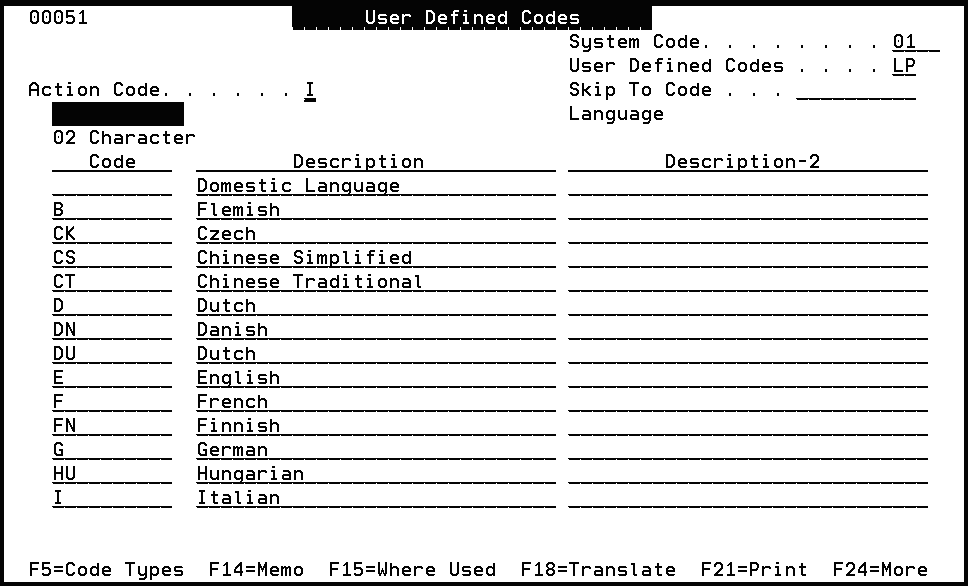
The User Defined Codes screen appears.
-
Inquire on Install System Code 01 and User Defined Code LP.
The user-defined code table for 01/LP that appears looks similar to the graphic below. Look for the language you are installing.
If no code exists for the language you are installing, change this screen to include a new language preference code. There is no validation of this code during the language merge, so you can choose any alpha character.
3.2.6 Perform the Language Upgrade
-
Sign into your JD Edwards World environment.
Note:
JD Edwards World recommends that you perform the language upgrade in an environment where you are the only profile signed on. Files F98163 and F96163LA are allocated during this process and the merge will fail if these files are not available. -
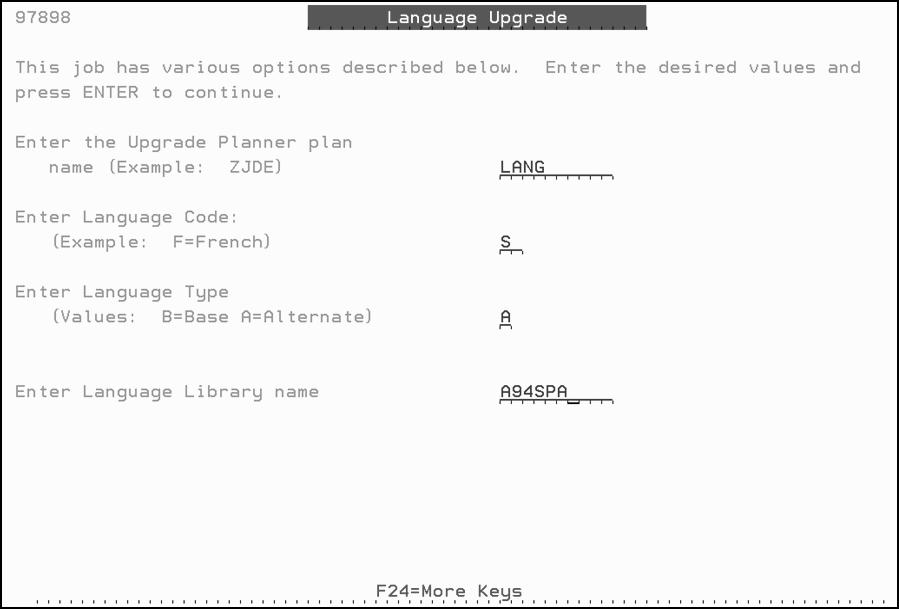
From the Merges menu (G97R41), select Language Upgrade.
The Language Upgrade screen appears.
-
In the Upgrade Planner field, type the name of the upgrade plan you created for the language upgrade.
-
In the Language Code field, type the language preference code that represents the language you are installing. You must leave this field blank if you want to install it as a base language.
-
In the Language Type field, type an A if you want to install it as an alternate language. Type B if you want to install the language as a base language.
Caution:
If you are installing the language as B for base, the language upgrade permanently overlays the targeted English text in the control files with the new language text. If you are installing an alternate language, the upgrade creates additional records in your control files that are keyed to the language you installed and loads the new language text into your files as alternate language text. -
In the Language Library field, type the name of the language library. This is the name of the language library you downloaded.
The process is finished when job J97896 completes. The language upgrade produces several Language Merge Comparison Reports (R97898), which show what has changed in the language records in your control files.
3.2.7 Change the Company Name on Alternate Language Menus
After the language upgrade completes, change the company name that appears at the top of the alternate language menus.
-
From the Computer Assisted Design (CAD) menu (G92), select Data Dictionary.
The Data Dictionary screen appears.
-
Inquire on #MENUTTL in the Data Item field.
-
Press F10 to access the glossary.
-
In the Lang Preference field, enter the letter that represents the alternate language.
-
In the Description field, change the company name that appears to your company's name.
3.2.8 Install Multiple Languages in Single Environment
After you have installed one alternate language you can install additional alternate languages.
-
Restore the additional language library.
There is no need to create another plan if the libraries to be updated are the same as the above environment.
-
From the Merges menu (G97R41), select Language Upgrade.
-
In the Upgrade Planner field, type the name of the upgrade plan you created for the language upgrade.
-
In the Language Code field, type the appropriate Language Preference code that represents the next language you are installing.
-
In the Language Type field, type an A for Alternate.
-
In the Language Library field, type the name of the language library. This is the name of the language library you restored.
The process is finished when job J97896 completes. The language upgrade produces several Language Merge Comparison Reports (R97898), which show what has changed in the language records in your control files.