| Oracle® Retail Xstore Point-of-Service Mobile User Guide Release 18.0 F12257-04 |
|

 Previous |
 Next |
| Oracle® Retail Xstore Point-of-Service Mobile User Guide Release 18.0 F12257-04 |
|
Previous |
Next |
Tendering is the last step that occurs just before completing a sale. You must select a form of payment or refund, and it may involve check or credit card authorizations, if any of these tender types are selected.
For all tender types, you must select or enter two basic items of information:
Form of payment (also called tender type; that is, cash, check, credit card, and so on)
Amount paid for each selected tender type
Depending upon the form of payment and your system's requirements, you may have to enter or select additional information, for example:
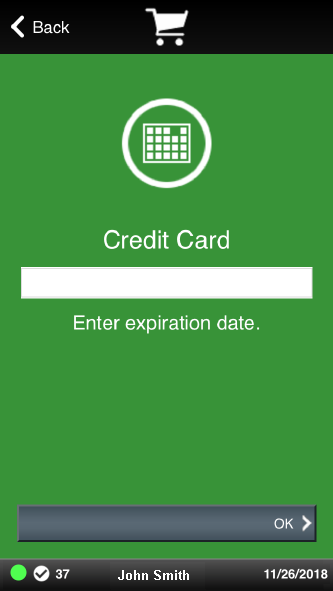
Credit card account number, CID number, and expiration date
Additional tender types if the first tender type did not pay the total due
Additional forms of customer ID (driver's license number, birth date, credit card number, hotel guest's room number, or other ID)
Customer name
Customer address
Security approval for large sales or refunds
This section covers the following topics:
The exchange of tender for merchandise is the final step in a transaction. Many types of tender can be exchanged for merchandise.
When you are ready to complete the transaction, press Enter to list the tenders that are available for the type of transaction you are processing. You can also swipe a credit card at the sale screen.
If you swiped a credit card, refer to Credit Card.
The following tender types are available:
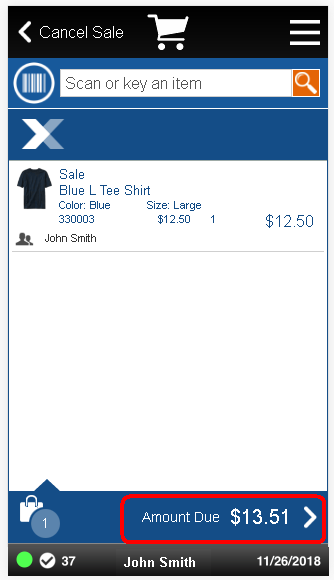
To tender a transaction:
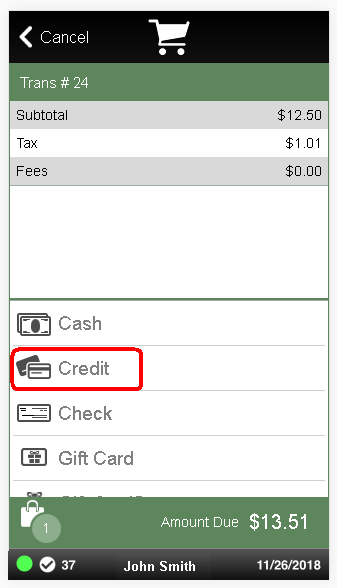
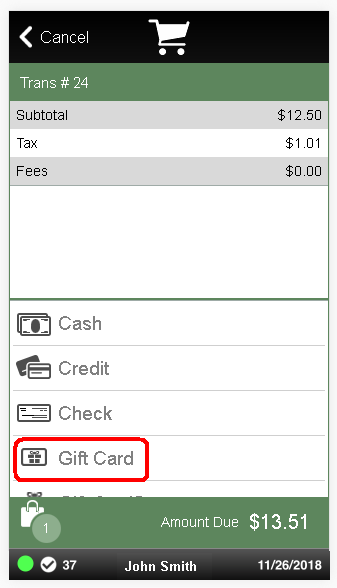
Select the AMOUNT DUE area to begin transaction tendering.
|
Note: Your tender list may be different form the example shown here. |
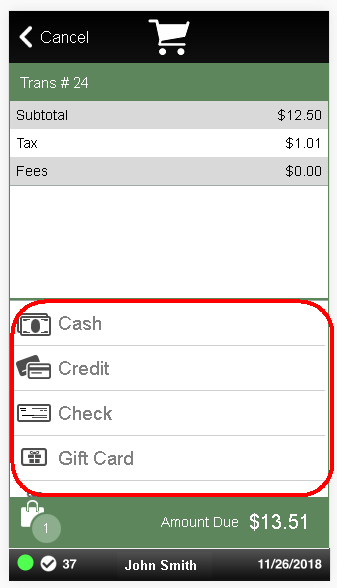
Select the proper tendering method. To tender a sale, refer to the section for the appropriate tender type as indicated below:
Table 5-1 Tender Types
| Tender Type | Refer to |
|---|---|
|
Cash |
|
|
Check |
|
|
Credit/Debit Card |
Credit Card, and Debit Card |
|
Gift Card |
|
|
Gift Certificate |
NA |
|
Redeem Store Credit |
|
|
Redeem Merchandise Credit Card |
NA |
|
Travelers Check |
NA |
|
Foreign Currency |
NA |
|
Coupon |
NA |
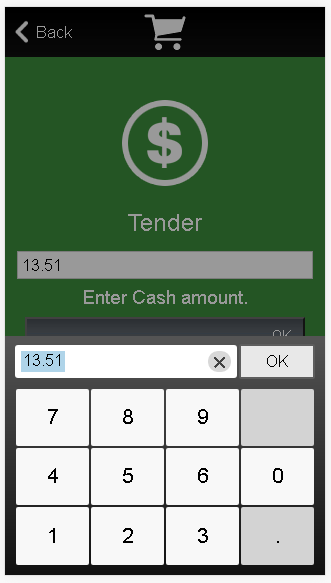
Cash is one type of tender that can be exchanged for merchandise.
When all items have been entered or scanned, use the up and down arrow keys to select the Cash option and then press Enter.
|
Note: Depending upon the configuration of your system, the Cash Amount Due prompt may default to the total amount owed for the transaction. |
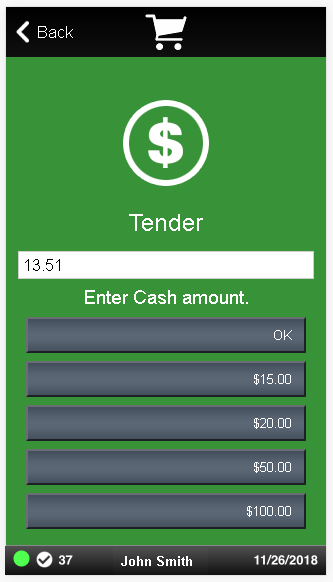
Enter the amount of cash presented by the customer and then press Enter.
Enter dollar amounts.
<OR>
Choose one of the Quick Cash options.
A prompt may display asking if the sale is complete.
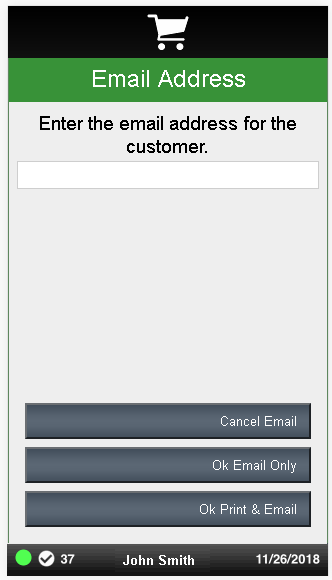
Select the method for providing the receipt:
Click Email to email the receipt and, if necessary, also provide a printed copy.
Click Print Only to provide only a printed copy. The transaction ends.
If you selected an email receipt, enter the customer's email address.
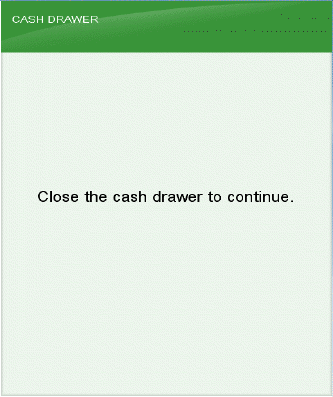
When you complete the sale, Xstore Mobile opens the cash drawer. You can accept money from the customer, place it in the cash drawer and return the change due amount, if the total of all tenders exceeds the amount due.
If configured, a prompt displays reminding you to close the cash drawer. After the cash drawer has been closed, the sale receipt is printed and the system is ready for the next transaction.
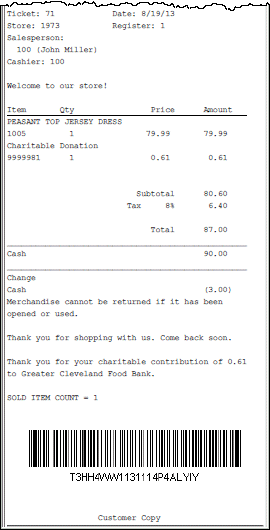
The receipt indicates that the purchase was paid with cash, shows the amount tendered, the change amount, and the tender type received.
Figure 5-8 Customer Sale Receipt - Cash Tender Example
A personal check is a type of tender that can be exchanged for merchandise. Depending upon your store policy, the prompts for additional tender information may be different from the prompts shown here. These prompts display when a MICR is not available, or if your store policy requires additional information for check processing.
After all items have been entered or scanned, select the Check option and then press Enter.
|
Note: Note: After selecting the Check option from the Sale Tender list, the system may automatically prompt you to place the check in the MICR device. After the system gets the required information from the check, other on-screen prompts may follow, depending on your system's configuration. If the MICR fails to read the check information, the system may display a prompt that allows you to reinsert the check and try again, or disable the device and enter the information manually. Disabling a device may require a particular security level. |
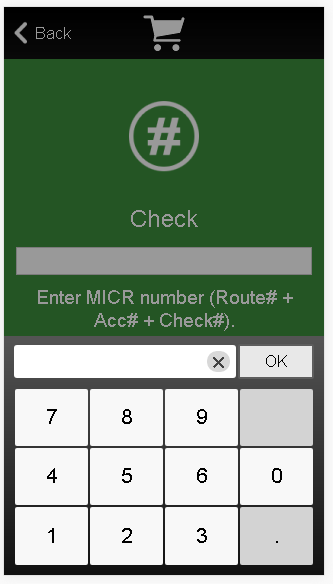
If prompted, enter the check's MICR number (Route number + Account number + Check number) and then press Enter.
|
Note: The entry must consist of a single string of characters with no other embedded spaces or additional characters. |
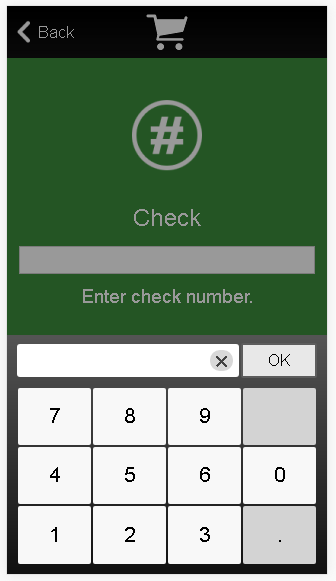
If prompted, enter the check number and then press Enter. It must be the same check number that you entered when the system prompted for the MICR number.
If prompted, enter the state from which the customer's ID was issued and then press Enter.
|
Note: Enter only the two-letter abbreviation for the state. |
If prompted to enter the customer's driver's license number, a credit card number, or other form of ID, enter the ID number and then press Enter.
If prompted, enter the customer's birth date (as printed on the state-issued ID card) in the MM/DD/YYYY format and then press Enter.
Enter the check amount, or accept the default amount for the total due, and press Enter.
If the tender authorization is currently offline, a message displays prompting you to perform one of the following activities:
Figure 5-15 Tender Authorization Offline Prompt
Select Cancel to re-tender with another tender type. Xstore Mobile returns to the tender list where you can select a different tender type.
Select Retry to attempt to process the check again.
Select Manual to begin the manual authorization process.
If you chose to authorize the card manually, follow the instructions on the prompt and enter the authorization number in the Authorization Number field. Select OK to continue.
After the information is processed, the system displays a prompt asking if the sale is complete. Press Y for Yes to continue and complete the sale. If you press N for No, Xstore Mobile returns to the Sale Tender screen.
|
Note: If your store issues email receipts, additional/different prompts display. Refer to Chapter 3, Email Receipt Options, for more information about sending email receipts. |
|
Note: This section applies to Credit and Debit Cards. |
|
Note: Debit Cards are supported via Oracle Retail EFTLink. |
To tender a transaction with a credit card:
Select Credit.
Enter the card information by doing one of the following:
Swipe the card on the Xstore Mobile device or enter the card manually. See Manual Entry.
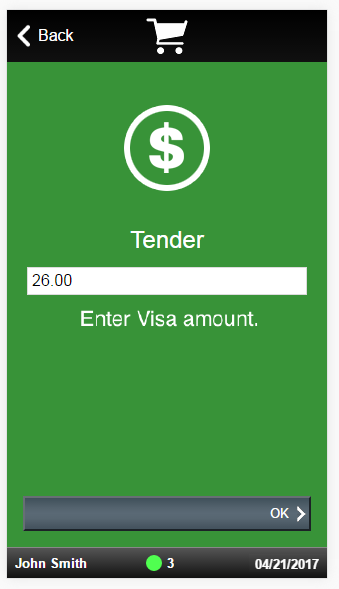
Enter the tender amount. Default value is the total for the transaction.
Select OK.
Xstore Mobile attempts to authorize the tender.
If authorization is successful, continue the transaction.
If authorization fails, either use a different tender, or continue with Tender Authorization.
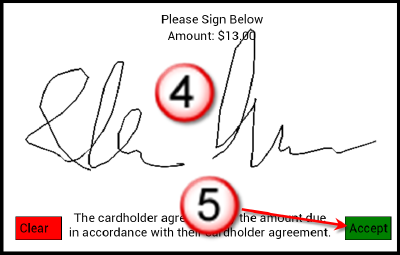
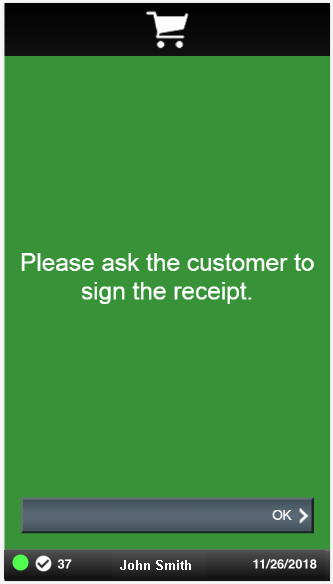
The customer should provide their signature.
After the customer signs, select Accept.
Select the method for providing the receipt:
Click Email to email the receipt and, if necessary, also provide a printed copy.
Click Print Only to provide only a printed copy. The transaction ends.
If you selected an email receipt, enter the customer's email address.
If necessary, confirm that the customer signed the receipt.
The transaction is complete.
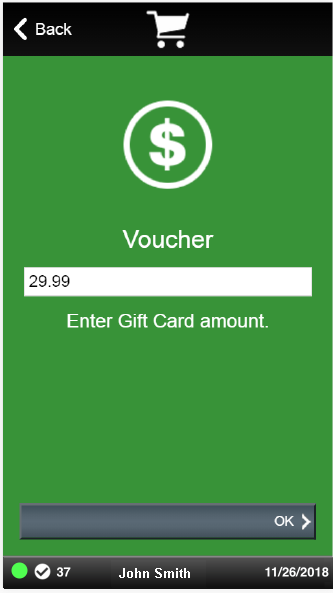
To tender a transaction with a gift card
Select Gift Card.
Enter the card information by doing one of the following:
Swipe the card on the Xstore Mobile device or enter the card manually. See Manual Entry.
Enter the amount to tender on the gift card.
Select OK.
Xstore Mobile attempts to authorize the tender.
If authorization is successful, continue the transaction.
If authorization fails, either use a different tender, or continue with Tender Authorization.
Select the method for providing the receipt:
Click Email to email the receipt and, if necessary, also provide a printed copy.
Click Print Only to provide only a printed copy.
If you selected an email receipt, enter the customer's email address.
The transaction is complete. Return to the Main Menu.
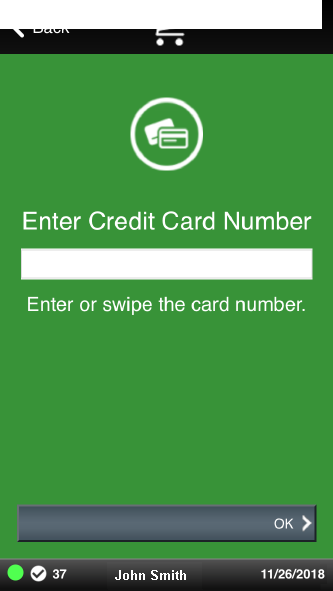
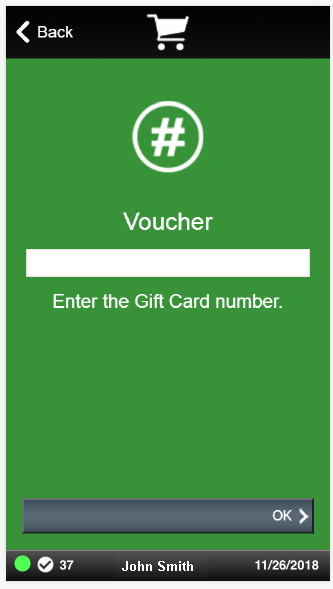
To enter a card manually:
Enter the card number.
Select OK.
Continue the transaction.
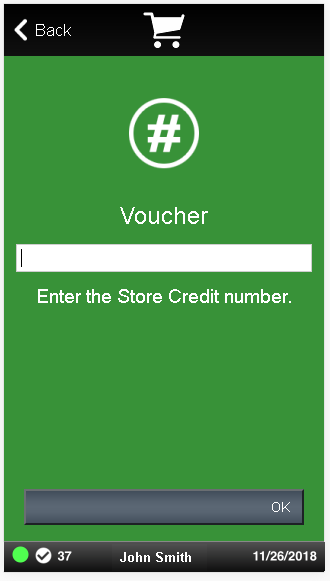
To tender a transaction by redeeming store credit:
Figure 5-28 Tender - Redeem Store Credit
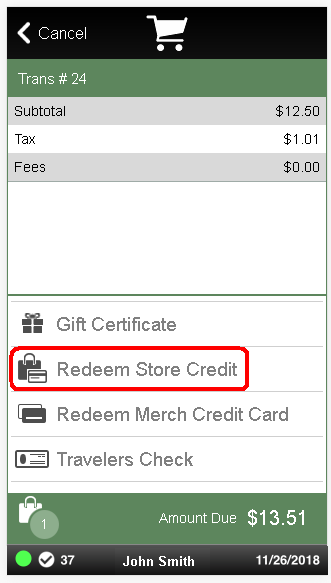
Select Redeem Store Credit.
Scan the store credit receipt or enter store credit number.
Select OK.
Figure 5-30 Select Receipt Method Prompt

Select the method for providing the receipt.
Click Email to email the receipt and, if necessary, also provide a printed copy.
Click Print Only to provide only a printed copy.
If you selected an email receipt, enter the customer's email address.
The transaction is complete. Return to the Main Menu.
If an attempt to authorize a tender fails, perform one of the following procedures to continue with the same tender:
To attempt the authorization again:
Troubleshoot the connection to the authorizer.
Check the network connection for the Xstore Mobile server.
Check whether the Xstore Mobile server can connect to the internet.
Figure 5-32 Tender Authorization Offline
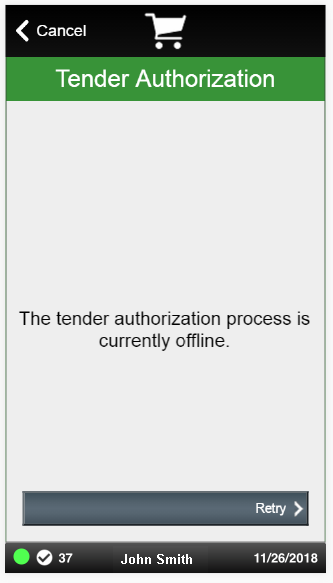
Select the Retry button.
If the retry is successful, continue the transaction.
If the retry fails, either perform another retry, or continue with Manual Authorization.
|
Note: Call the appropriate authorization provider to manually authorize a tender. Xstore Mobile does not provide manual authorization numbers. |
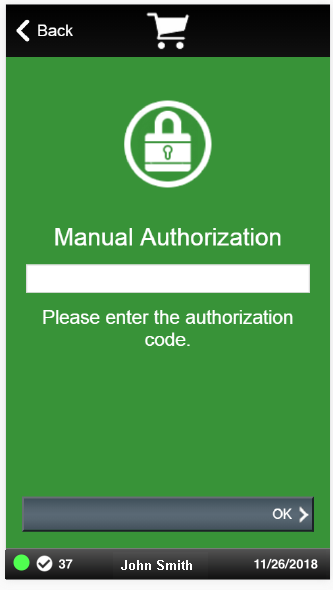
To enter manual authorization information:
Select the Manual button.
Enter the authorization number.
Select OK.
Continue the transaction.