| Oracle® Retail Xstore Point-of-Service Mobile User Guide Release 18.0 F12257-04 |
|

 Previous |
 Next |
| Oracle® Retail Xstore Point-of-Service Mobile User Guide Release 18.0 F12257-04 |
|
Previous |
Next |
A send sale item is an item that must be shipped to a customer-specified offsite location after it is purchased.
Send sales are similar to special orders and orders because each of these transaction types may involve the direct shipment of a purchased item to a customer or third party. A send sale, however, implies that the item is in the store's saleable inventory when the purchase is made and is available at the time of purchase.
|
Note: A special order can be set up if an item is not available in the store's inventory when the purchase is made. A special order may allow a flexible payment structure between the time of purchase and receipt of the merchandise, but a send sale item must be paid in full when it is purchased.An order can be set up if an item is not available in the store's inventory when the purchase is made; however, the item must be available at another location within the store chain or warehouse. |
Your system may be configured for one-step or two-step send sale processing.
In one-step processing you enter the ship-to address and select a shipping method (if required) during the sale transaction, and no further action is required in Xstore Mobile once the transaction is completed.
In two-step processing you enter the ship-to address and select a shipping method (if required) during the sale transaction, just as performed in one-step processing. After the sale is completed, a shipping document is created automatically and must be processed as a separate step in the Back Office Shipping module.
Refer to the Oracle Retail Xstore Mobile Shipping, Receiving, and Inventory Guide for more information about completing the shipping document in the Back Office for two-step processing.
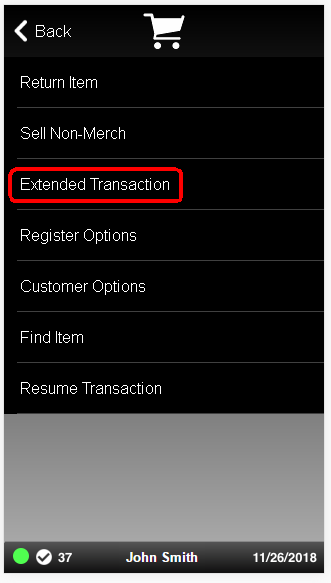
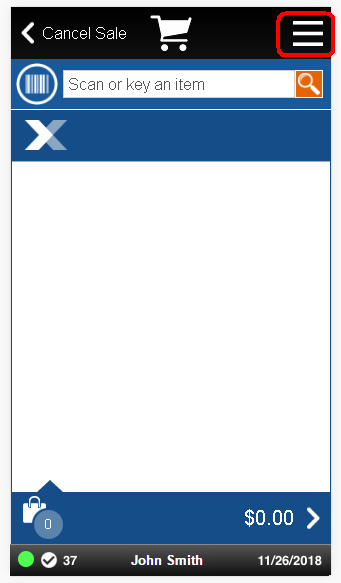
At the Sale screen, select the Context Menu button.
Figure 10-1 Sale Screen Context Menu Button
Select Extended Transaction in the Context Menu.
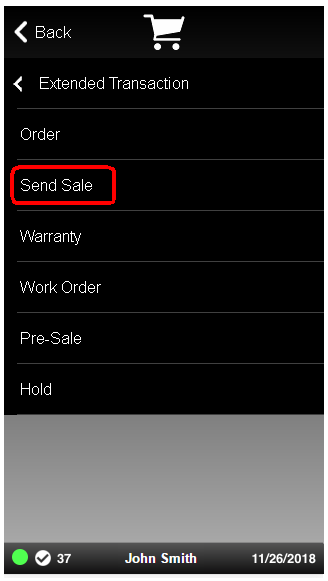
From the Extended Transaction menu, select the Send Sale option. You must have security privileges to add a send sale to a transaction.
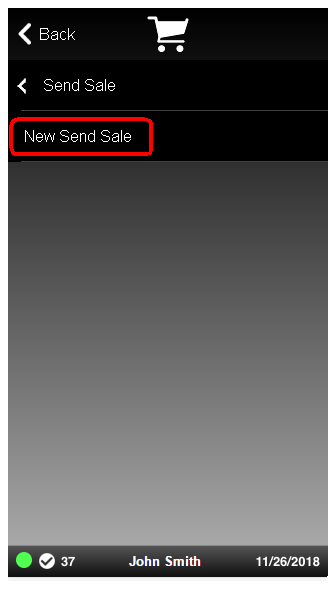
Select the New Send Sale option.
Create a new send sale:
If a customer is not assigned to the sale, the Customer Search form displays so that you can search for a customer to assign to the transaction.
Figure 10-5 Customer Search Form - Sale Customer
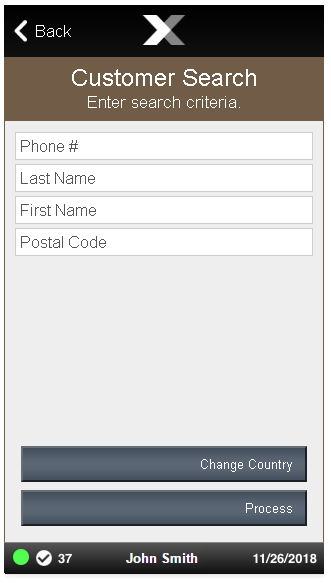
Enter your search criteria on the form and select Process to find a customer to associate with the transaction and continue with the send sale process.
This Customer Search information applies to the customer purchasing the items, not necessarily the send sale recipient. However, the customer purchasing the item may also be the recipient. Continue with step 6.
If a customer is assigned to the sale, the shipping destination prompt is displayed. Continue with step 6.
If the customer associated with the transaction has shipped items using the send sale process previously, a list of past recipients is displayed.
Figure 10-6 Send Sale - List of Past Recipients
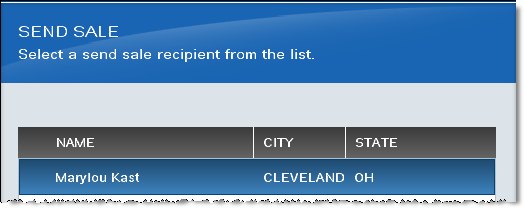
If the recipient of the items in this new send sale is listed, select the name from the list and press Enter.
If the recipient is not listed, select Skip.
Continue with step 6.
By default, the system may display the address information for the customer assigned to the current transaction on the shipping destination form. This allows you to quickly associate the purchasing customer's shipping address with the send sale item. If no customer is associated with the transaction, the shipping destination form fields will be blank.
Figure 10-7 Shipping Destination Information Form - Auto-populated Customer Info
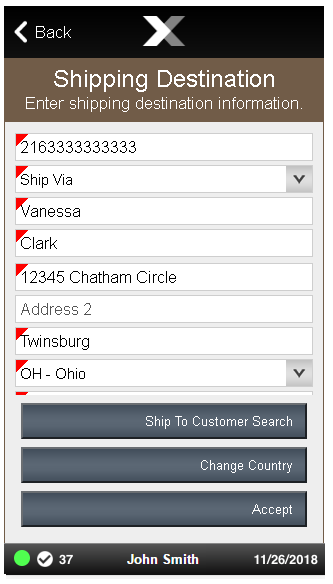
You have the following options on this form:
You can edit any of the address fields on the shipping destination form and then select the Accept option.
Depending upon the configuration of your system, you may have a First line of address, or postal code field.
Enter address information into this field to quickly look up an address.
Select the address from a list of results to automatically populate the customer address fields.
You can accept the information without making changes by selecting the Accept option.
You can search for another send sale recipient by selecting the Ship To Customer Search option.
|
Note: If the Address Lookup button is enabled, the Ship To Customer Search button will not be displayed. |
Depending upon your store policy, you may be required to enter additional shipping information:
If your system is set up for enhanced send sale processing, you are required to select a Ship Via shipper.
If your system is not set up for enhanced send sale processing, the Ship Via field will not be active.
|
Note: A red triangle in the upper left corner of a field indicates a required entry.When applicable, the Change Country menu option provides the ability to search for customers from countries other than the country where the store is located. For example, if you change the country to Canada, the State form field lists Canadian provinces, and if Mexico is selected as the country, then the State form field lists Mexican states. |
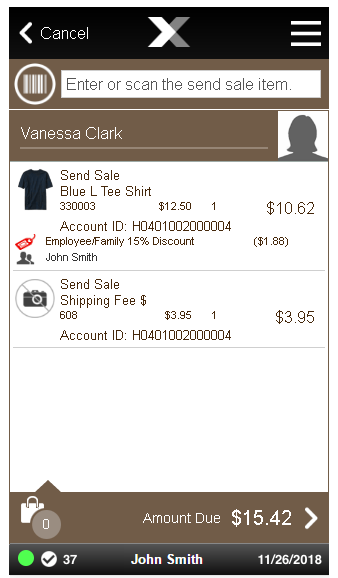
When the system returns to the item-entry screen, enter or scan an item ID.
The system validates every item to ensure that it meets the requirements for send sale items. Continue until you have added all the send sale items to the transaction.
Depending on your store policy, you may be prompted for an originating inventory location. If prompted, select the inventory location from which the item originated, or leave the inventory location blank to leave the location pending. Select the Process option.
|
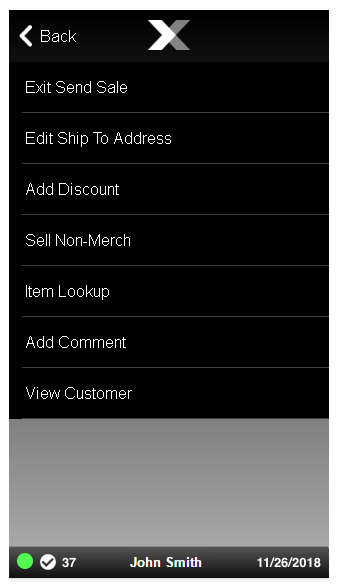
Note: Send Sale Item Menu Options
|
|
Note: Select the item if you want to change any of the information (quantity, price, tax, and so on) about an item after you have added it. The procedures for each send sale menu option shown above can be found in Chapter 9, "Modifying a Transaction". |
Verify that the information on the screen is correct before proceeding. Check to see that any item comments are associated with the correct item.
At this point you may still edit the recipient and shipping address information by selecting the Edit Ship To Address option.
When you are finished adding send sale items, you have the following options to complete the transaction:
Select the Add Tenders option or press Enter to tender and complete the sale.
Select the Exit Send Sale option to return to the Register Sale screen where you can continue selling items.
The system automatically performs several actions:
Calculates the tax to apply to each item and add it to the sale.
Calculates any fees that apply to an item and adds them to the sale.
Updates the inventory status of the item.
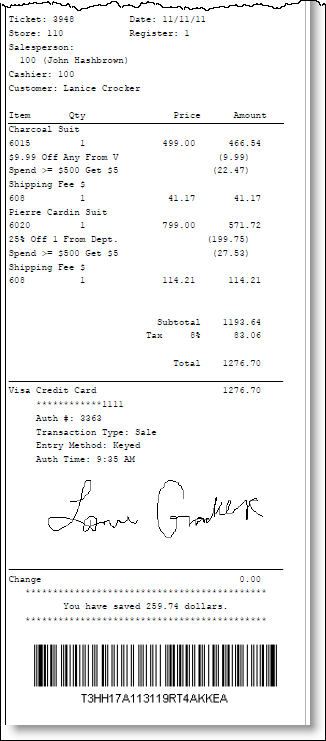
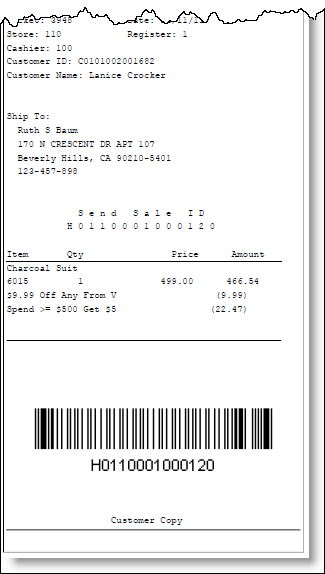
When the transaction is complete, the system creates send sale receipts as determined by your store policy.
Figure 10-11 Customer Send Sale Receipt Sample
Before tendering a transaction that includes a send sale, you have the option to edit the send sale information.
At the Sale screen, select Extended Transaction, Send Sale and than Edit Send Sale.
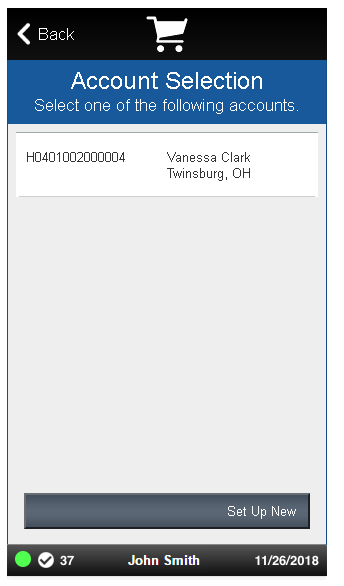
The Account Selection list displays showing the current send sale accounts on the transaction. Select the send sale you want to change and press Enter.
You can add an item to this send sale, edit the address information, and edit item information for the selected account as needed. Refer to step 7.