| Oracle® Retail Xstore Point-of-Service Mobile User Guide Release 18.0 F12257-04 |
|

 Previous |
 Next |
| Oracle® Retail Xstore Point-of-Service Mobile User Guide Release 18.0 F12257-04 |
|
Previous |
Next |
A Special Order transaction is typically performed when a customer wants to purchase an item that is not currently available in the store. The item may be out of stock or unavailable for any reason. A special order item may be any saleable item from the store's inventory. Non-inventory items may also be special-ordered if your store policy permits it.
When an item is out of stock, the customer cannot take possession of the item immediately, so the store orders it from a vendor, warehouse, or another store. When the special order item arrives in the store, it is shipped to the customer or the customer is notified to pick it up at the store.
The Special Order function includes the order-entry process for a special order item, entering the related customer information, and processing any special fees that may be associated with the special order.
This chapter covers the following topics:
To create a new special order:
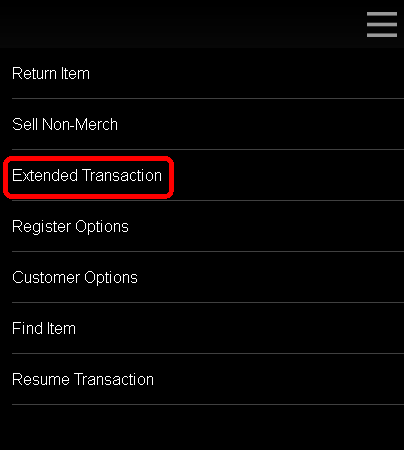
Select Extended Transactions in the Register Sale screen Context Menu.
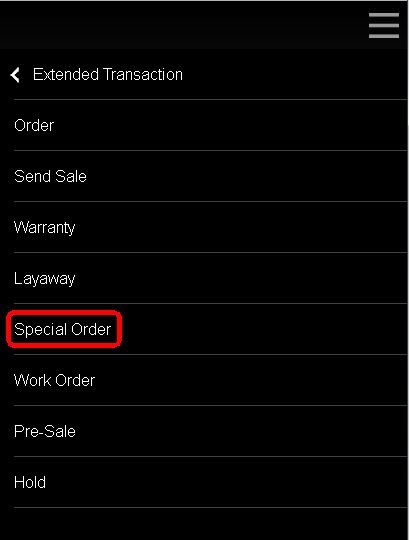
Click Special Order.
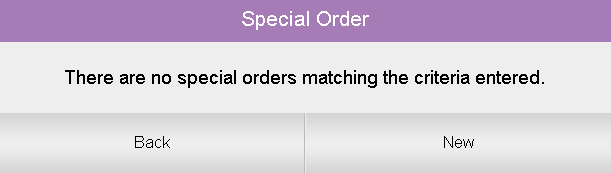
Xstore will open a prompt listing open special orders for the customer, or an indication that there are no open special orders.
Perform the appropriate action:
Select Set Up New if no customer is associated with the transaction. Continue with Step 4.
Figure 11-4 No Special Orders Found Prompt
Select Set Up New if no customer is associated with the transaction. Continue with Step4.
Select New if a customer is associated with the transaction. Continue with Step 5.
4. Associate a customer with the transaction. See Associating a Customer with a Transaction.
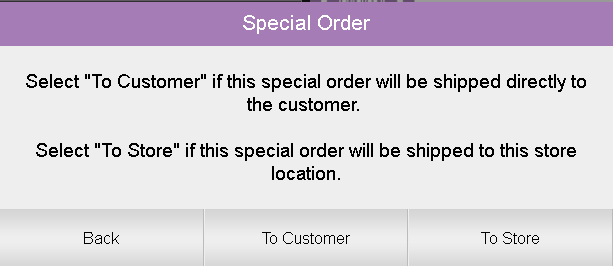
Select the destination for the special order:
To Customer: Ship the order directly to the customer. Continue with Step 6
To Store: Ship the order to the local store where the customer will pick it up. Continue with Step 8.
If necessary, enter or update the shipping information for the customer:
Figure 11-6 Special Order Shipping Destination - Customer
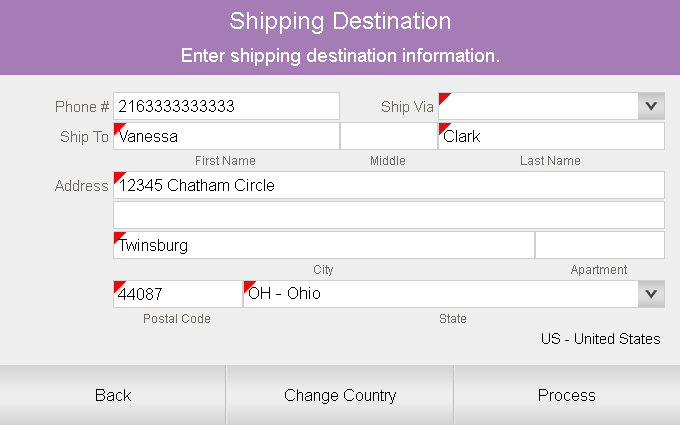
Ship To: Name of the customer.
First: First name.
Middle: Middle initial.
Last: Last name.
Address: Shipping address.
|
Note: The fields in this section will depend upon configuration and nationality. |
First line of the shipping address.
Second line of the shipping address.
Zip: Zip or postal code.
State: State or province.
City: City name.
Apartment: Apartment.
Country: Country name.
Ship Via: Name of the shipping company. Click the Change Country button to change this value.
Select Process.
Enter the items for the special order. See Entering Items.
If necessary, enter the expected arrival date for the order, then press Enter.
Select Exit Special Order to exit special order mode and perform additional transaction processing and to proceed to tendering after completing the special order.
If necessary, enter the amount of the special order deposit, then press Enter.
|
Note: This option is only available if you clicked To Store in Step 5. Items that are shipped to the customer must be paid in full in the same transaction in which the order is created. |
If you clicked To Store in Step 5, special order creation is complete. Continue the transaction.
If you clicked To Customer in Step 5, continue with Step 12.
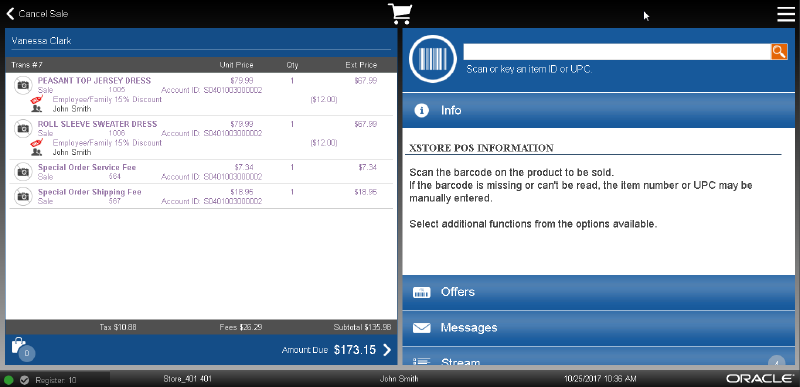
If necessary, click OK to confirm that a shipping fee has been added to the special order.
Continue the transaction.
To open an existing special order:
Select Extended Transactions in the Register Sale screen Context Menu.
Select Special Order.
Xstore will open a prompt listing open special orders for the customer, or an indication that there are no open special orders.
To select the special order from the list, continue with Step 6.
To search for the special order, continue with Step 3.
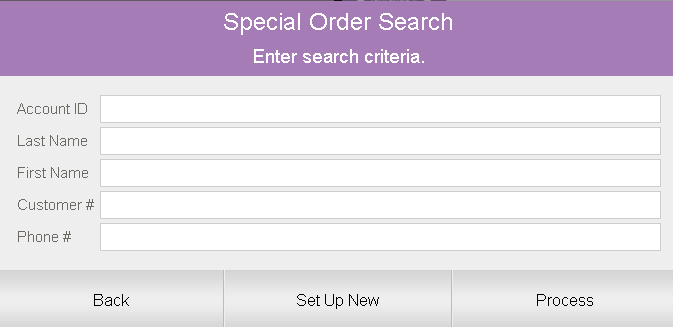
If necessary, click Special Order Search.
Enter the search information for the special order:
|
Note: You can also scan the receipt for the special order to open it. |
Account ID: ID of the special order.
Last Name: Last name of the customer associated with the special order.
First Name: First name of the customer associated with the special order.
Customer ID: ID of the customer associated with the special order.
Phone #: Phone number of the customer associated with the special order.
Select Process.
A list of special orders matching the entered criteria opens.
If necessary, select the special order in the list. The special order opens.
Changes can be made to items in a special order. See Modifying a Transaction for more information about changing line items in a transaction.
To make changes to special order items:
If necessary, create a special order. See Create a Special Order.
Click Edit Account.
Perform the appropriate action:
Make changes to the line items. See Modifying a Transaction for more information about changing items in a transaction.
To change the expected date for an item:
Click Change Item.
Click Change Expected Date.
Select the item in the View Port.
Press Enter.
Enter the expected arrival date for the item.
Figure 11-10 Special Order Expected Date
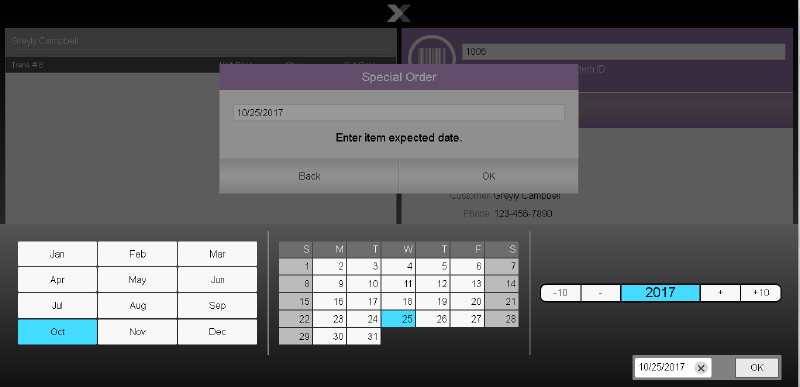
Press Enter. The expected arrival date for the item is changed.
To view the customer's special order history:
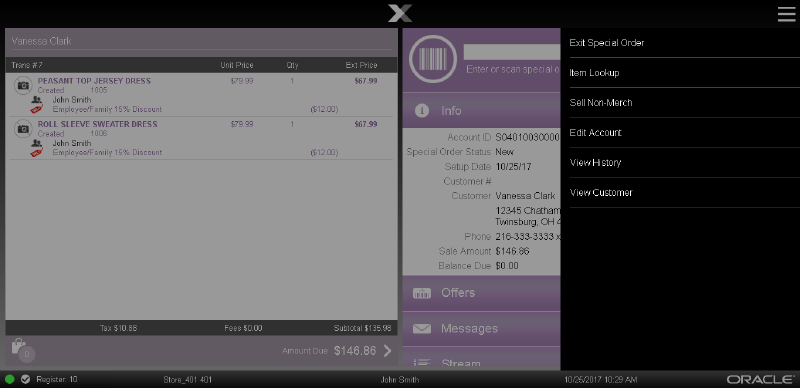
Click View History in the special order screen Context Menu.
Figure 11-11 Special Order View History Option
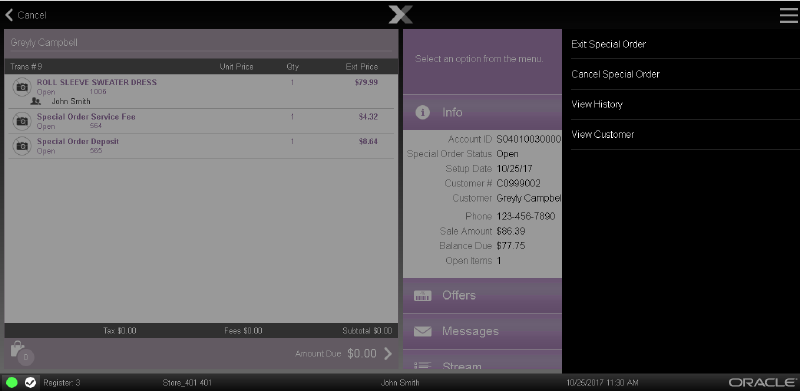
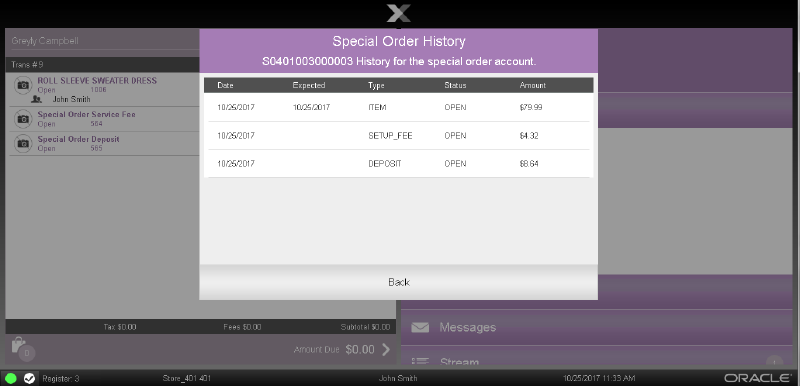
Xstore opens a window displaying the previous special order activities associated with the customer.
The following information is shown for each special order:
Date: Date the special order was created.
Expected: Expected delivery date for the special order.
Type: Type of activity.
Status: Status of the special order.
Amount: Amount associated with the activity.
Select Back to close the window and return to the special order.
When a customer arrives at a store to pick up special order items, do the following:
Open an existing special oder, see Open an Existing Special Order.
Select Pick Up Item.
Select the items to pick up. Select Pick Up All to select all items.
Select Exit Special Order to exit special order mode and perform additional transaction processing and to proceed to tendering after completing the special order.
Special orders to be sent to a store can be canceled at a store. To cancel a special order:
Open an existing special order, see Open an Existing Special Order.
Click Cancel Special Order.
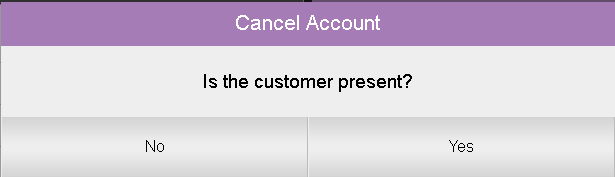
A confirmation prompt opens.
Indicate whether the customer is present:
Click Yes if the customer is present.
Click No if the customer is not present.
If the customer is present, a second confirmation prompt opens.
Figure 11-14 Special Order Cancel Confirmation

4. Indicate whether to cancel the special order:
Click Yes to cancel the special order.
The special order is canceled and the refund amount is applied to the transaction.
Click No to return to the special order without canceling it.