| Oracle® Retail Xstore Point-of-Service Mobile User Guide Release 18.0 F12257-04 |
|

 Previous |
 Next |
| Oracle® Retail Xstore Point-of-Service Mobile User Guide Release 18.0 F12257-04 |
|
Previous |
Next |
Use the following procedures to review your timecard and schedule.
The option to view your timecard is only available from the Register Login screen or the Back Office Login screen before you log in.
To view your timecard:
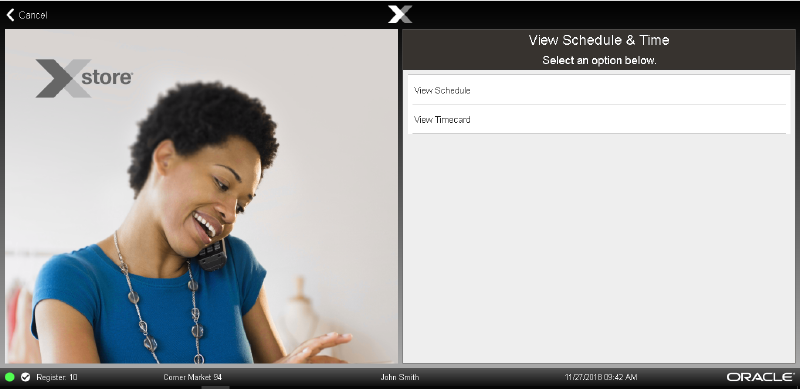
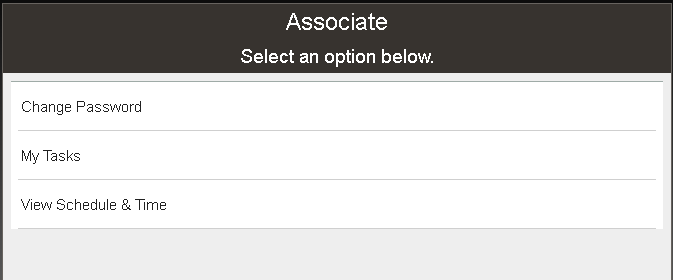
Select View Schedule & Time in the Register Login screen or the Back Office Associate menu.
Click View Timecard. See Figure 23-1.
Enter your user ID and press Enter.
Enter your password and press Enter.
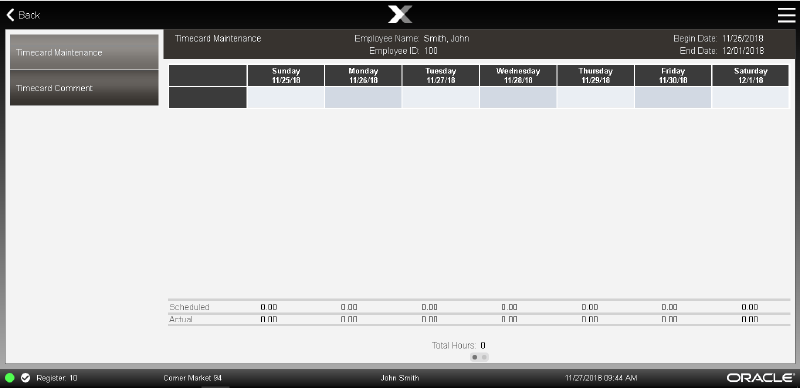
Xstore displays your timecard for the week.
Xstore displays the following information for each timecard:
Begin Date: Start date for the timecard.
End Date: End date for the timecard.
Employee Name: Name of the employee.
Employee ID: ID for the employee.
Xstore has the following tabs for each timecard:
Xstore displays the following information in the Timecard Maintenance tab for each day of the week:
Work code used for the time clocked in.
Clock in time.
Clock out time.
Scheduled: Number of hours you were scheduled to work.
Actual: Number of hours actually worked.
The Timecard Maintenance also displays the following information about the week:
Total Hours: Total hours for the week.
See Comment: Indicates that a comment is associated with the timecard.
Xstore displays the following information for each comment on a timecard:
Business Date: Business date for which the comment was made.
Created On: Date the comment was created.
Created By: Employee ID of the person who created the comment.
Text of the comment.
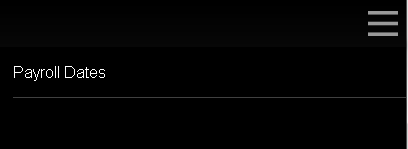
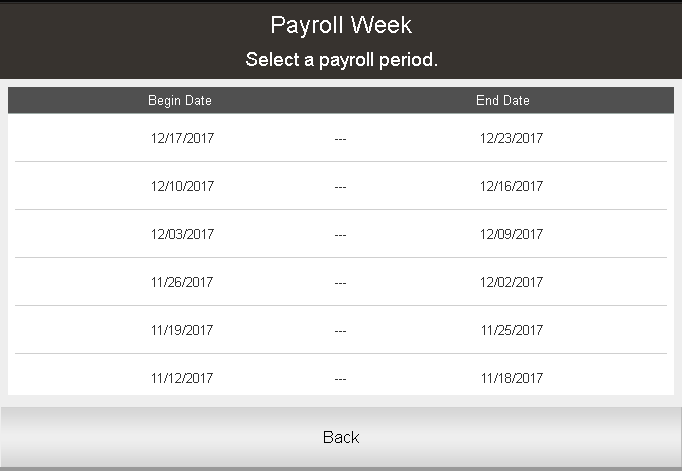
To change the timecard you are viewing:
Select Payroll Dates from the Context Menu.
Xstore opens a window with a list of timecard dates.
Select the week to view:
Select the date.
Use the up and down arrows to highlight the correct date, then press the Spacebar.
The timecard for the selected dates is displayed.
The option to view the work schedule is only available from the Register Login screen or the Back Office Login screen before you log in.
To view the work schedule:
Select View Schedule & Time in the Register Login screen or the Back Office Associate menu.
Click View Schedule.
Enter your user ID and press Enter.
Enter your password and press Enter.
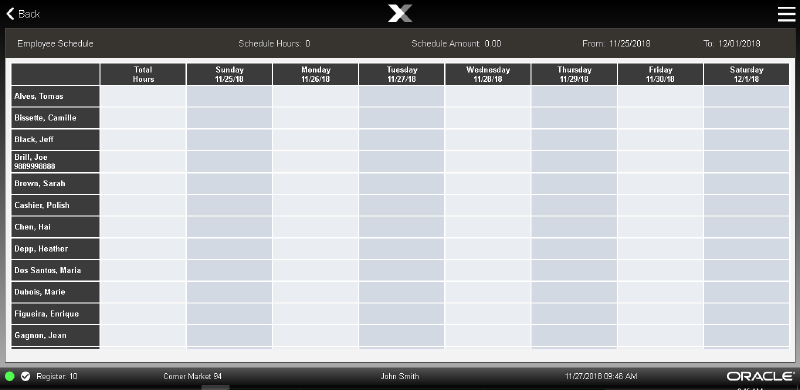
Xstore displays your schedule for the week.
Xstore displays the following information for each timecard:
Sched. Hrs.: Total number of hours scheduled for the week.
Sched. Amt.: Pay amount scheduled for the week.
From: Start date for the timecard.
To: End date for the timecard.
Xstore displays the following information for the week:
Employee name.
Working: Total number of working hours.
Break: Total number of break hours.
Xstore displays the following schedule information for each day of the week:
Clock in time.
Clock out time.
Work code used for the time clocked in.
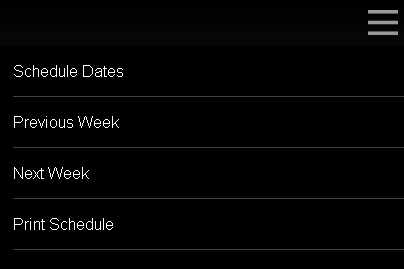
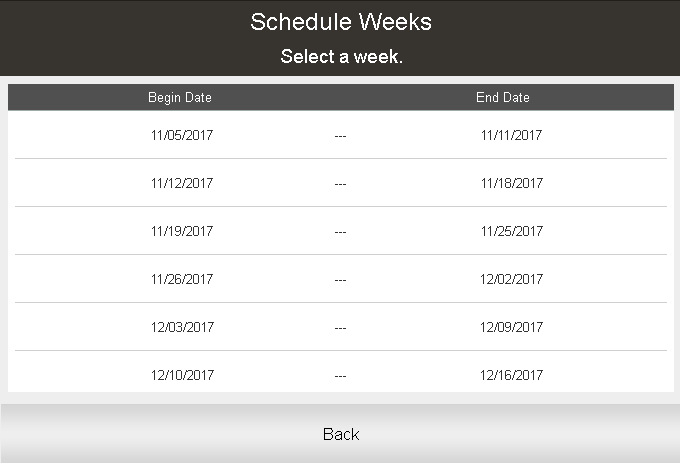
To change the schedule week you are viewing:
Select Previous Week to view the previous week.
Select Next Week to view the next week.