| Oracle® Retail Xstore Point of Service Manager's Guide Release 19.0 F25016-03 |
|

 Previous |
 Next |
| Oracle® Retail Xstore Point of Service Manager's Guide Release 19.0 F25016-03 |
|
Previous |
Next |
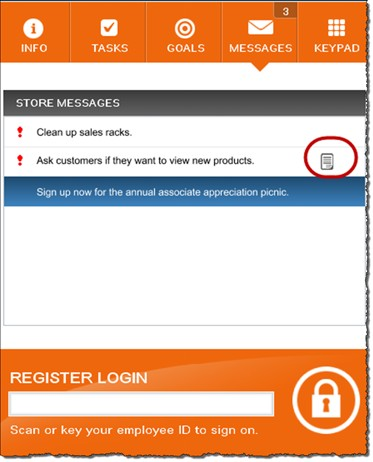
Messages can be viewed from both the Register Login screen and the Back Office Login screen. You may also be able to view messages from the transaction screens depending on your store configuration.
Task Management is a feature that encompasses tasks assigned to associates in a store for completion as well as tasks that are customer-focused such as appointments. Tasks have workflows associated with them so at any time a manager can easily see the current status of the task. This section also includes instructions on how to use the Black Book feature to view your associate's primary customers.
The following topics are covered:
Messages are for information purposes only, and require no action by the employee. Messages may be downloaded from the corporate office, and messages can also be created and maintained at the store level using the Back Office Message Maintenance menu option.
Messages can be store-based or register-based, and provide the ability for both the corporate office and the store managers to share information with all employees.
Messages can be maintained at the corporate office or using the Back Office functions. Only store-created messages can be edited at the store level. Messages from the corporate office cannot be changed or deleted.
Perform the following steps to create and maintain messages:
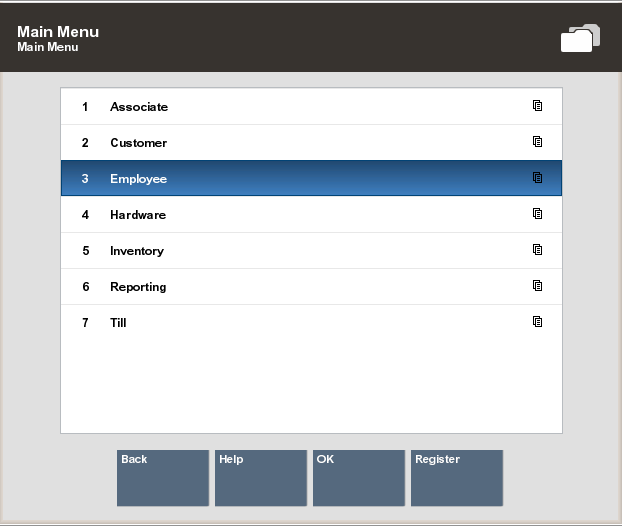
At the Back Office Main Menu, select the Employee menu option and press Enter.
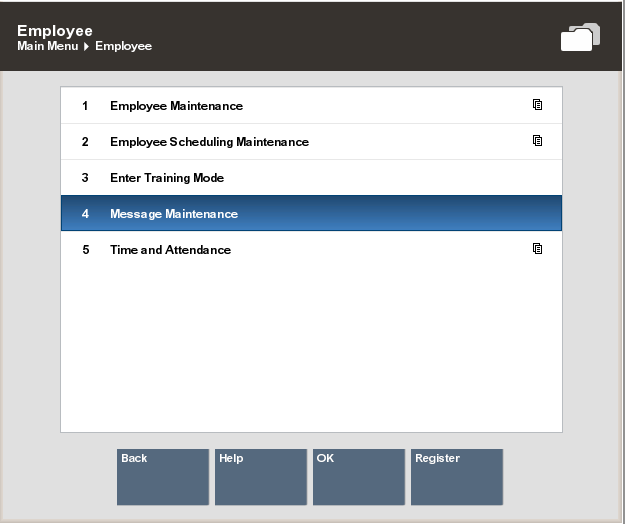
At the Employee menu, select the Message Maintenance menu option and press Enter.
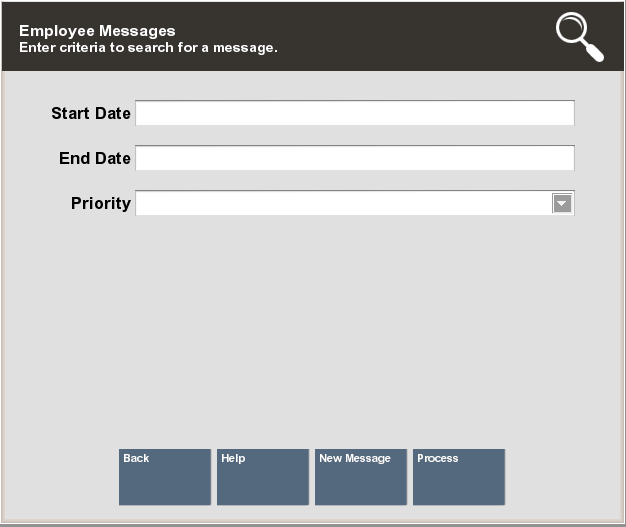
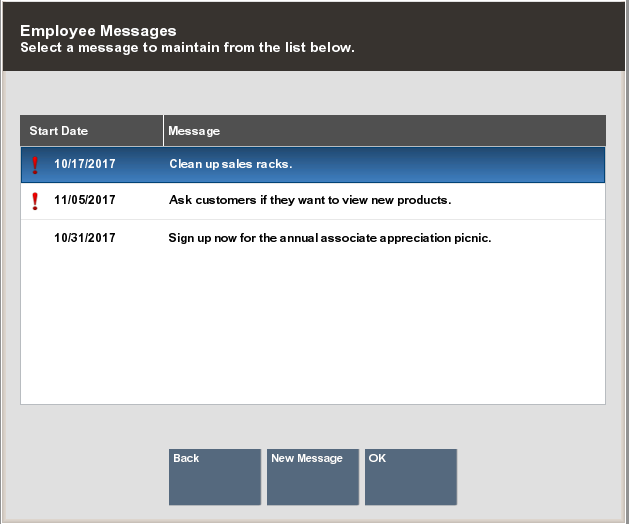
The Employee Messages search form displays. You have the following options on the search form:
To create a new message, select New Message. See Creating a New Message.
To find an existing message:
Enter the search criteria in the search fields provided and select Process.
Search fields include:
Start Date: The date the message is to be displayed.
End Date: The date the message is to be removed from the message list.
Priority: The message importance: High, Medium, Low.
<OR>
Leave all the search fields blank and select Process to return a list of all active, store-level messages.
See Editing a Message and Deleting a Message.
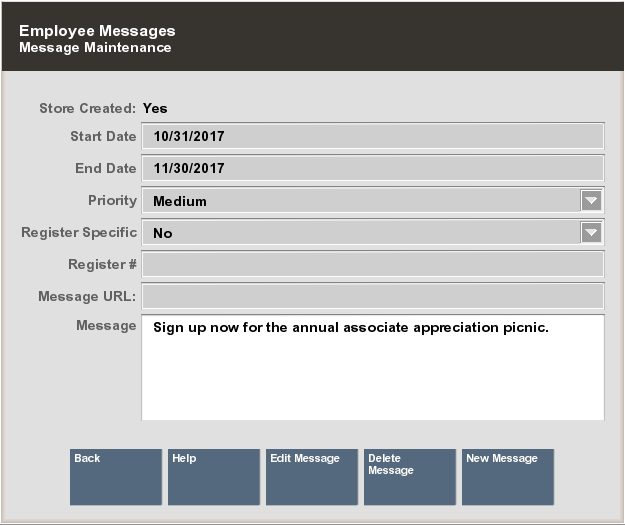
Messages can be displayed on all registers, or only a specific register. However, all employees have the ability to see the messages. Messages cannot be directed to specific employees or employee groups. Any messages created are automatically flagged as Store Created.
At the Employee Messages search form (Figure 6-3), select New Message.
|
Note: You can also create a new message by selecting the New Message option from the Employee Messages list. See Figure 6-6. |
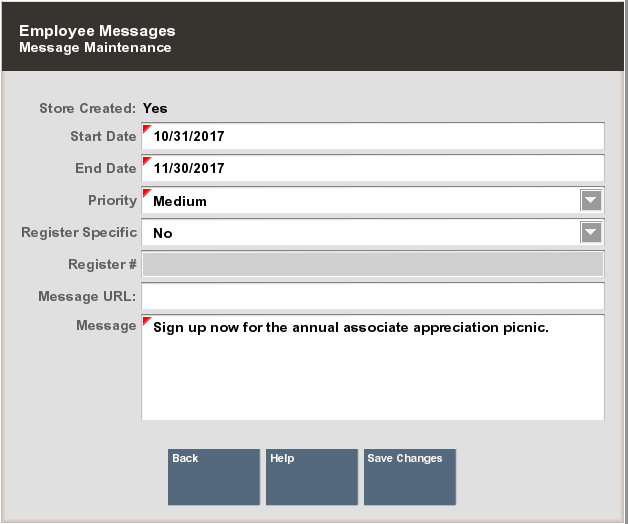
Enter data as required to create a new message:
Start Date: The date the message is to be displayed.
End Date: The date the message is to be removed from the message list.
Priority: The message importance: High, Medium, Low.
Register Specific/Register #:
Register Specific: Yes or No - If No, the message is displayed on all registers. If Yes, the message is only displayed on a specific register.
Register # - If Register Specific is set to Yes, this is the register on which the message are displayed.
Message URL: If applicable, enter a URL address. The URL will appear as an attachment to the message. See Figure 6-5 below.
Message: The message text.
Select Save Changes to create the new message.
Only messages created at the store level can be edited or deleted. For this reason, any messages downloaded from the corporate office are not displayed in the list of messages returned from a message search.
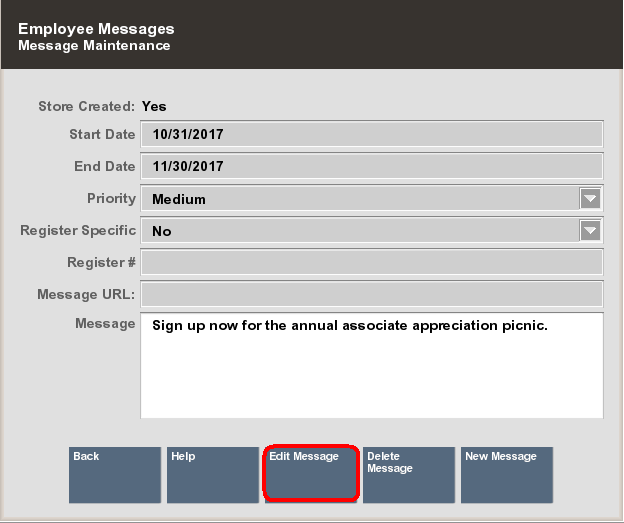
At the Employee Messages list, use the up and down arrow keys to select and highlight a message, then press Enter to display the Employee Messages maintenance form.
At the Employee Messages maintenance form, select Edit Message to make the fields active and available for editing.
At the active Employee Messages maintenance form, make your changes as needed:
Start Date: The date the message is to be displayed.
End Date: The date the message is to be removed from the message list.
Priority: The message importance: High, Medium, Low.
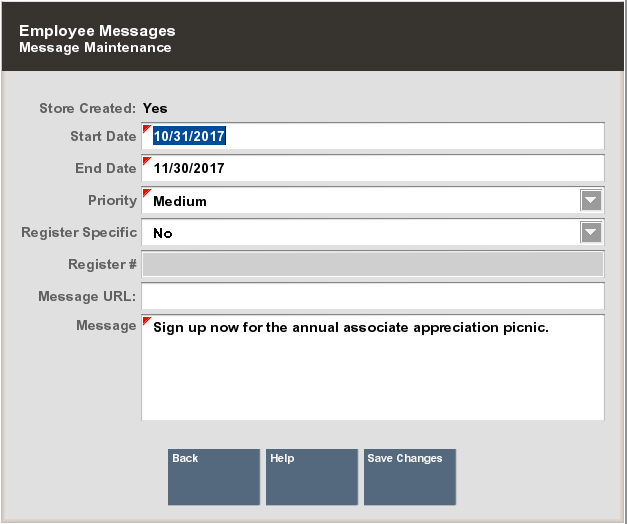
Register Specific/Register #:
Register Specific: Yes or No - If No, the message is displayed on all registers. If Yes, the message is only displayed on a specific register.
Register #: The register on which the message is displayed. This only applies if Register Specific is set to Yes.
Message: The message text.
After making your changes, select Save Changes to apply your edits to the message.
Only messages created at the store level can be deleted.
At the Employee Messages list (Figure 6-6), use the up and down arrow keys to select and highlight a message, then press Enter to display the Employee Messages maintenance form.
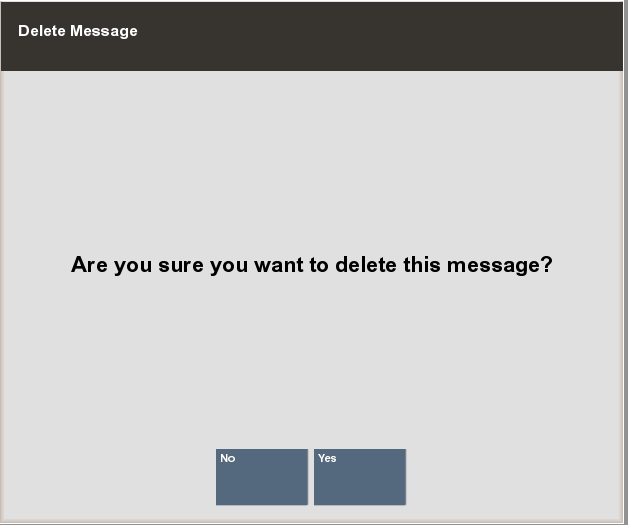
At the Employee Messages maintenance form, select Delete Message to delete the message.
At the Delete Message confirmation prompt, select Yes to remove the message. If you do not want to delete the message, select No to return to the Employee Messages search form.
Use the My Task screen to review all tasks assigned to associates (see Viewing Task Progress). Use the Black Book to view primary customer's assigned to your associates (see Viewing Black Book Customers).
From the Back Office select Associate Tasks > My Tasks.
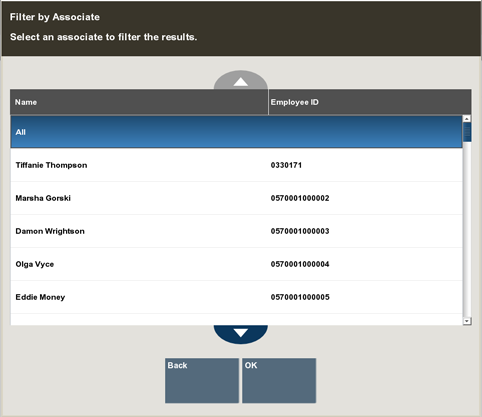
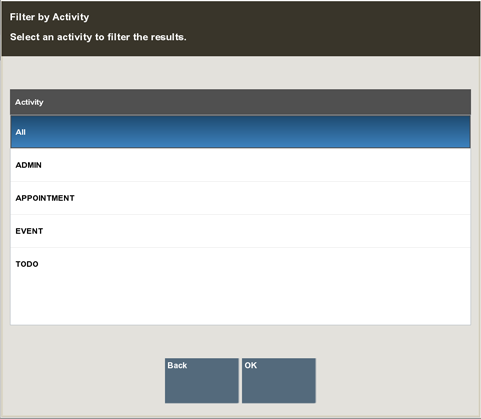
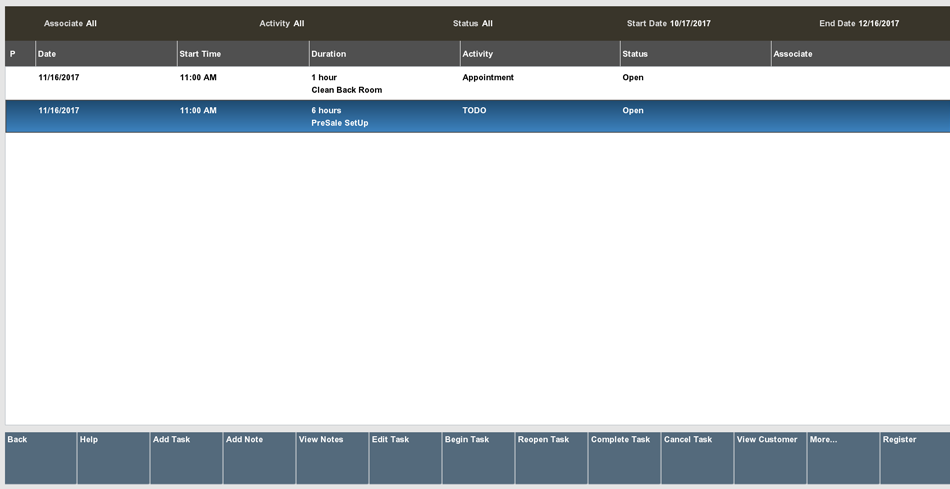
Use the filter bar to search by Associate, Activity, Status, Start Date, or End Date. To filter:
Select a Heading or Date field from the filter bar:
|
Note: You can also use the following menu options to filter:
|
If you selected:
Associate - select a value and then select OK.
Activity - select a value and then select OK.
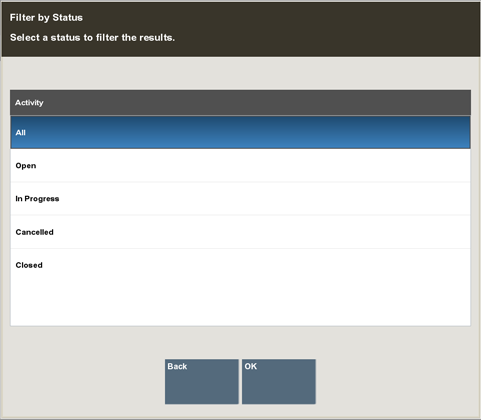
Status- select a value and then select OK.
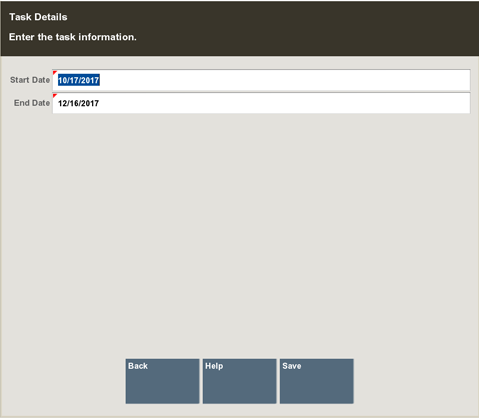
Start Date - override the default value.
End Date - override the default value.
Oracle Retail Xstore Point of Service displays tasks that meet your filter values.
Table 6-1 Task List Fields
| Field | Description |
|---|---|
|
Priority (P) |
The Importance of the task (High (indicated by an exclamation mark), Medium (none), or Low (indicated by a down arrow). |
|
Date |
The date the task should be started. |
|
Start Time |
The time the task should begin. |
|
Duration |
The length of time for the task. |
|
Activity |
Type of task. |
|
Description |
Detailed description the task. |
|
Customer |
The customer assigned to the task. Note: Select View Customer to view the Tasks tab of the Customer Maintenance screen which displays all tasks assigned to the customer. See description in the Xstore Point-of-Service User Guide for more information. |
|
Status |
Indicates the progress of the task: Open - The appointment is open, but not started. In Progress - The appointment has been started, but not completed. Cancelled - The appointment has been cancelled and cannot be reopened or edited. Closed - The appointment has been completed and cannot be reopened or edited. |
|
Associate |
The employee or employee group responsible for completing the task. |
|
Note: The Xstore Point-of-Service User Guide for editing tasks and adding comments. |
Oracle Retail Customer Engagement Cloud Services only
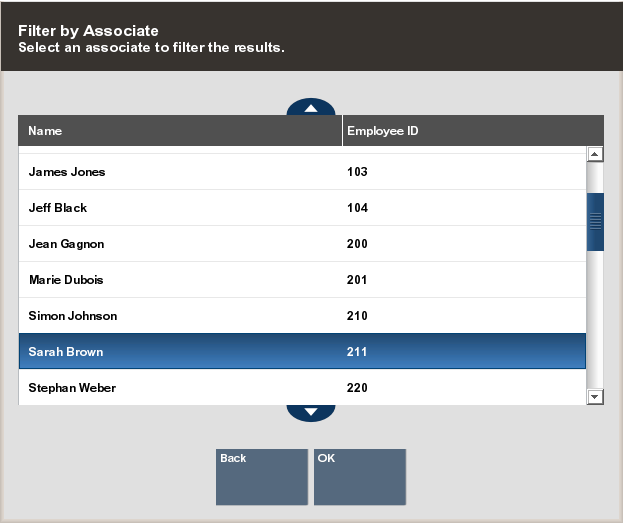
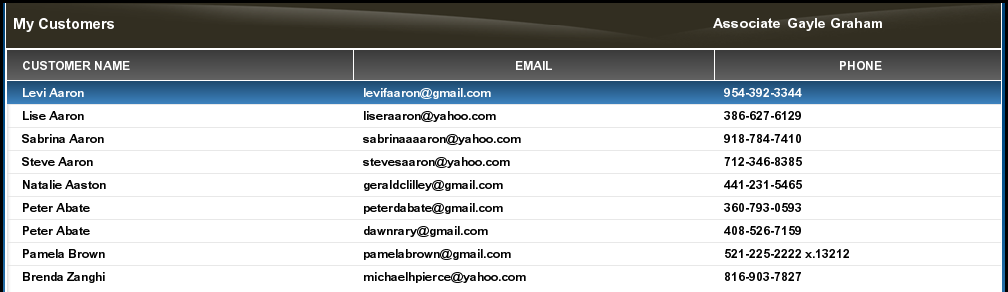
From the Back Office select Associate Tasks > Black Book. The Associate filter prompt displays.
Select an associate and press Enter.
Xstore displays the primary customer's assigned to the associate you selected.
To view the customer information select View Customer. The Customer Maintenance screen displays the purchase history. Select Back to return to the Black Book screen.
|
Note: Refer to step 3 (Purchase History Tab) as well as the Xstore Point-of-Service User Guide Customer Maintenance chapter. |