| Oracle® Retail Xstore Point of Service Mobile User Guide Release 19.0 F25674-03 |
|

 Previous |
 Next |
| Oracle® Retail Xstore Point of Service Mobile User Guide Release 19.0 F25674-03 |
|
Previous |
Next |
Associates can:
Associate Tasks. See Task Management.
Change their password. See Change Password.
View Schedules. See View Schedule and View Scheduled Employees.
View Timecards. See View Your Timecard.
The Change Password option is available from the Associate menu accessed from the Main Menu after logging in.
To change your password:
Select Associate from the Main Menu. See Figure 1-4.
Click Change Password in the Associate menu.
Xstore Mobile POS prompts for your user ID.
Figure 23-2 Change Password - Employee ID Prompt
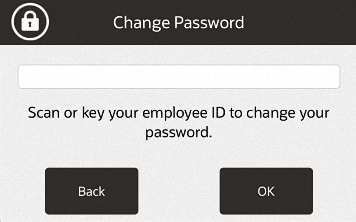
Scan or enter your user ID.
Xstore Mobile POS prompts for your password.
Figure 23-3 Change Password - Password Prompt
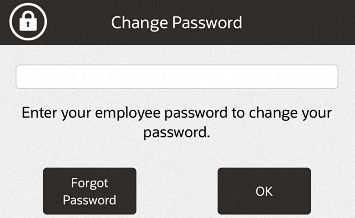
Enter your current password and press OK.
Figure 23-4 Change Password - New Password Prompt
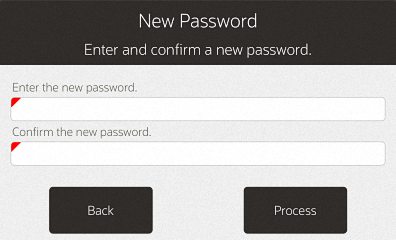
Enter your new password in Enter the new password and repeat it in Confirm the new password.
Click Process.
The new password is saved.
|
Note: Xstore Mobile POS may enforce certain rules regarding passwords, such as the minimum number of characters required or whether you can reuse an old password. |
If Xstore Mobile POS is configured to use password challenge questions, you can re-set your password without knowing your current password by answering a set of questions whose answers should only be known to you.
To change your password using challenge questions:
Select Associate Tasks from the Main Menu. See Figure 1-4.
Click Change Password in the Associate Tasks menu.
Xstore Mobile POS prompts for your user ID.
Figure 23-5 Change Password - Employee ID Prompt
Scan or enter your user ID.
Xstore Mobile POS prompts for your password.
Figure 23-6 Change Password - Password Prompt
Click Forgot Password.
Xstore Mobile POS prompts for your last name.
Figure 23-7 Change Password - Last Name Prompt
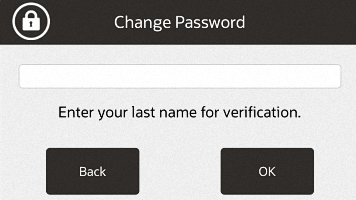
Enter your last name and press OK.
Xstore Mobile POS asks the challenge questions.
Answer each challenge question:
Enter the answer.
After you have entered the correct answer for each question, Xstore Mobile POS prompts for your new password.
Enter your new password in Enter the new password and repeat it in Confirm the new password.
Click Process.
The new password is saved.
|
Note: Xstore Mobile POS may enforce certain rules regarding passwords, such as the minimum number of characters required or whether you can reuse an old password. |
View Schedule and Timecard functionality is available on Mobile POS Tablet and Thin Client devices.
Use the following procedures to review your timecard and schedule.
To view the work schedule:
Select Associate from the Main Menu outside of a sale.
Select View Schedule from the Associate menu.
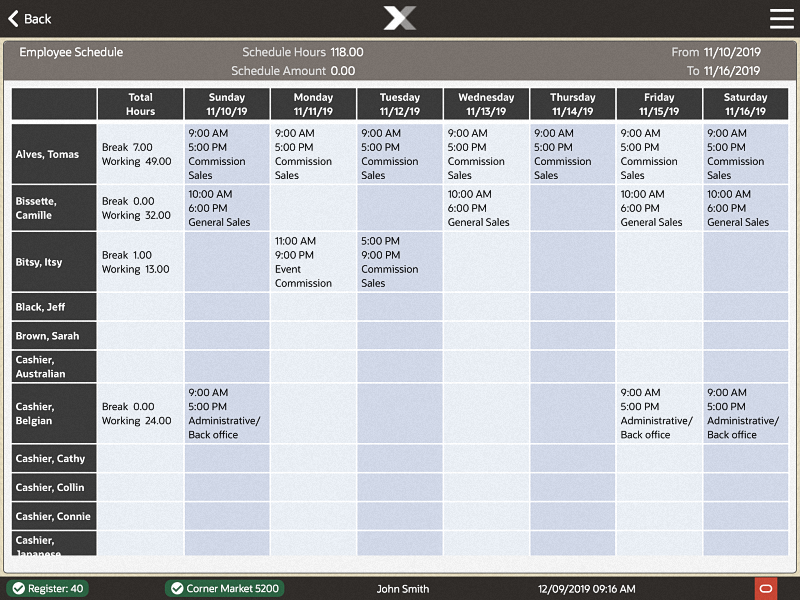
Xstore Mobile POS displays a list of everyone and their scheduled hours.
Xstore Mobile POS displays the following information for each timecard:
Sched. Hrs.: Total number of hours scheduled for the week.
Sched. Amt.: Pay amount scheduled for the week.
From: Start date for the timecard.
To: End date for the timecard.
Xstore Mobile POS displays the following information for the week:
Employee name.
Working: Total number of working hours.
Xstore Mobile POS displays the following schedule information for each day of the week:
Clock in time.
Clock out time.
Work code used for the time clocked in.
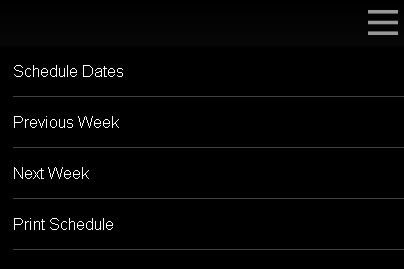
To change the schedule week you are viewing:
Select Previous Week to view the previous week.
Select Next Week to view the next week.
To select the schedule week to view:
Select Schedule Dates.
A Schedule Weeks window opens.
Select the week to view:
Click the date.
The schedule for the selected dates is displayed.
To view a list of the associates scheduled to work that day:
Select Associate from the Main Menu outside of a sale.
Select View Scheduled Employees from the Associate menu.
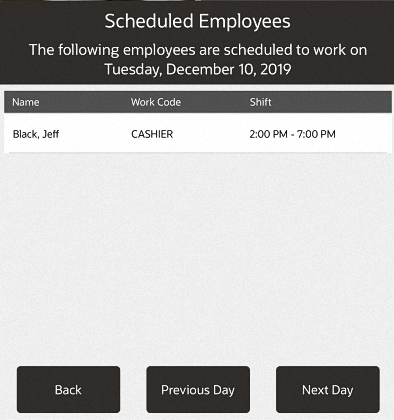
Xstore Mobile POS displays a list of people scheduled to work for that day.
Select Previous Day or Next Day. This is a view only list of employees scheduled to work for the day. There are 3 columns - Name, Work Code, and Shift.
If no one is scheduled you will get a prompt.
To view your timecard:
Select Associate from the Main Menu outside of a sale.
Select View Timecard from the Associate menu.
Xstore Mobile POS displays your timecard for the week.
Figure 23-12 Timecard Information Screen
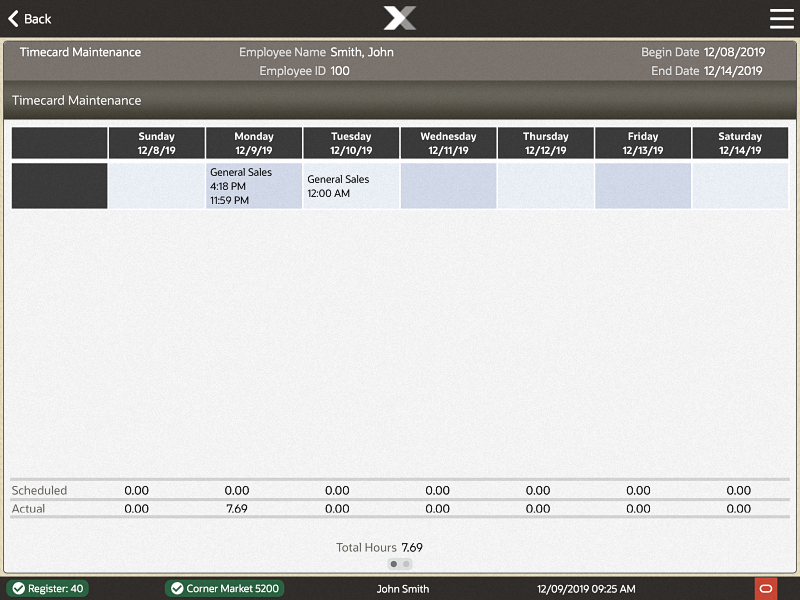
Xstore Mobile POS displays the following information for each timecard:
Begin Date: Start date for the timecard.
End Date: End date for the timecard.
Employee Name: Name of the employee.
Employee ID: ID for the employee.
Xstore Mobile POS has the following tabs for each timecard:
Xstore Mobile POS displays the following information in the Timecard Maintenance tab for each day of the week:
Work code used for the time clocked in.
Clock in time.
Clock out time.
Scheduled: Number of hours you were scheduled to work.
Actual: Number of hours actually worked.
The Timecard Maintenance also displays the following information about the week:
Total Hours: Total hours for the week.
See Comment: Indicates that a comment is associated with the timecard.
Xstore Mobile POS displays the following information for each comment on a timecard:
Business Date: Business date for which the comment was made.
Created On: Date the comment was created.
Created By: Employee ID of the person who created the comment.
Text of the comment.