| Oracle® Retail Xstore Point of Service Mobile User Guide Release 20.0 F35714-03 |
|

 Previous |
 Next |
| Oracle® Retail Xstore Point of Service Mobile User Guide Release 20.0 F35714-03 |
|
Previous |
Next |
Customer options include activities that relate to entering new customers into the customer database and updating customer information along with the maintenance of customer accounts such as orders, layaways, special orders, gift registry and work orders.
Functionality includes:
Balance Inquiry
Customer Maintenance
Gift Registry (Mobile Tablet and Thin Client)
Layaway Maintenance (Mobile Tablet and Thin Client)
Order Options
Receipt Reprint Options
Special Order Maintenance (Mobile Tablet and Thin Client)
Work Order Options (Mobile Tablet and Thin Client)
This section covers the following topics:
When you want to assign a customer to the sale during a transaction, the database is searched to see if the customer record already exists. If the record is found in the database, you may want to view the information or confirm that it is correct. If the record is not found in the customer database, you can create a new customer record and enter the information provided by the customer.
Select Customer from the Main Menu. See Mobile POS Customer Menu.
|
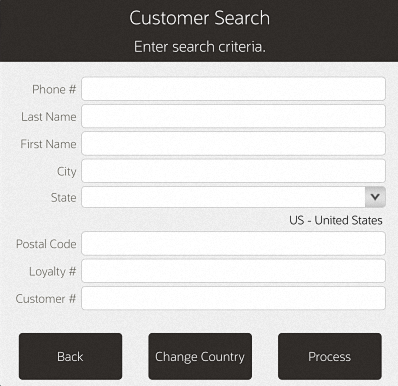
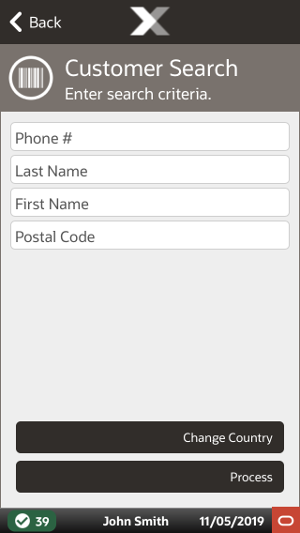
Note: Enter as much information as possible in the Customer Search form to limit the number of customer records that are returned. You may enter partial names in the Last and First name fields.The maximum number of returned records is configurable. If your search results exceed that number, you may see a message indicating there are too many results. Press OK to close the message. |
Enter your search criteria and then select Process.
Phone # - Phone number associated with the customer.
Last Name - Customer last name.
First Name - Customer first name.
City - City in the customer's address.
State - State in the customer's address.
Postal Code - Postal or zip code.
Loyalty # - Customer loyalty number.
Customer # - Customer ID number.
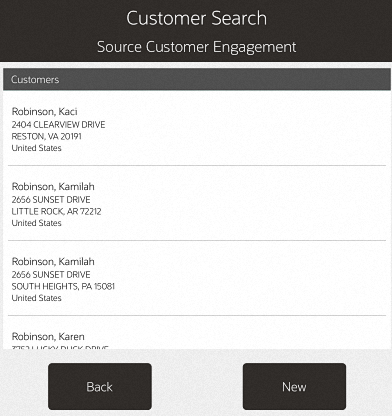
If the name you want is not listed, select the Back option to return to the Customer Search form and enter the customer's full name or make additional entries in other searchable fields. Select Process to search again.
If only one name matches the search criteria, the system may automatically display the customer record rather than presenting a list, if your system is set up to do so.
If more than one customer record matches your search criteria, select a customer from the list by touching the line. If a long hold on the individual line is performed, you are given the option to review, continue, or modify this individual customer detail.
|
Note: The Source field below the header Customer Search indicates the data source from which this information was retrieved. The data source depends upon your system's configuration. If your system is integrated with the Oracle Retail Customer Engagement Cloud Services application and the customers are found there, Customer Engagement is indicated as the source. Customers may also be found in other configurable sources such as the Xstore Mobile database or Xcenter. |
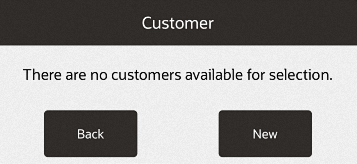
Choose one of these options:
Back - Returns to the Customer Search form.
Select - Opens the selected customer record for viewing, or editing.
New - Displays a form for adding a new customer record to the customer database. See Adding a New Customer Record.
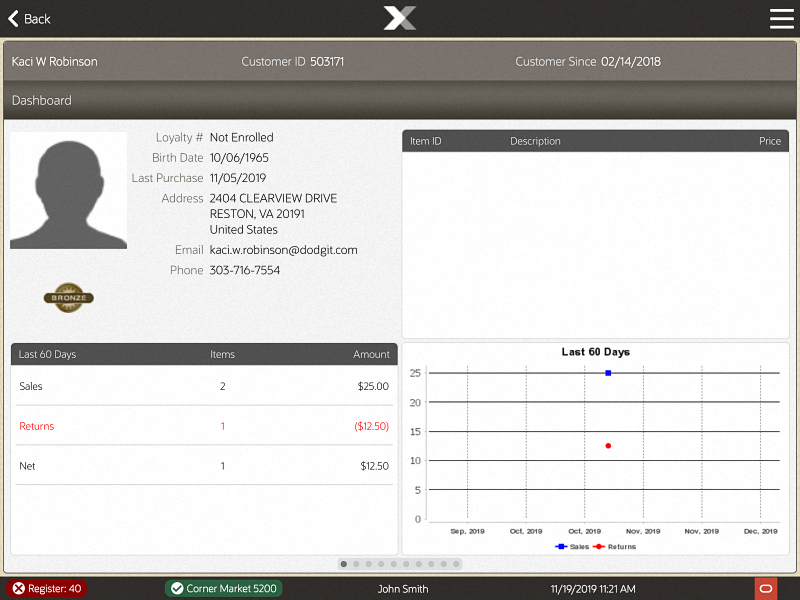
A customer record always opens in a read-only mode and cannot be edited unless you change to the editing mode.
Choose one of these options:
Back - Returns to the Customer Search form.
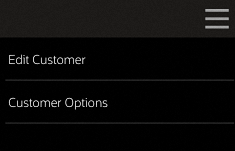
Edit Customer - Select Edit Customer from the Customer Maintenance Context Menu to activate the fields on the window to allow you to change information in the customer record.
Figure 28-4 Customer Context Menu Options
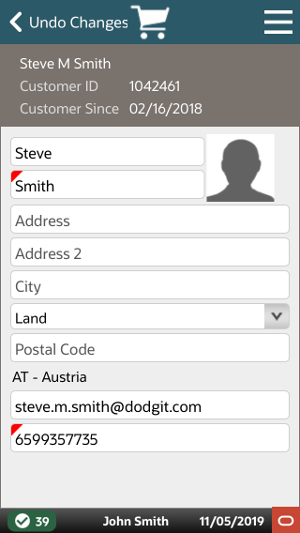
Select the field you want to change and replace the old entry by typing over it with the new information.
|
Note: Any field requires an entry is marked with a red underline. Any field that has a selectable list of options displays a down arrow on the right side of the field. |
Customer Options - Enroll the customer in the loyalty program.
In the Context Menu, select Edit Customer to activate the fields on the window.
Select the field you want to change and replace the old entry by typing over it with the new information.
In the Context Menu, select Save Changes to save the information to the database. Select Undo Changes if you decide not to keep the changes you made.
Xstore allows retailers to capture a customer's consent for collecting their personal information.
If this functionality is enabled, when creating a new customer record or by accessing the customer record in the transaction, you are automatically prompted with a Consent Preferences pop up. If the customer has already given consent and the terms and conditions are current, then they will not be prompted again. However, if the terms and conditions have been updated, the customer will be prompted to update their consent preferences.
The terms and conditions are provided by the retailer. Xstore provides the ability to configure multiple consent check boxes for the customer to select.
Once the customer has agreed to the terms and conditions and the consent boxes have been checked, select the Accept button.
If the customer declines consent, the consent captured date is cleared and it may impact the ability to perform some specific transaction types depending on the retailer's configurations.
After selecting the Accept button, the terms and conditions may be reviewed and signed electronically by the customer.
Customers and employees may ask the retailer to remove their personal information by anonymizing or deleting it from their records. If a customer or employee requests to remove their data, a check is made to ensure that the customer or employee is eligible to be removed from the application. For example, customers with any open transactions would not be eligible for data removal. Open transactions include open orders, a house account balance, or open layaway transactions, and so on.
If you search for a customer name and it is not found in the customer database, you can create a new record for the customer. The system displays a message as shown in the figure below if there is no current record.
Select New to display the Customer Maintenance Screen in edit mode.
|
Note: The information you entered in the Customer Search form automatically populates the appropriate fields on the Customer Maintenance screen. |
If customer information consent functionality is not enabled, continue at step 4.
If customer information consent functionality is enabled, a terms and conditions screen opens showing consent preferences and requesting that the customer accepts or declines to the terms and conditions listed. See Customer Information Consent for more information.
Figure 28-7 Customer Information Consent Form
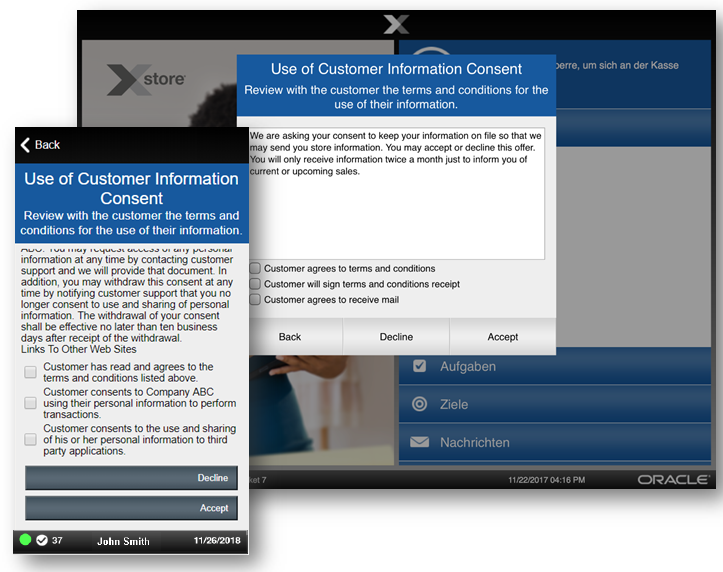
Select the relevant check boxes if the customer agrees to accept the terms and conditions, and consent preferences.
To refuse consent, select Decline to return to the previous screen.
Select Accept. Ask the customer to electronically sign the signature capture on the mobile device to acknowledge they are accepting the terms and conditions displayed on the previous screen.
Figure 28-8 Signature Capture and Verify Customer Consent
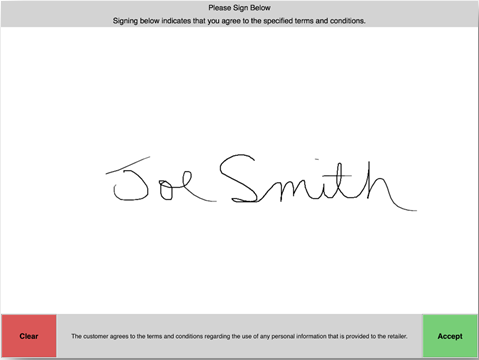
Select Accept to confirm the customer has acknowledged the terms and conditions, and signed the receipt. The customer's acceptance is associated to the customer record.
A confirmation screen is displayed indicating that the customer's consent selections have been updated in the system. Select OK to continue. The customer maintenance screen opens with editable fields.
Enter customer contact information. Your system may be configured to capture and display the following information on the Contact Information tab. Any of the fields may be designated as a required entry (per your store policy).
Any field that requires an entry is marked with a red underline.
Any field that has a selectable list of options displays a down arrow on the right side of the field.
|
Note: When you enter a valid postal code for the customer, the system automatically enters the city and state information. |
In the Context Menu, select Save Changes to save the information to the database. Select Undo Changes if you decide not to keep the changes you made.
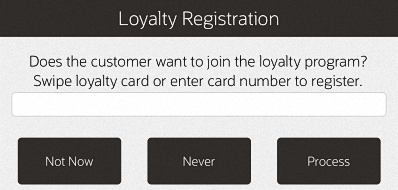
To register a customer to the loyalty program:
Figure 28-11 Customer Context Menu Options
In the Context Menu, select Enroll in Loyalty.
Swipe the loyalty card or enter card number.
Select Process.
Select Save Changes to save the loyalty card information to the customer's record.
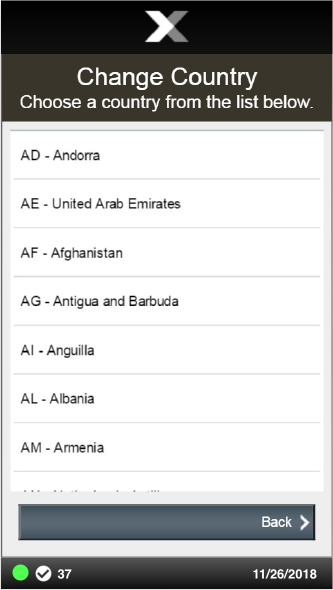
To change the states/provinces in the State field (if present) to those of a different country:
Select the Change Country button.
Select the country.
Gift cards and store credit vouchers may be used as a tender until the total value of the account has been used. Since the amount left on a card or voucher cannot be visibly seen, this function electronically checks the account record and tells you the remaining value on the account. You can also use Balance Inquiry to look up an encoded item's price on a gift receipt.
Use the balance inquiry process to check the amount remaining on a customer's store credit voucher, gift card or gift certificate, and an item's price from a gift receipt.
|
Note: Depending upon the configuration of your system, this option may be available from several different locations. |
Select Balance Inquiry from the Customer Menu to view the inquiry functions available in your store. See Mobile POS Customer Menu.
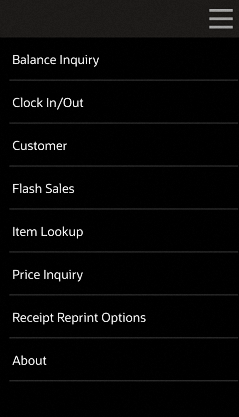
Alternatively, the Balance Inquiry menu can be accessed from the Context Menu on the home screen.
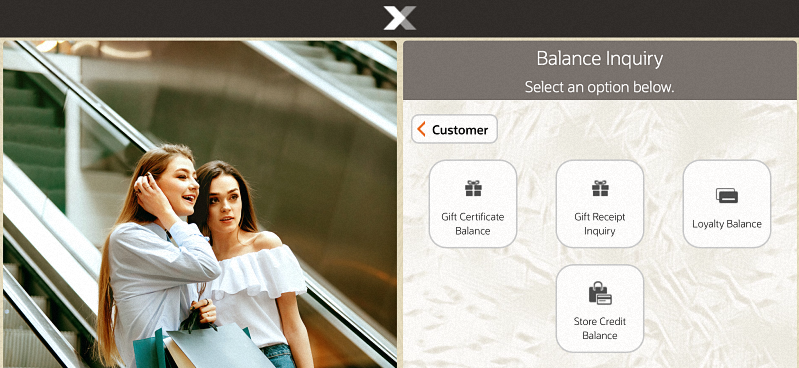
Select the type of inquiry you want to perform by selecting the appropriate option from the Balance Inquiry menu.
Gift Certificate Balance: Remaining balance on a gift certificate.
Gift Receipt Inquiry: Redemption amount of a gift certificate.
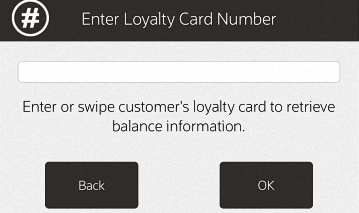
Loyalty Balance: Loyalty point balance.
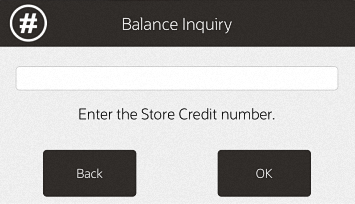
Store Credit Balance: Remaining store credit balance.
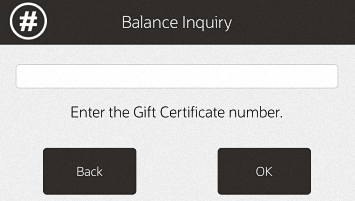
At the prompt, enter the information as prompted: a card number, account number, or gift receipt information.
Figure 28-18 Gift Receipt Inquiry Prompt
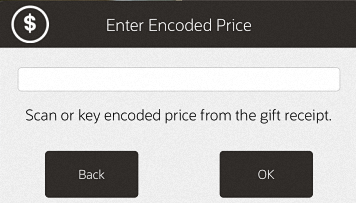
|
Note: The information required here varies according to the type of balance inquiry you are performing. Enter the applicable information and press OK to continue. |
The system retrieves the account balance/gift receipt information and displays the information on the screen.
If applicable, press Yes to print a receipt for this balance information.
<OR>
If applicable, press No if you do not need a printed receipt for this balance information.
If the option to print a receipt is not available, press OK to close the prompt.
|
Note: The system displays a message if the account is closed or cannot be located.If a deal or discount was applied to the gift item at the time of purchase, you cannot use Balance Inquiry to look up the price. No item price code is printed on the receipt.  Description of the illustration ''giftreceipt_noprice.png'' When a balance inquiry for a store credit or gift certificate is performed, Xstore Mobile first determines which currency the store credit or gift certificate is in. If this currency is different than your store's local currency, then the foreign tender amount of the store credit or gift certificate is automatically converted to the local tender and amount using the current exchange rate on file. This localization is shown on the screen and on the receipt, if printed. |
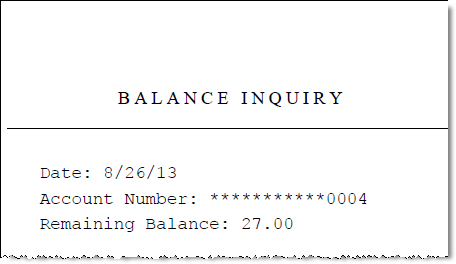
If you chose to print a receipt, the information shown on the receipt includes the date of this inquiry, the card or account information (masked), and the available balance on the card or account.
Figure 28-21 Sample Balance Inquiry Receipt