| Oracle® Retail Xstore Point of Service Mobile User Guide Release 20.0 F35714-03 |
|

 Previous |
 Next |
| Oracle® Retail Xstore Point of Service Mobile User Guide Release 20.0 F35714-03 |
|
Previous |
Next |
This chapter describes the procedures for transferring items from one inventory bucket to another.
This chapter contains the following procedures:
Start Item Transfer - Describes how to start an item transfer.
Perform Transfer - Describes the procedure for the item transfer.
Adjust Item - Describes procedures for adjusting items in the transfer.
Additional Options - Describes additional options available in the item transfer screen.
To start the item transfer process:
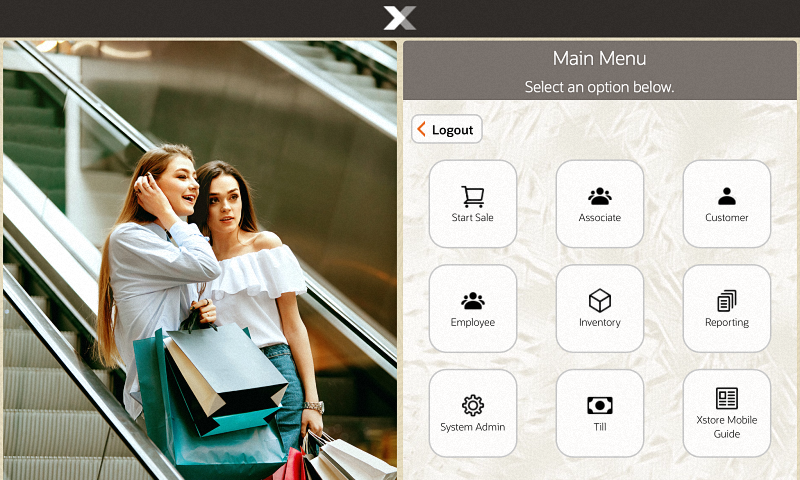
Select Inventory in the Main Menu.
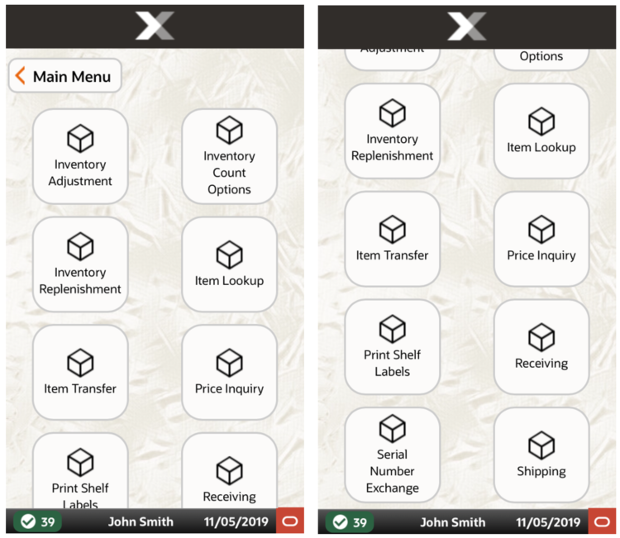
Select Item Transfer from the Inventory menu.
Continue with Perform Transfer.
To perform an item transfer:
Select the location from which the item will be transferred:
Figure 46-3 Inventory Location Selection - From Location
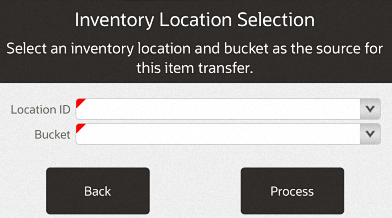
Select the source location for the item.
Select the source bucket for the item.
Select Process.
Select the location to which the item will be transferred:
Figure 46-4 Inventory Location Selection - To Location
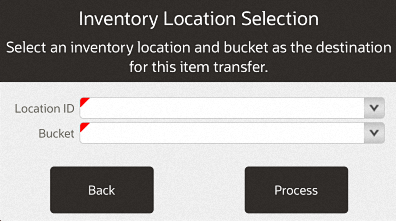
Select the destination location for the item.
Select the destination bucket for the item.
Select Process.
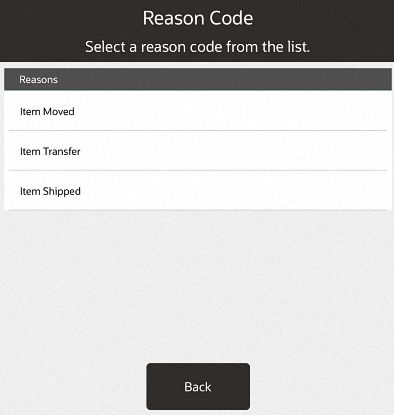
Select the reason for the transfer.
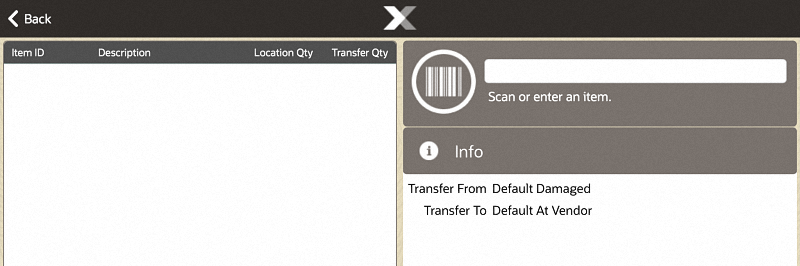
Scan an item or enter an item ID.
Use the Context Menu to:
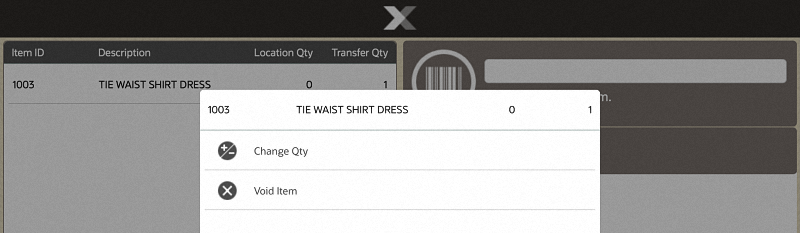
This section describes how to adjust an item. Select an item to open the Options menu.
Two options are available:
Change Qty - See Change Item Quantity.
Void Item - SeeVoid Item.
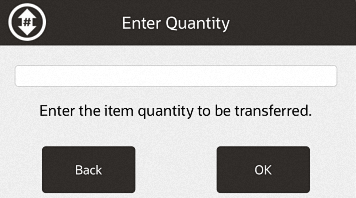
To change the quantity of an item:
Select the item.
Select Change Qty from the Options menu.
Enter the quantity.
Select OK.
The quantity is updated.
Return to the transfer item list screen.
To remove an item from an item transfer:
Select the item.
Select Void Item from the Options menu.
The quantity is set to zero.
Note that the item is still listed, only the quantity is changed to zero.
Return to the transfer item list screen.
This section describes additional item transfer options.
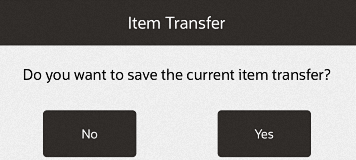
To save the transfer and return to the inventory screen:
Select the Context Menu button.
Select Save & Exit.
Select Yes.
The item transfer completes. Return to the inventory menu.
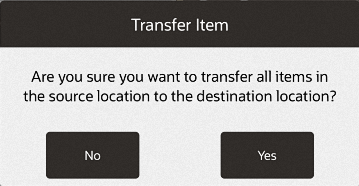
To include all the items in the list, setting each item to the maximum quantity:
Select the Context Menu button.
Select Transfer All.
Select Yes.
The quantity of every item in the list is set to its maximum value.
Return to the item transfer list screen.
To print a list of items in the transfer:
Select the Context Menu button.
Select Print Item List.
Follow the print procedure for your system.
The list of items prints.
Return to the item transfer list screen.